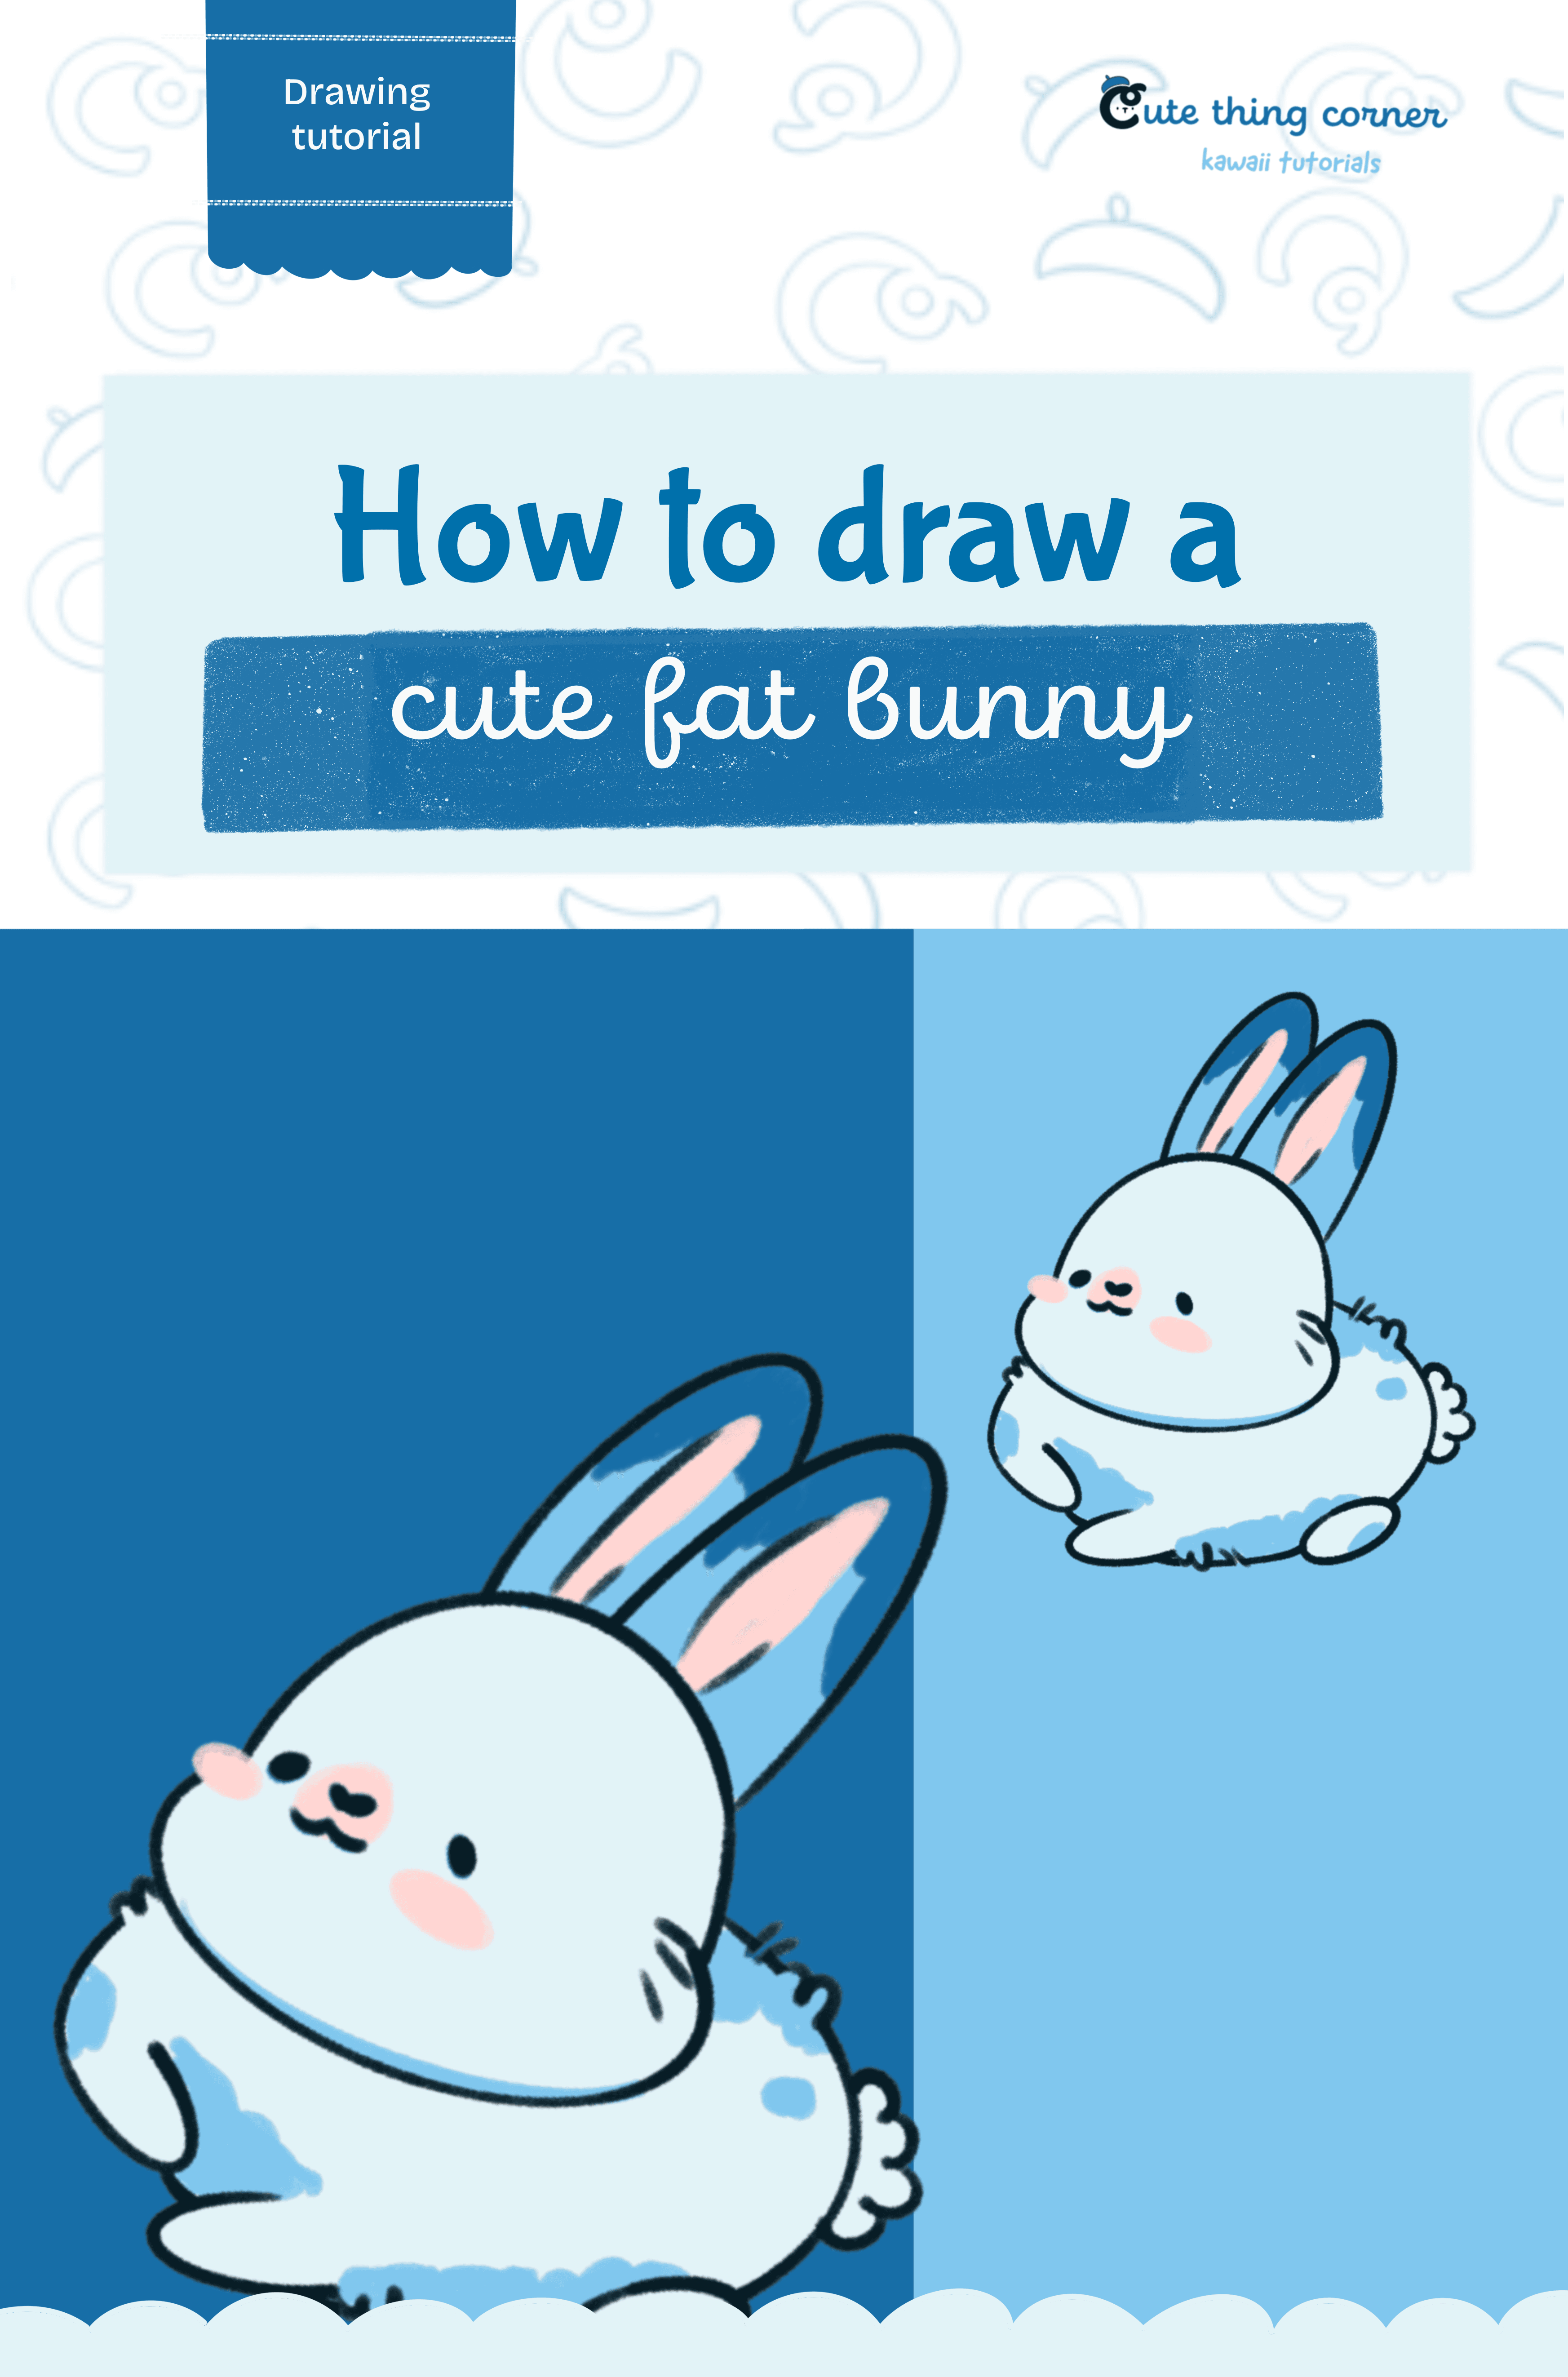
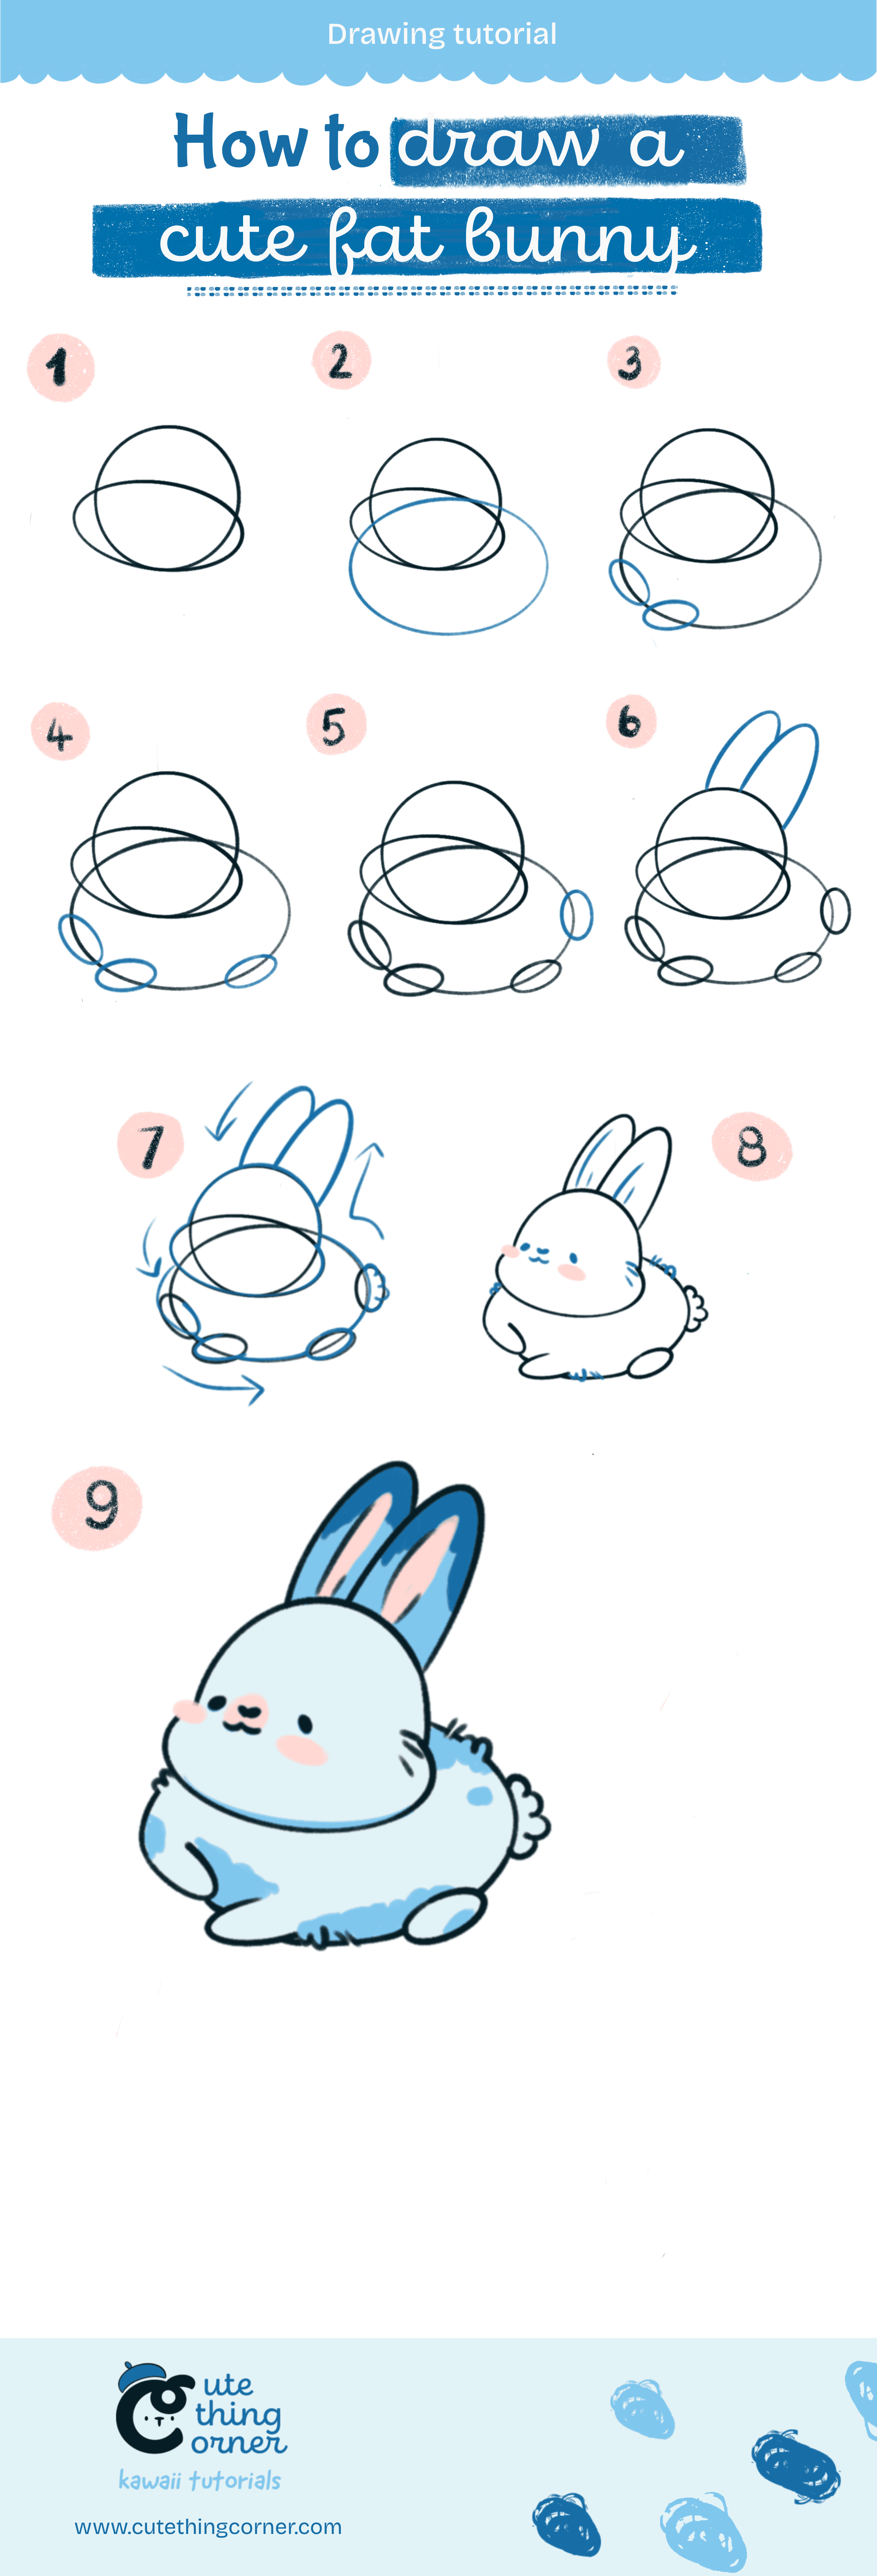
Bunny
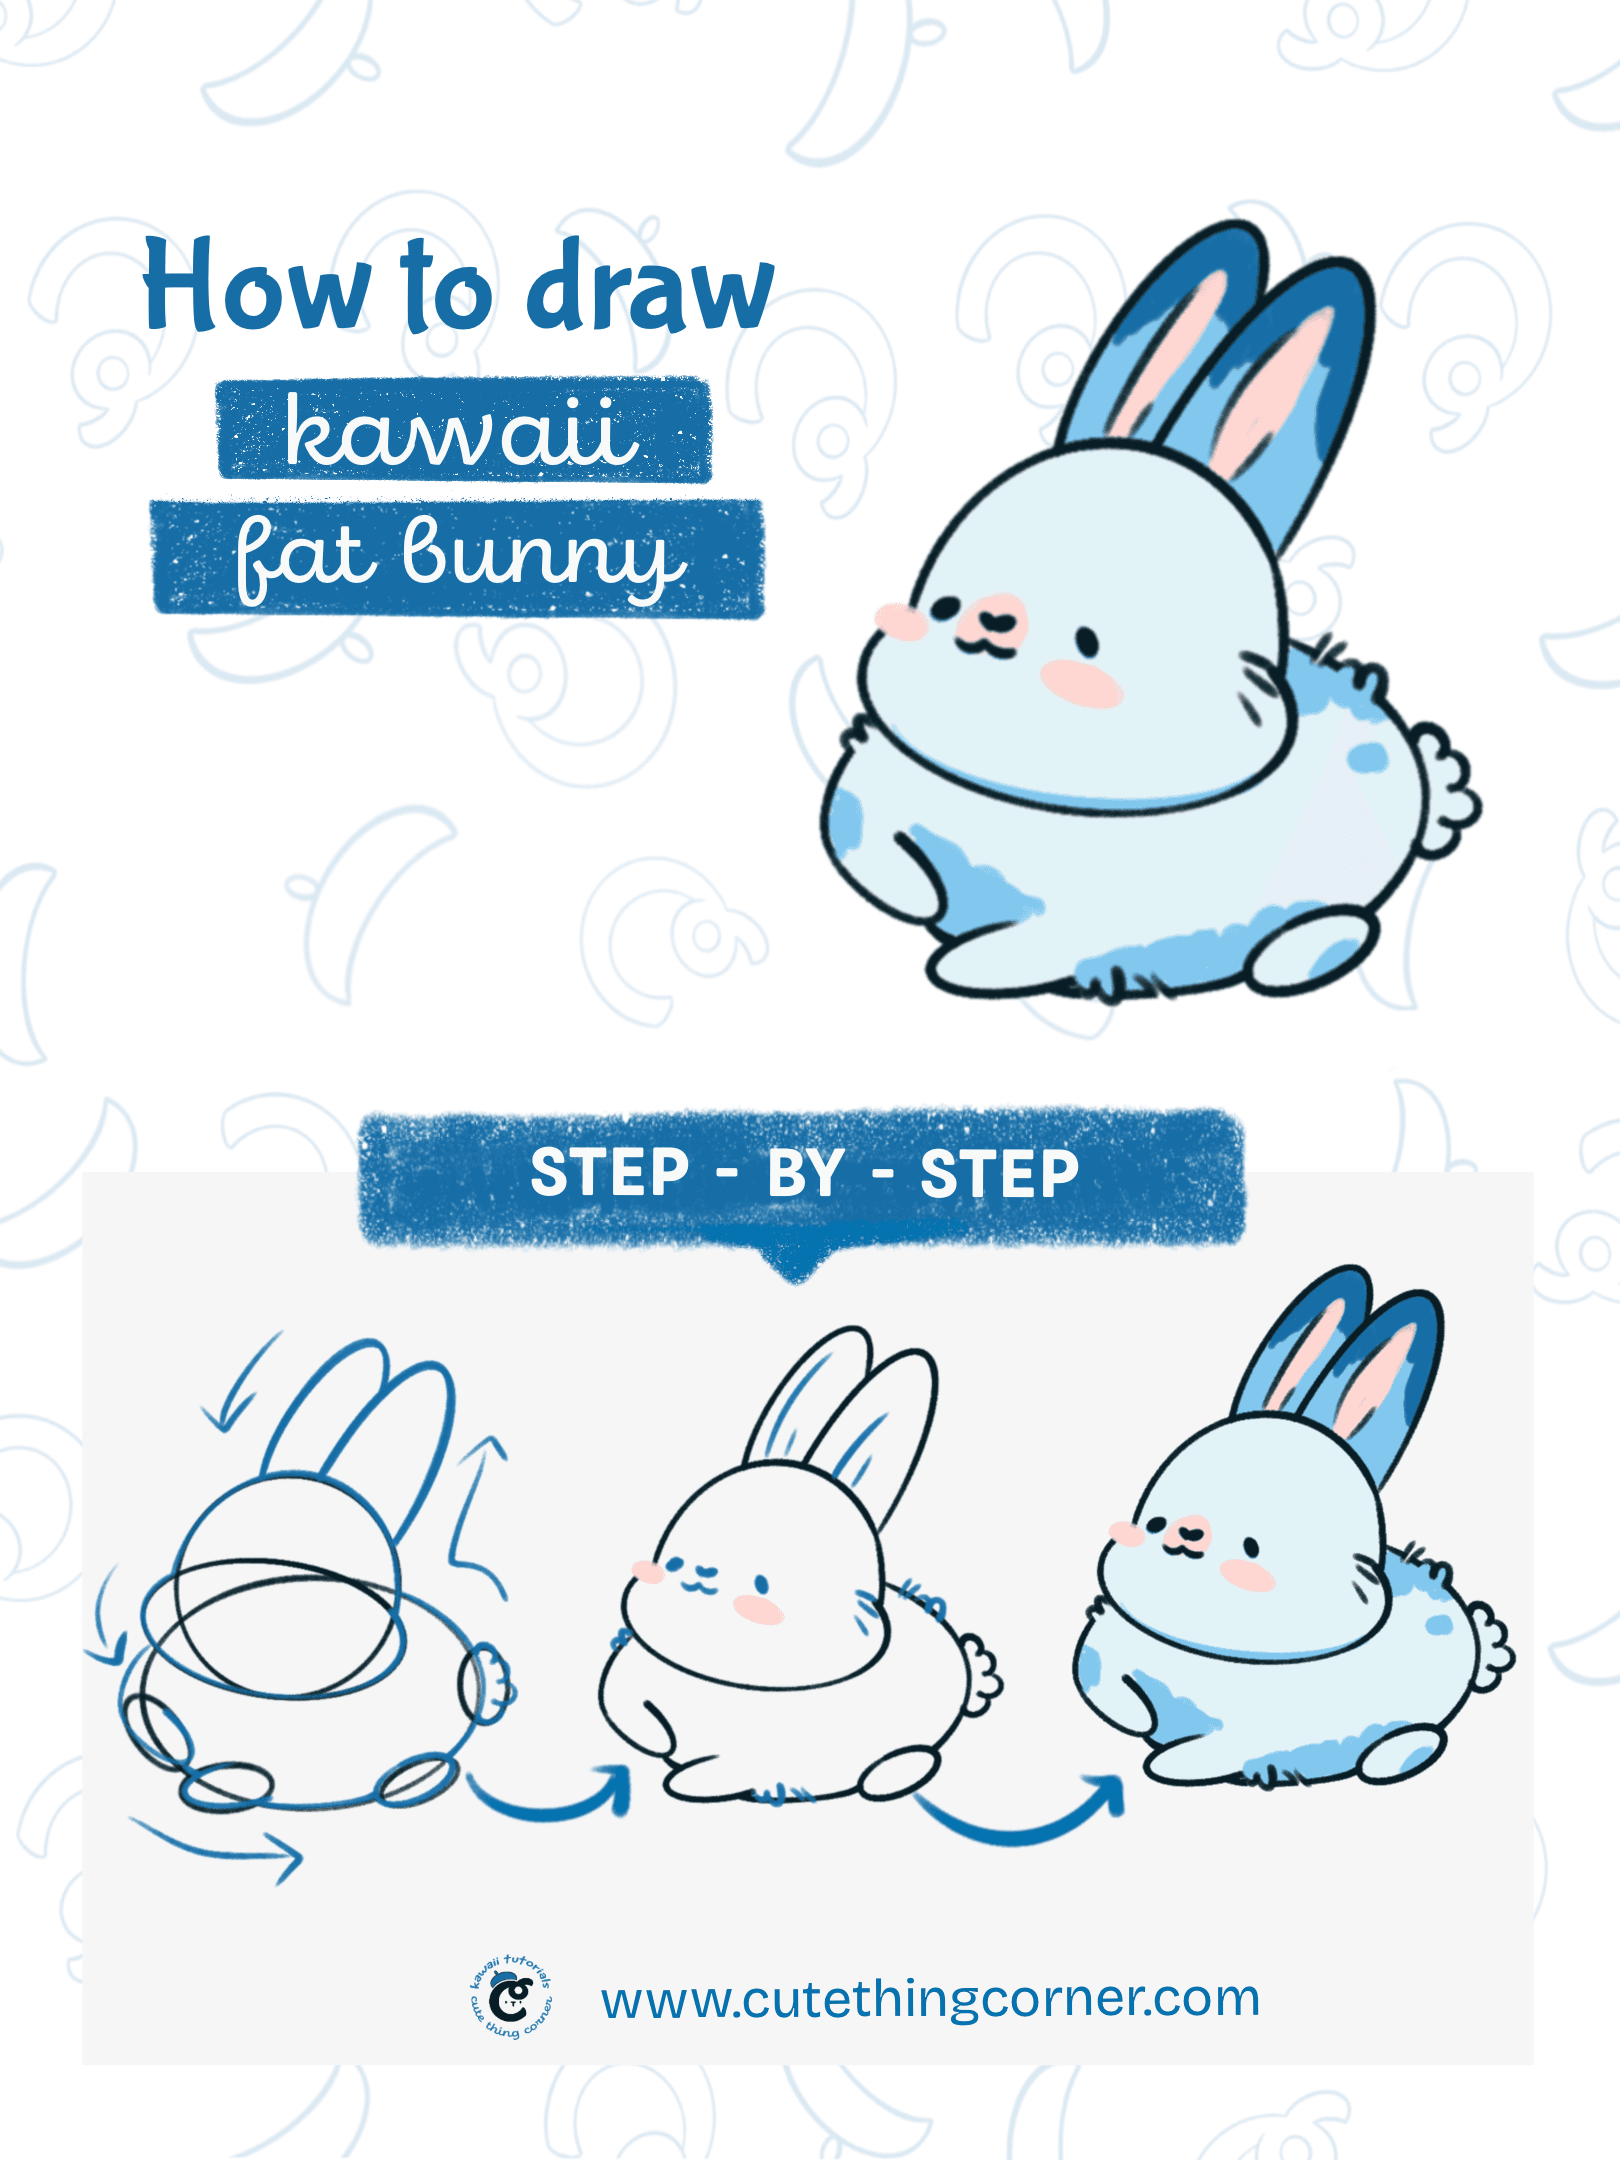
How to draw a cute fat bunny (Step-by-step)
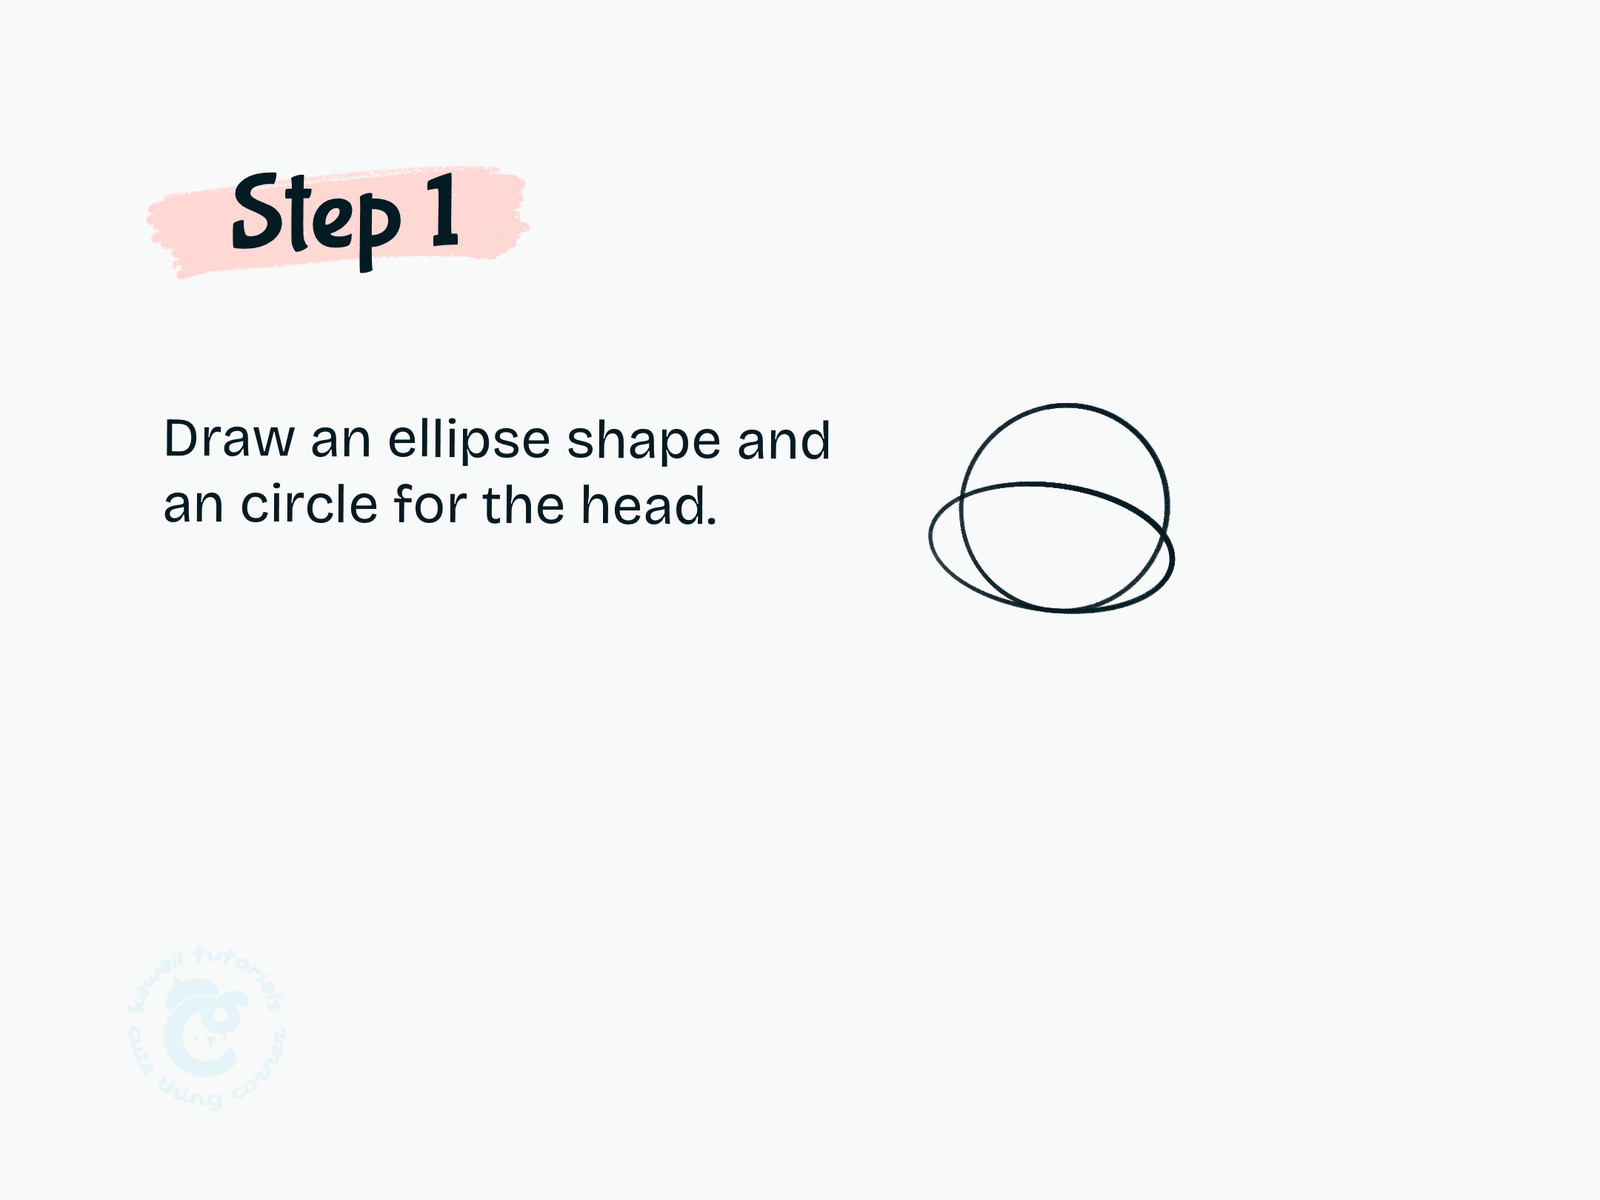
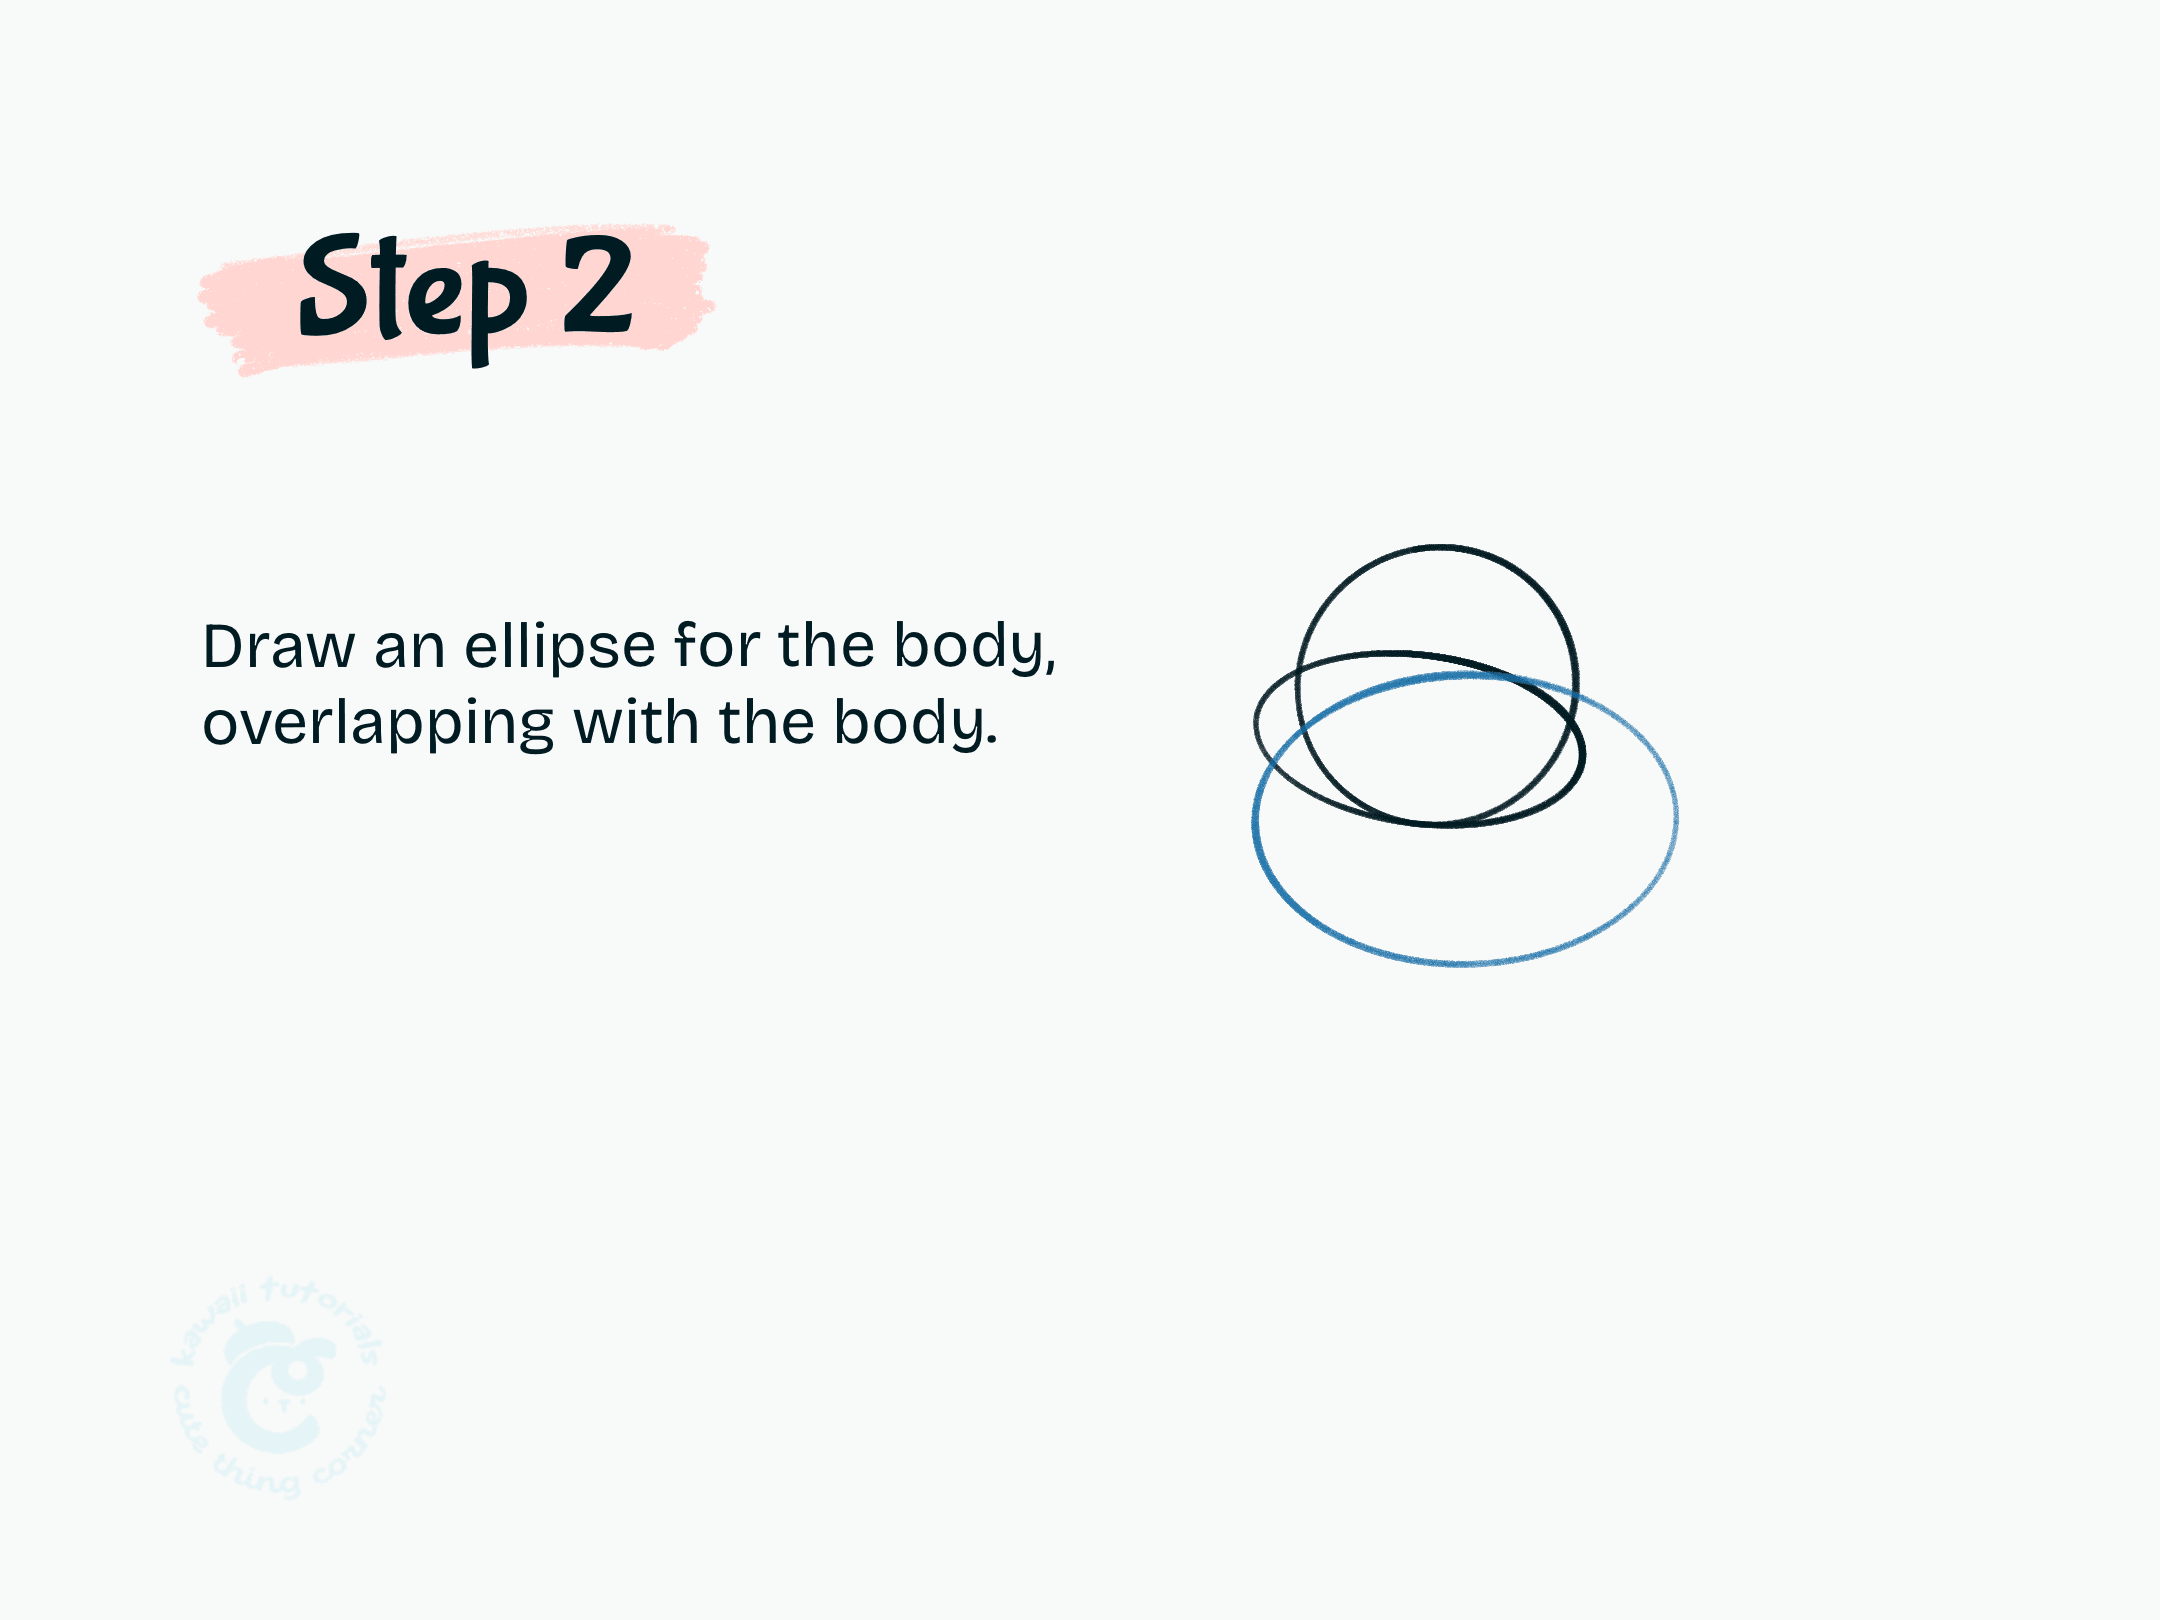
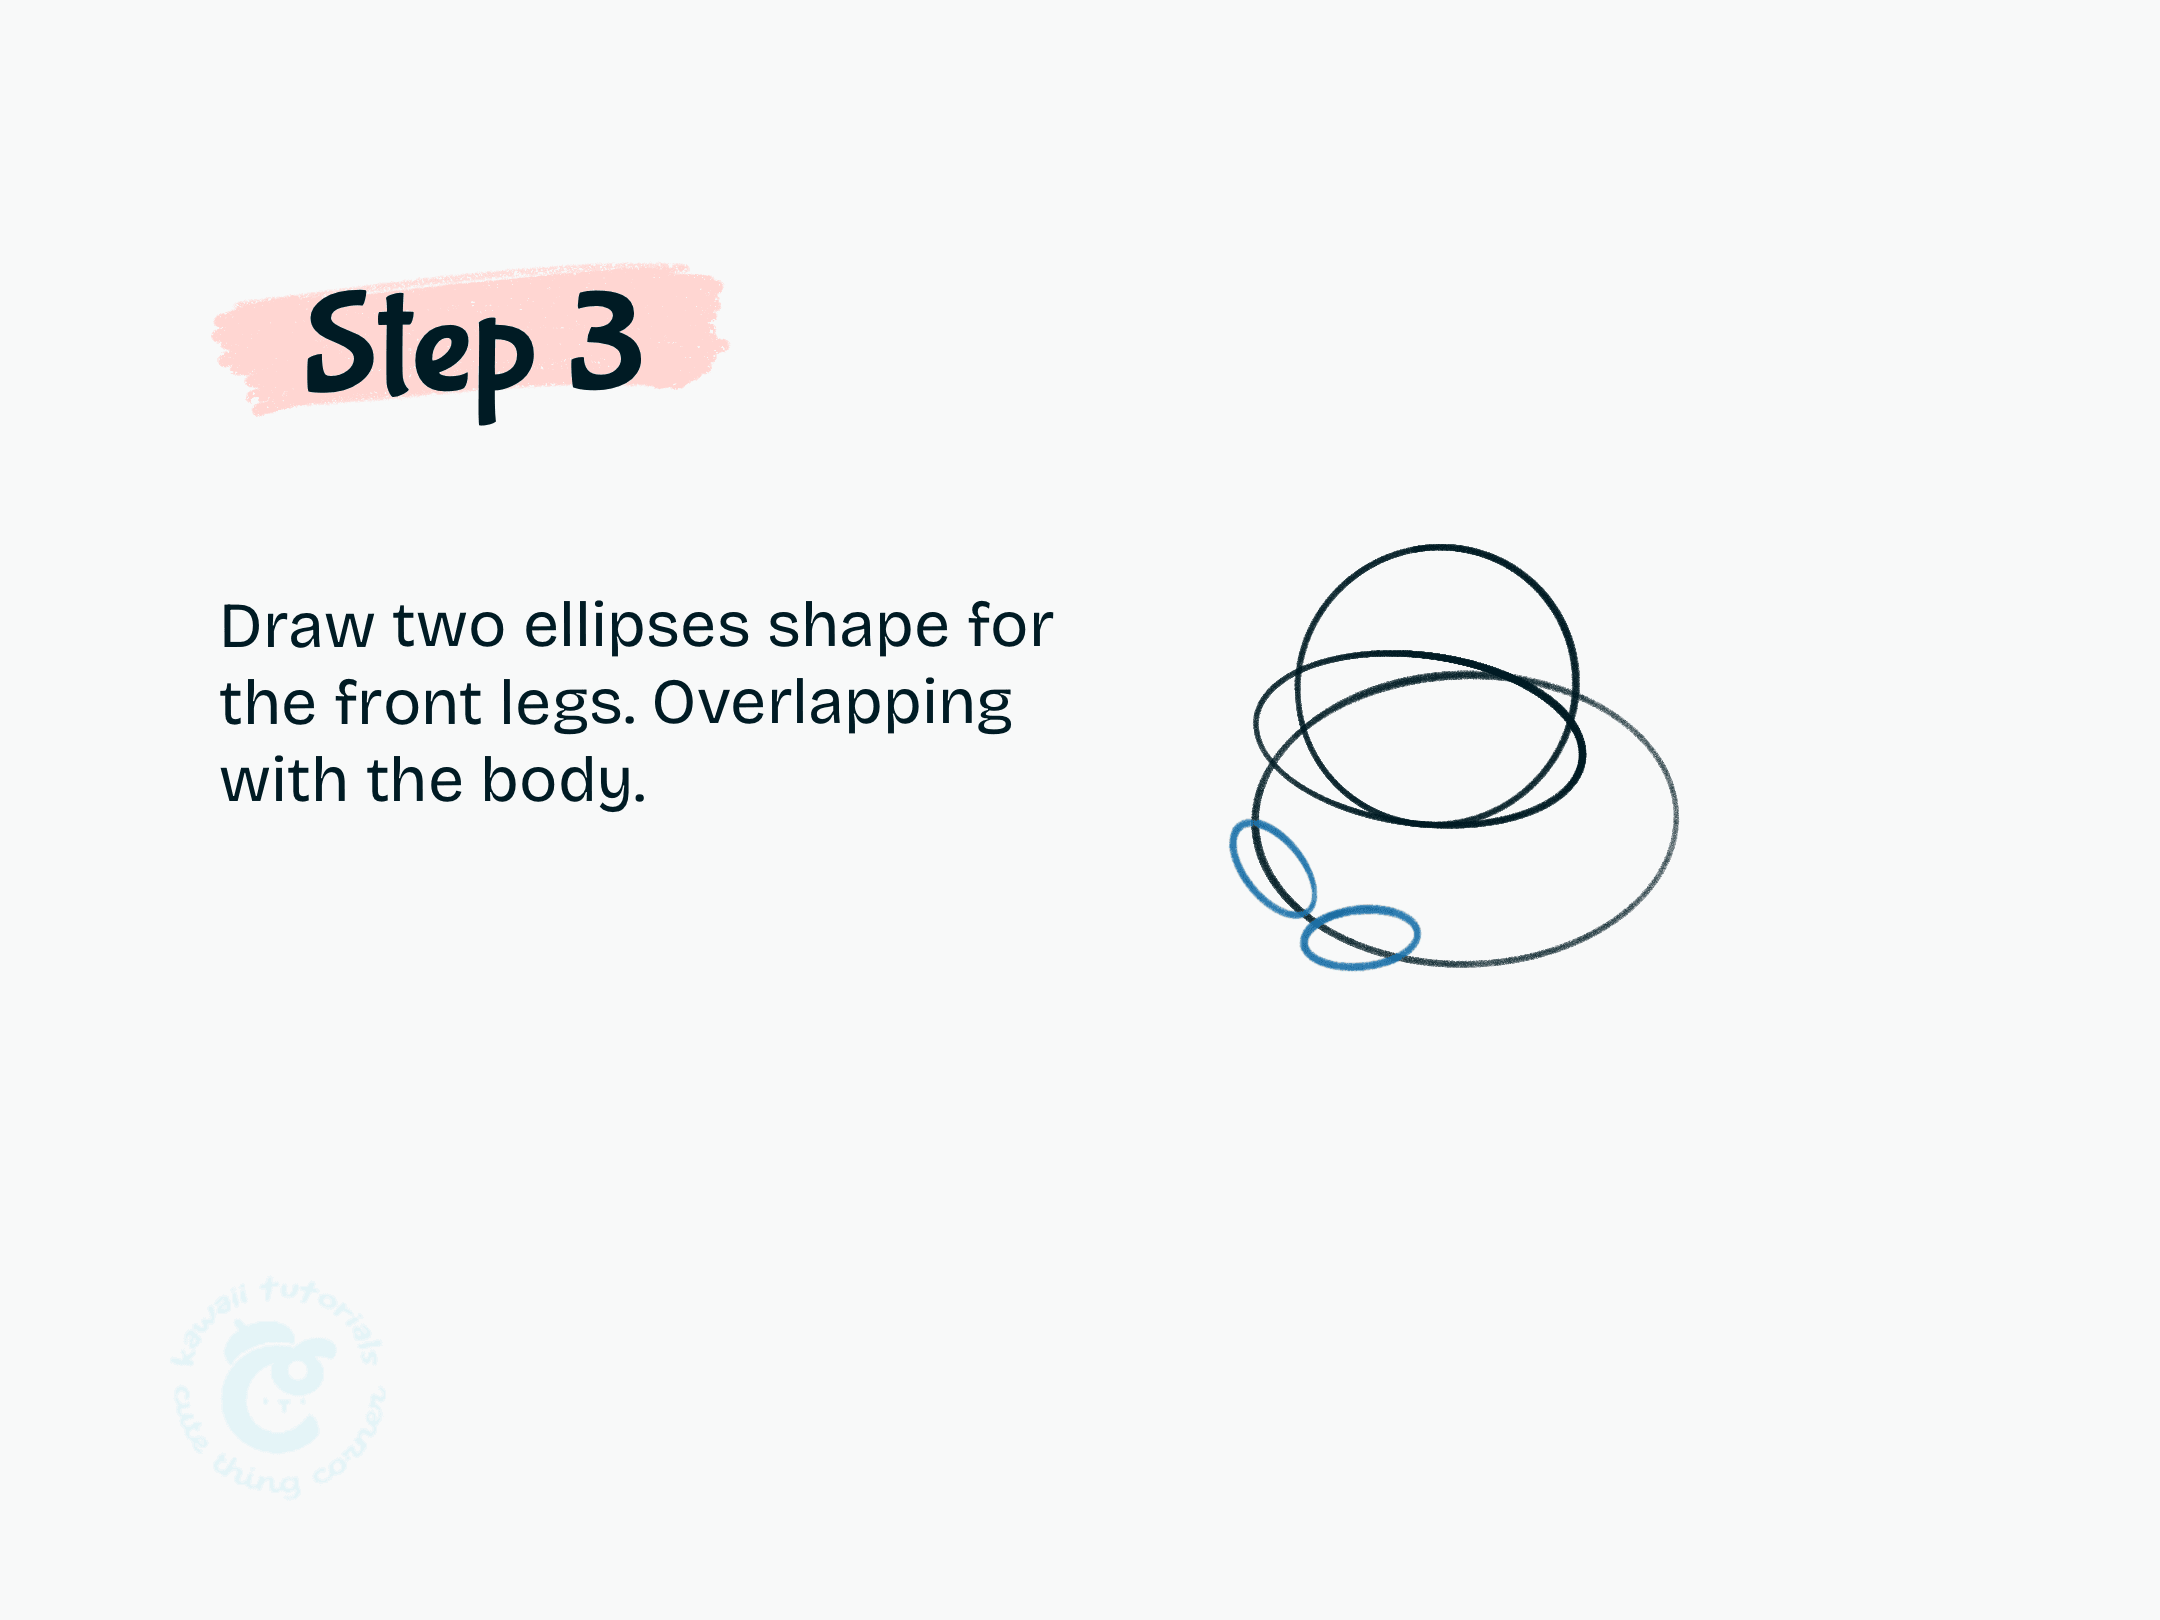
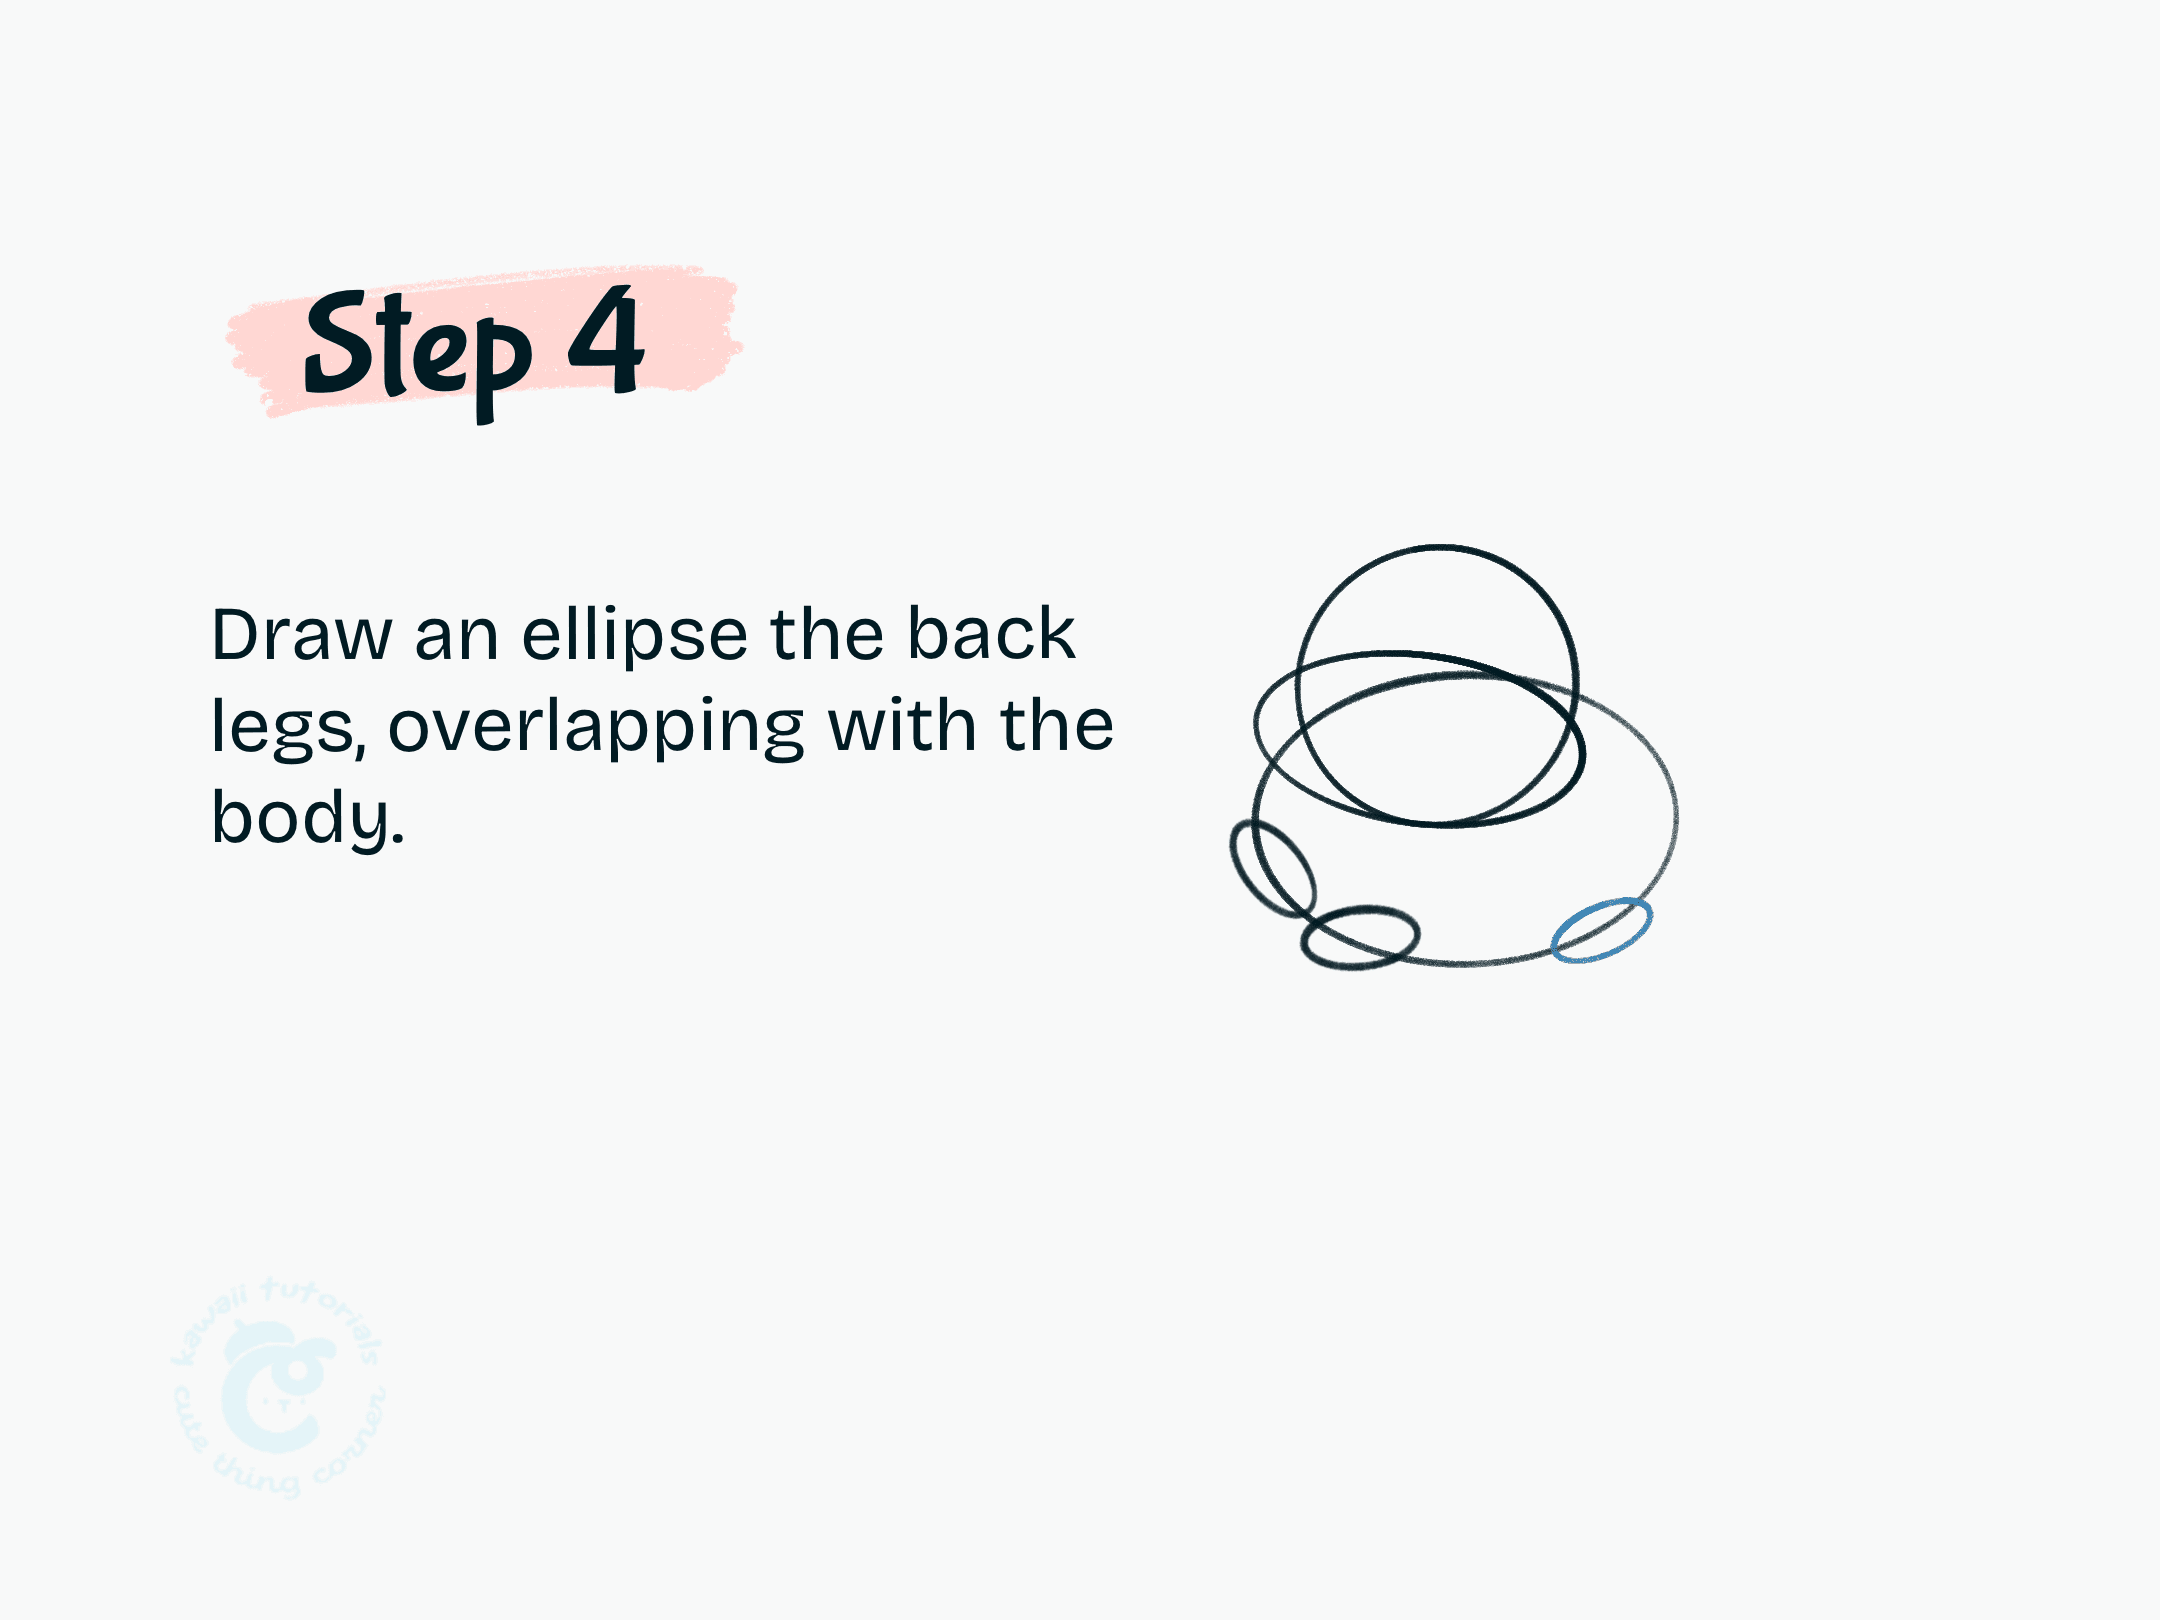
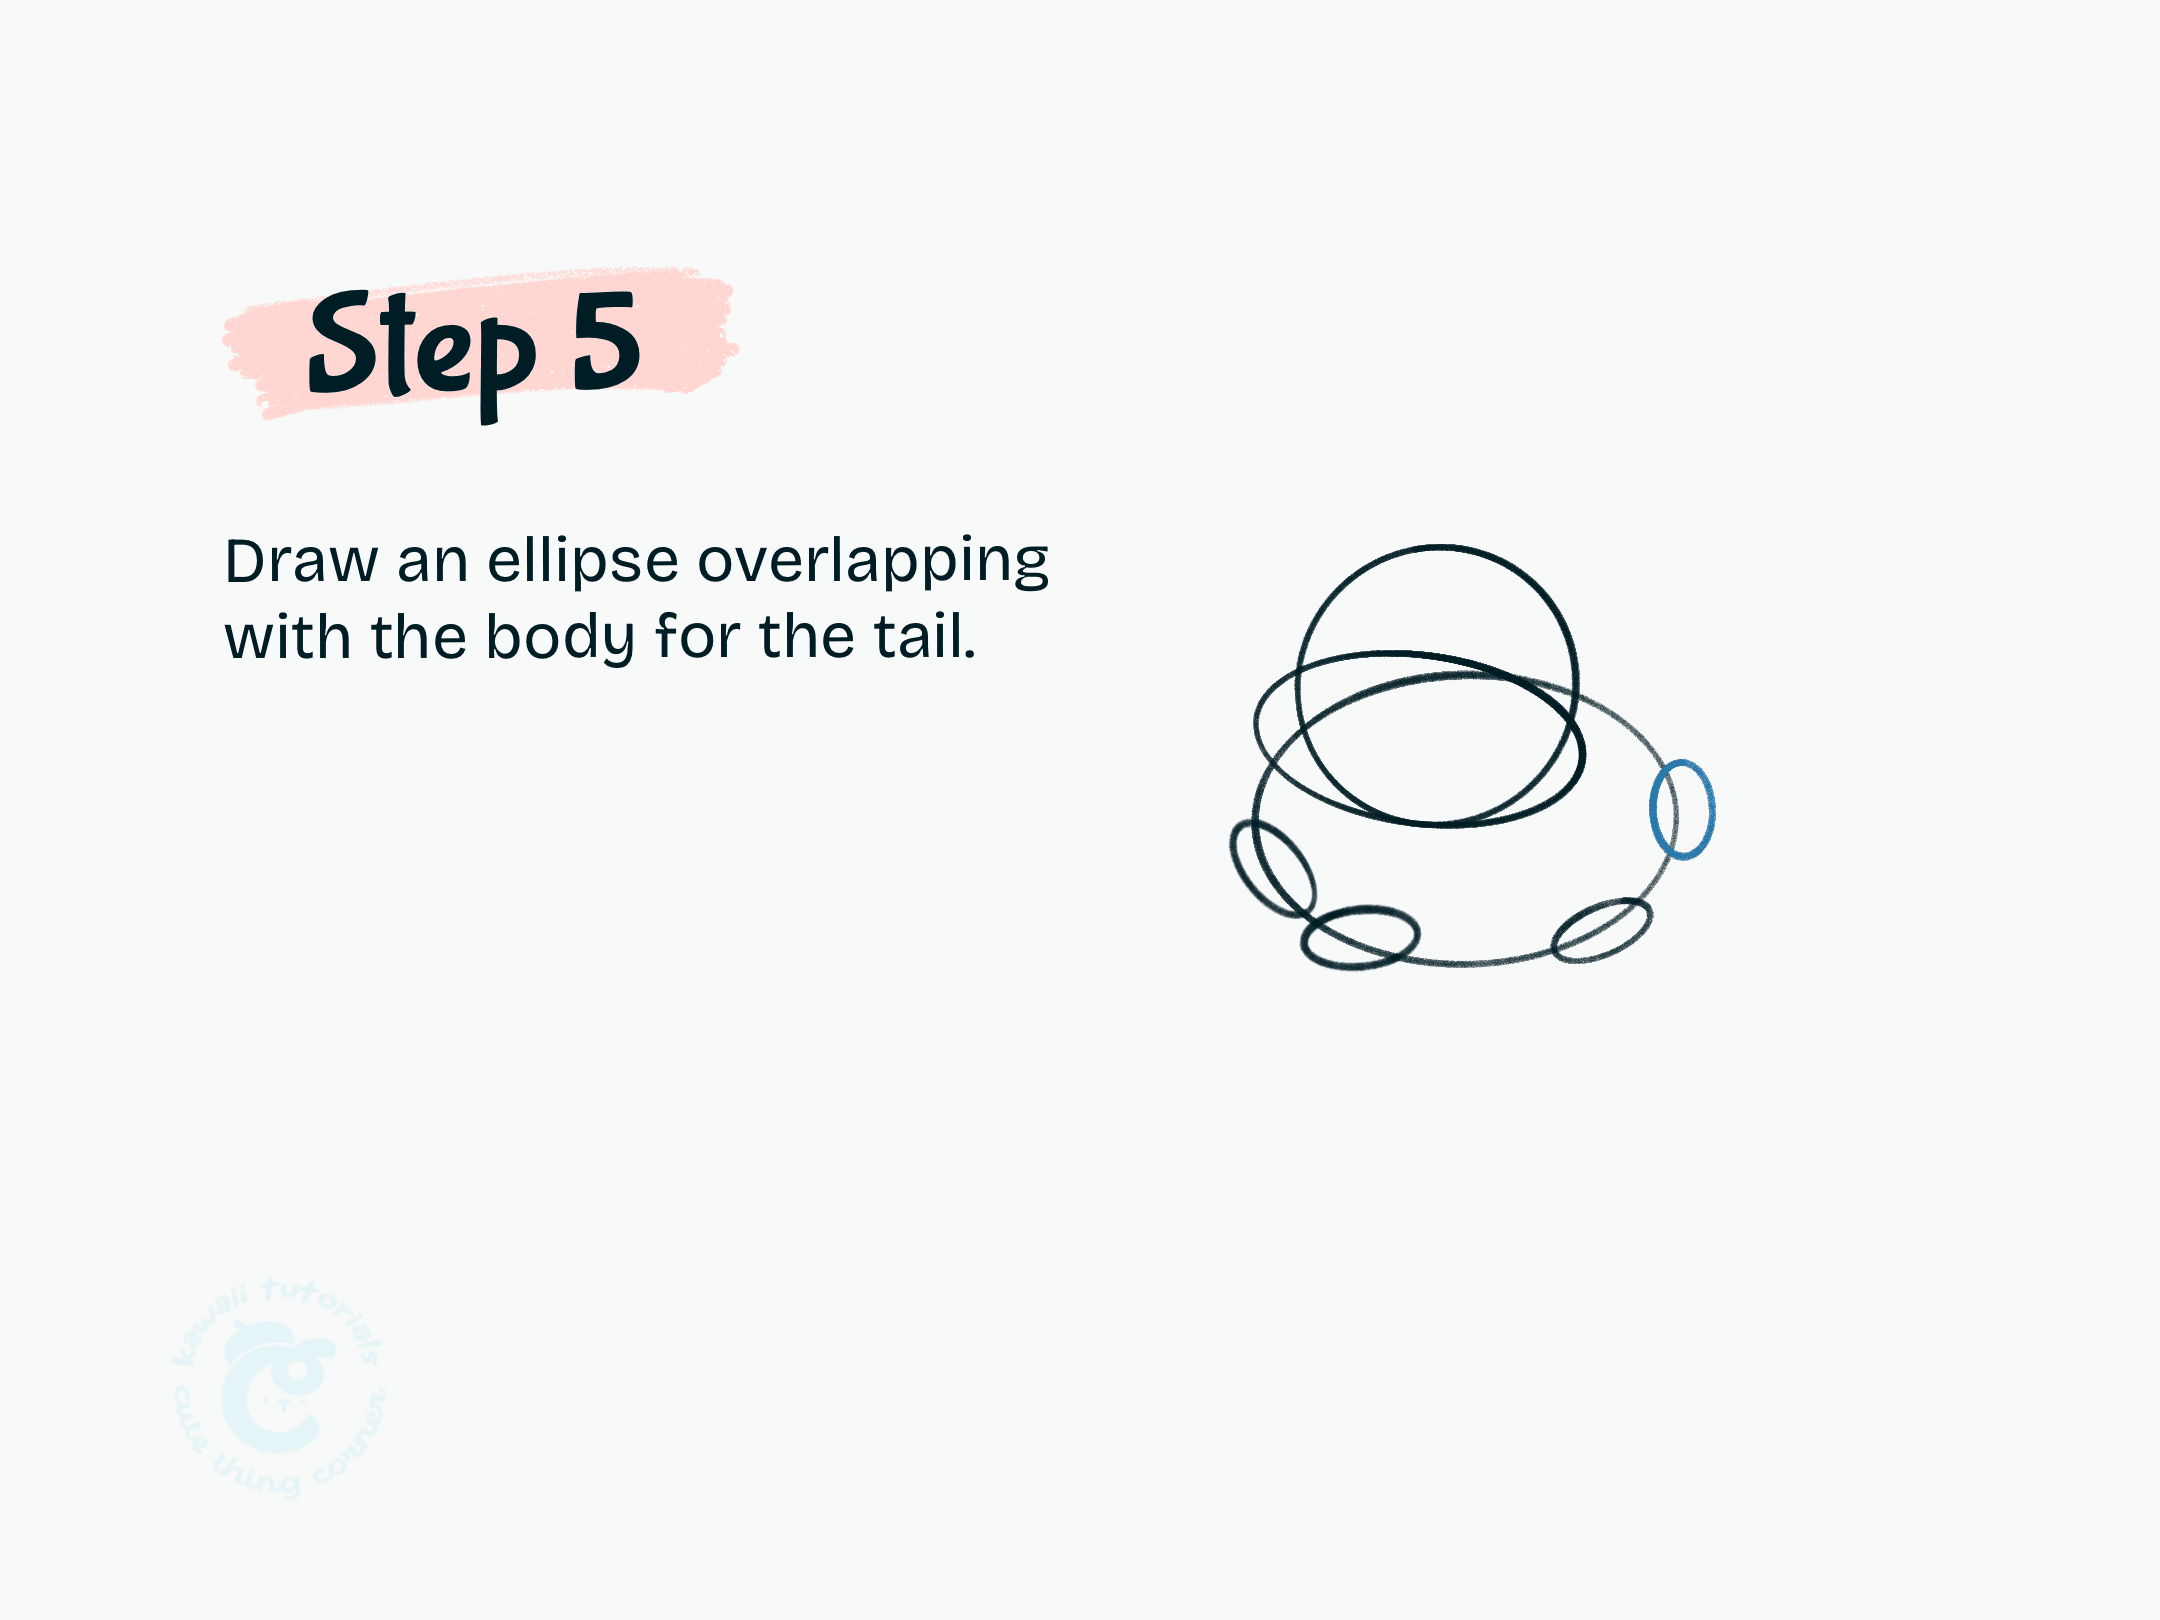
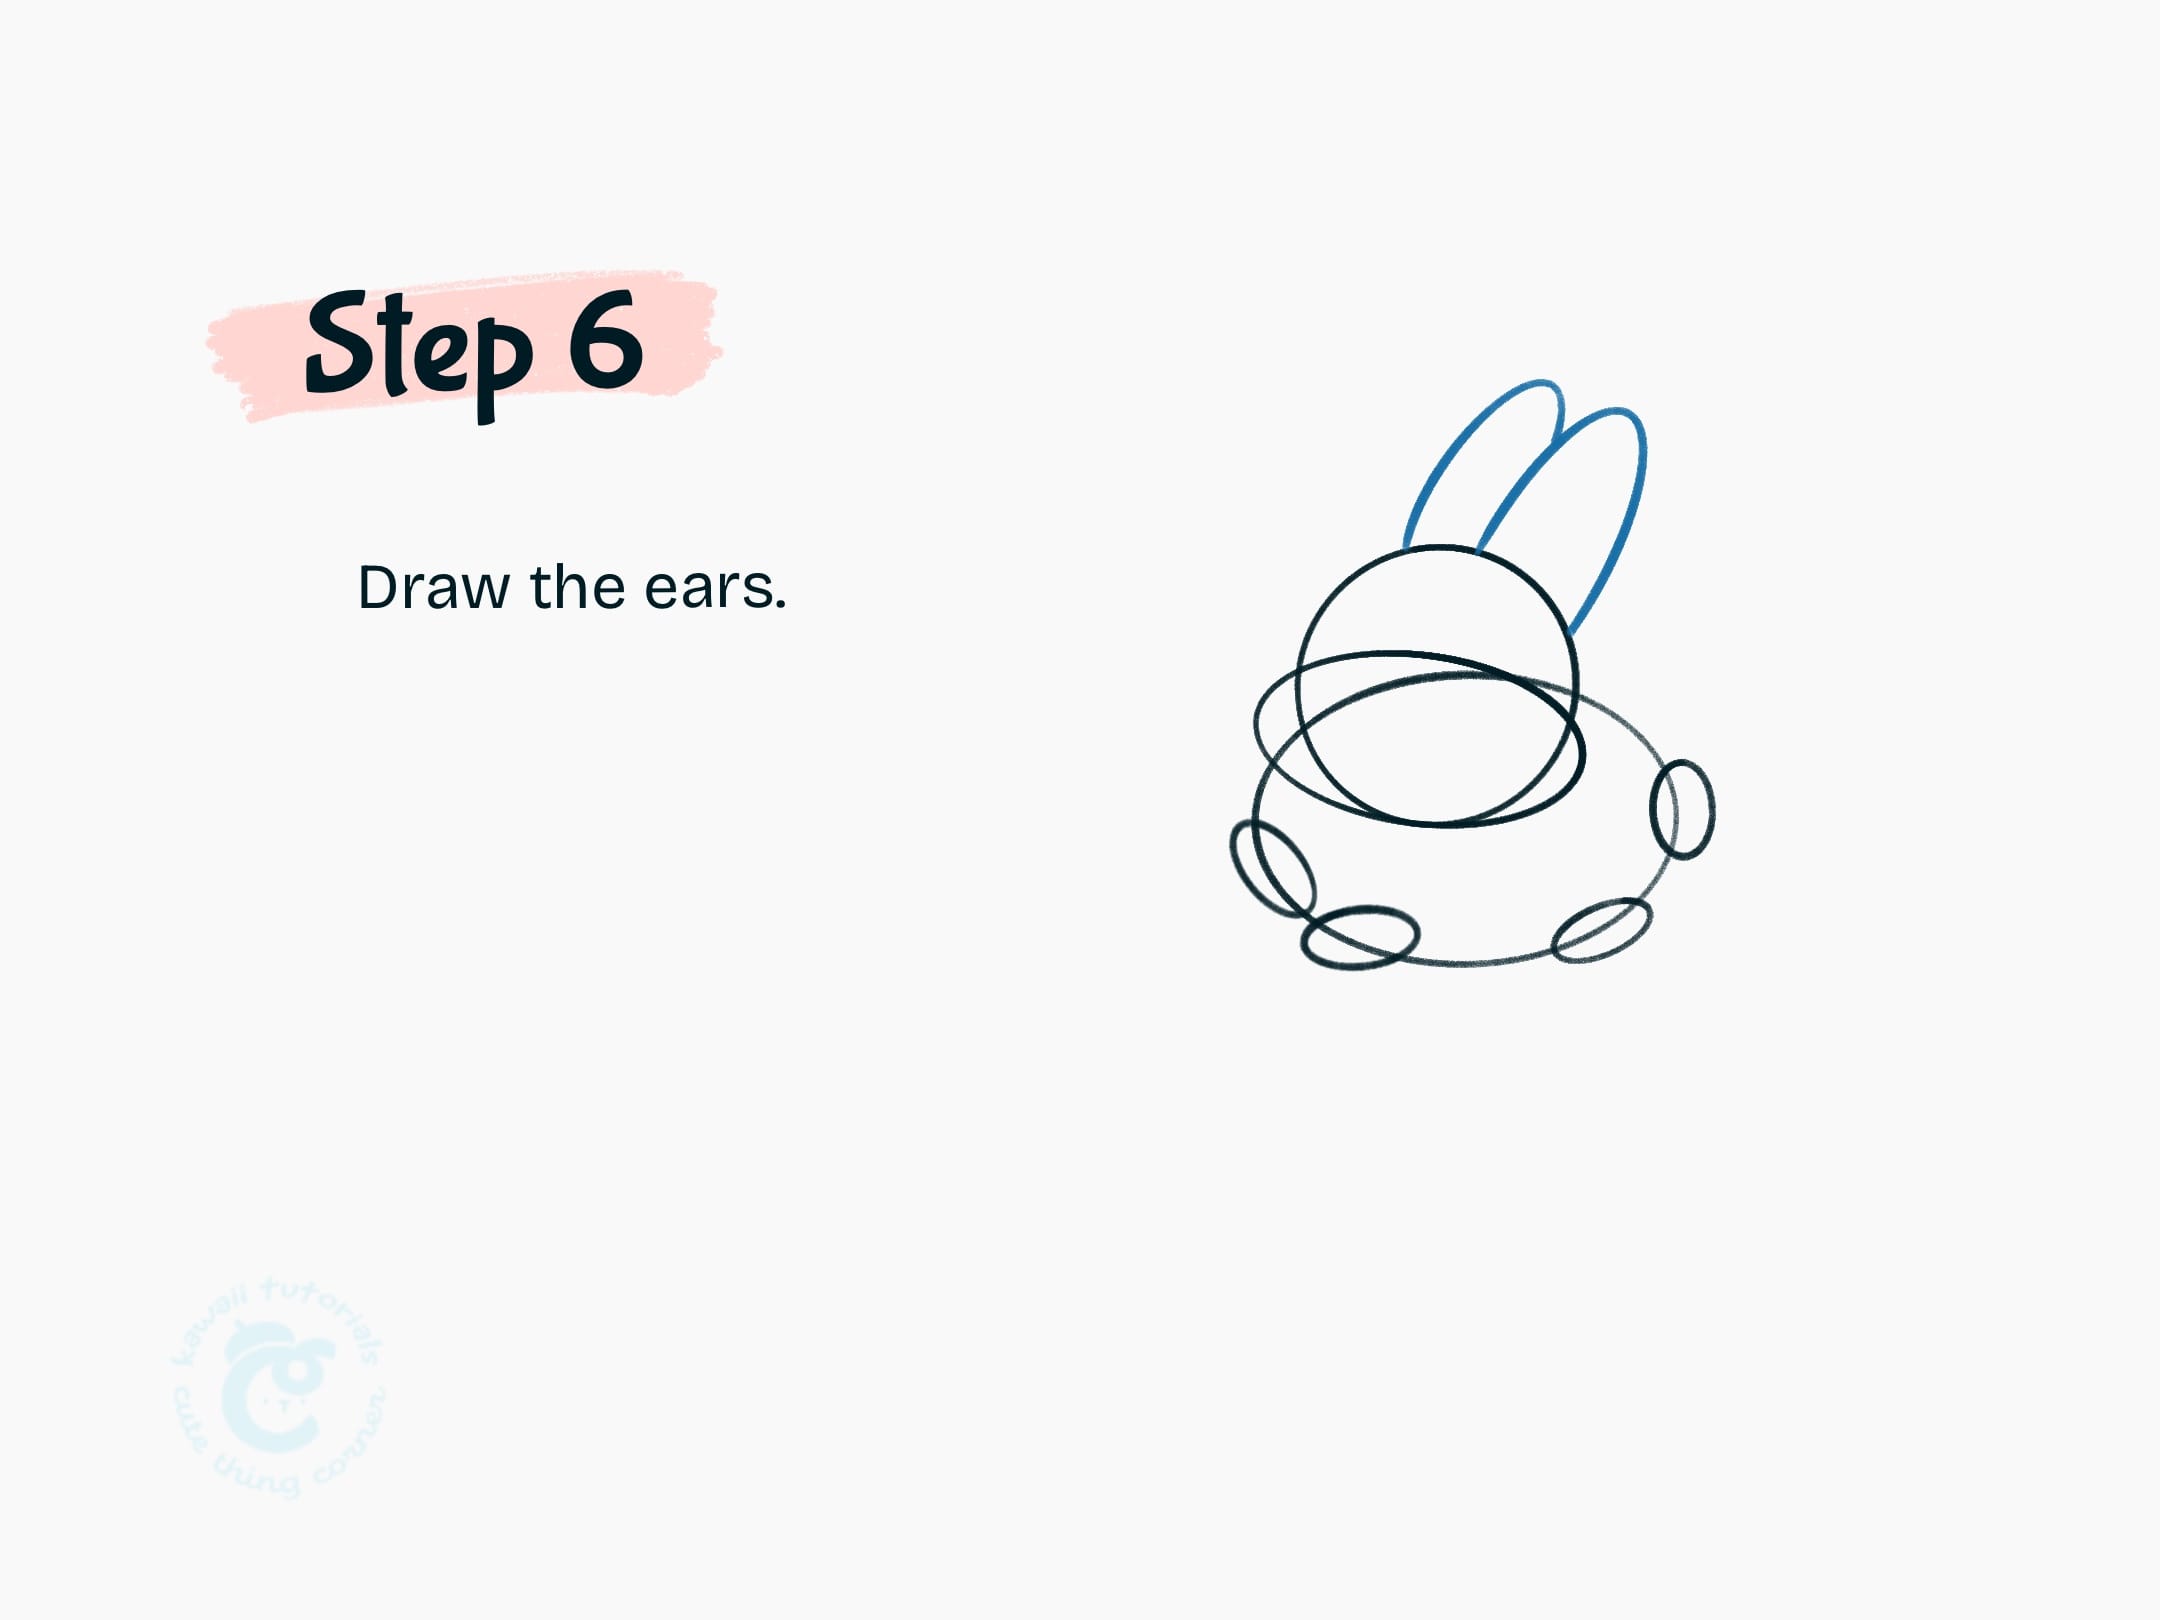
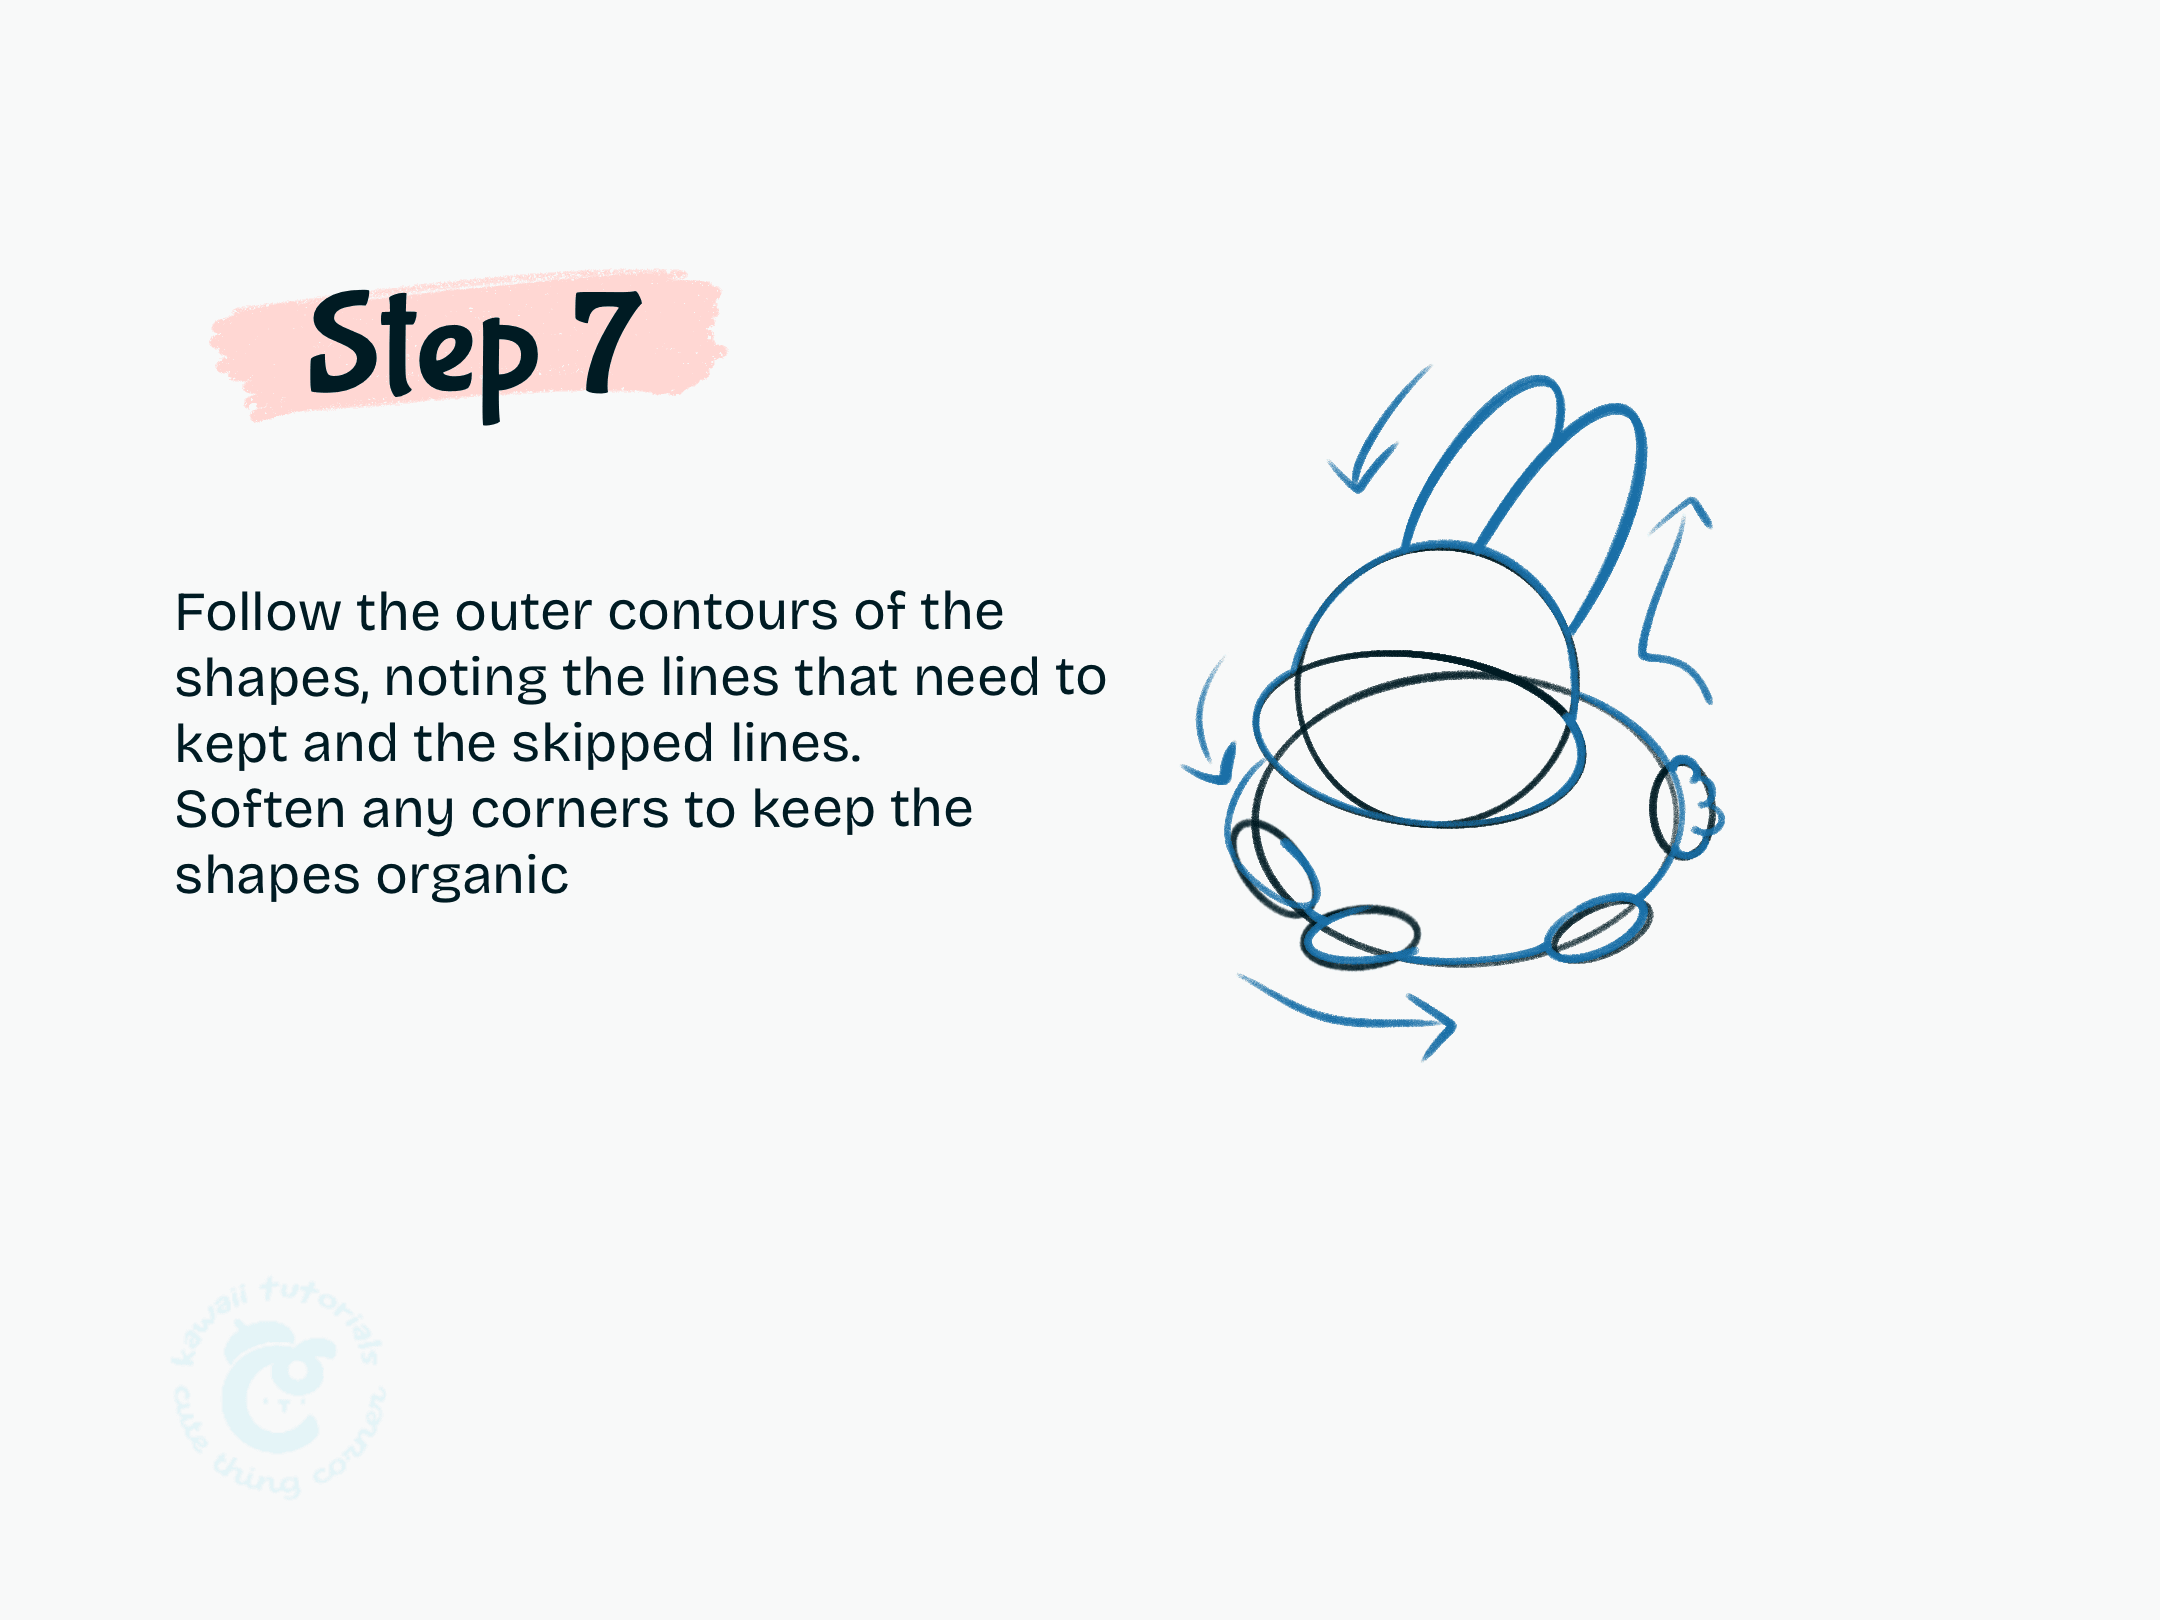
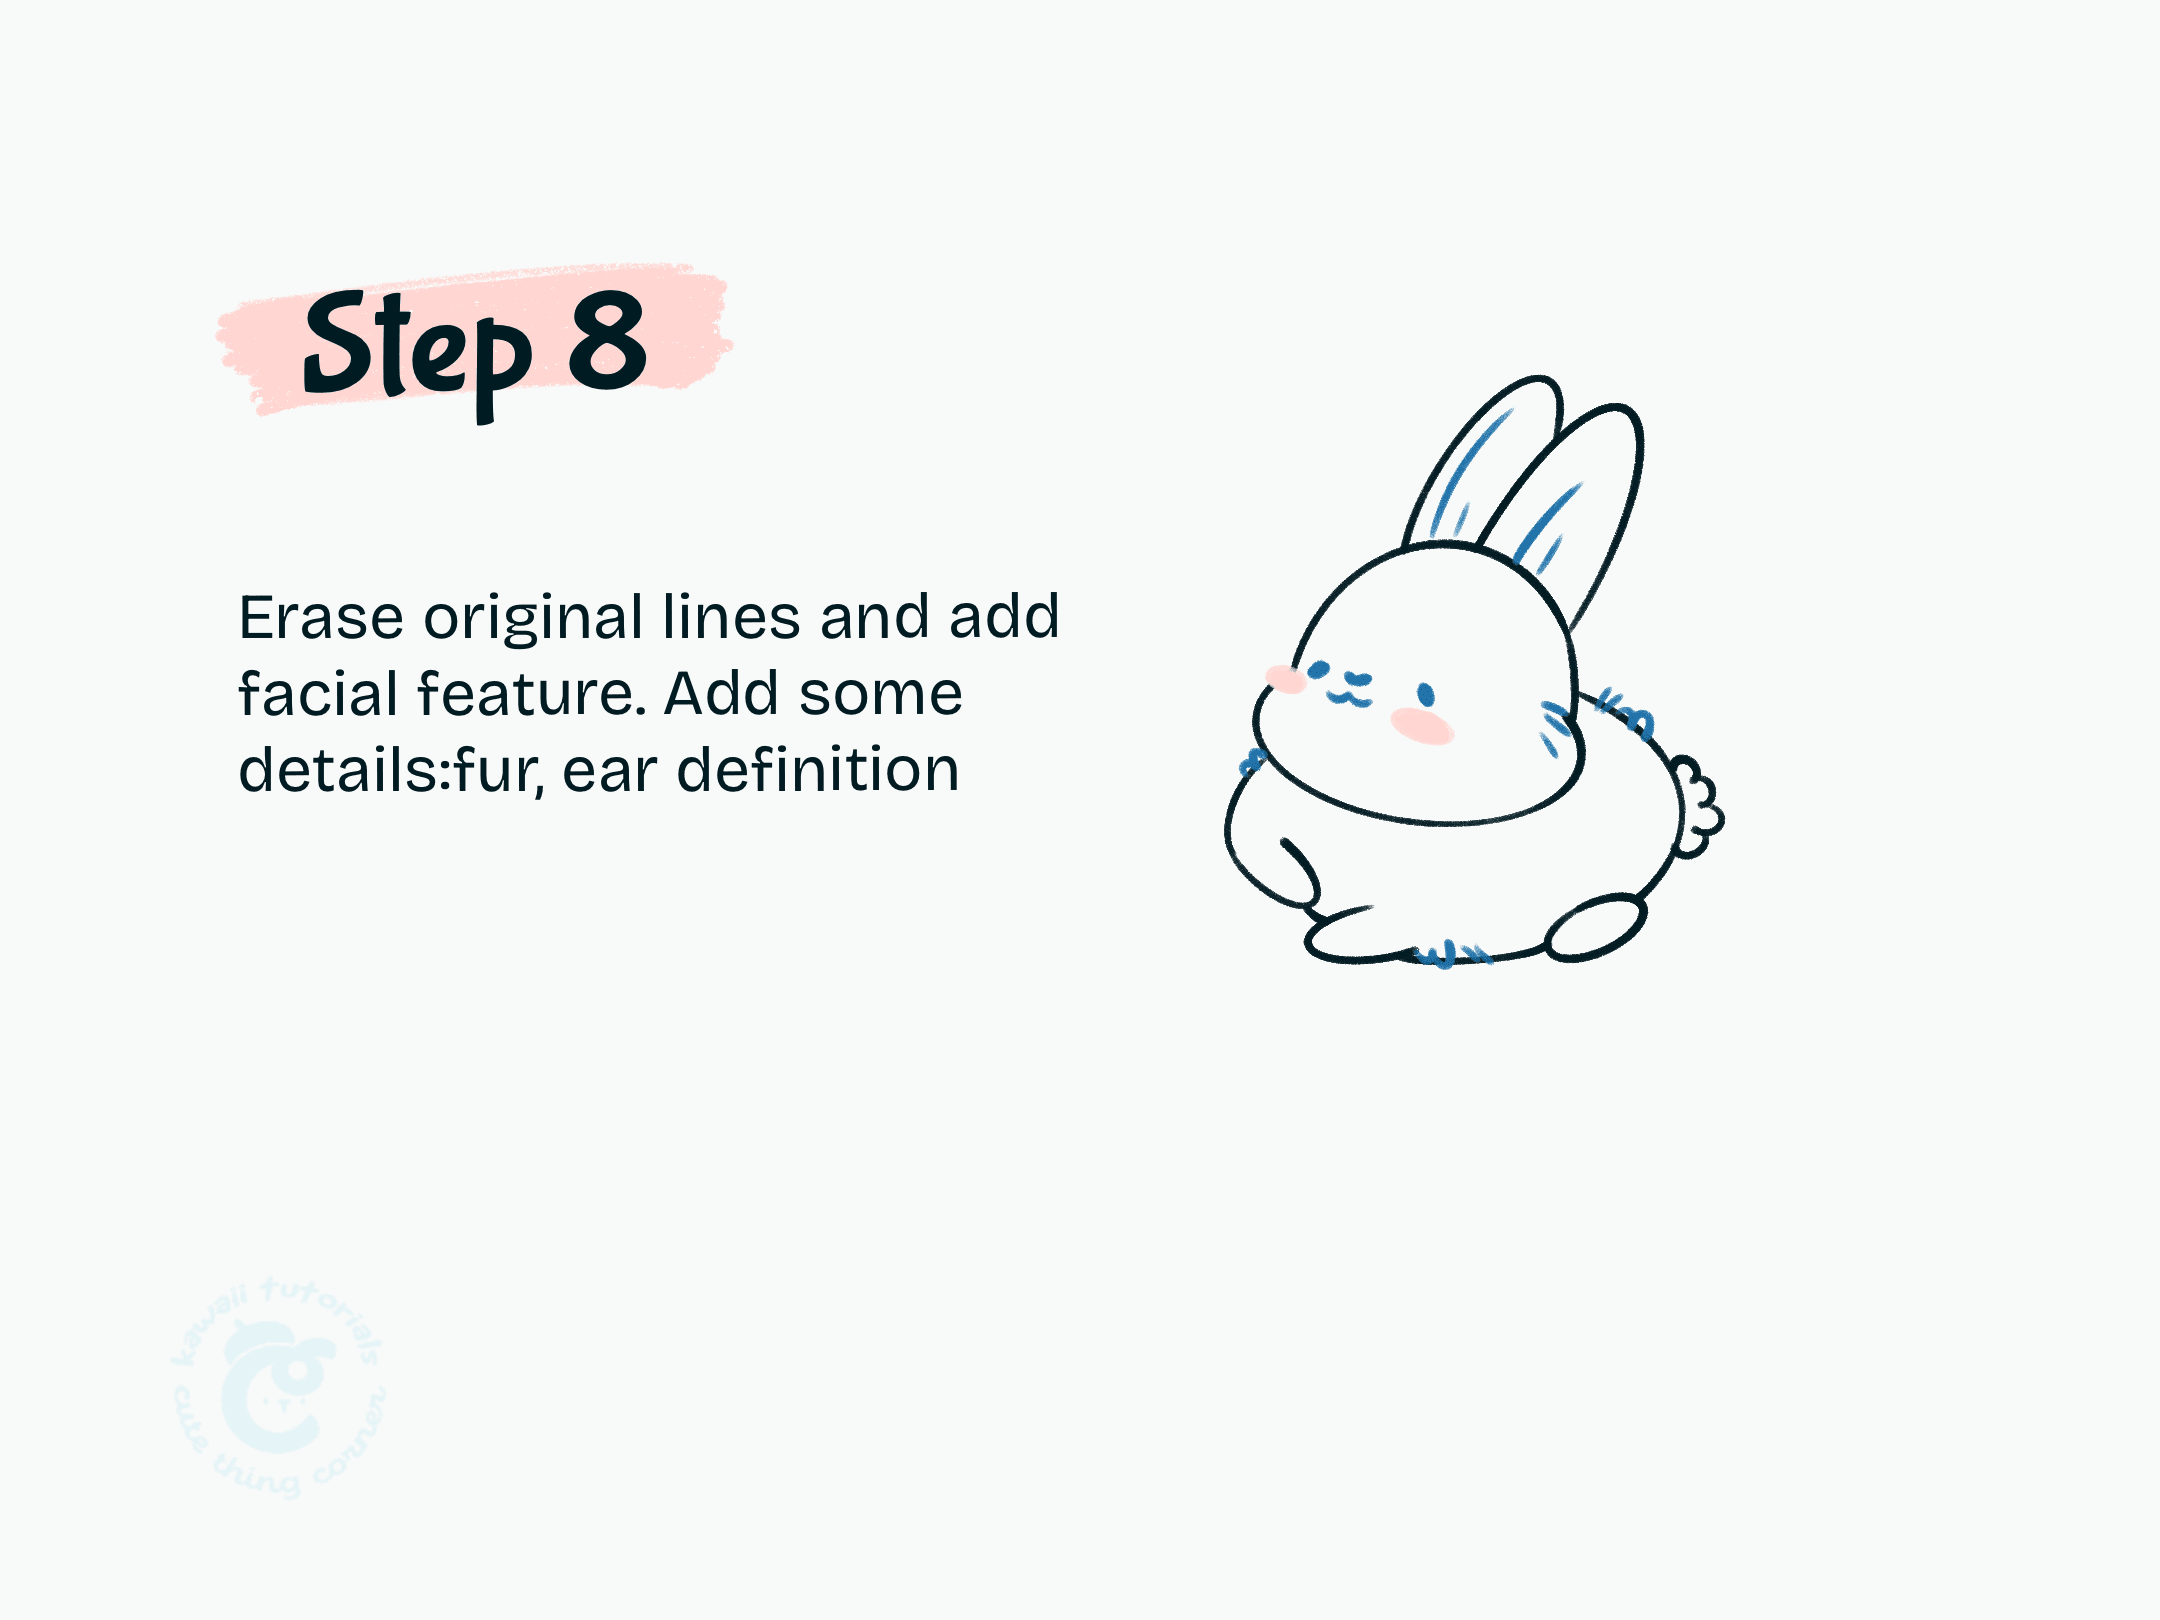
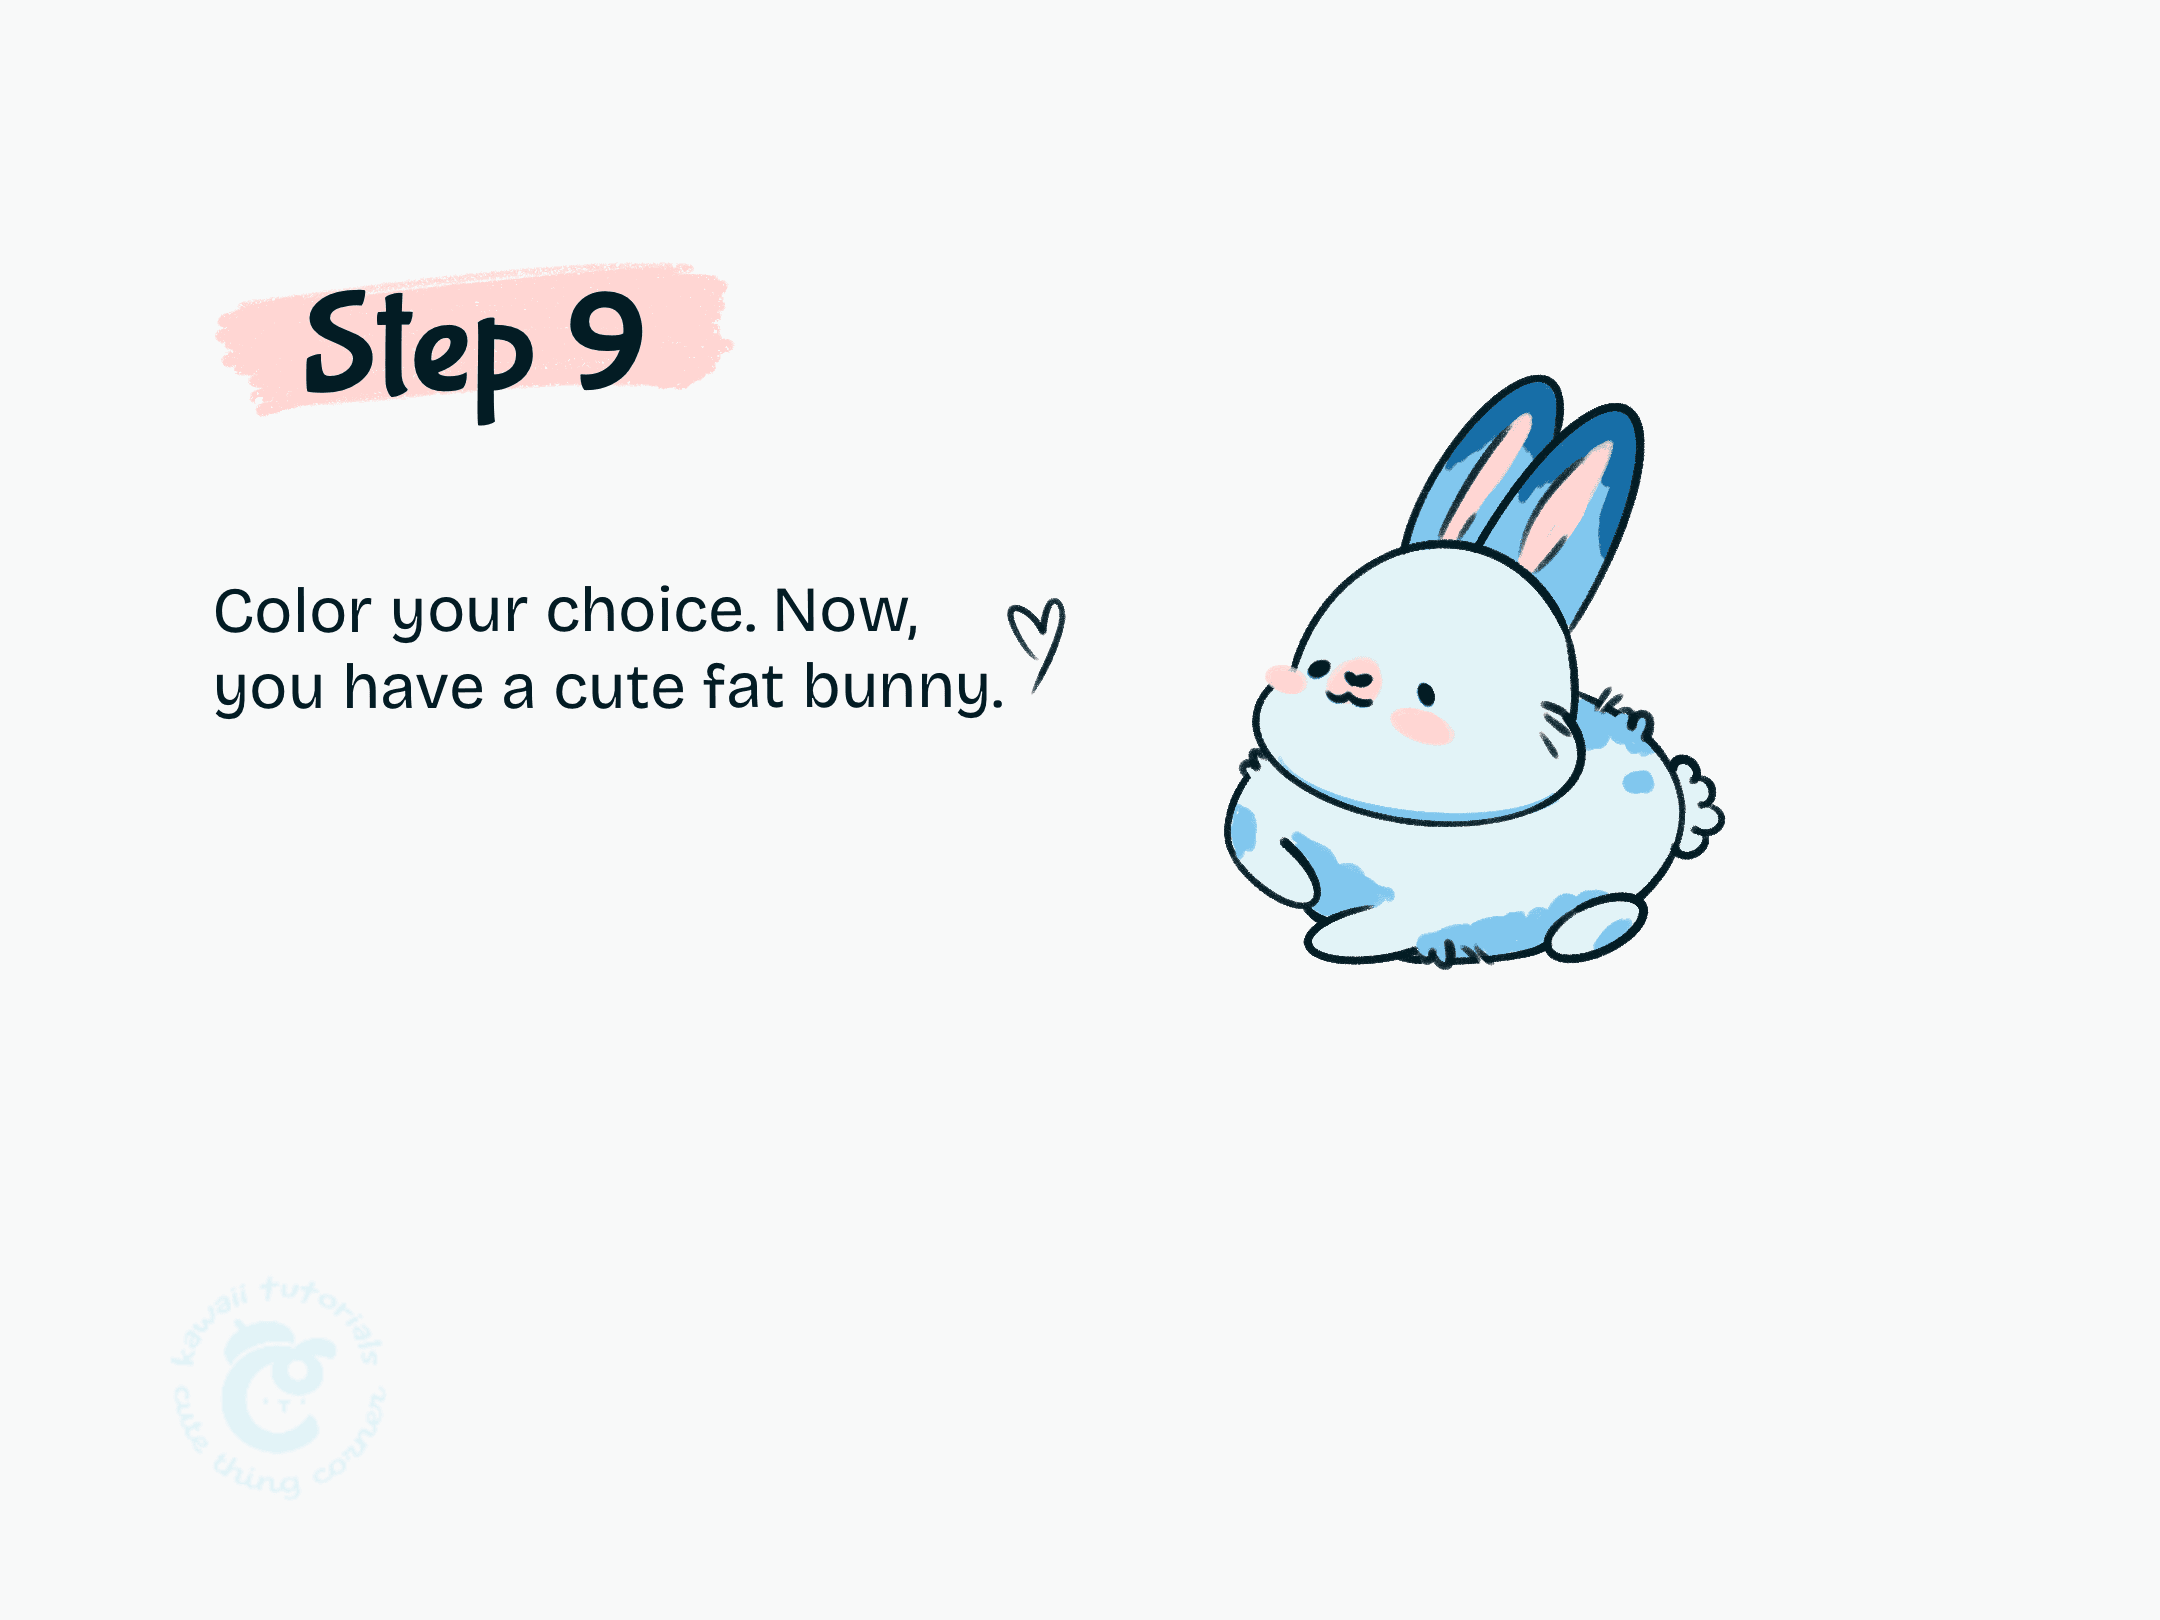
Today, I will share with you guy a step-by-step to draw a kawaii cute fat bunny with Kawaii Tutorial Blog Cute Thing Corner. Follow this simple steps below by Cutethingcorner.com that will help you finalize an…