Ready to add some magical charm to your Halloween drawings?
In this easy step-by-step tutorial, you’ll learn how to draw a cute witch’s broom that’s perfect for any Halloween-themed artwork.
With simple shapes and fun details, this guide from Cute Thing Corner makes it easy to create an adorable broom that’s more cute than spooky.
Grab your pencils, and let’s get started on drawing your cute witch’s broom!
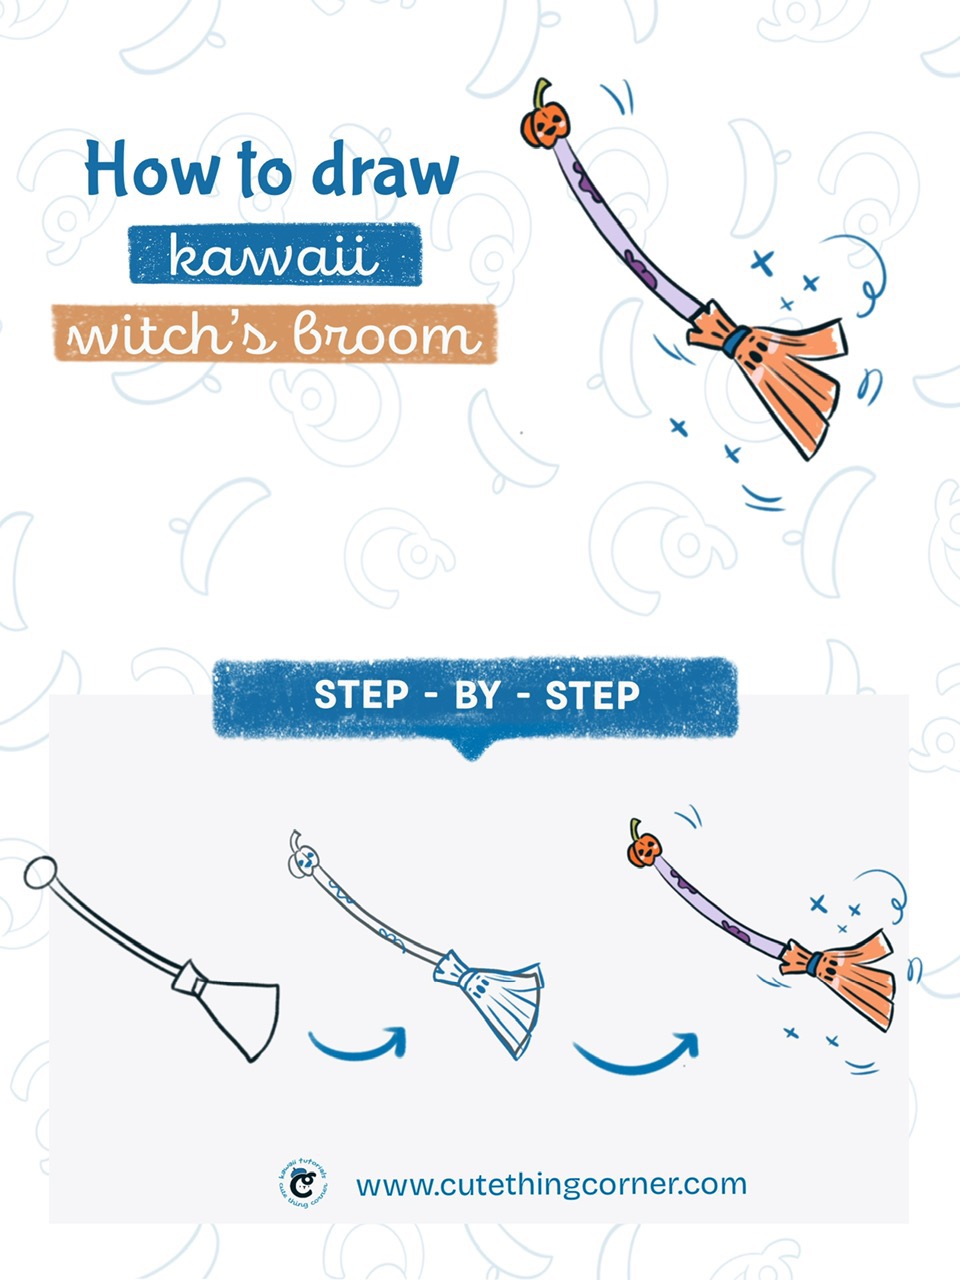
How to draw kawaii witch’s broom (Step-by-step)
You just have paper and a pencil to start. Color will belong to your favorite or using an Ipad and pencil.
Whatever makes you comfortable to start.
Now jump into step-by-step to draw cute witch’s broom:
#Step 1: Sketching the outline of a witch’s broom
Start by sketching the outline of the witch’s broom. Draw a straight broomstick with a small circle at the top to create the handle.
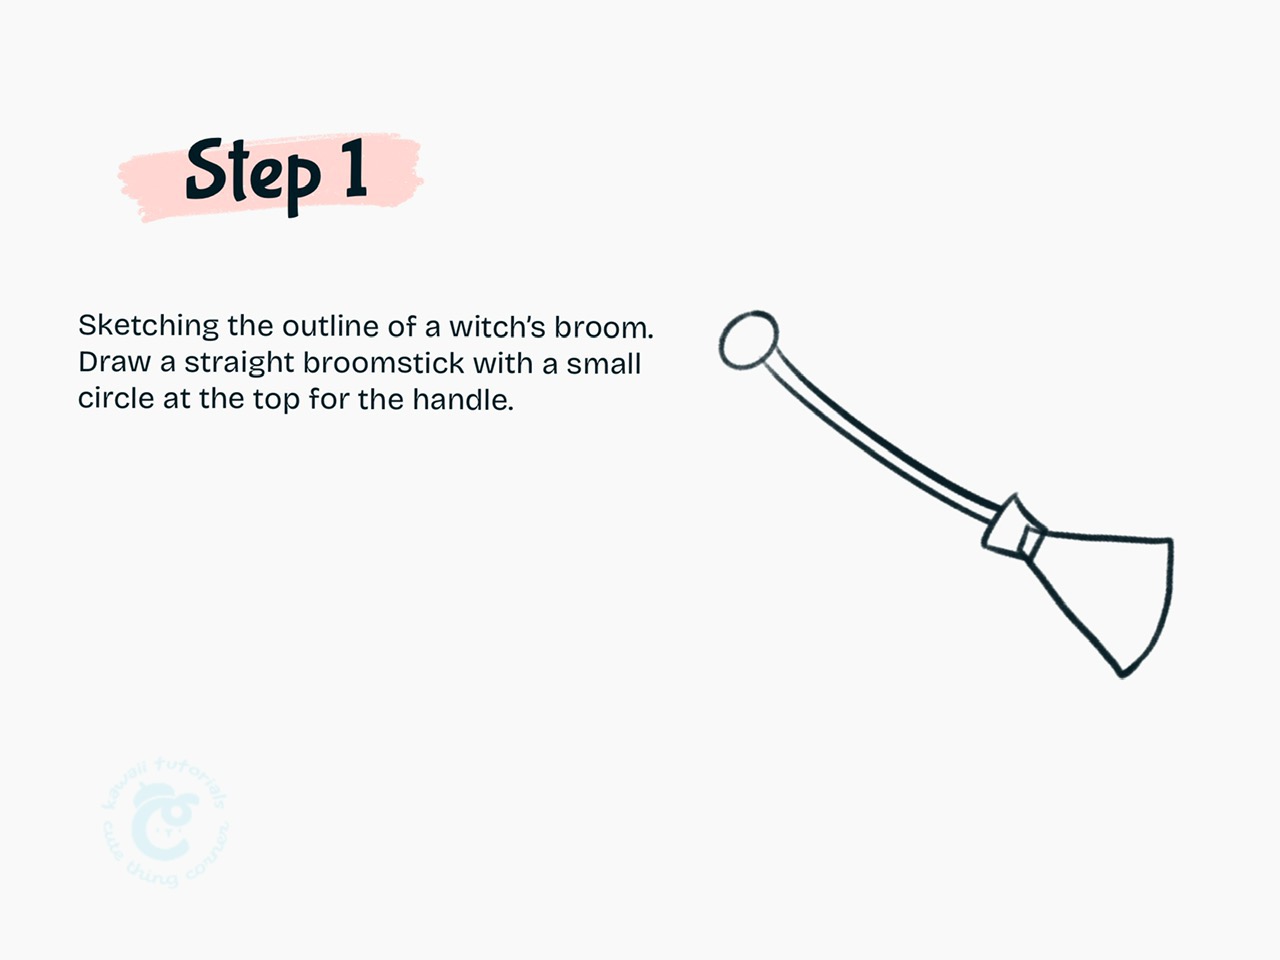
Step 1 Sketching the outline of a witch’s broom
#Step 2: Follow the original lines. Draw perfect outline for witch’s broom
Trace the original lines to create a clean and perfect outline for the witch’s broom.
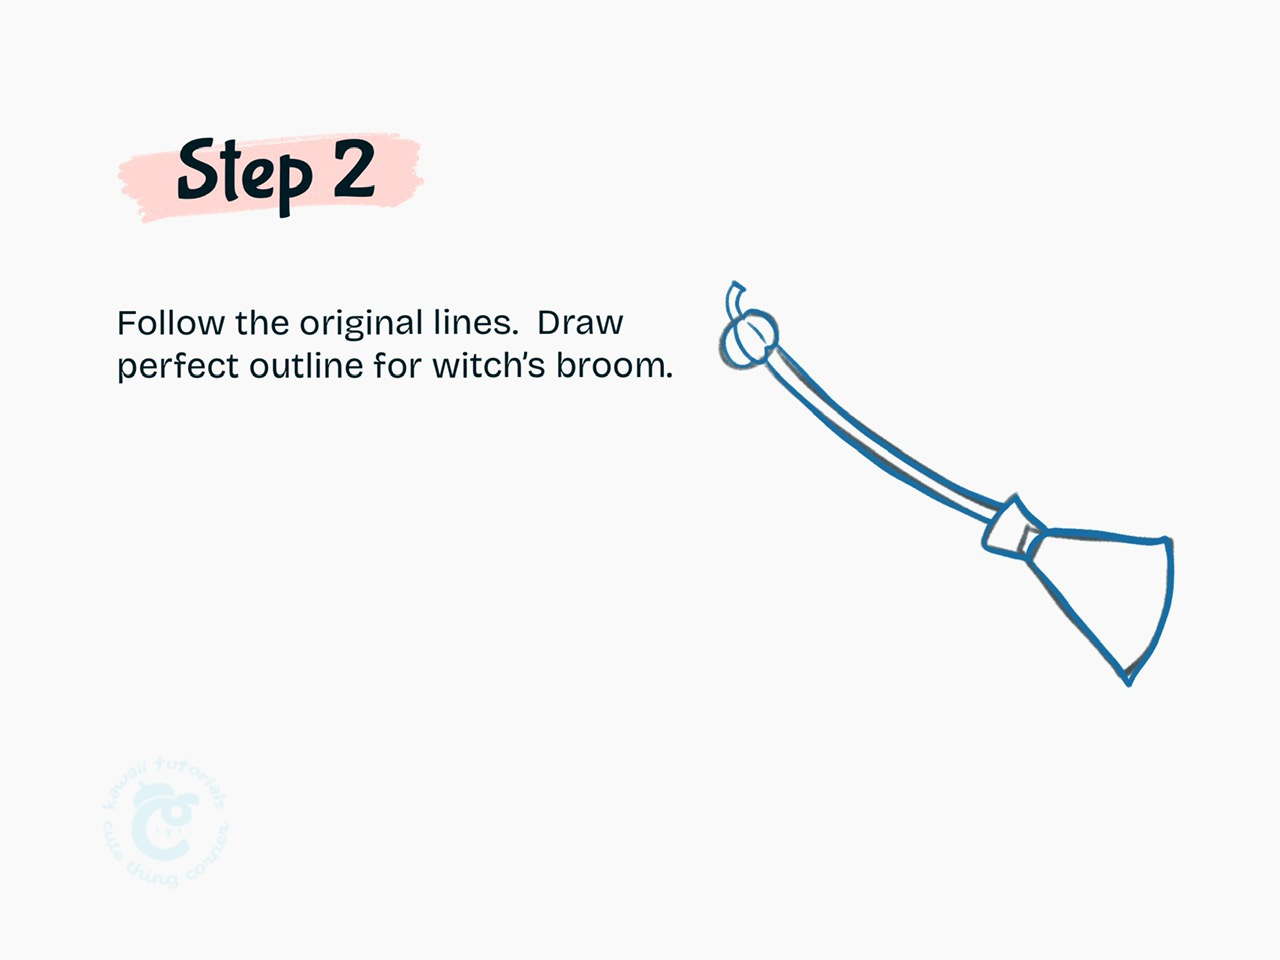
Step 2 Draw perfect outline for witch’s broom
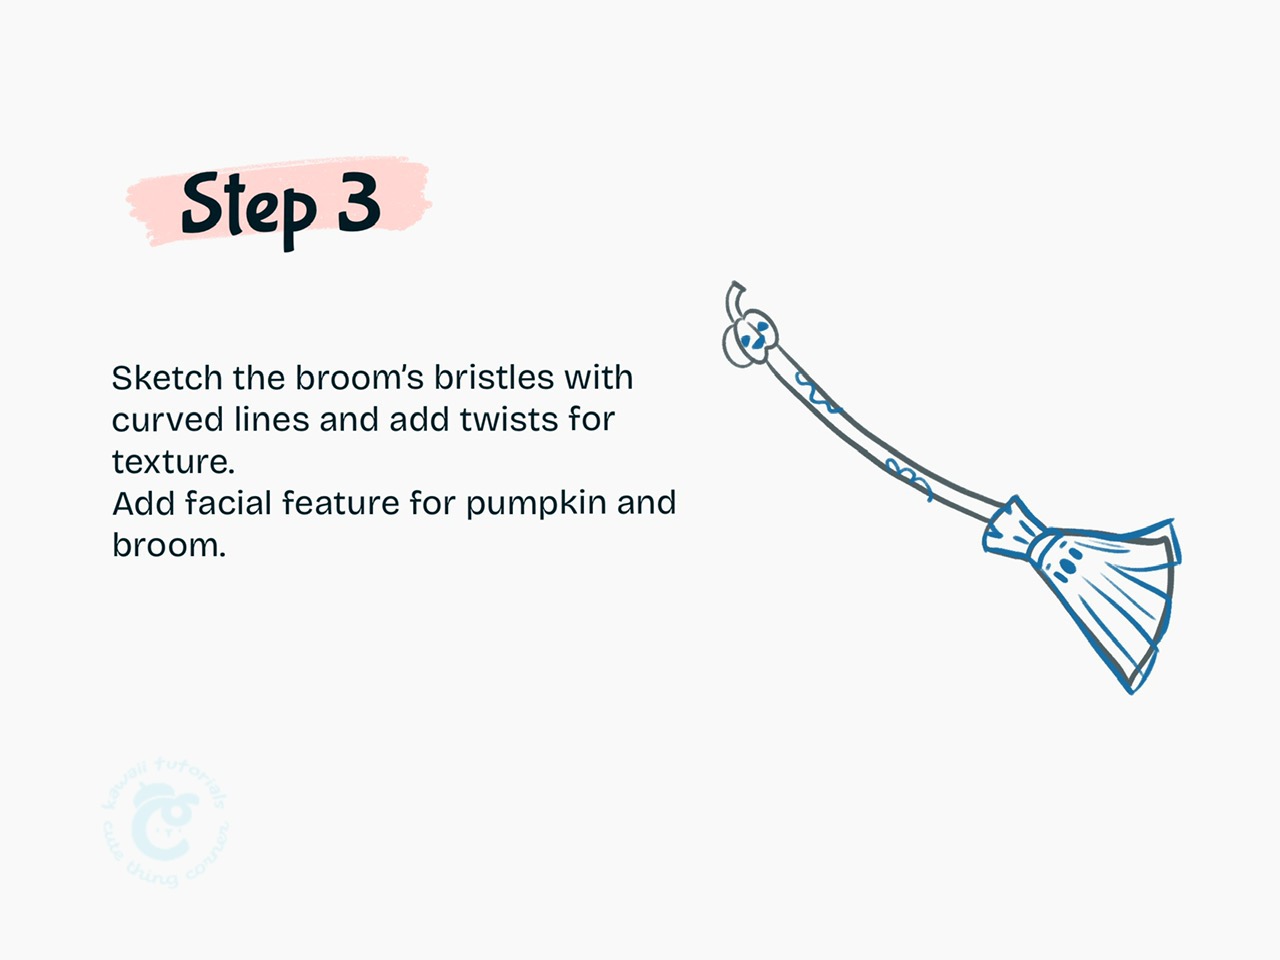
#Step 3: Sketch the broom’s bristles with curved lines and add twists for texture. Add facial feature for pumpkin and broom.
Draw the broom’s bristles with curved lines, adding twists to create texture. Add facial features to both the pumpkin and the broom for extra character.
Step 3 Sketch the broom’s bristles with curved lines and add twists for texture
#Step 4: Add spooky decorations like spirals, stars, and extra bristle details
Incorporate spooky decorations like spirals, stars, and additional bristle details.
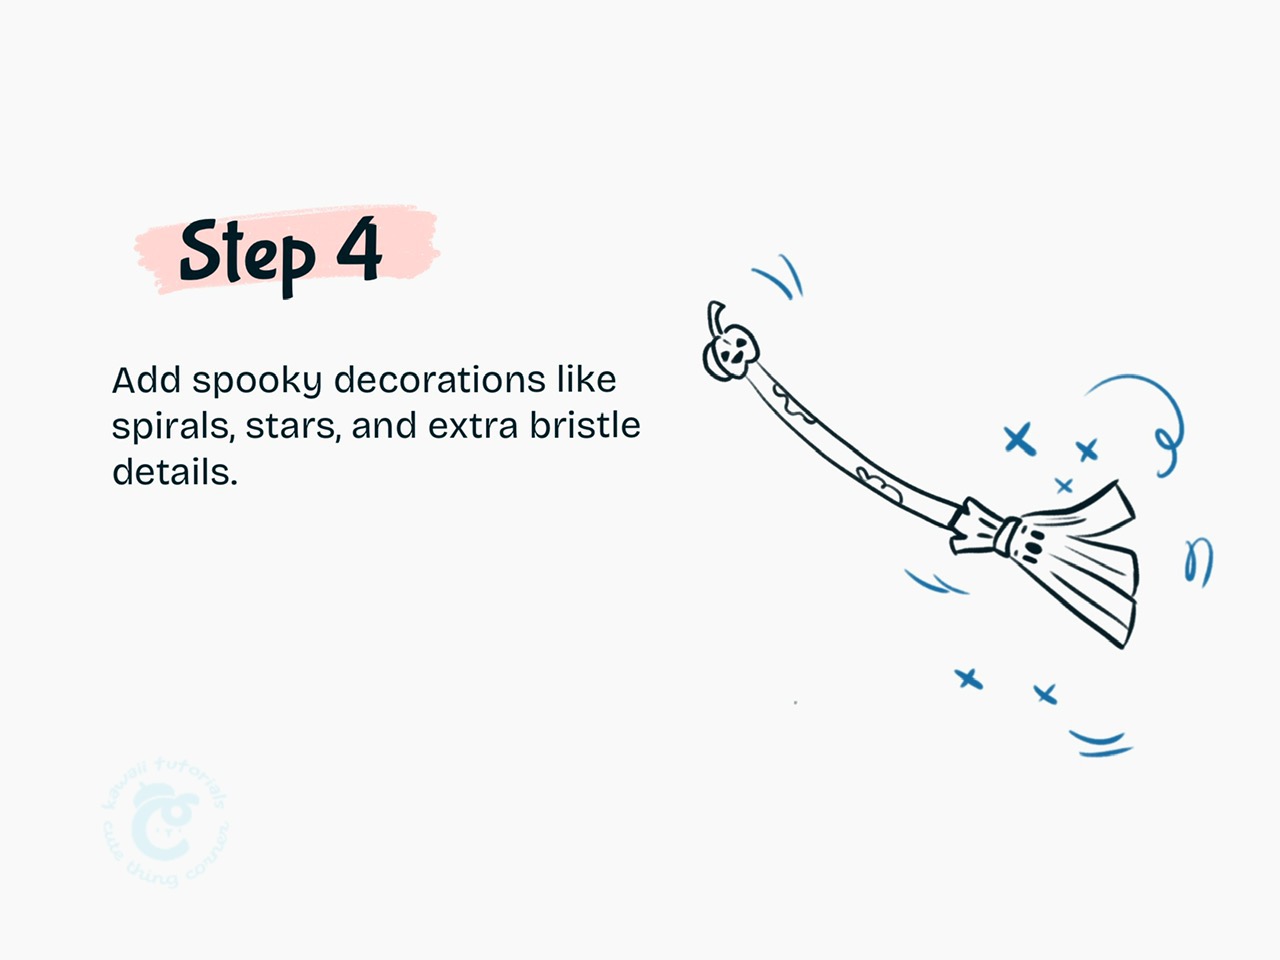
Step 4 Add spooky decorations like spirals, stars, and extra bristle details
#Step 5: Color with your broom and spark for magic
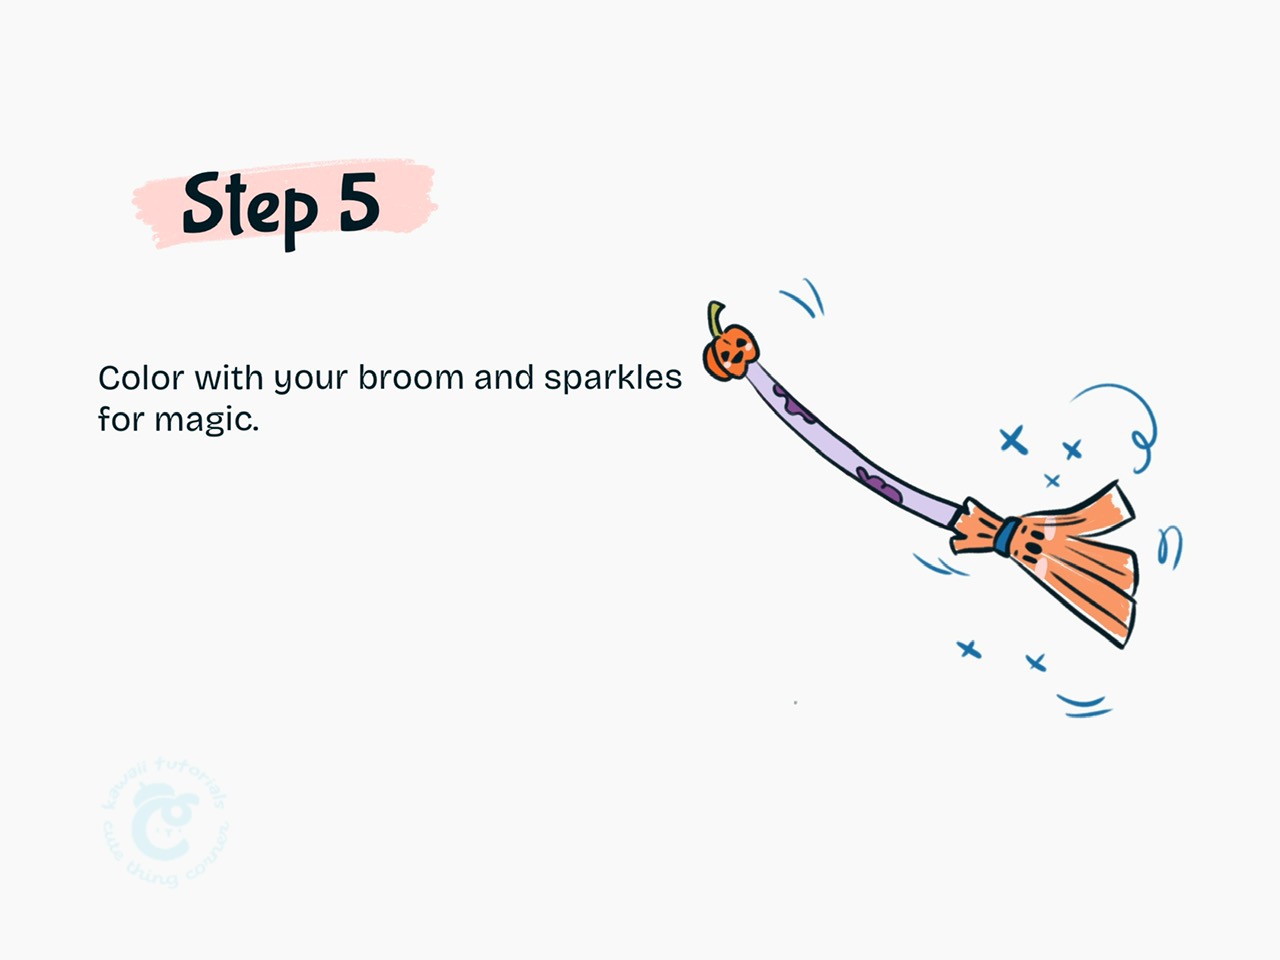
Step 5 Color with your broom and spark for magic
Hope you enjoyed your time drawing cute witch’s broom.
Thanks for following this guide.
Goodbye and see you soon.
Follow full step-by-step drawing cute witch’s broom:
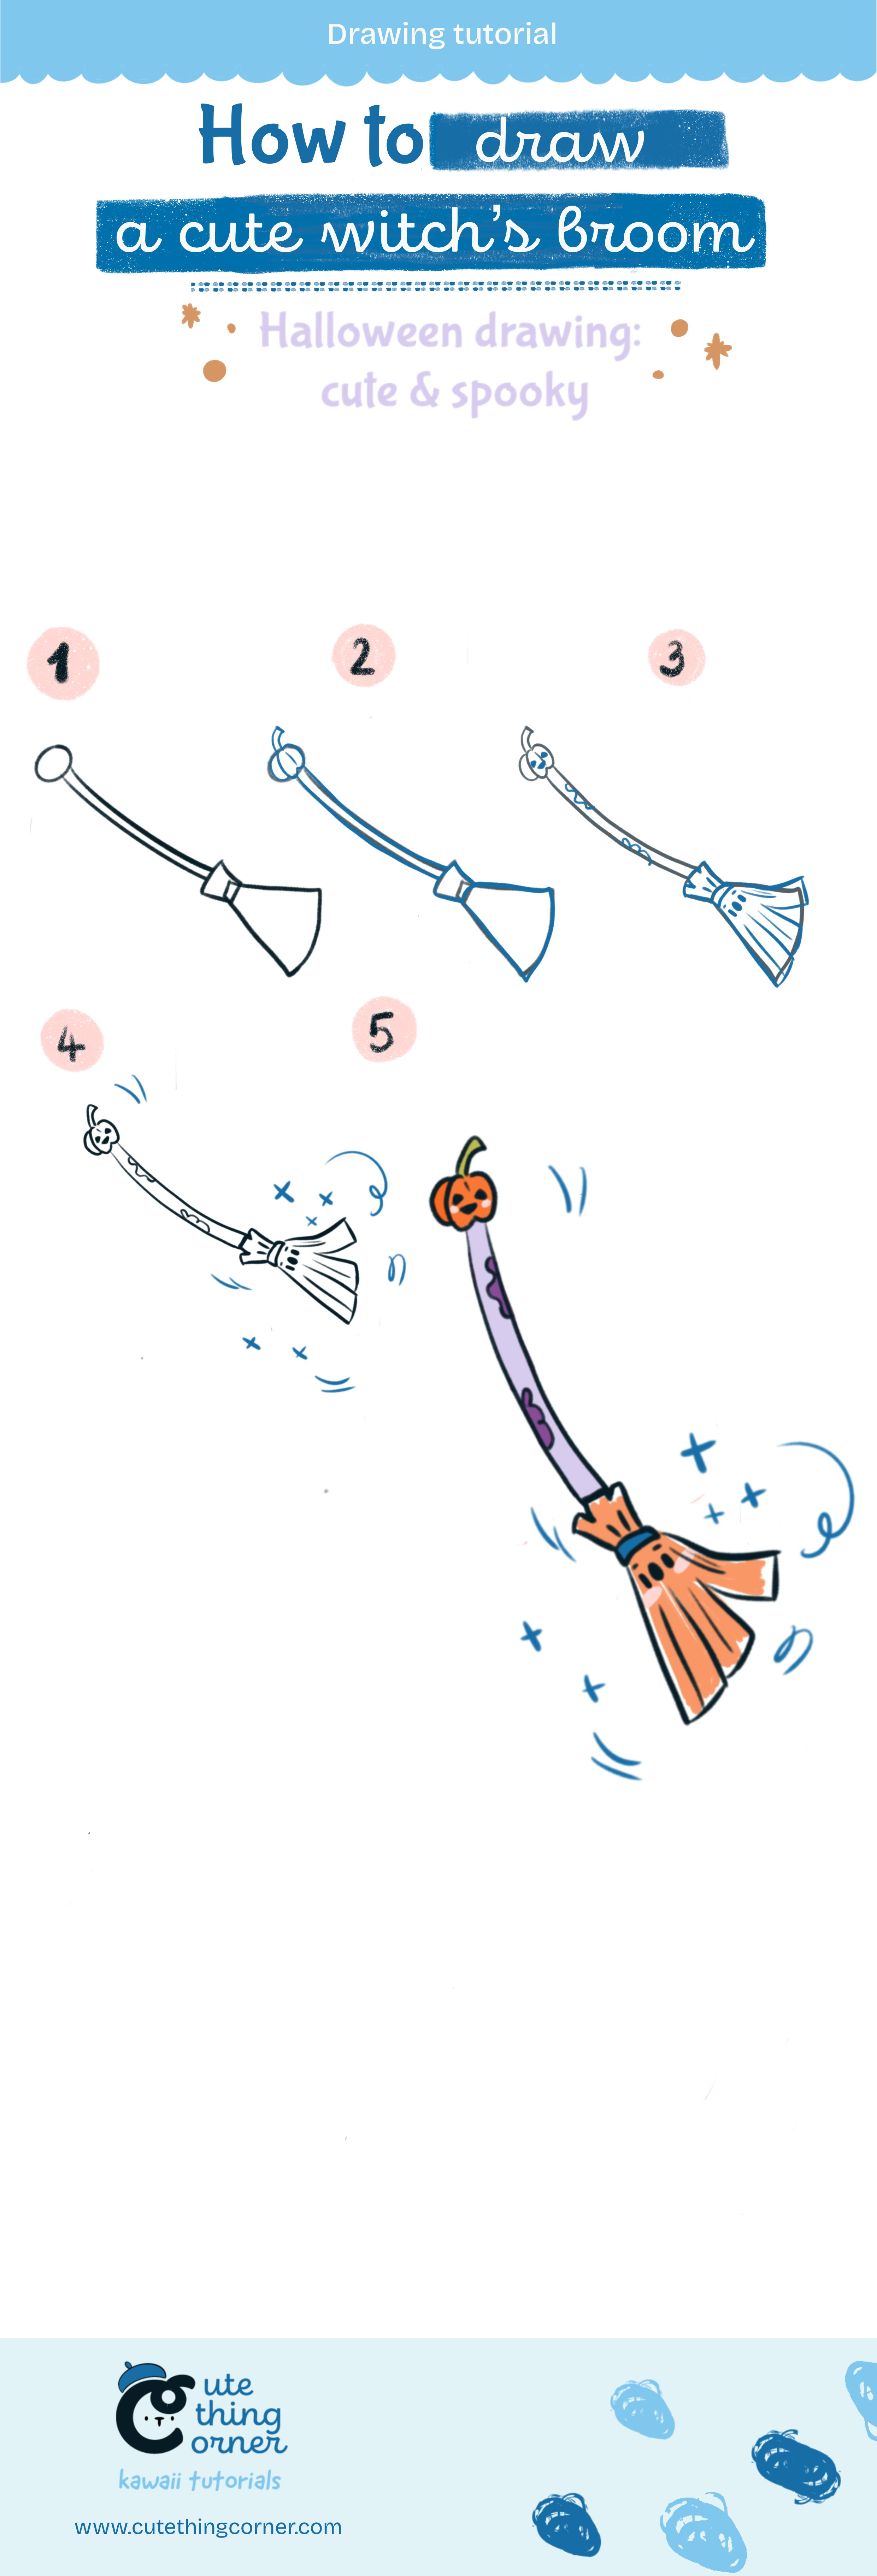
How to draw a cute witch’s room

