Get ready for some magical cuteness! 🪄
In this kawaii step-by-step kawaii tutorial, we’ll show you how to draw a Capybara Potter—complete with a wizard robe, round glasses, and a tiny wand!
Whether you’re a fan of Harry Potter or just love capybaras, this fun drawing guide is perfect for beginners and cozy sketch sessions.
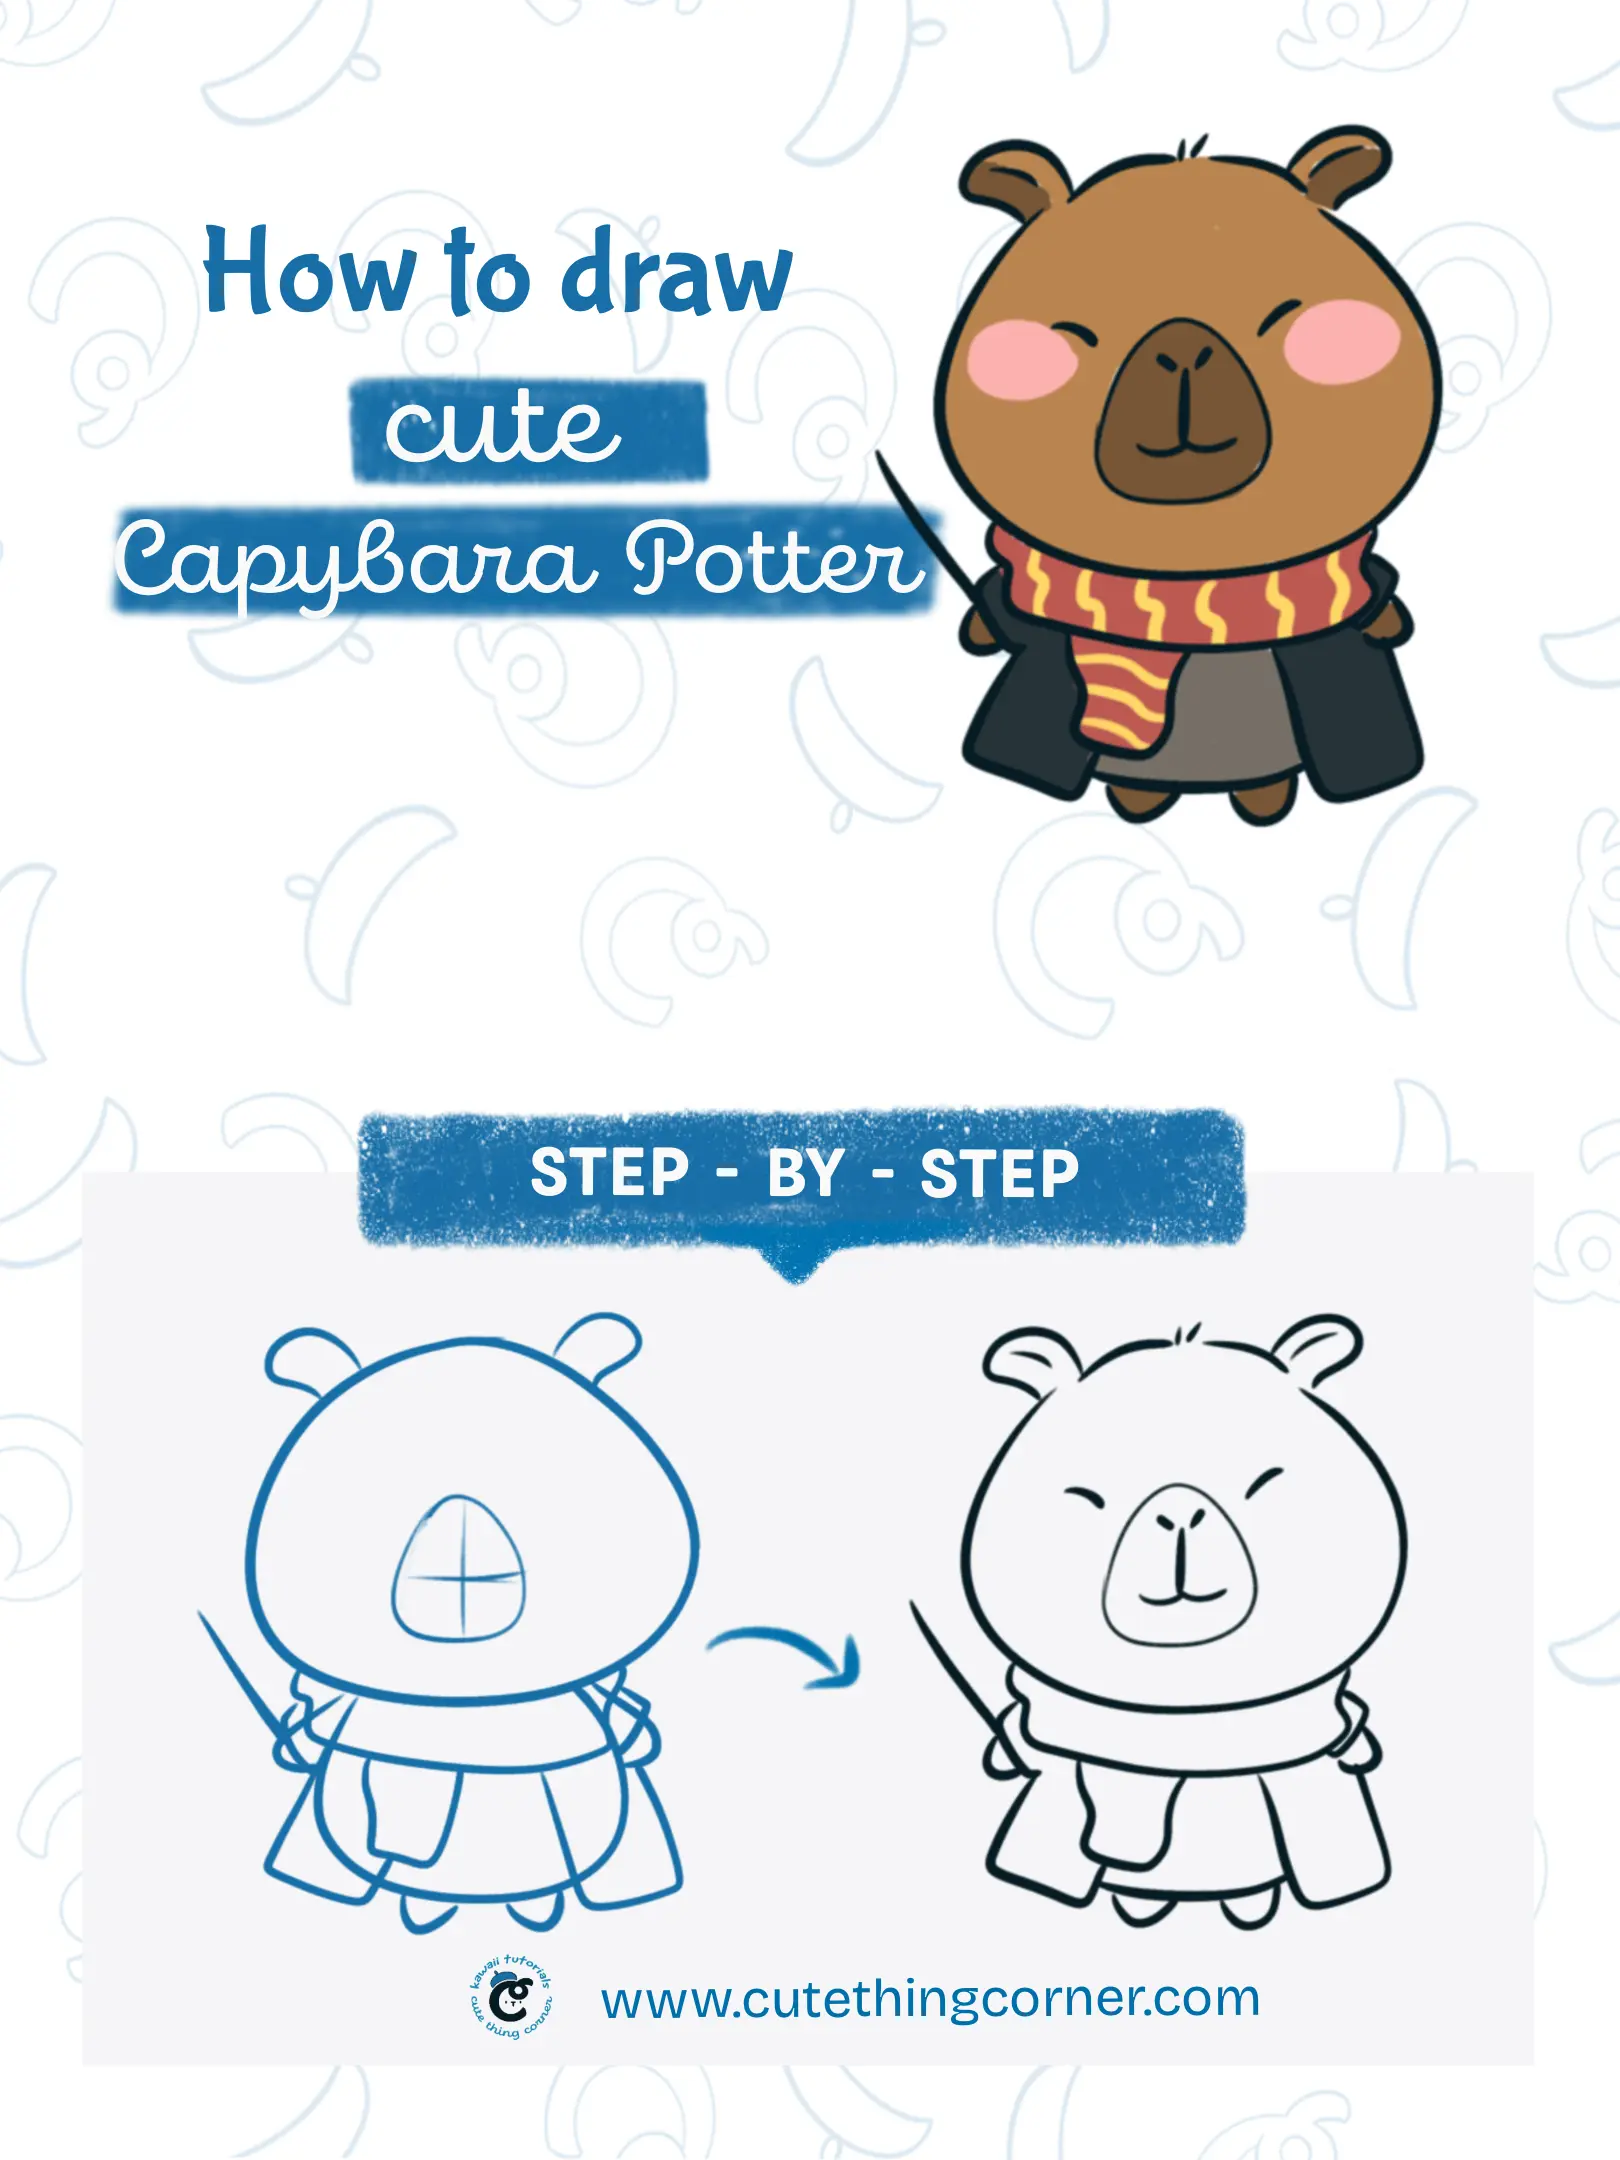
How to draw Capybara Potter
Step 1: Draw a rounded triangle shape for the face and add a cross guide.
And then you sketch two round ears on top for Capybara Potter.
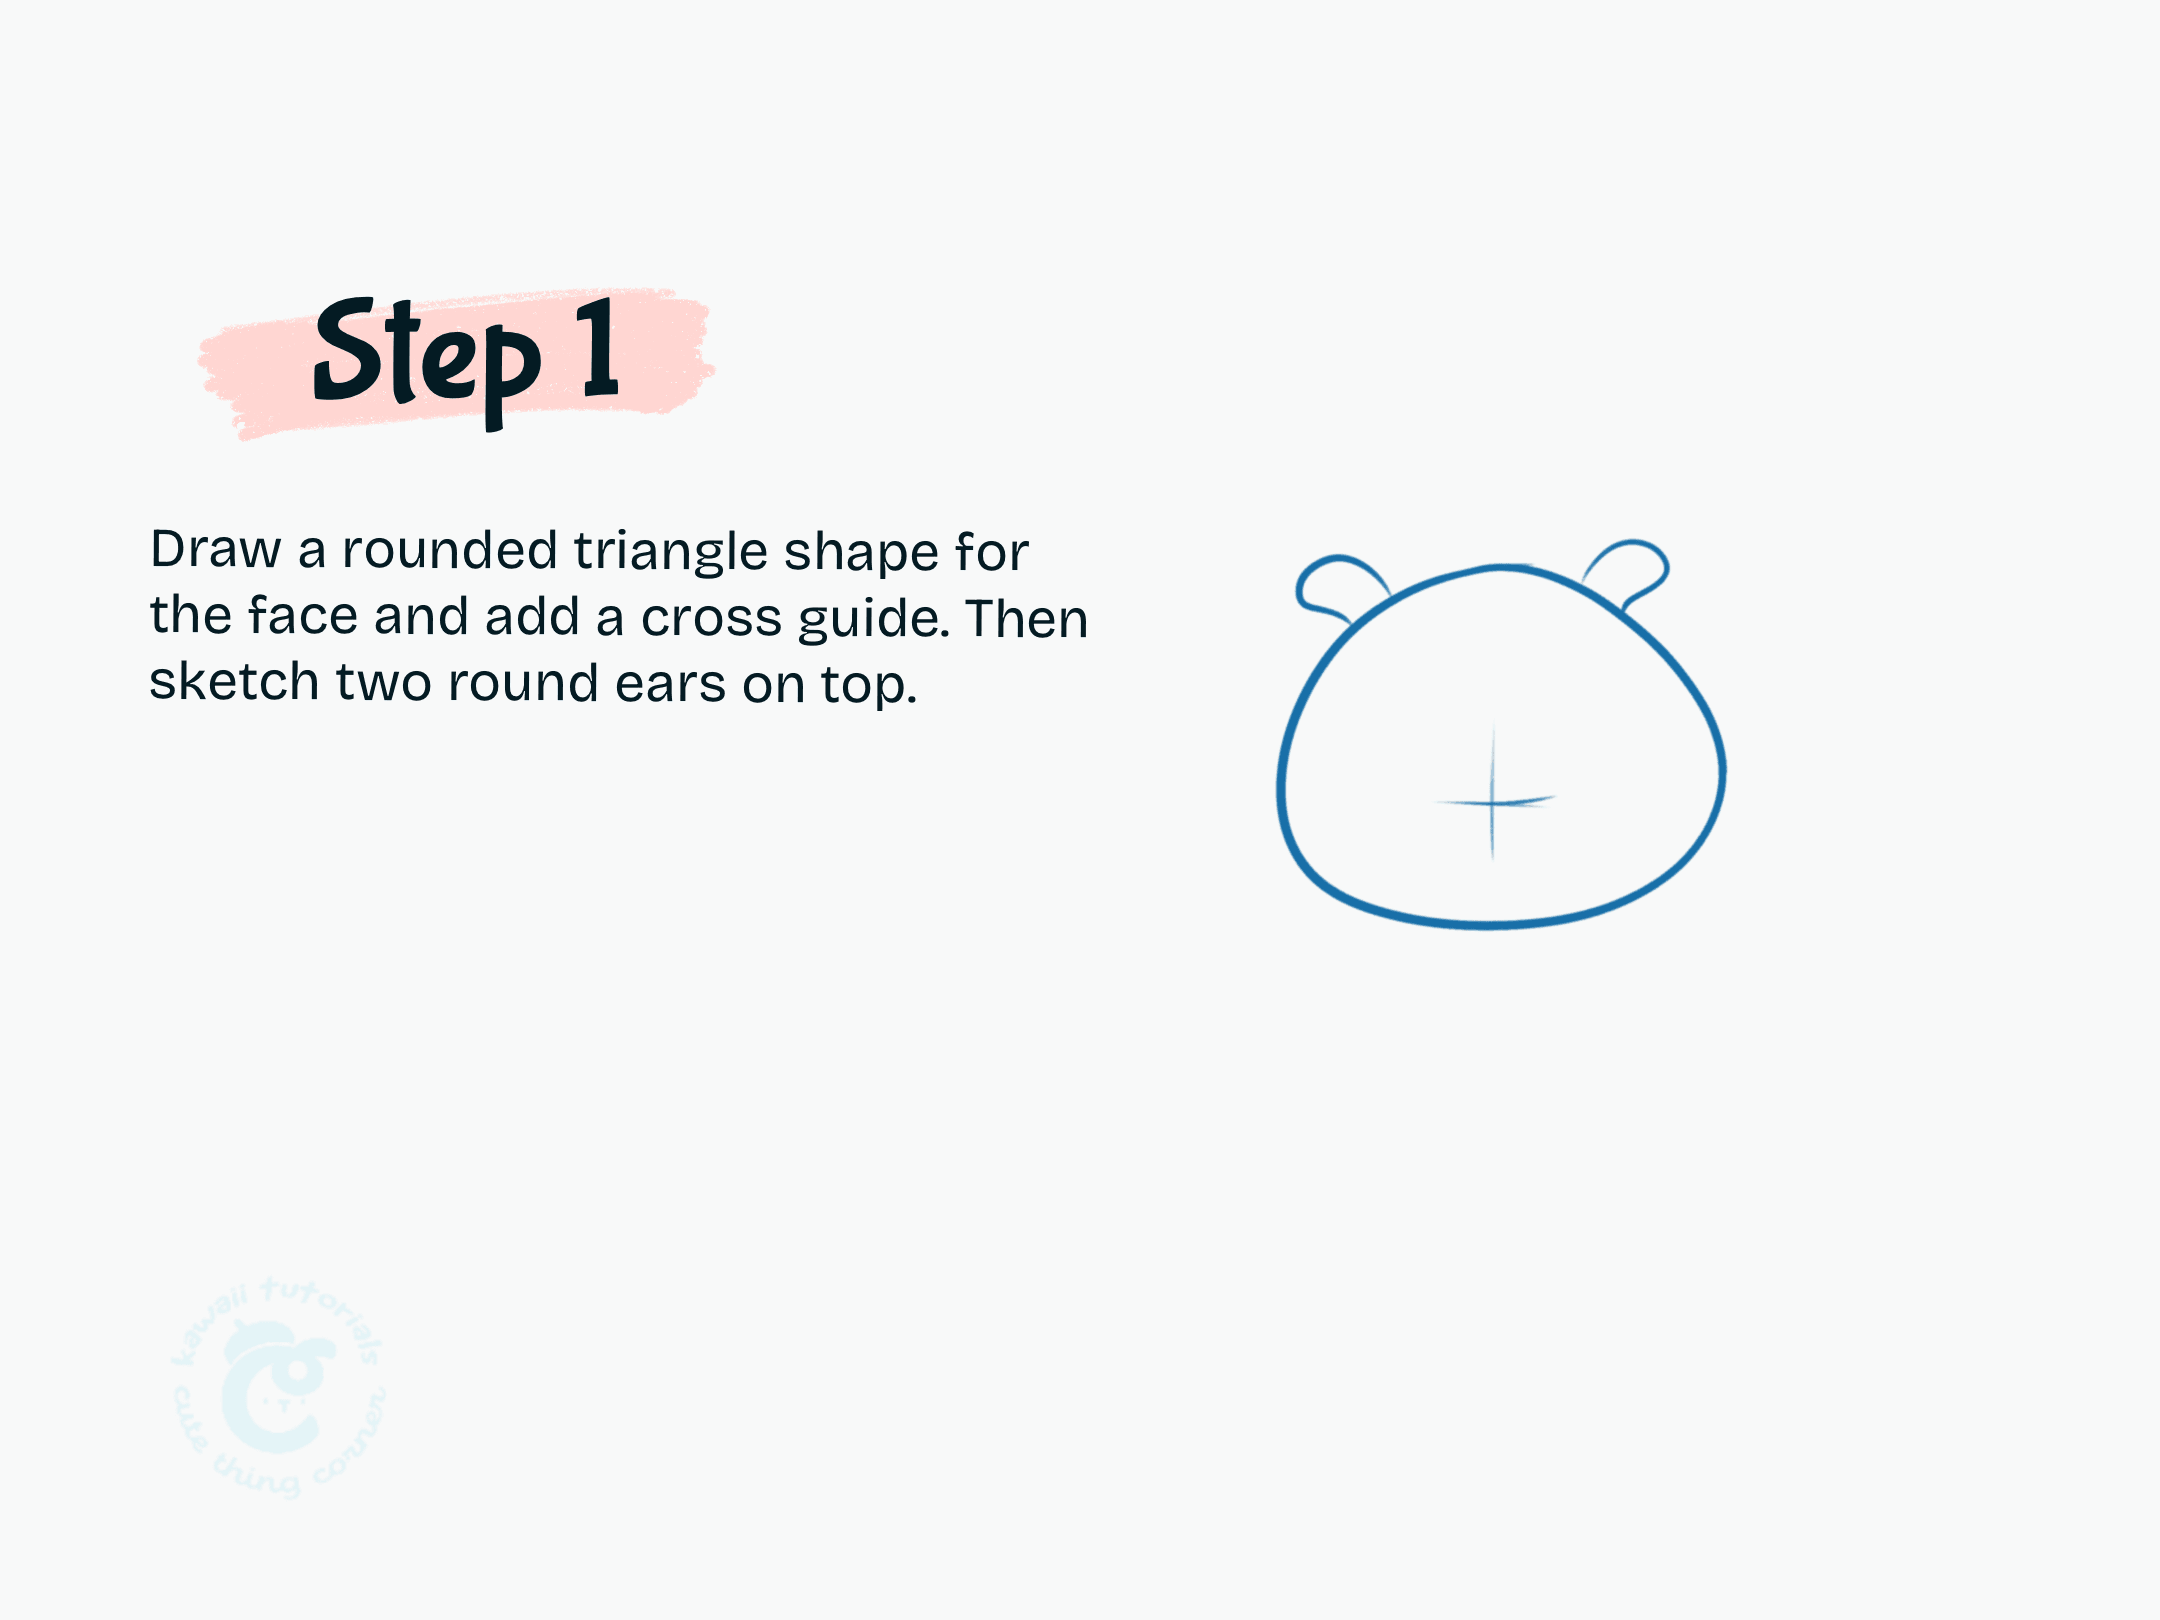
Step 1 Draw a rounded triangle shape for the face and add a cross guide
Step 2: Add the arms and small feet to create the body shape.
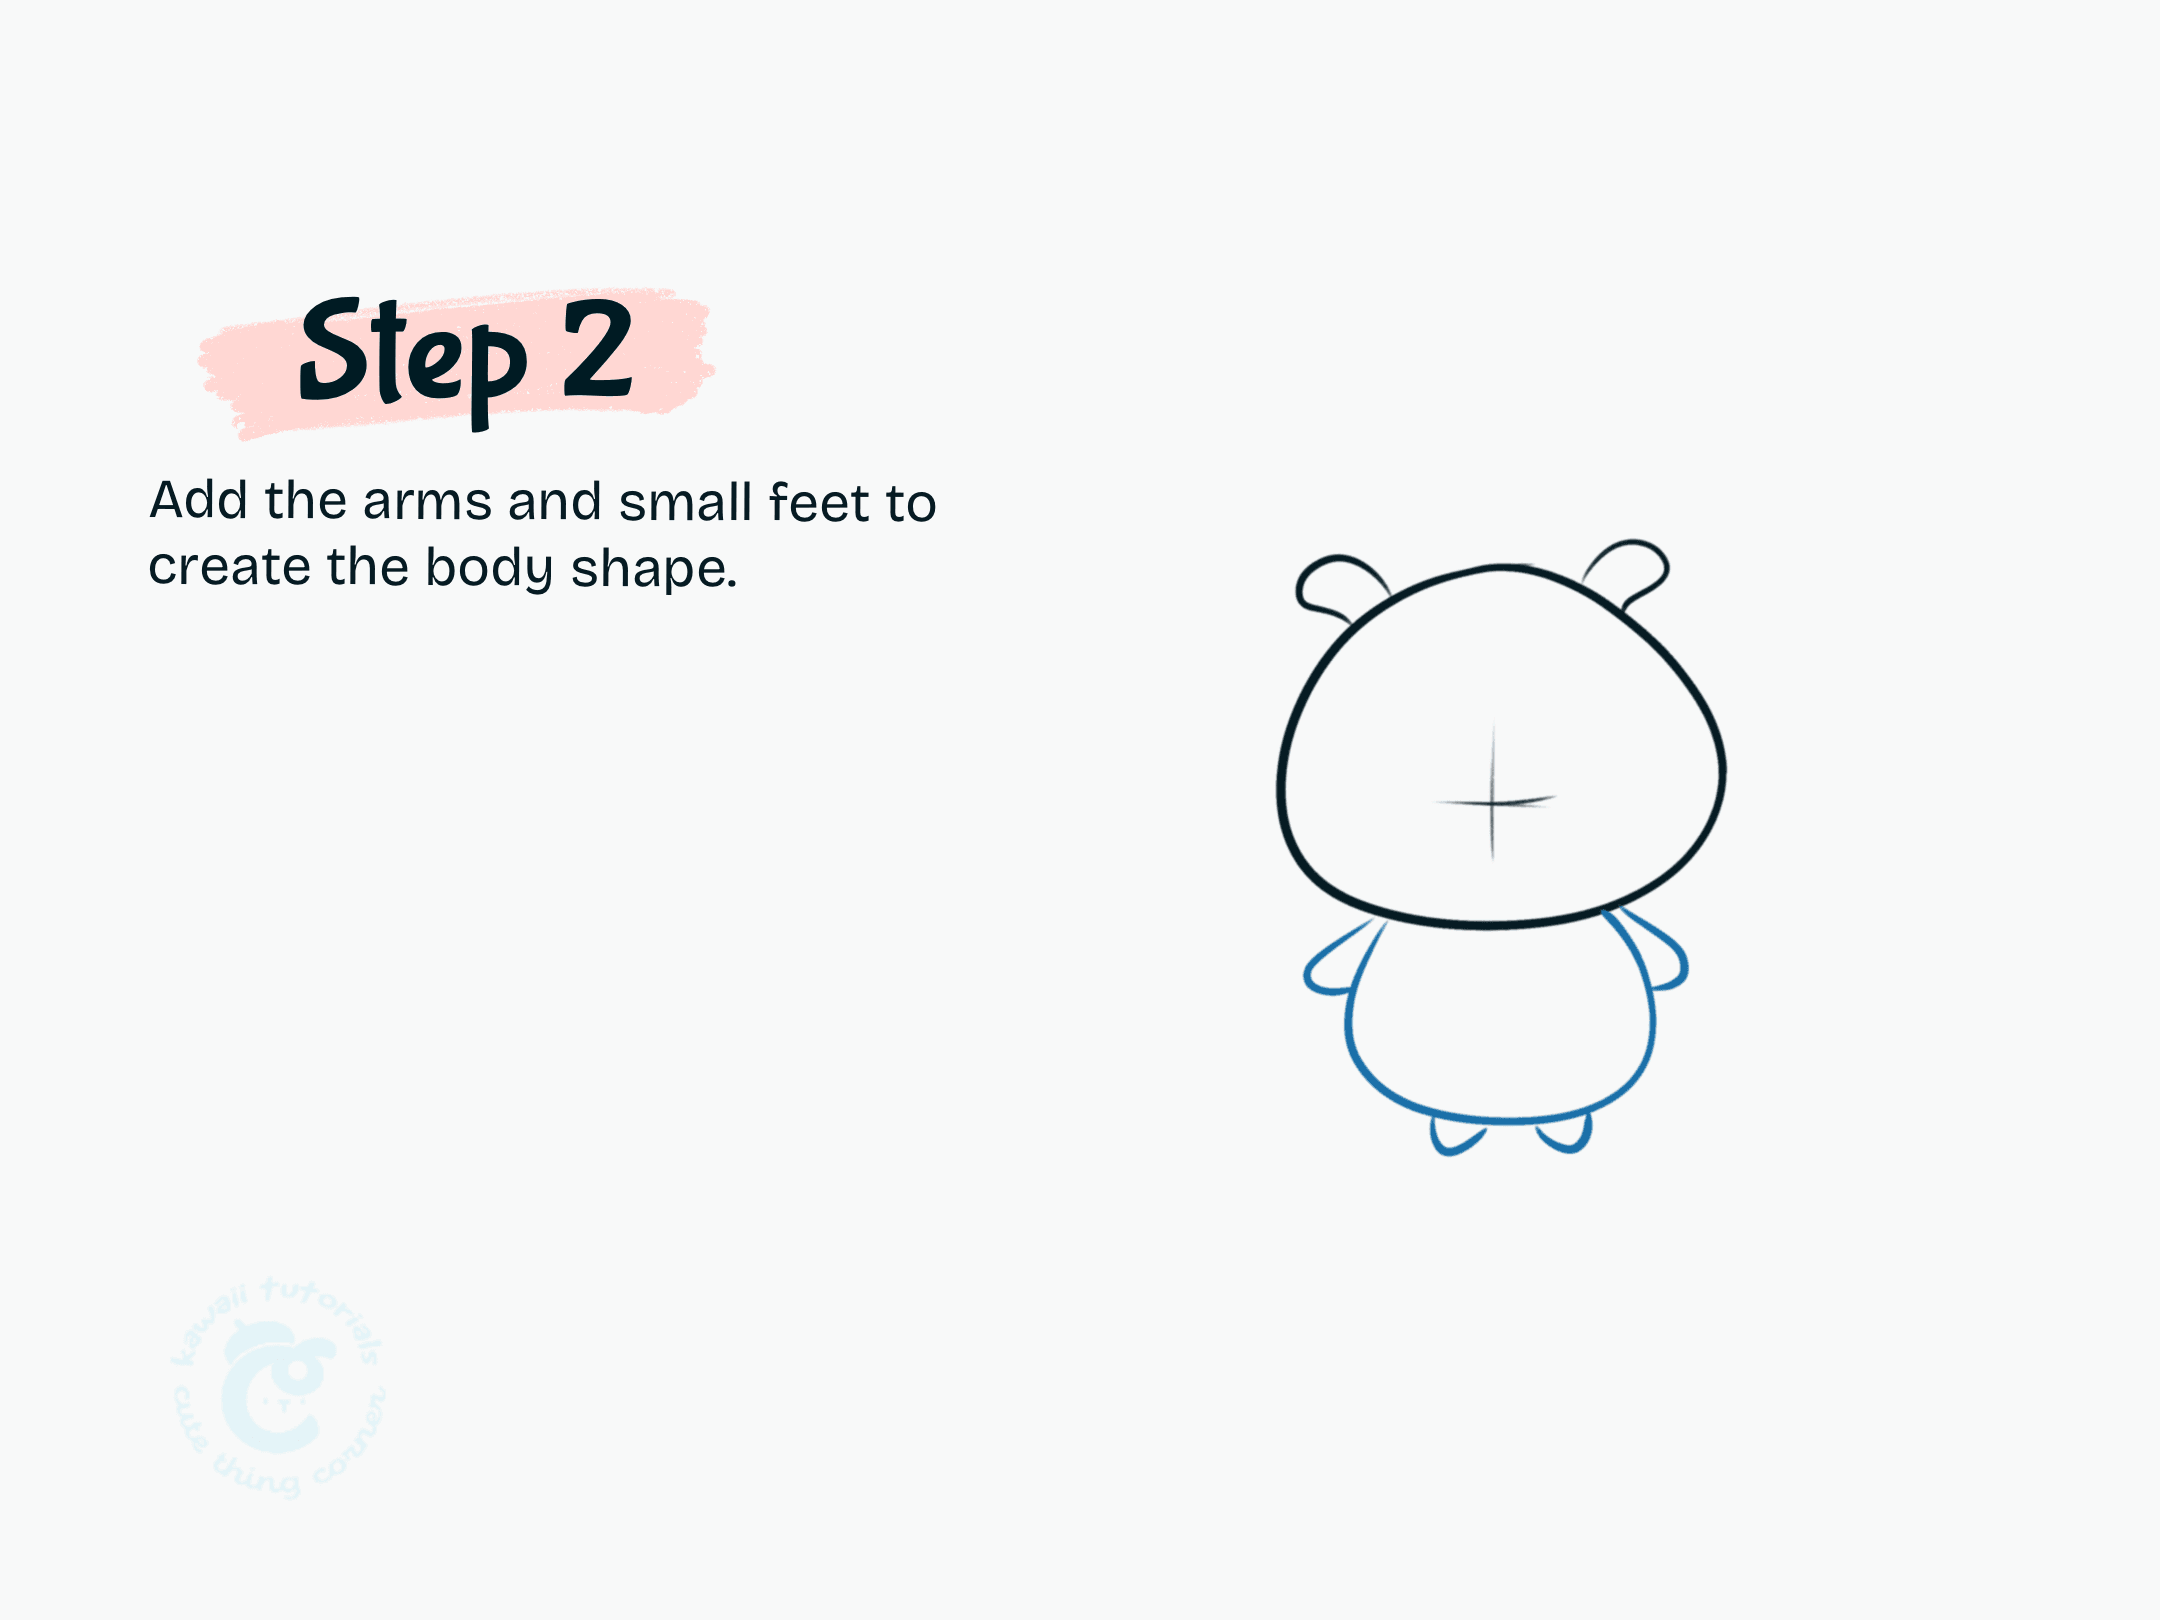
Step 2 Add the arms and small feet to create the body shape.
Step 3: Sketch the wizard cloak. Draw the scarf wrapped around his neck. Don’t forget the wand in one paw!
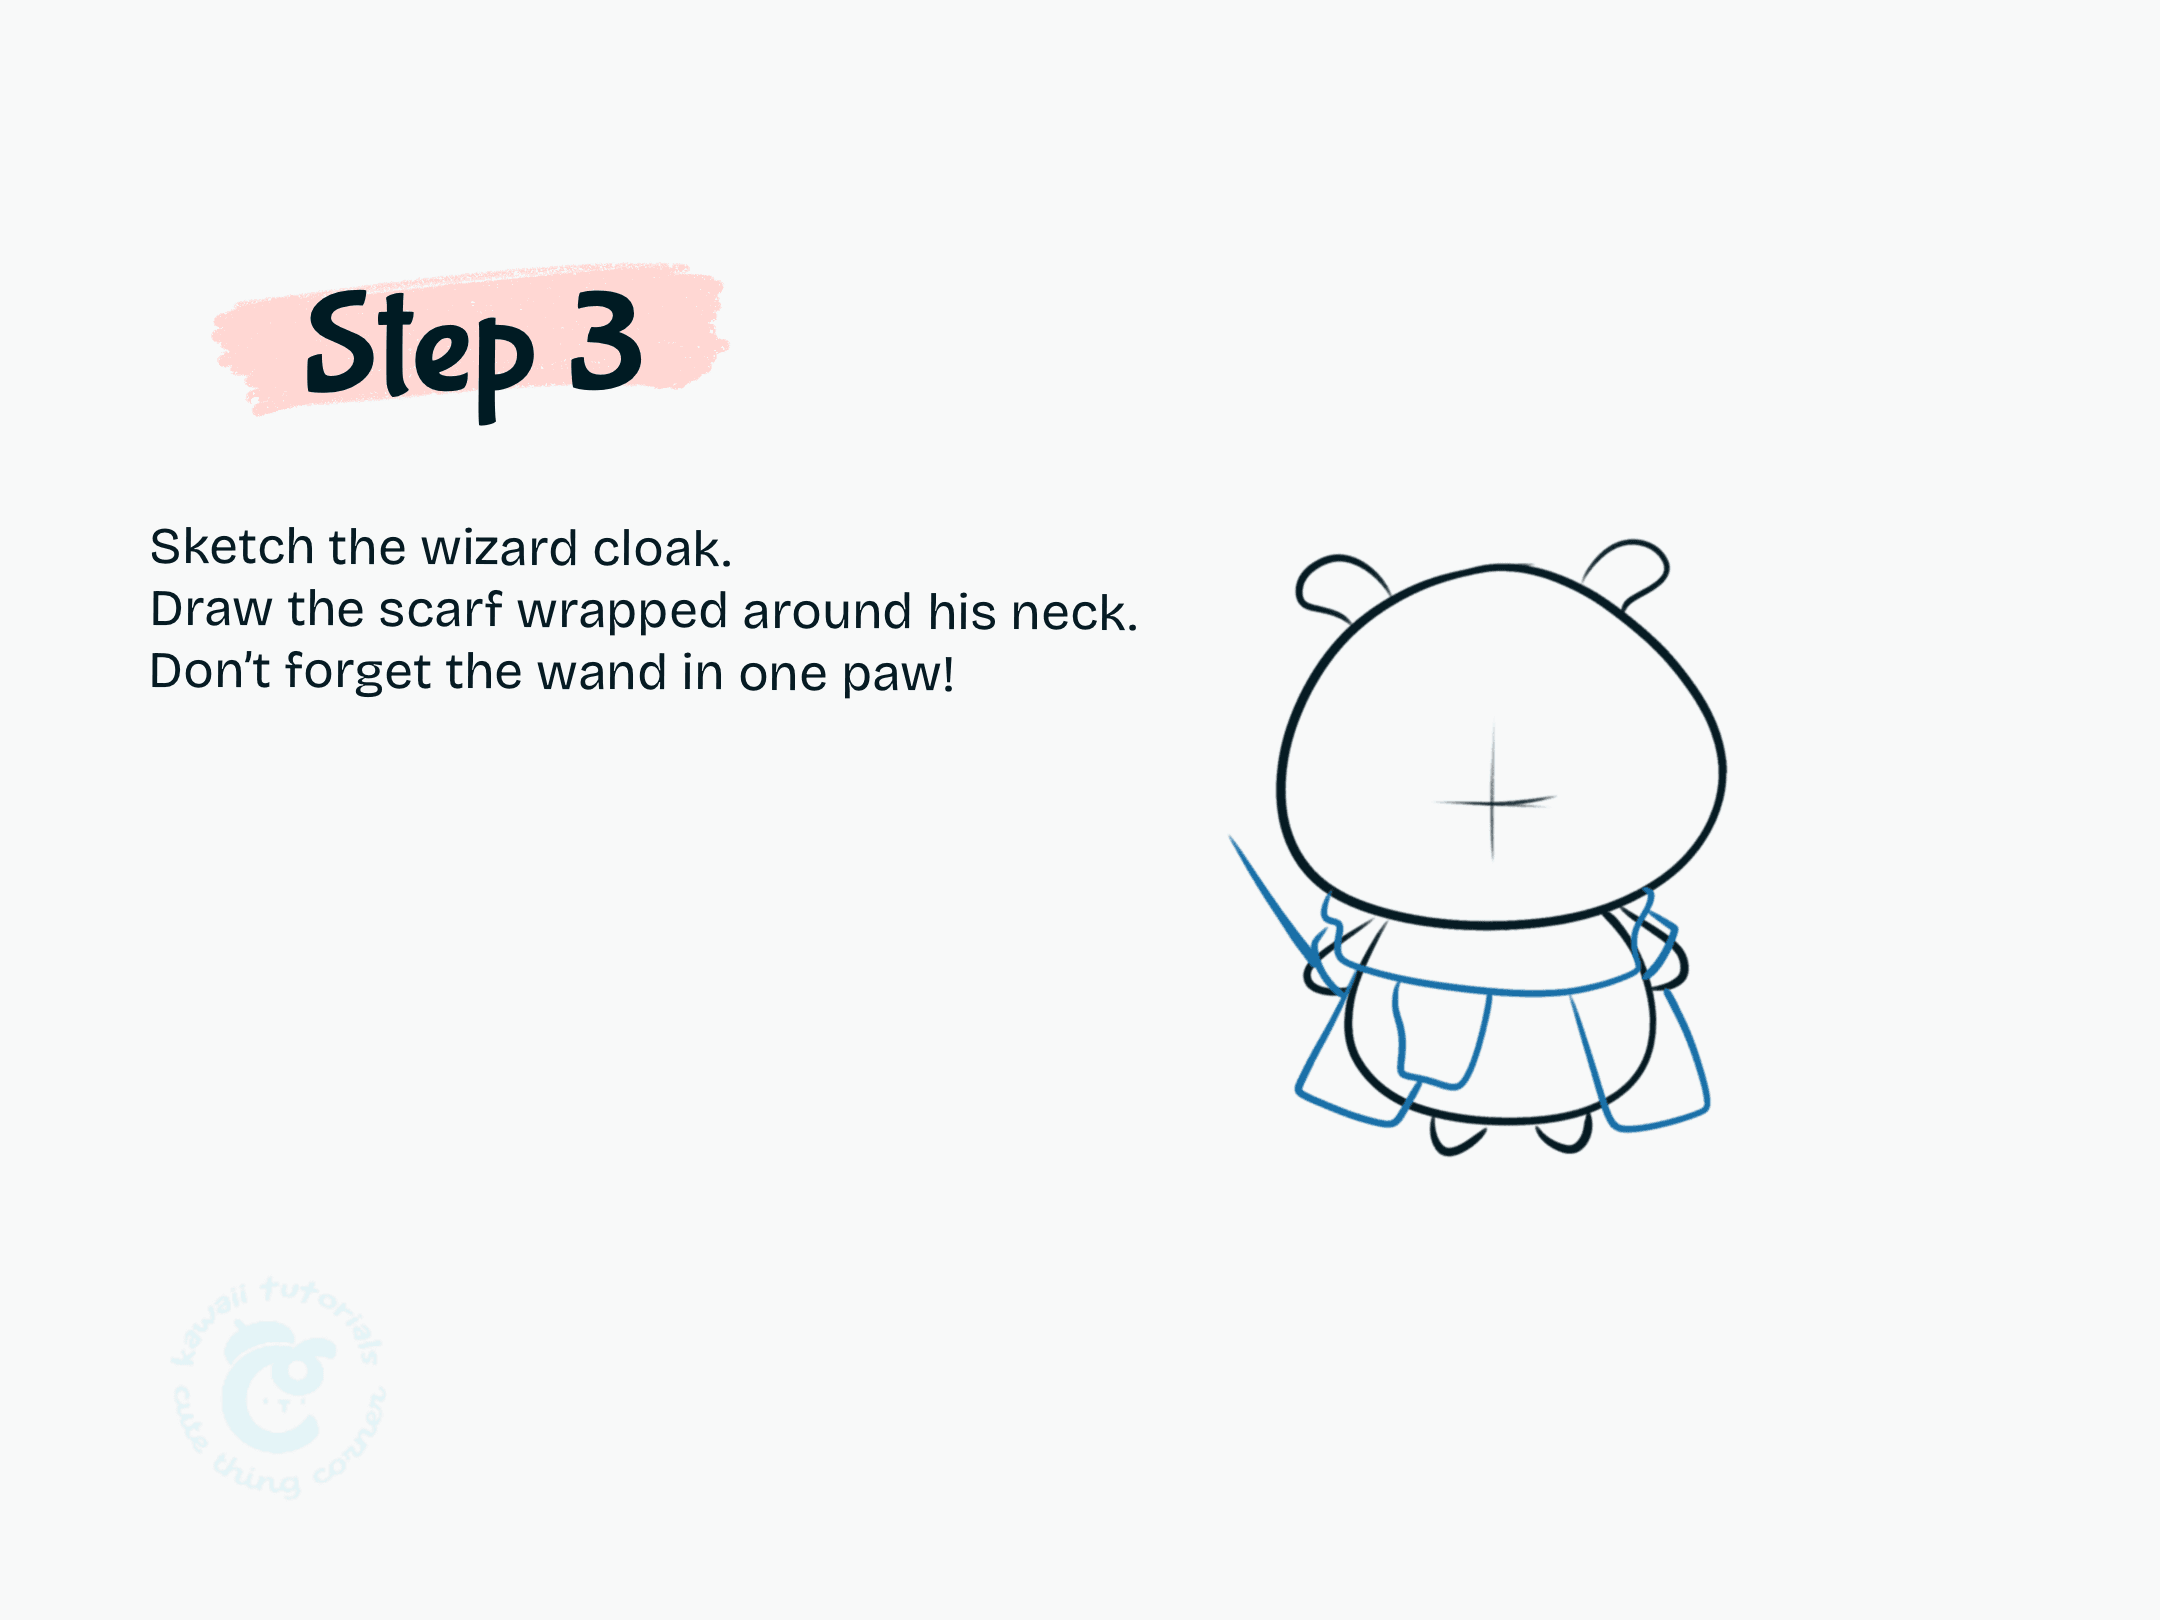
Step 3 Sketch the wizard cloak
Step 4: Draw a rounded triangle for the nose and sketch light guidelines for the face. These will help place the eyes and mouth later!
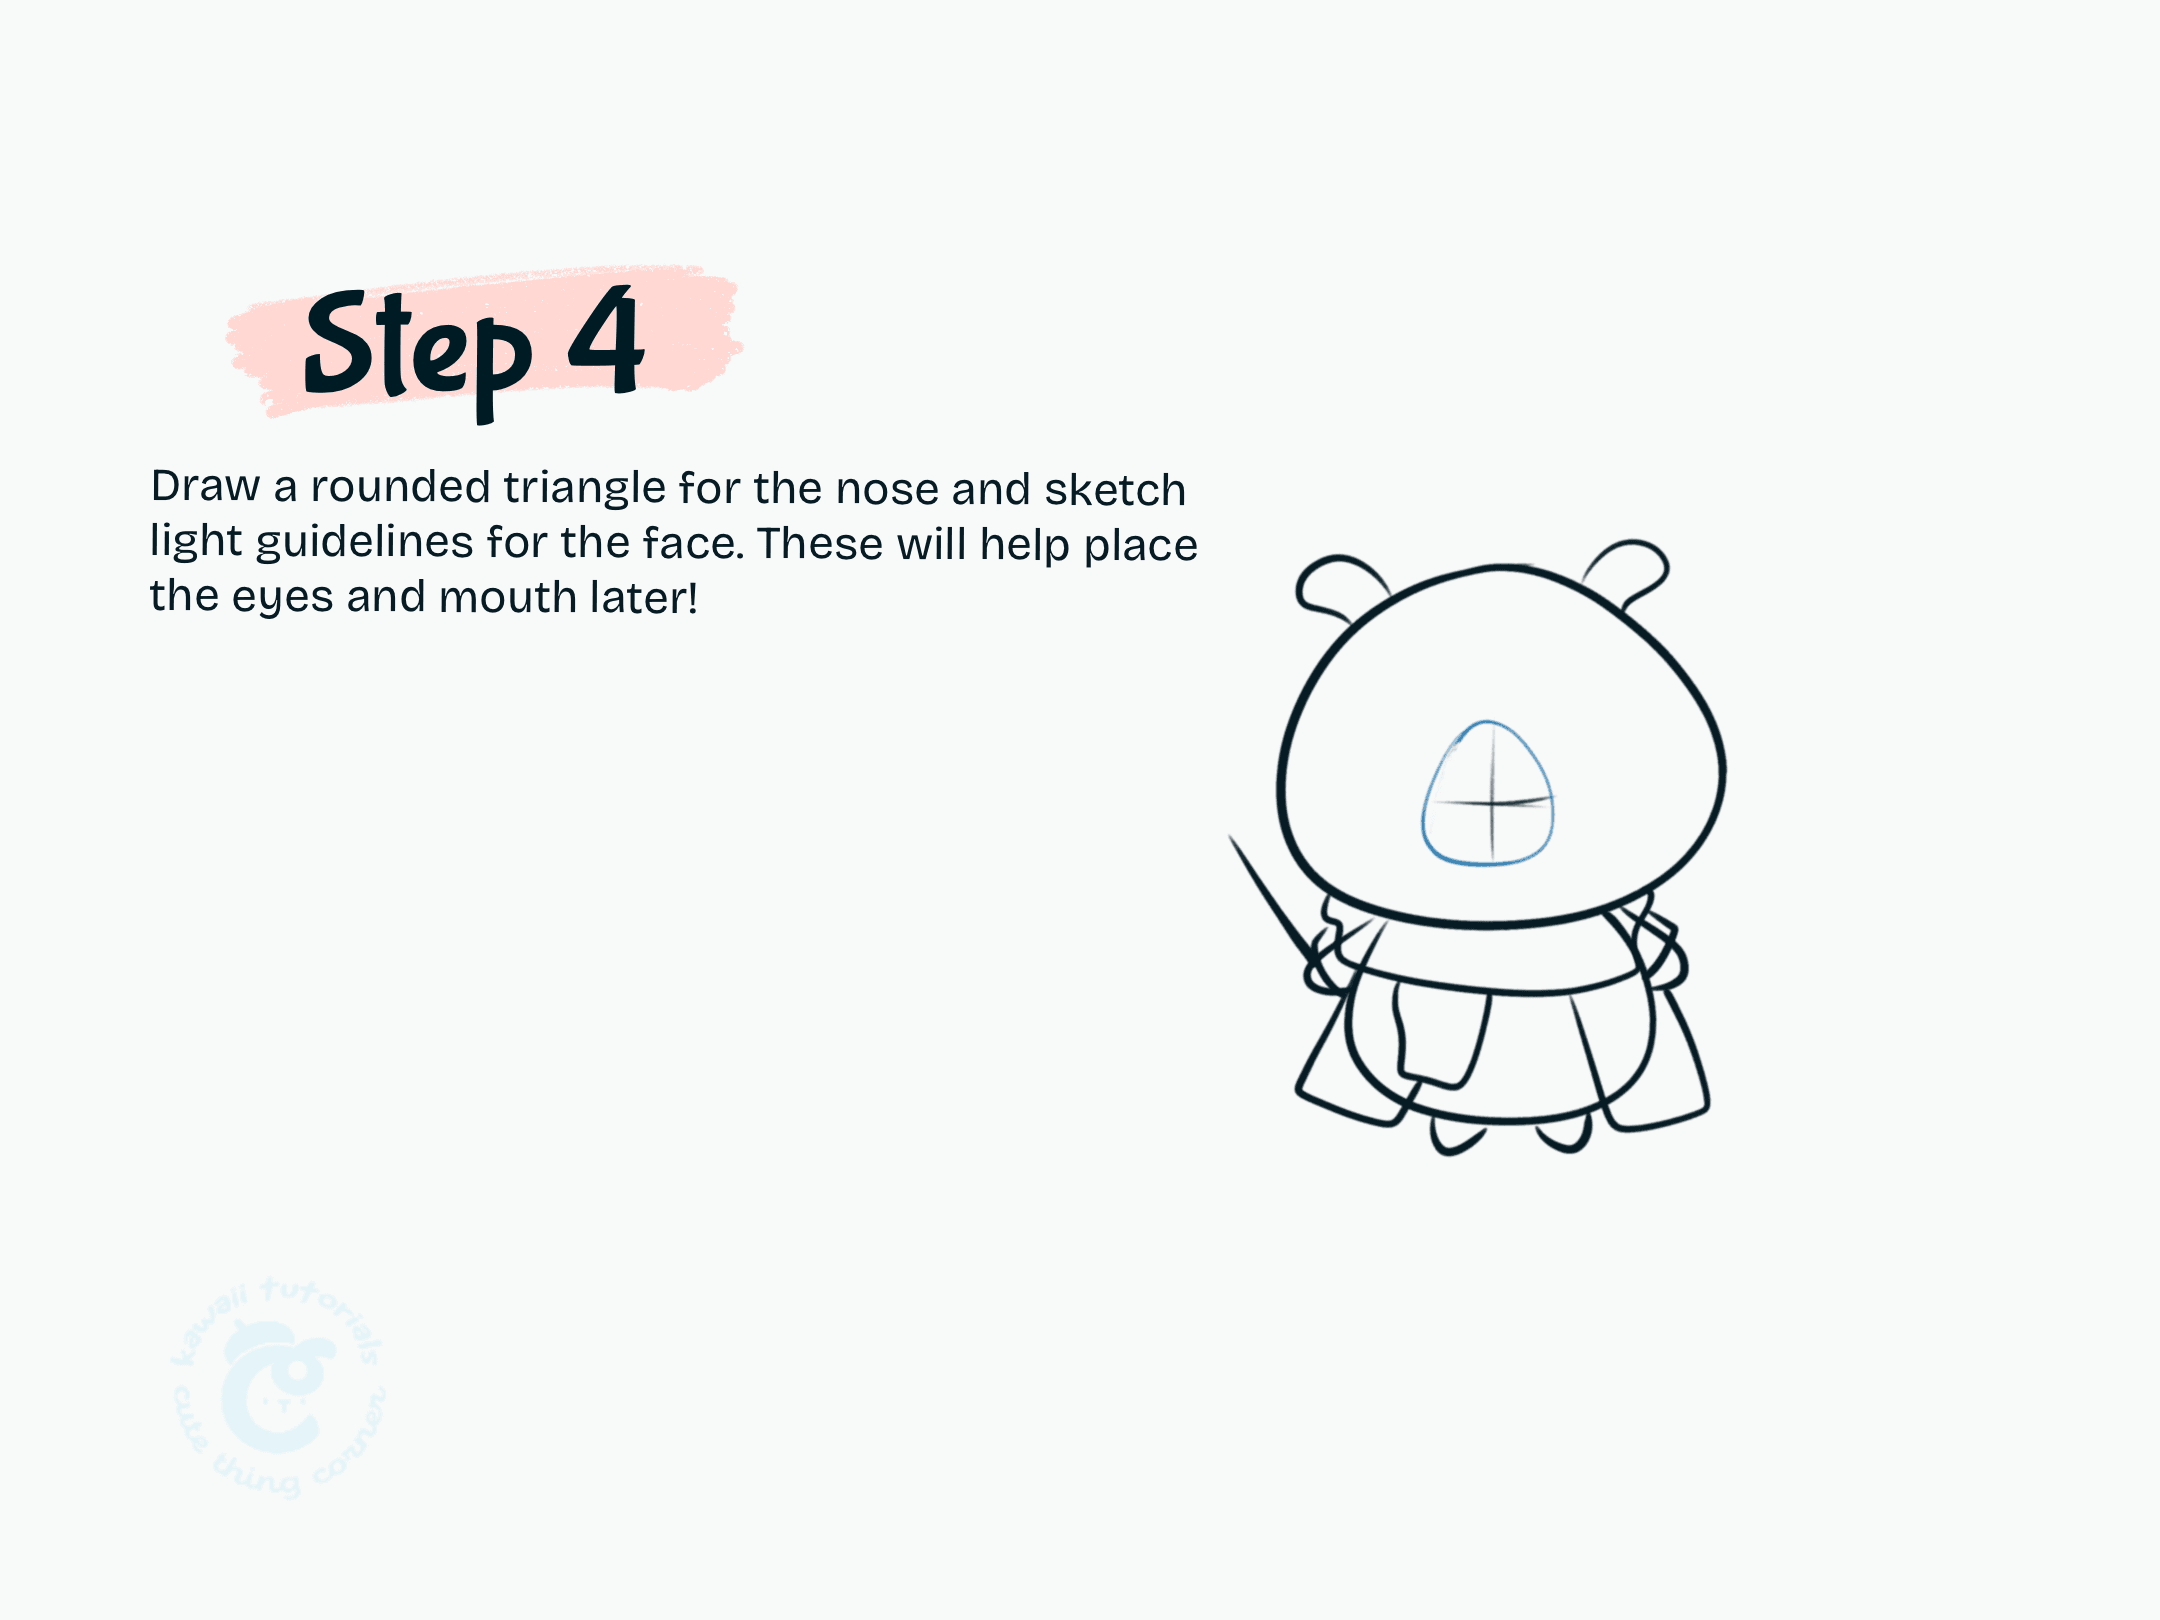
Step 4 Draw a rounded triangle for the nose and sketch light guidelines for the face
Step 5: Trace the lines to create a clean outline.
Draw his cute face with closed eyes and a soft smile. Then you lightly sketch some fur lines on top.
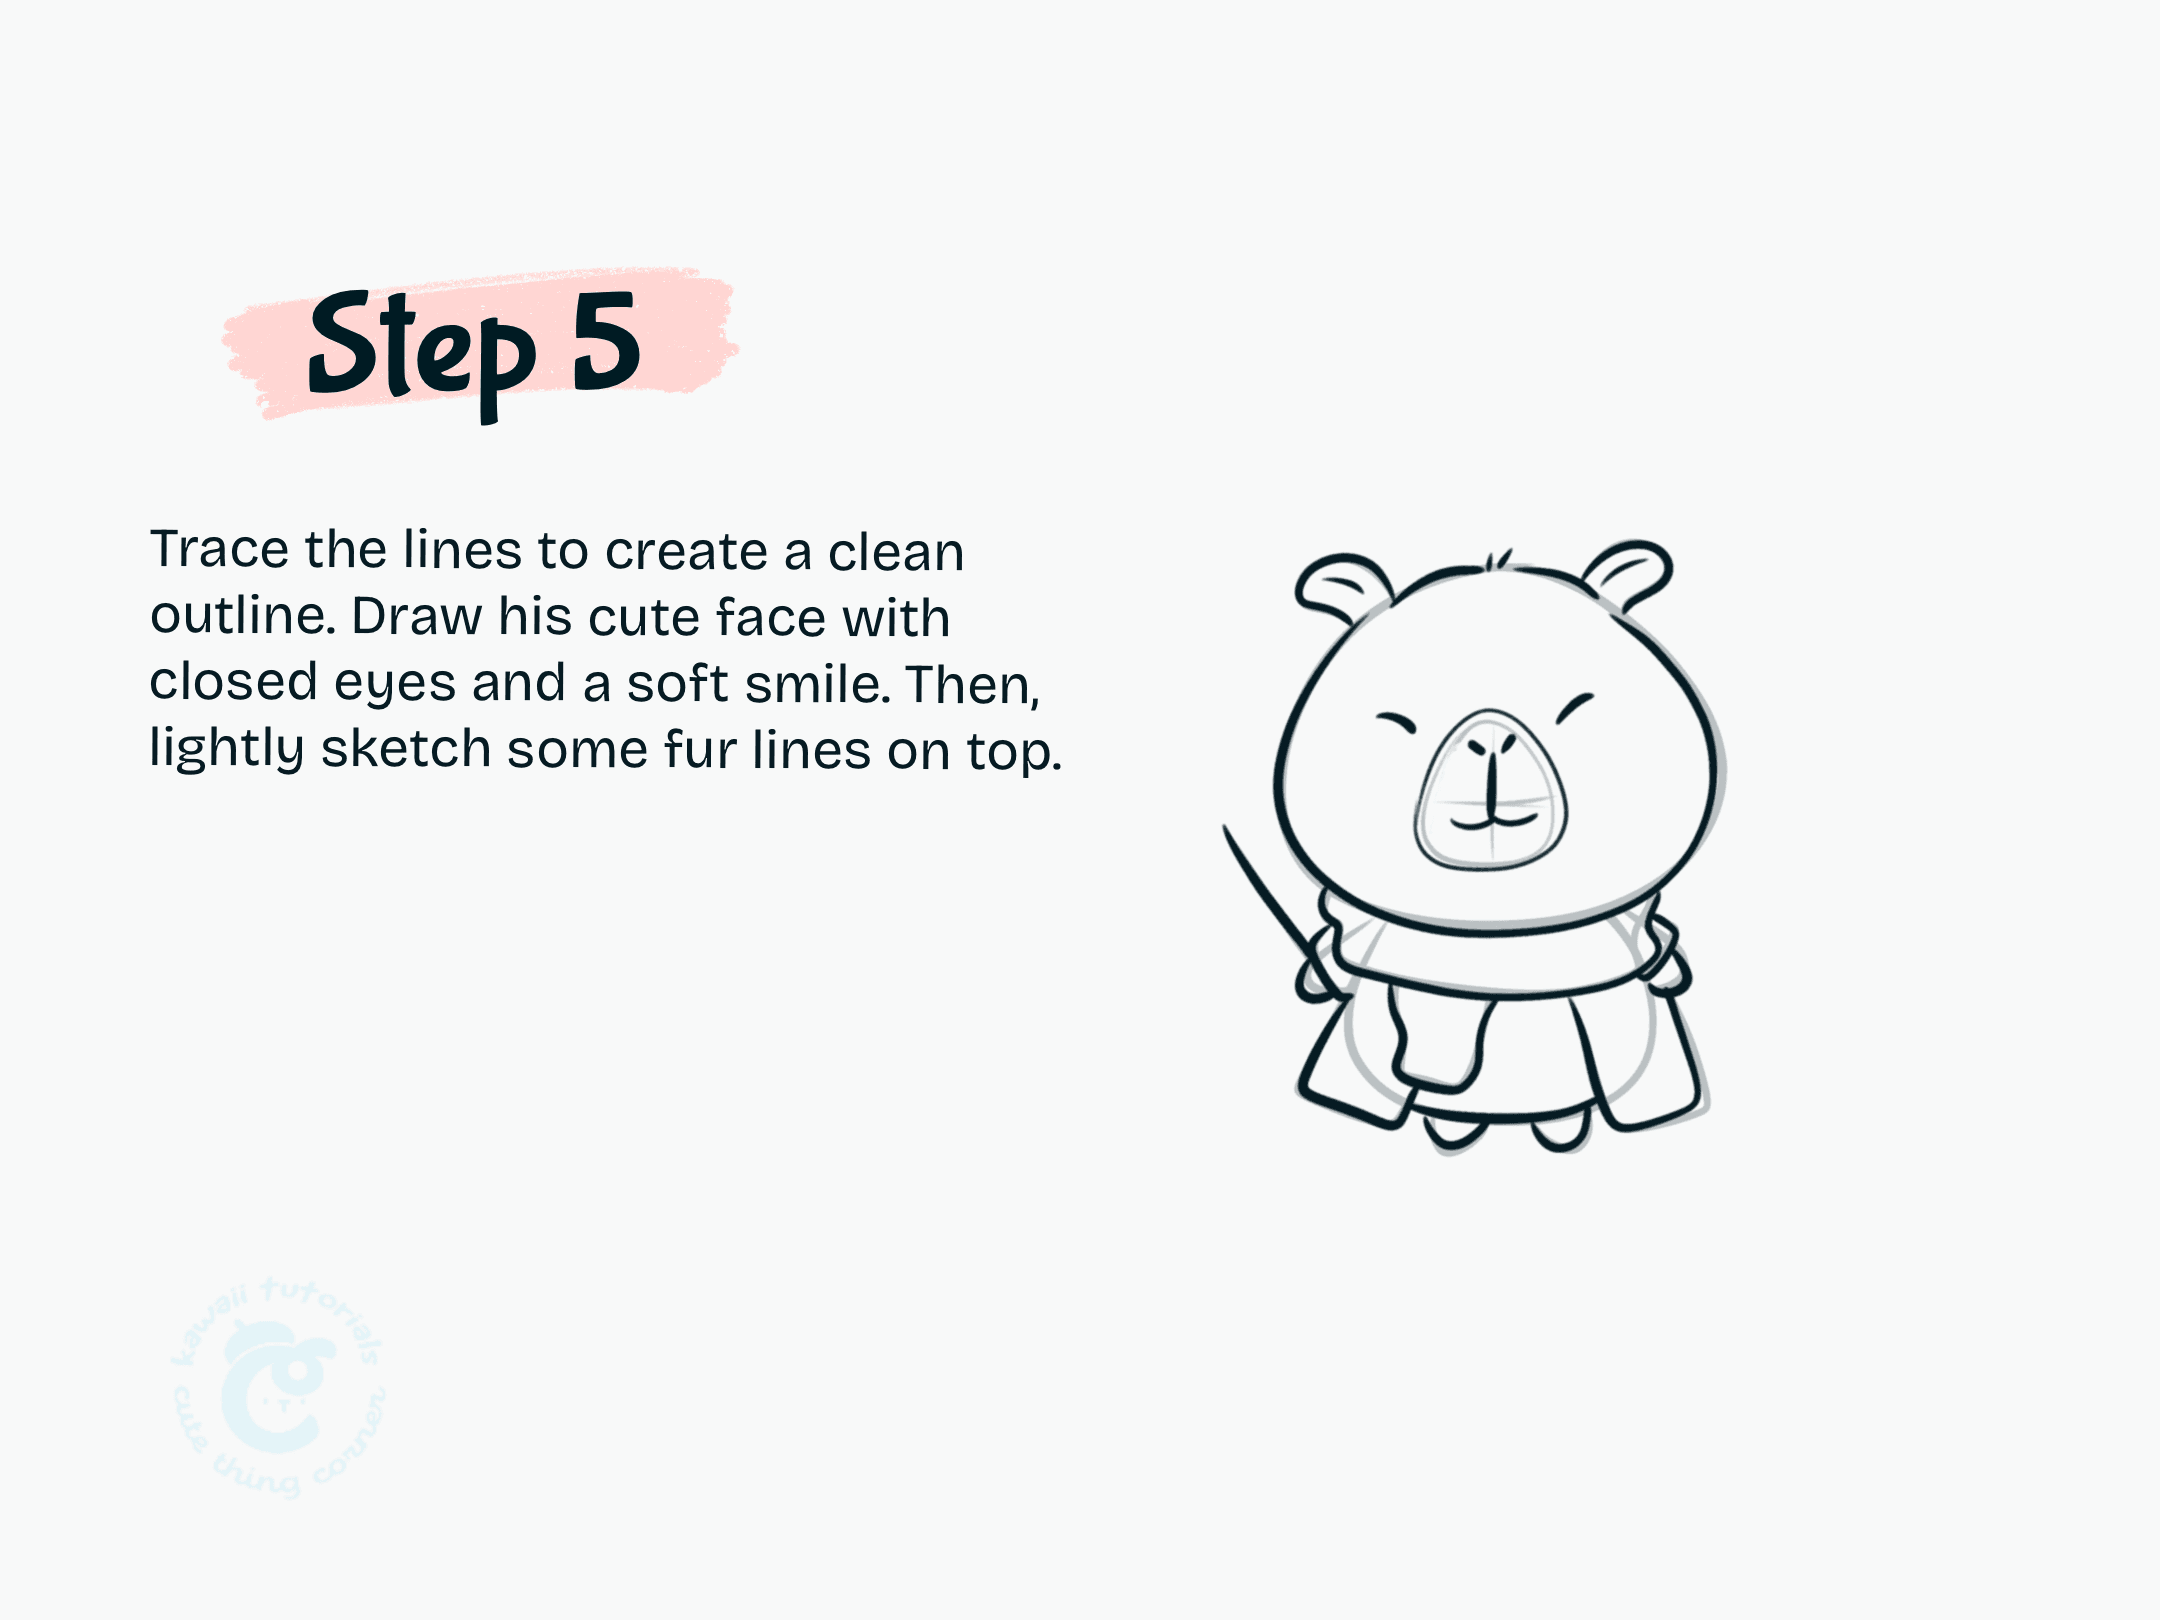
Step 5 Trace the lines to create a clean outline
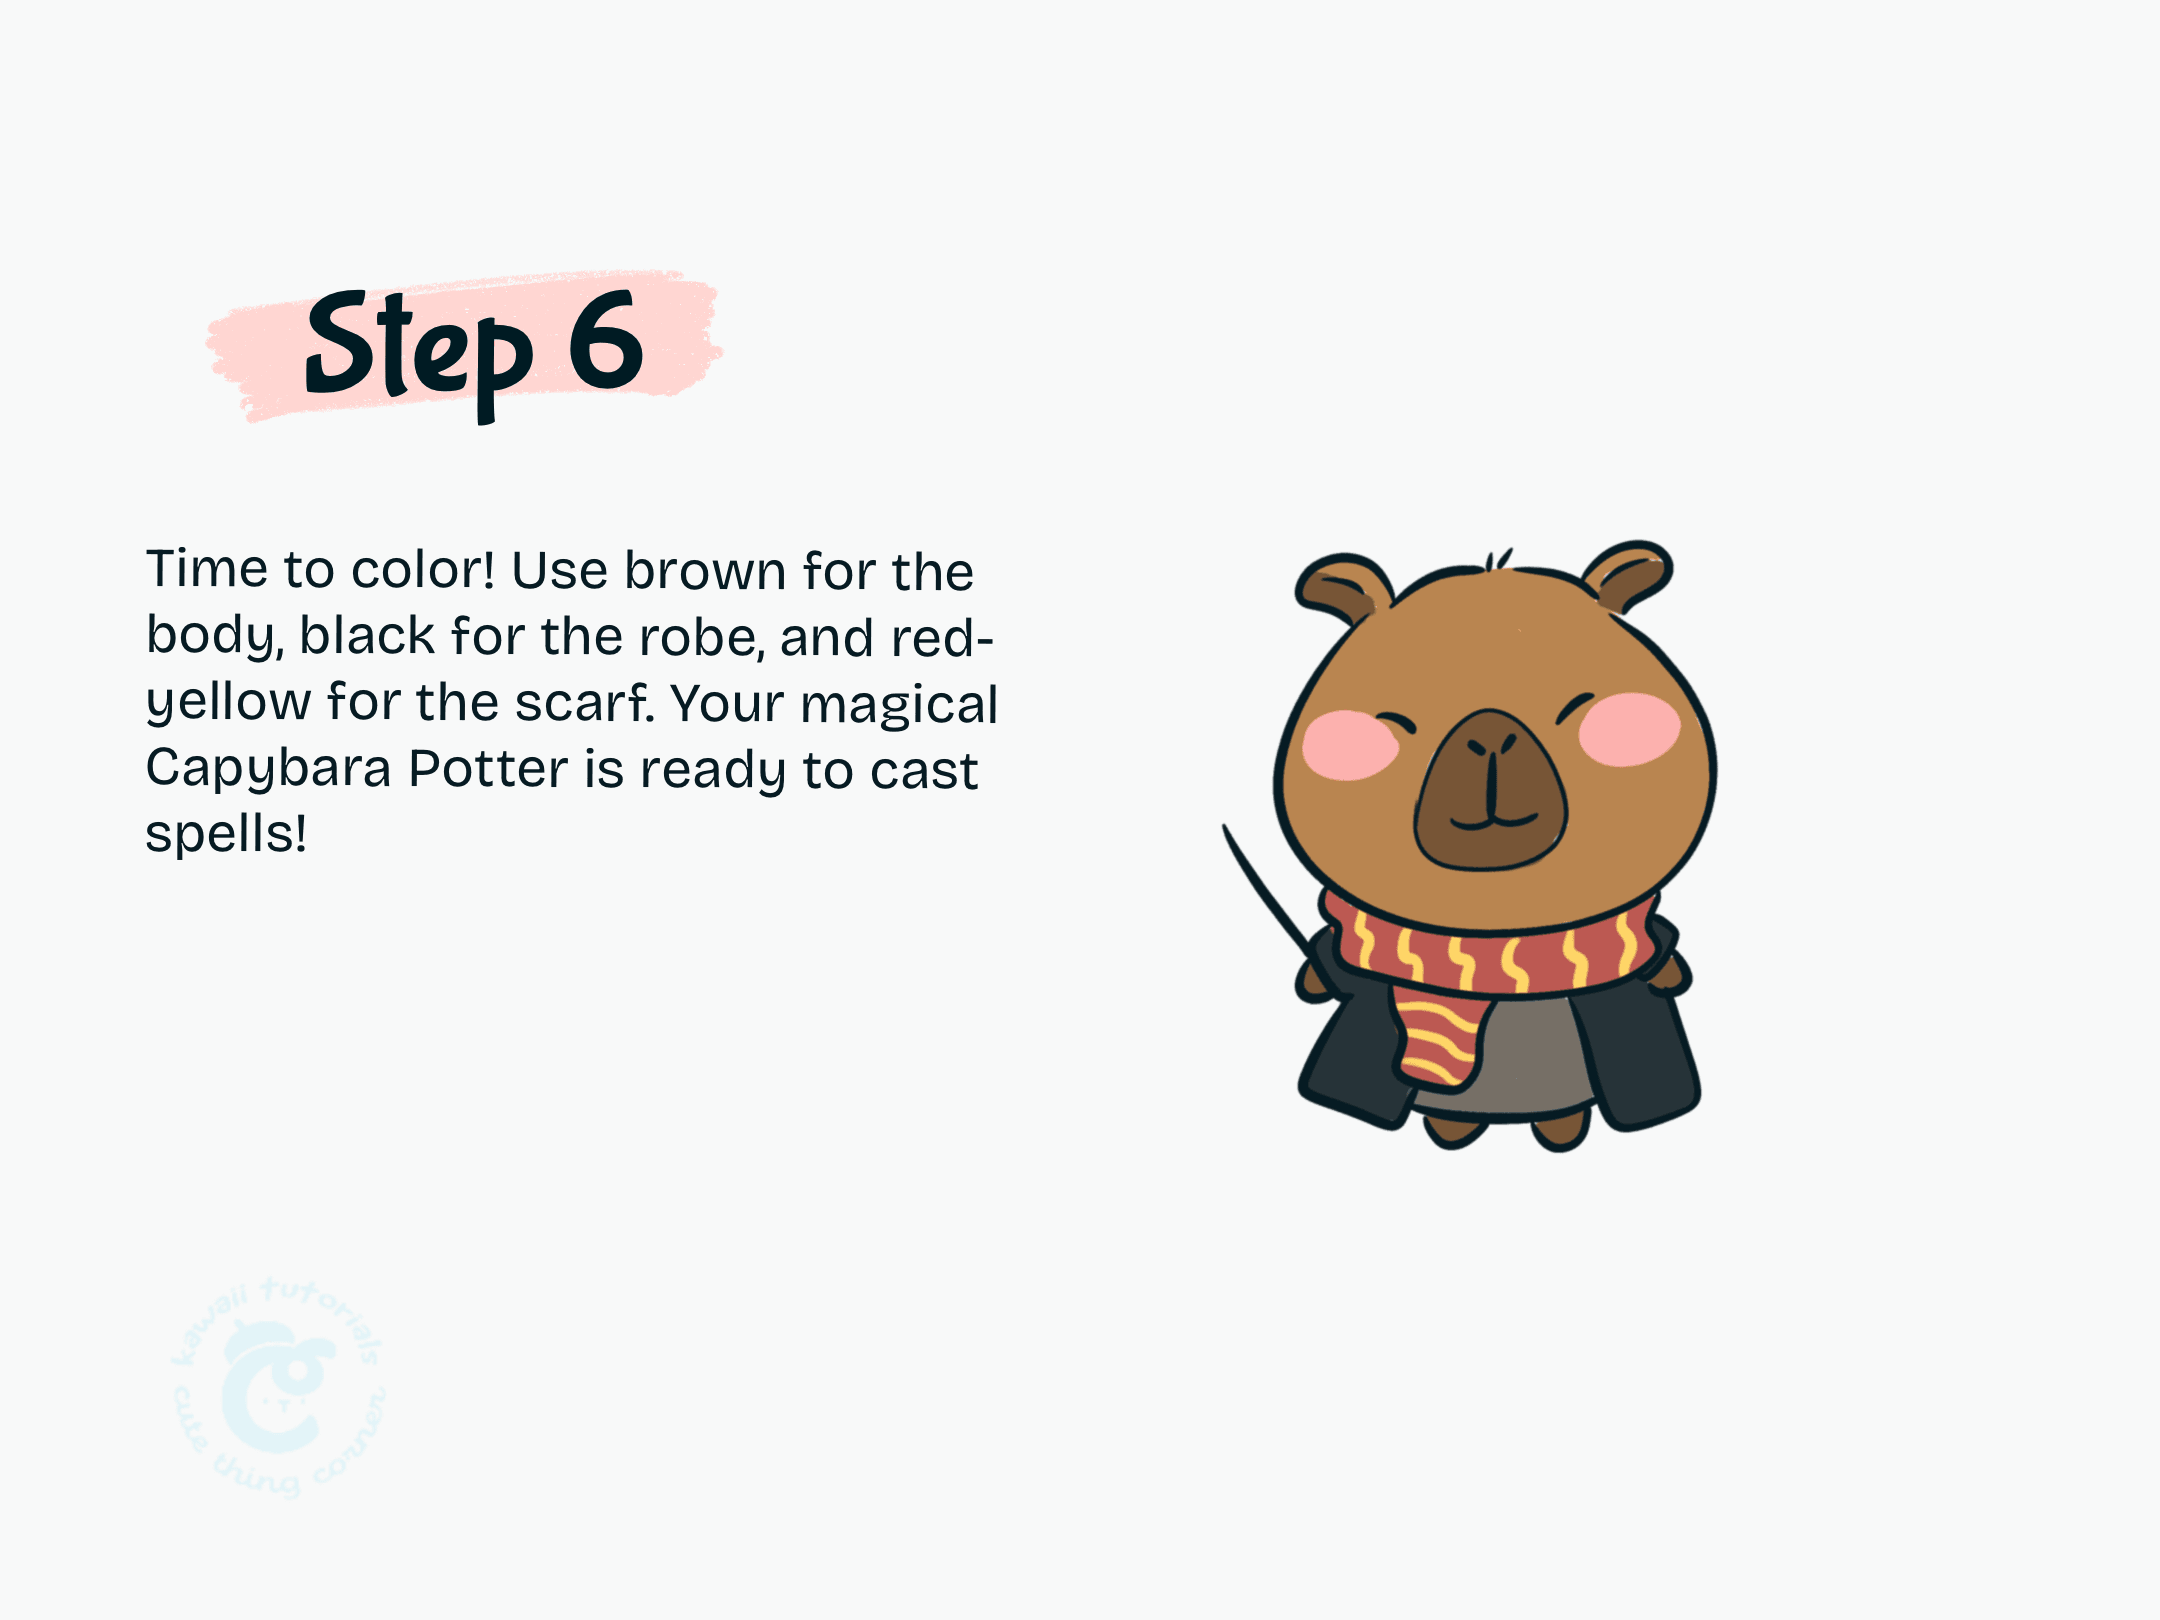
Step 6: Color Capybara Potter
Then use brown for the body, black for the robe and red-yellow for the scarf. Your magical Capybara Potter is ready to cast spells!
Step 6 Color Capybara Potter
And that’s it—you’ve drawn your own Capybara Potter! 🎉
We hope this little wizard brought some magic to your sketchbook today. Don’t forget to add your personal touch with colors and details!
✨ Want more magical creatures to draw?
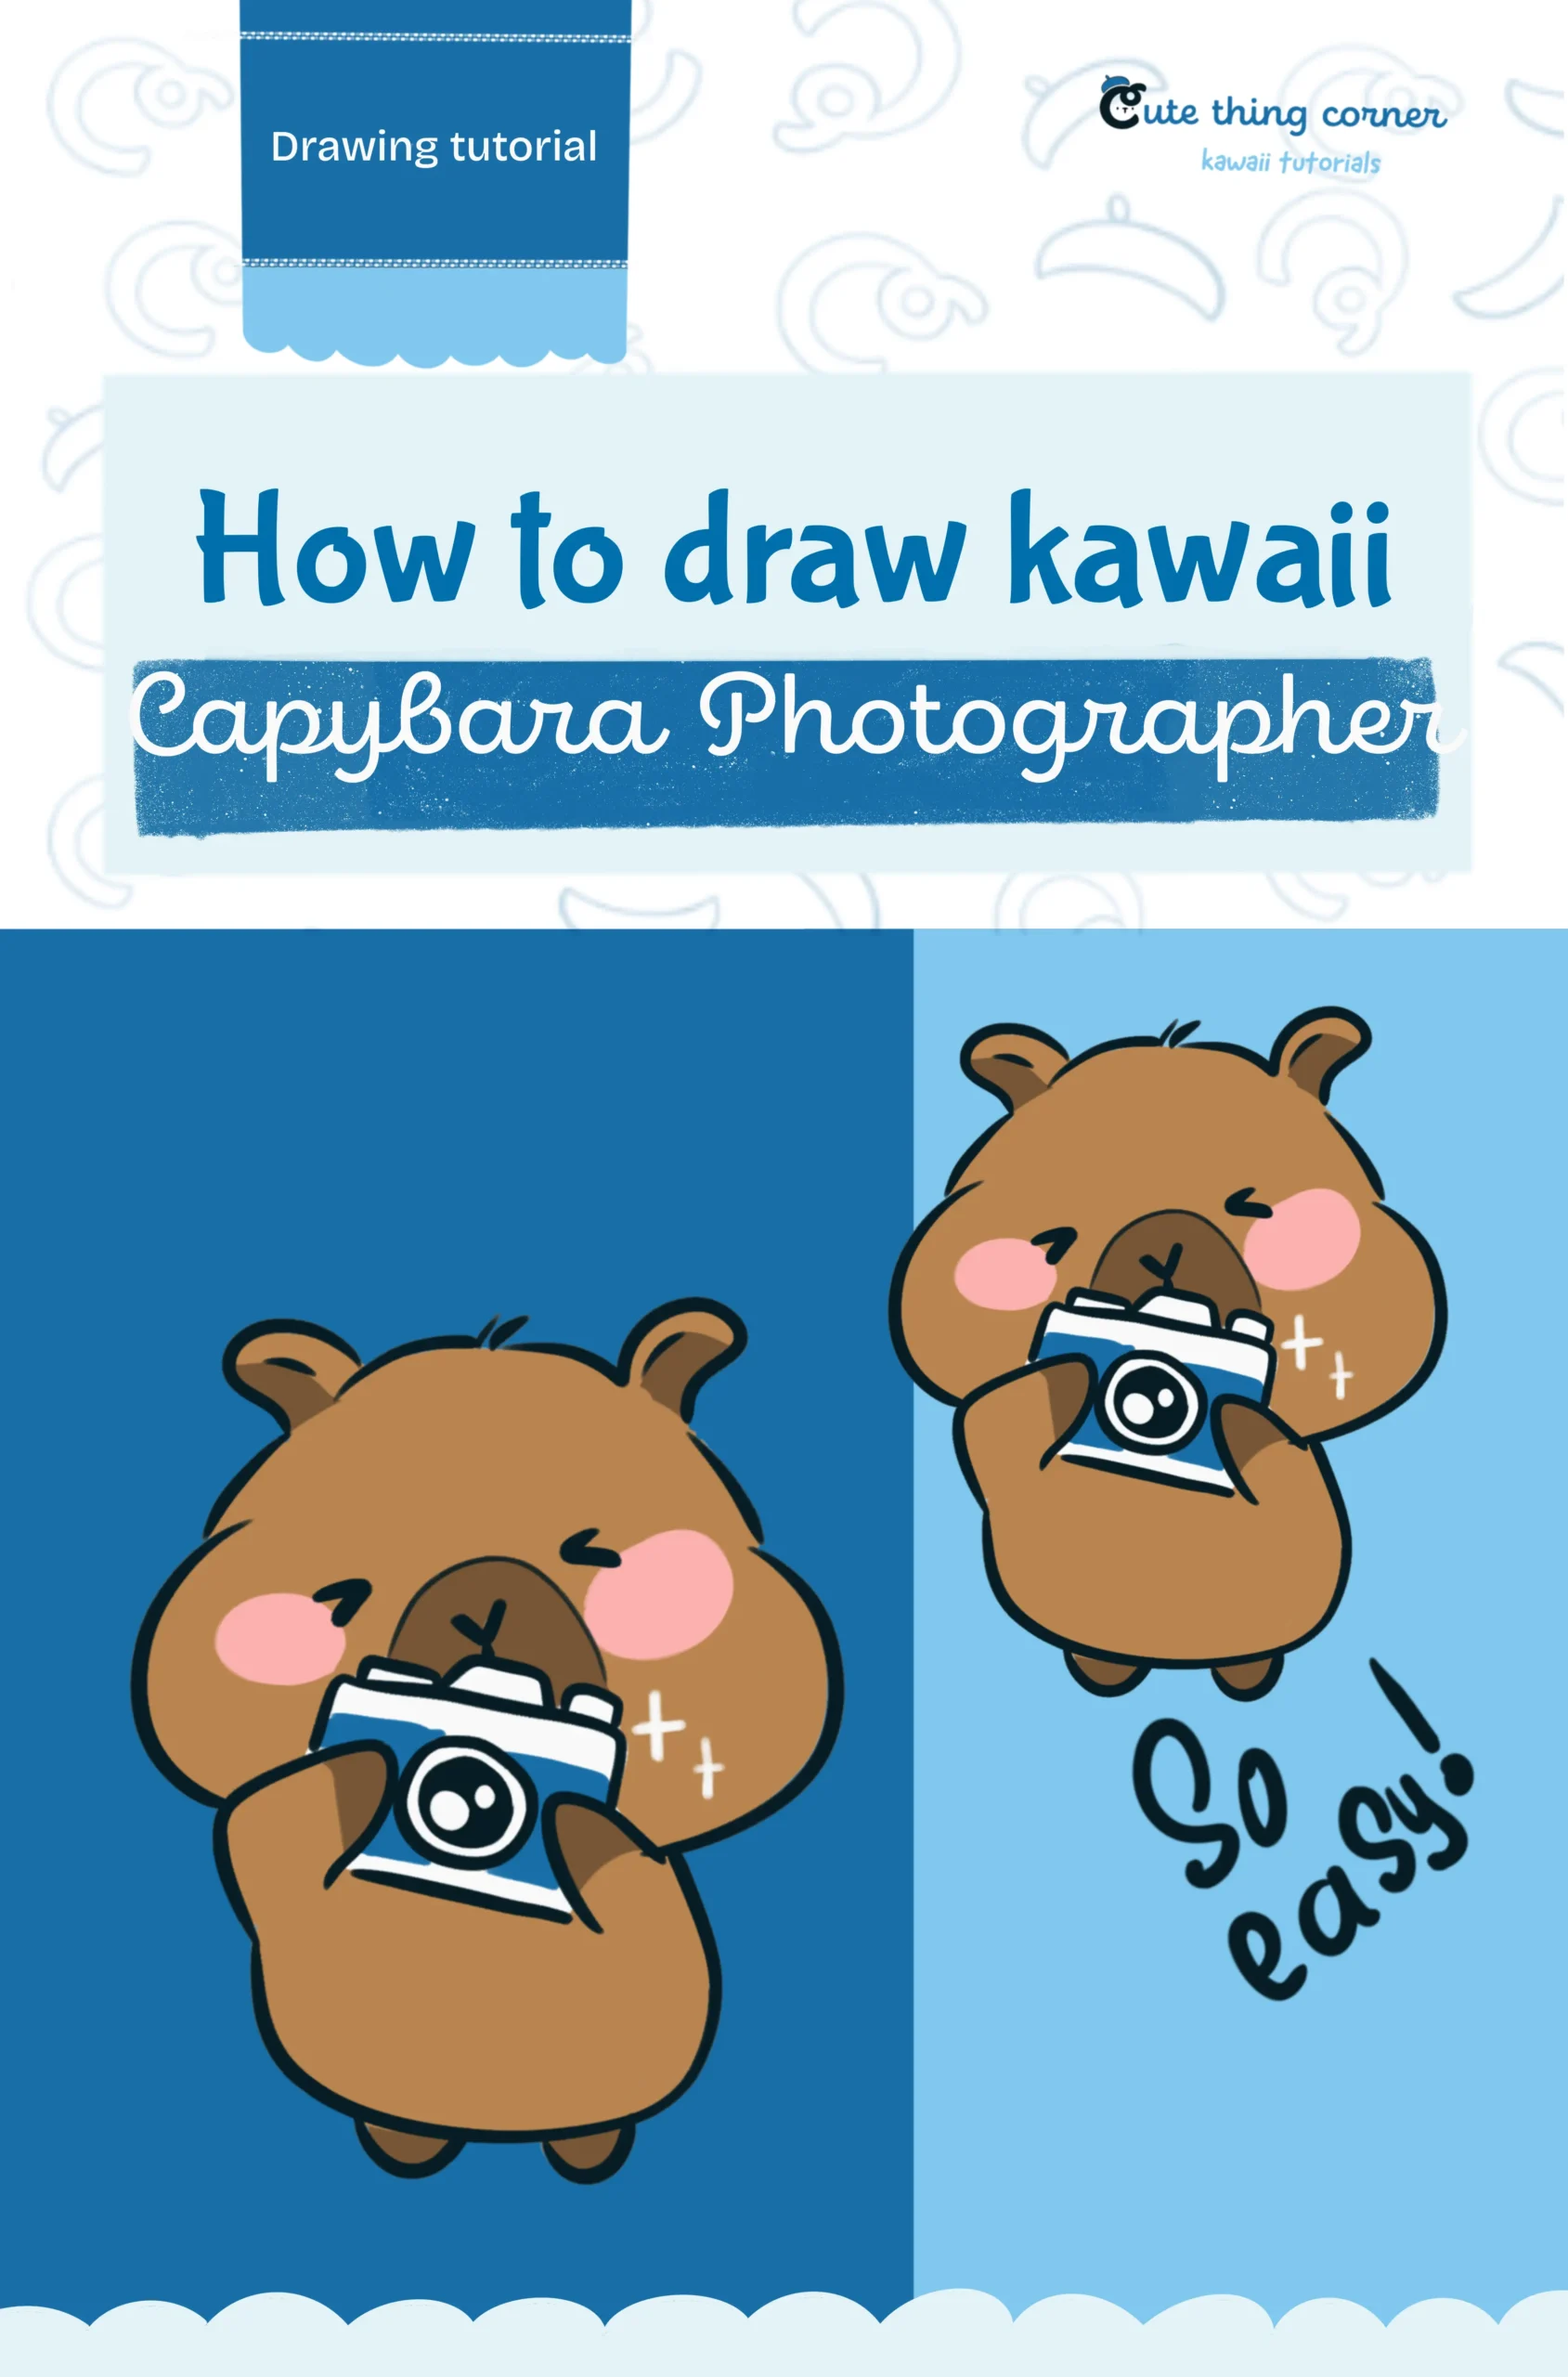
Check out more another tutorials of Capybara drawing. Such as Capybara Photographer.
And watching full tutorial with step-by-step through videos: Capybara Potter
Full steps to draw Capybara Potter with step-by-step drawing tutorial:
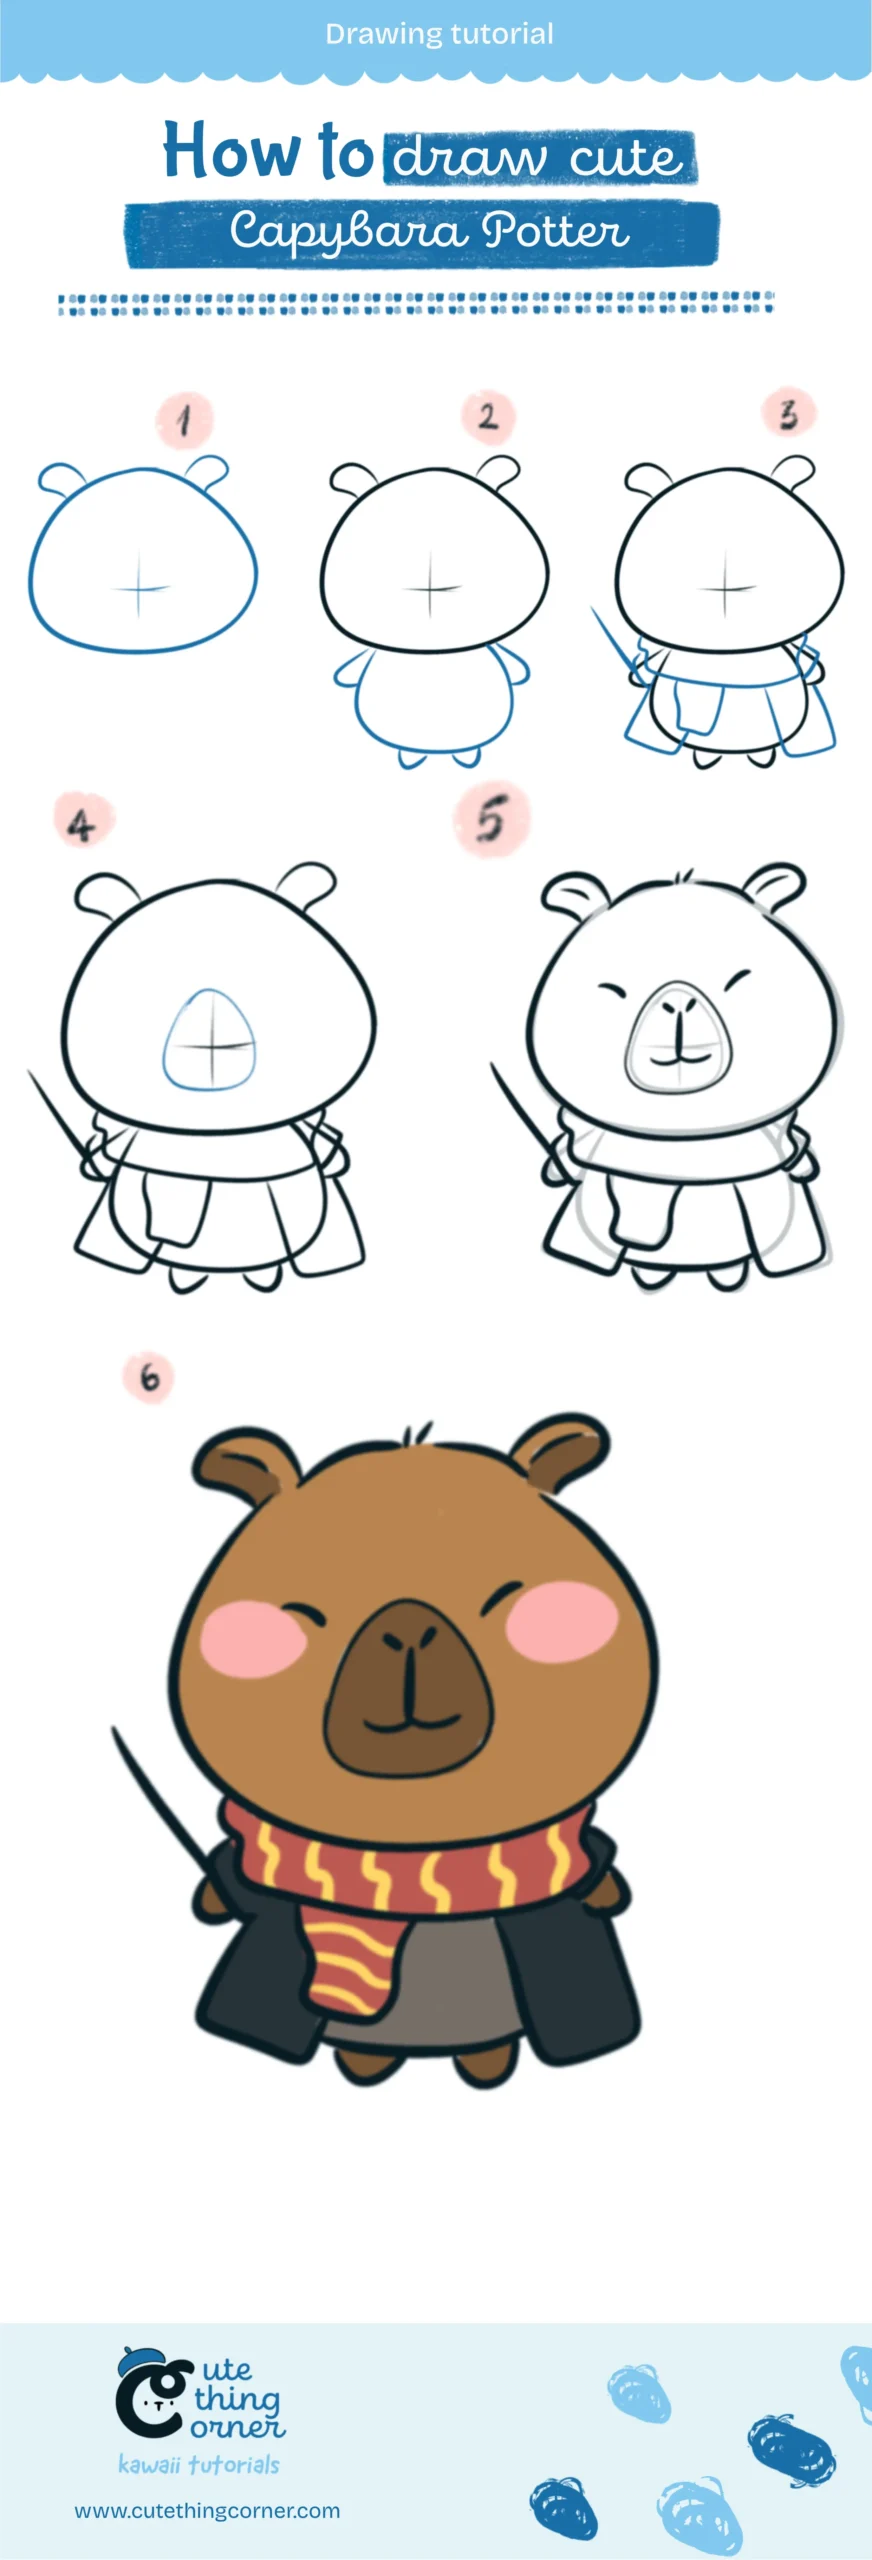
Step-by-step how to draw Capybara Potter