
Cute Thing Corner
Buy me a coffee

Chiikawa

How to Draw Chiikawa Momonga (Easy Step-by-Step Drawing Tutorial)

Want to learn how to draw Chiikawa Momonga? This easy step-by-step tutorial is perfect for beginners, kids, and Chiikawa fans who love drawing adorable kawaii characters. We’ll guide you through simple shapes to create Momonga’s fluffy…
  • Quick
  • 15 minutes
  • 6 steps
How to Draw Chiikawa Momonga (Easy Step-by-Step Drawing Tutorial)

Before You Start

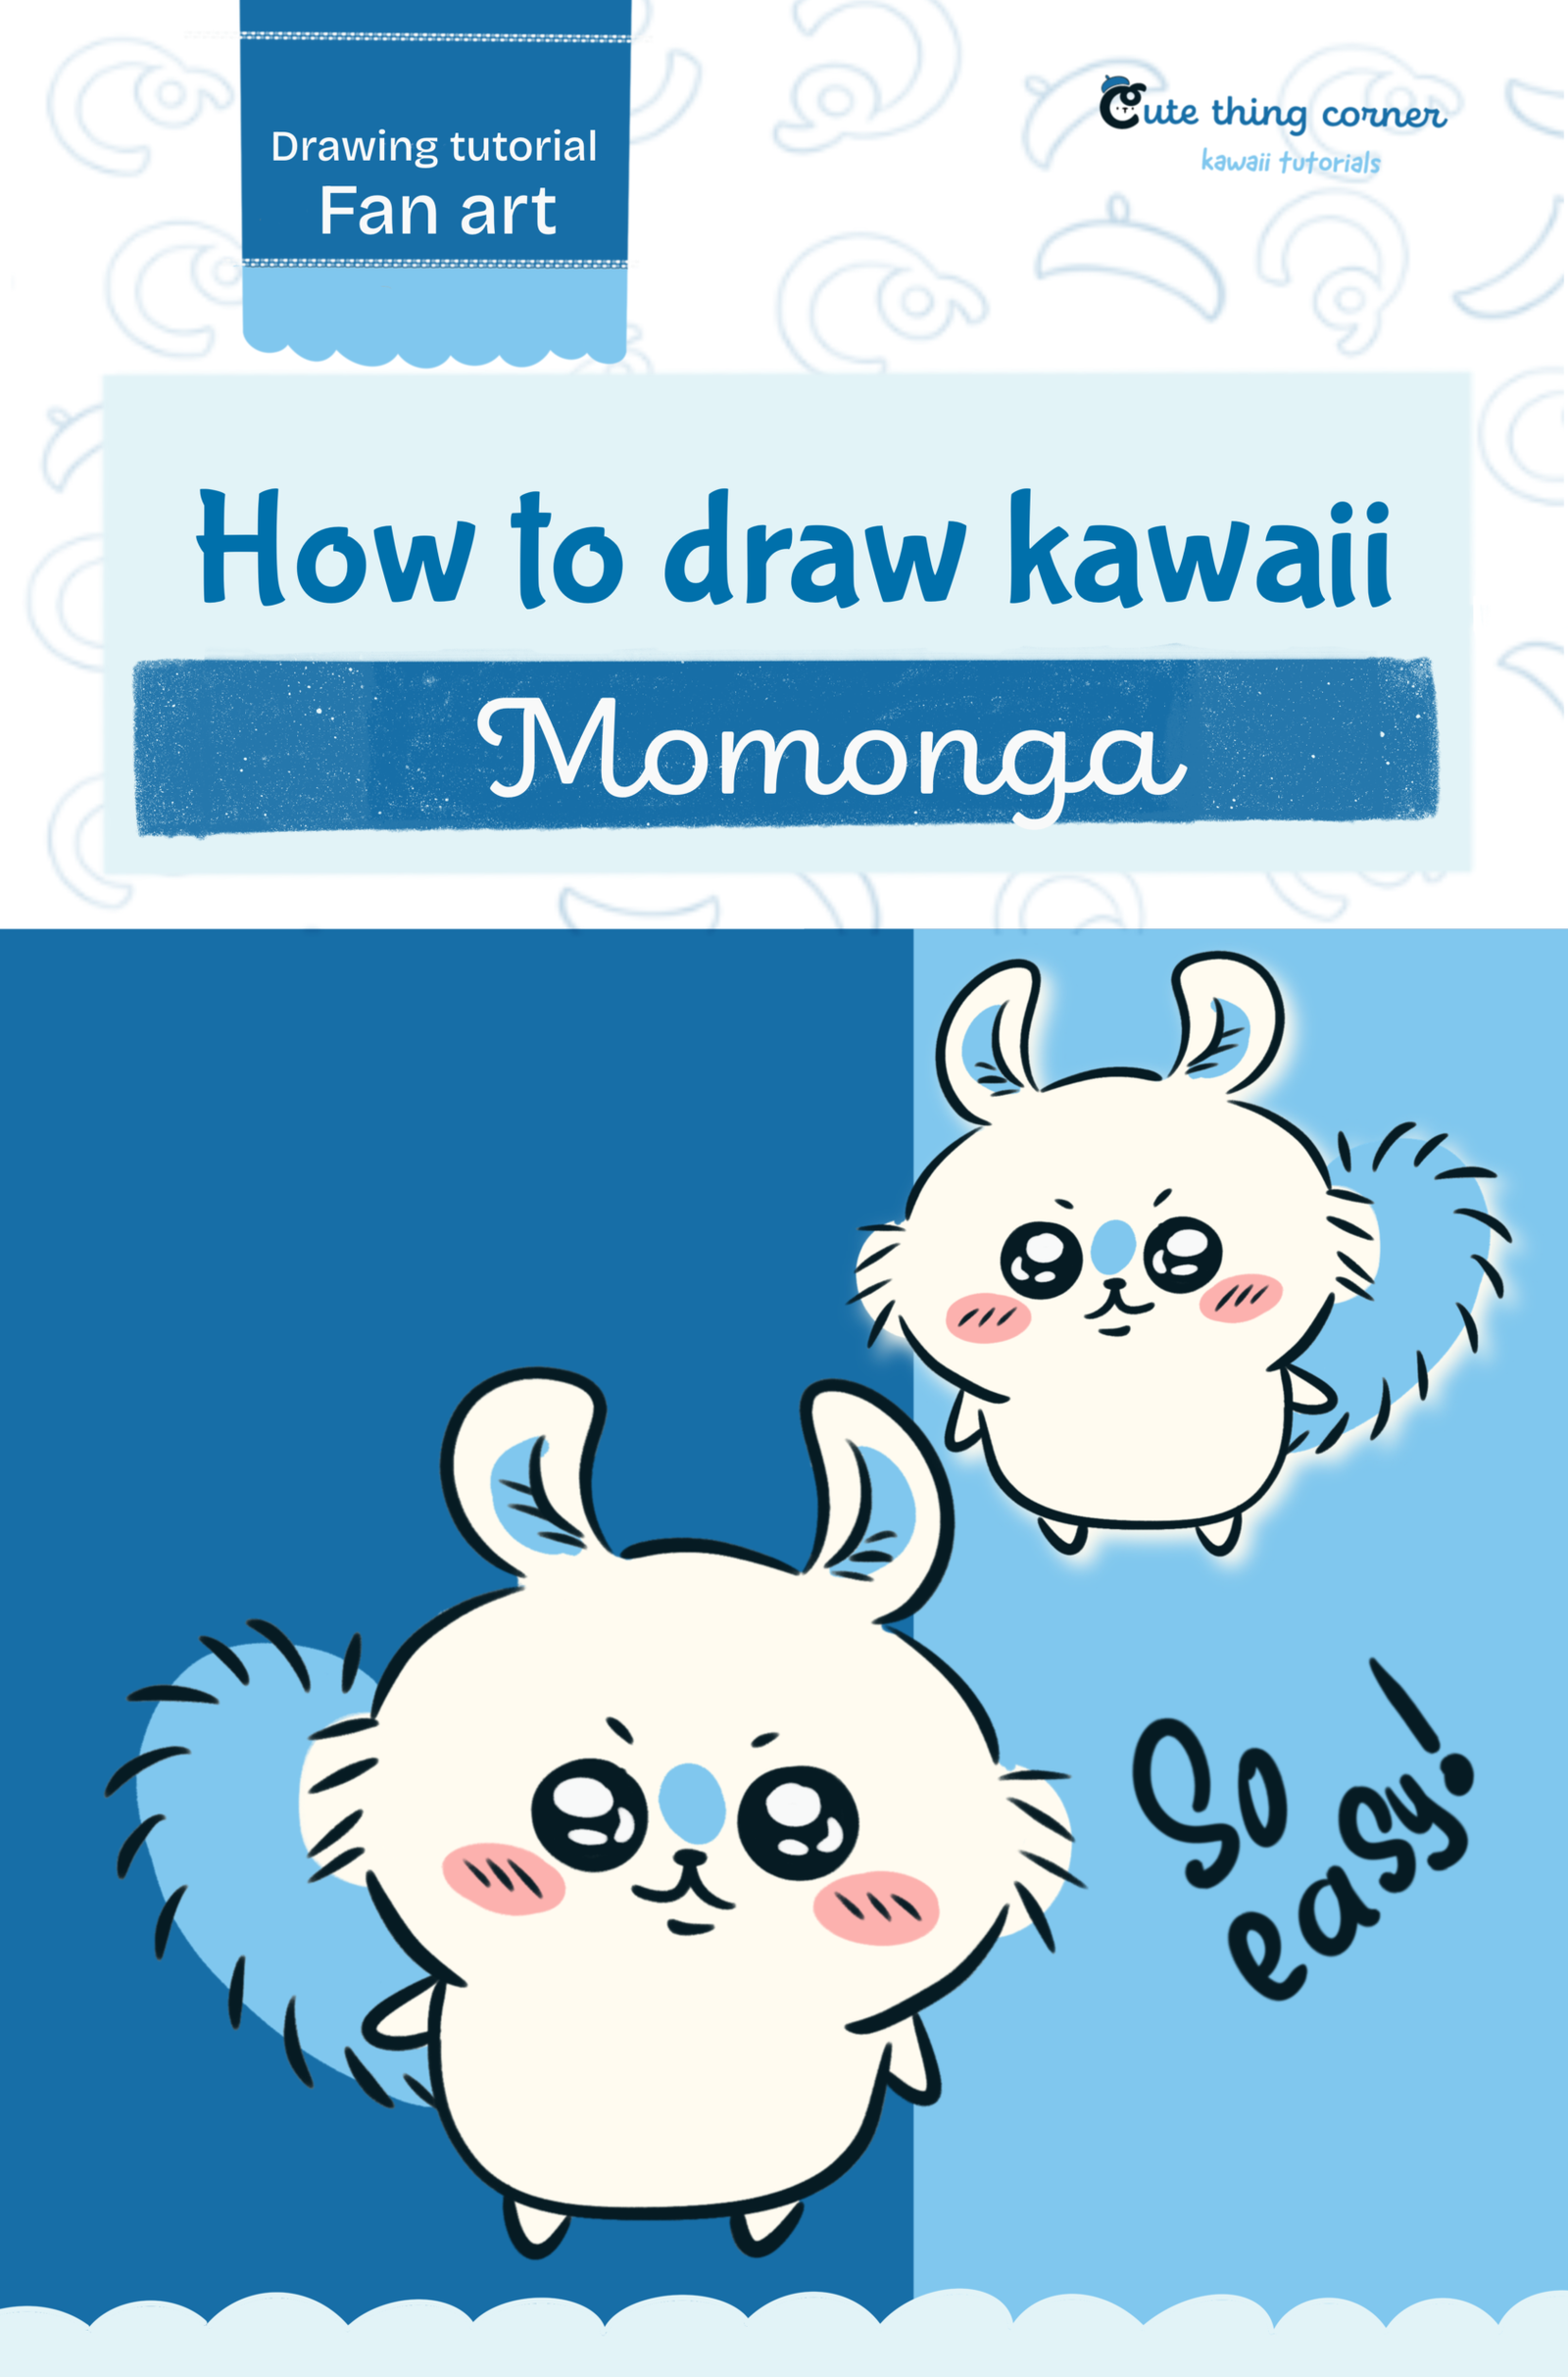
Want to learn how to draw Chiikawa Momonga? This easy step-by-step tutorial is perfect for beginners, kids, and Chiikawa fans who love drawing adorable kawaii characters. We’ll guide you through simple shapes to create Momonga’s fluffy ears, big tail, sparkling eyes, and cute expression.

Grab your pencil and let’s draw one of the cutest Chiikawa characters together!

Step 1

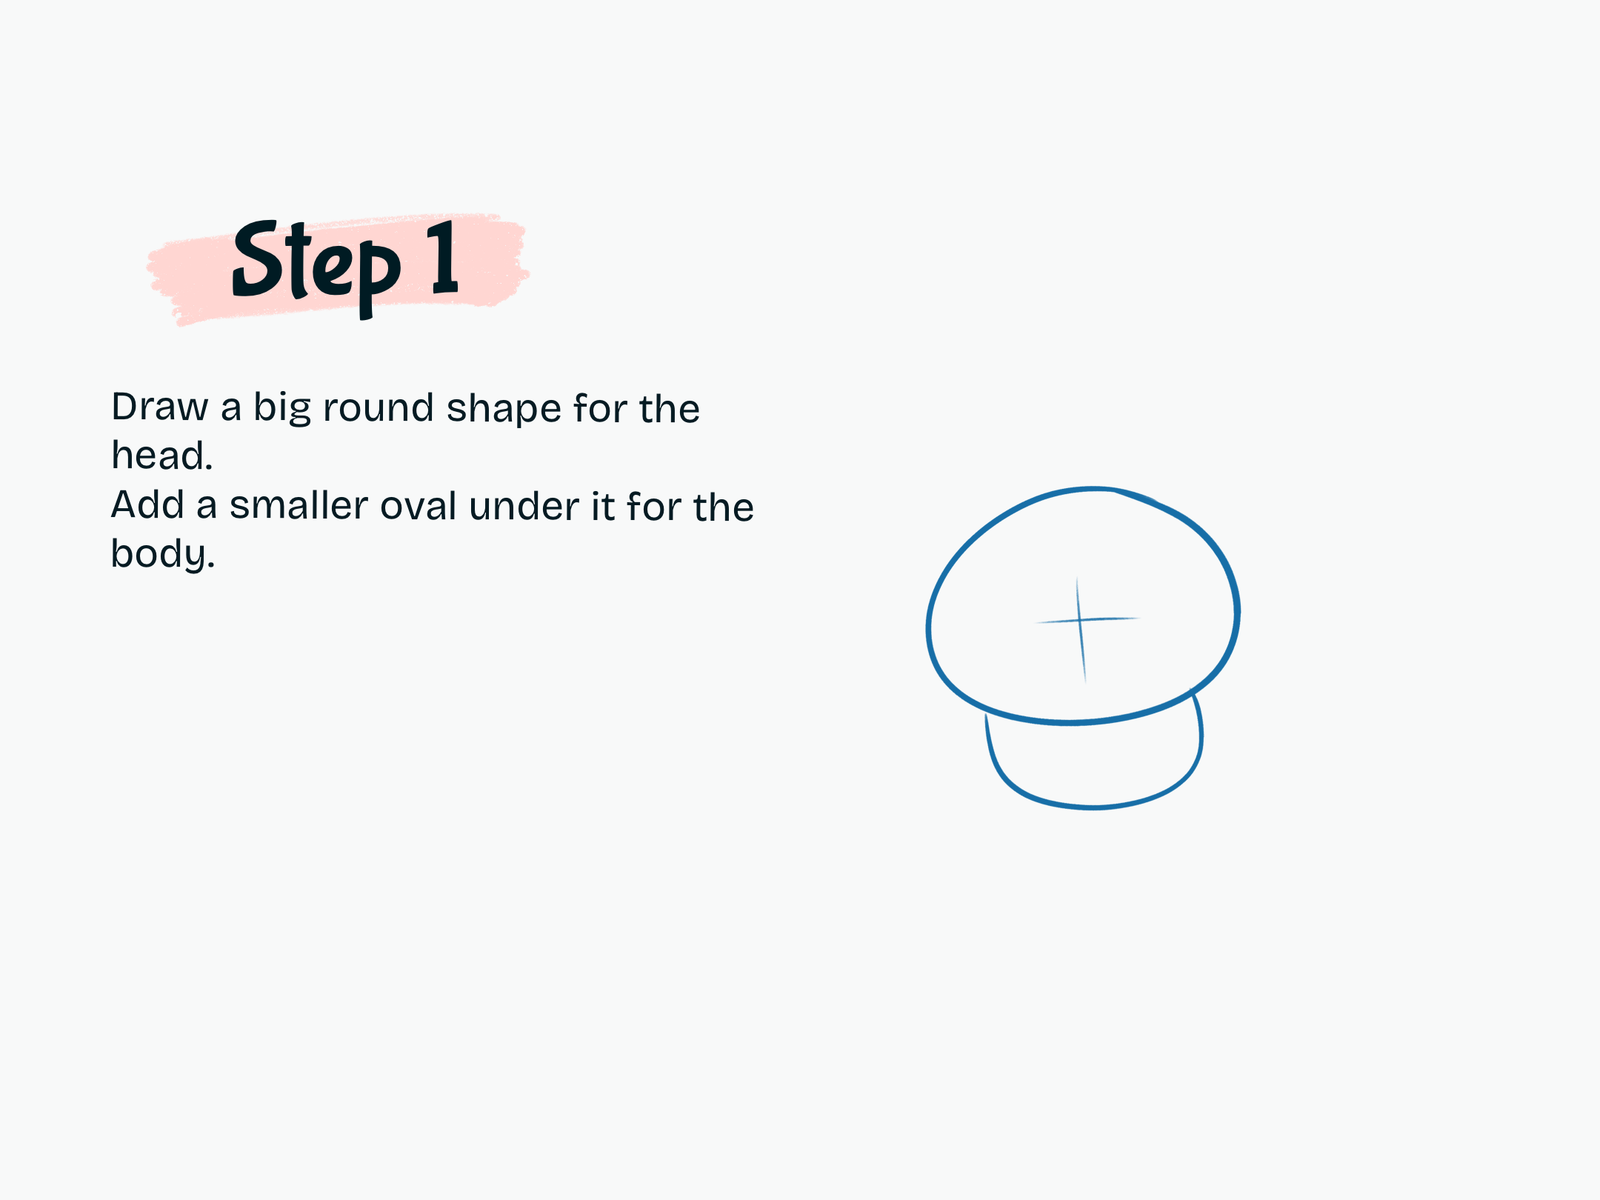
Draw the Basic Head and Body

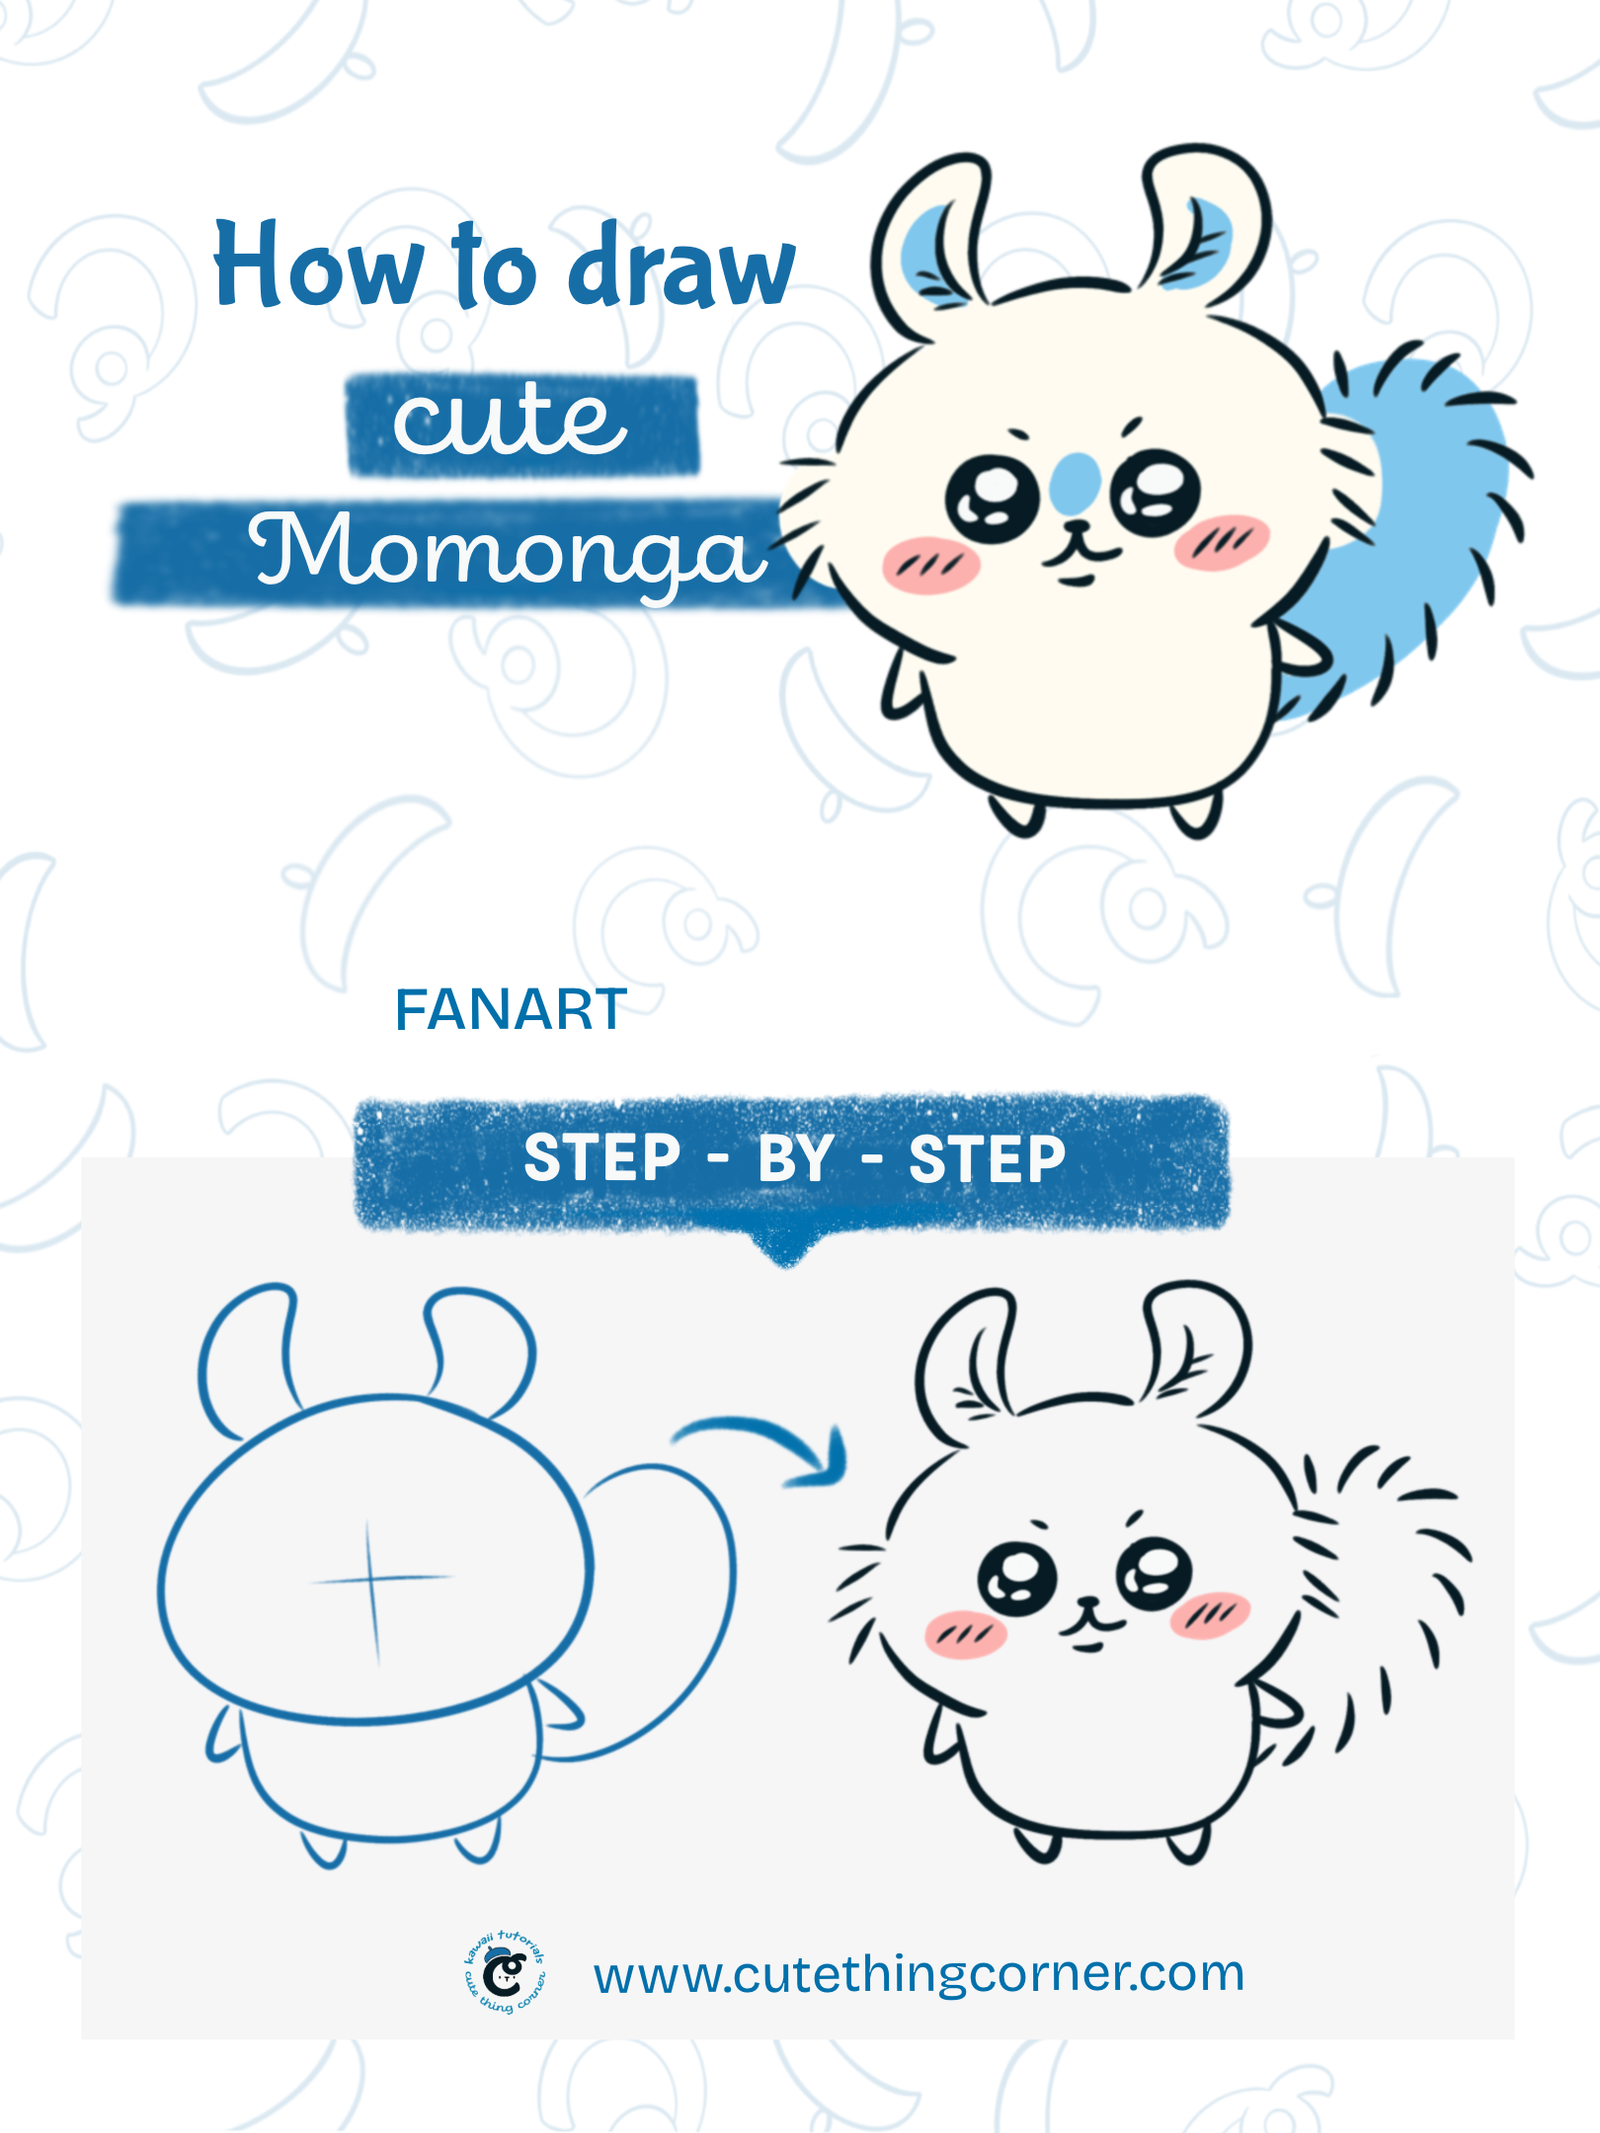
Begin by drawing a large round shape for Momonga’s head. Then sketch a smaller oval underneath for the body. Lightly add a vertical and horizontal guideline across the face to help place the facial features later.

Step 2

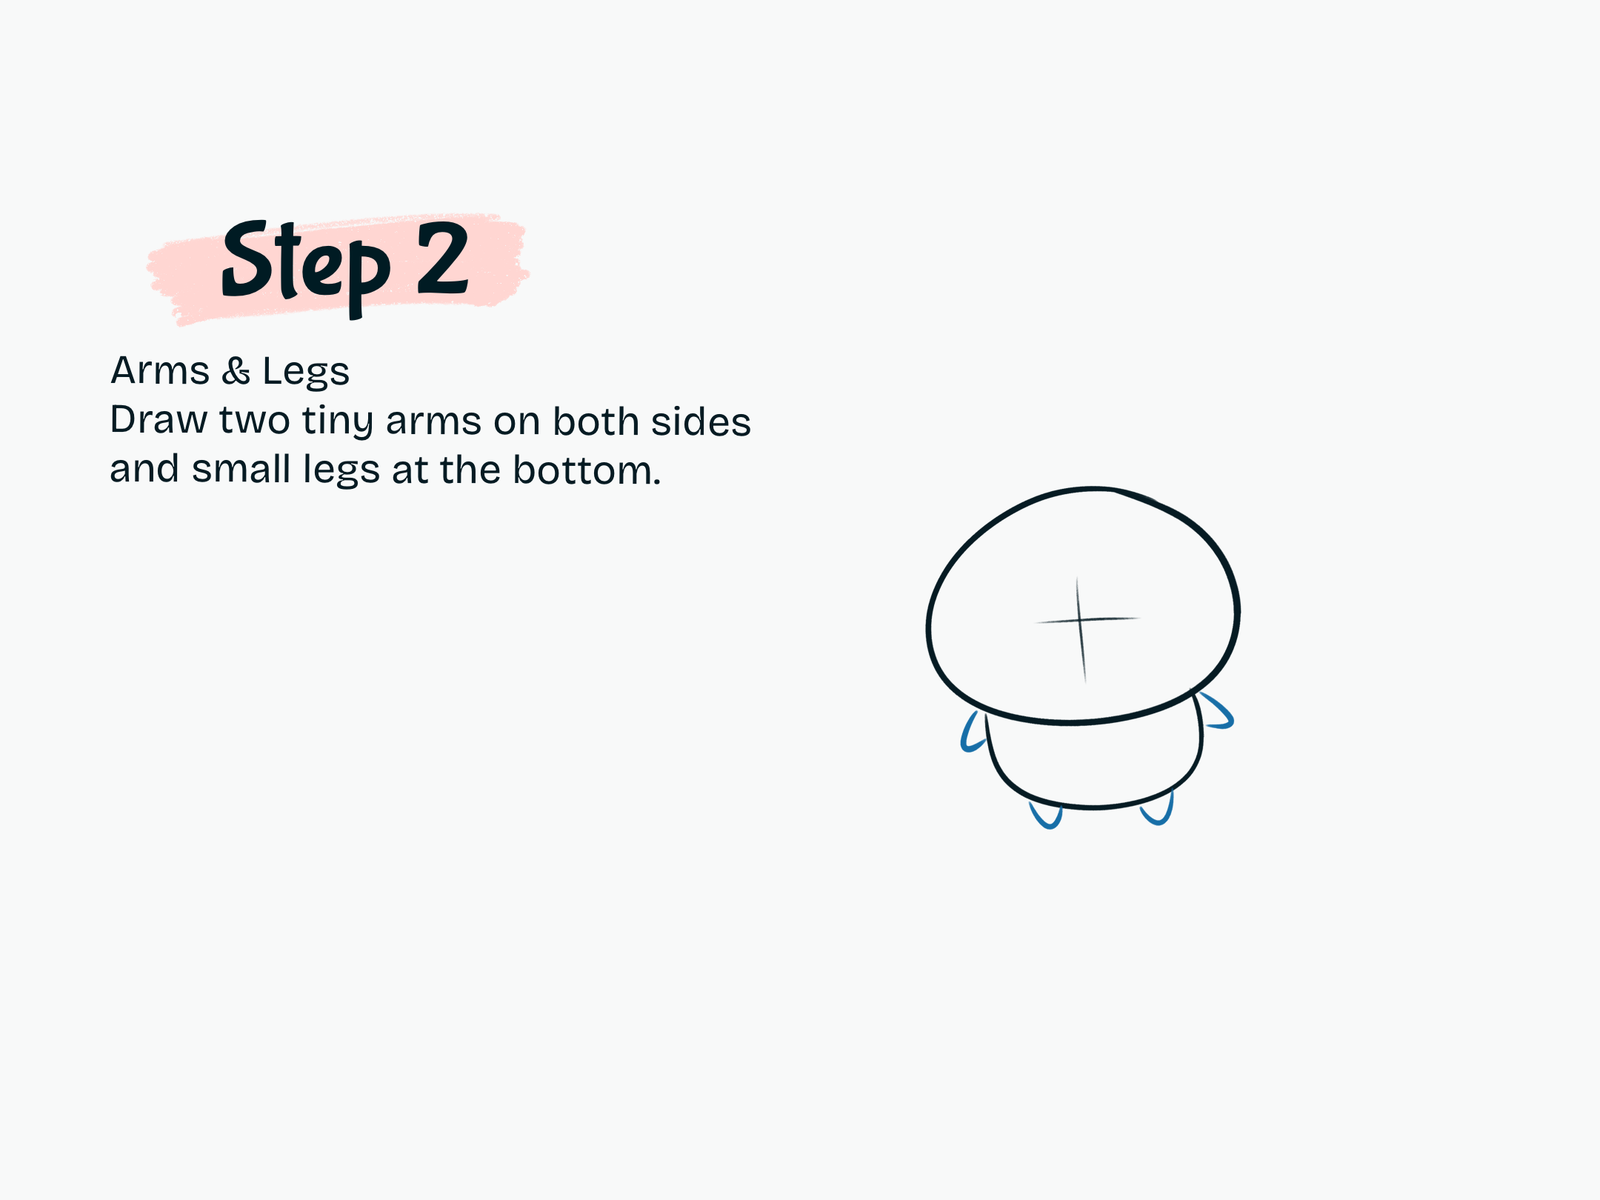
Draw the Arms and Legs

Add two tiny rounded arms on each side of the body. Next, draw two short little legs at the bottom. Keep the limbs small and rounded to match Momonga’s cute chibi proportions.

Step 3

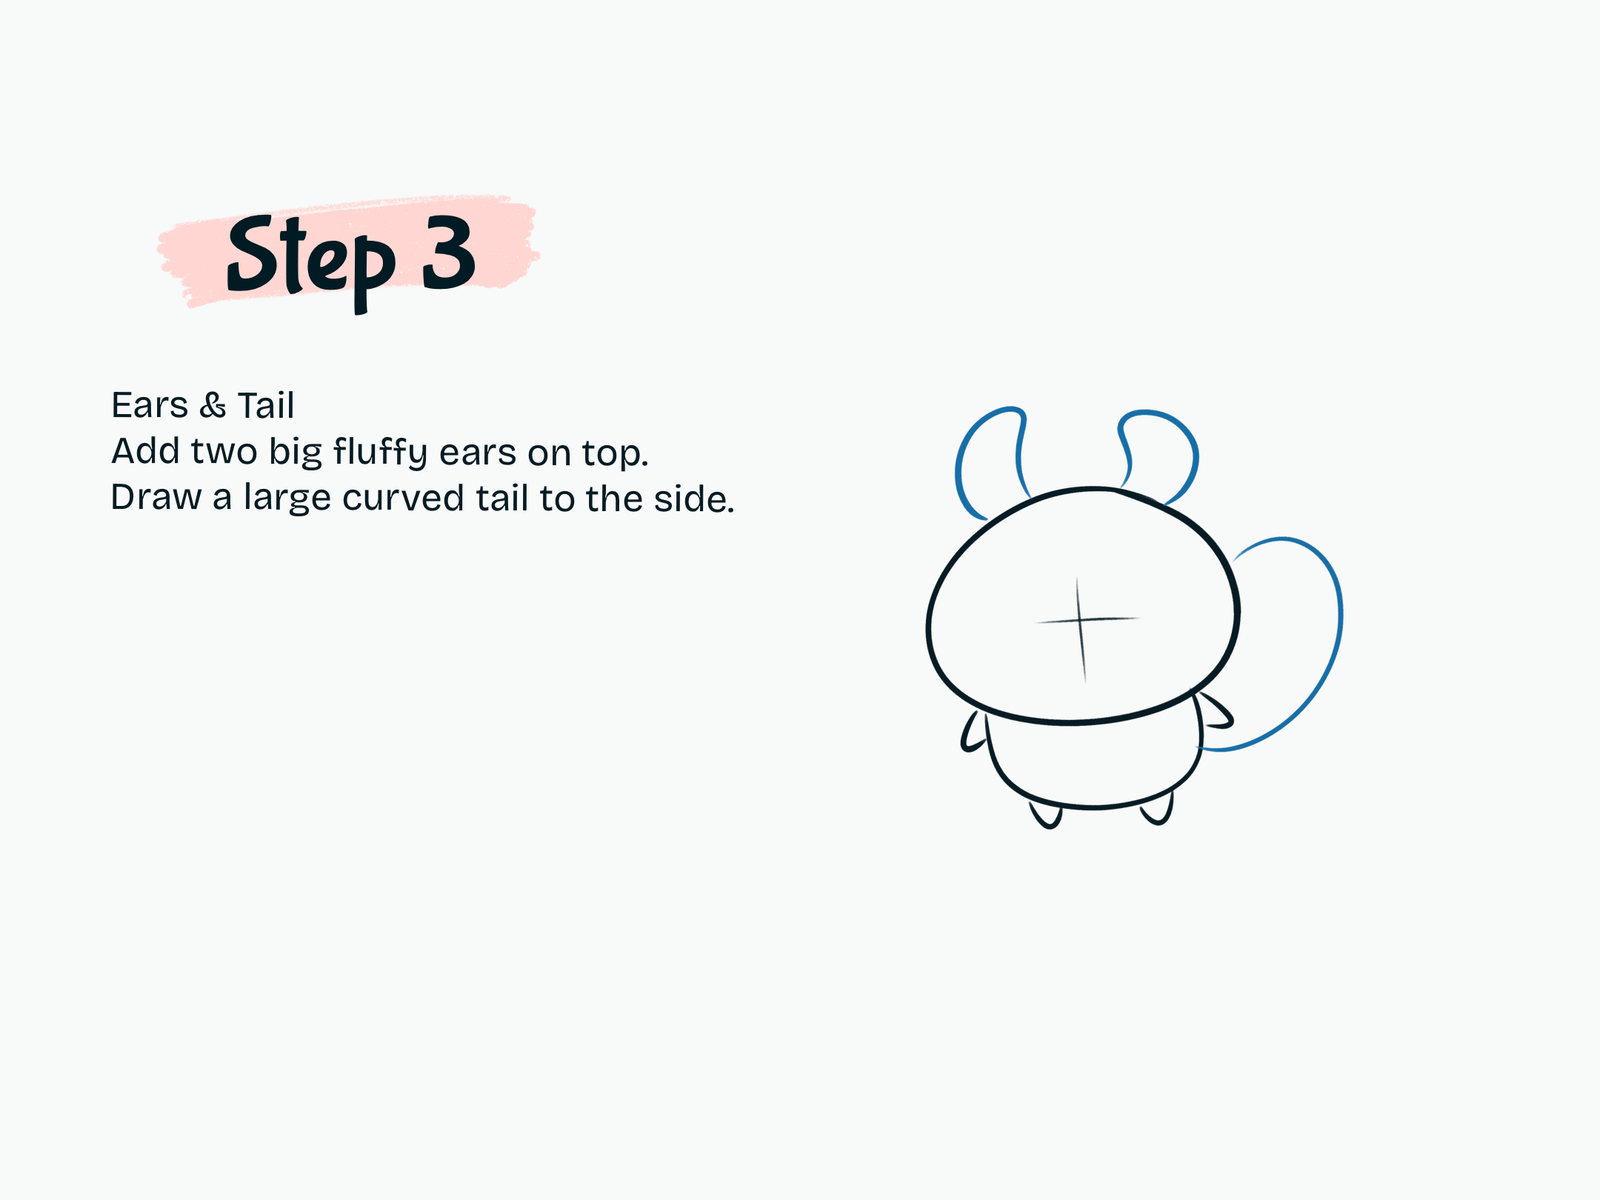
Draw the Ears and Tail

Sketch two large fluffy ears on top of the head using soft curved lines. Then draw Momonga’s oversized curved tail on one side of the body. The large tail is one of the character’s most recognizable features.

Step 4

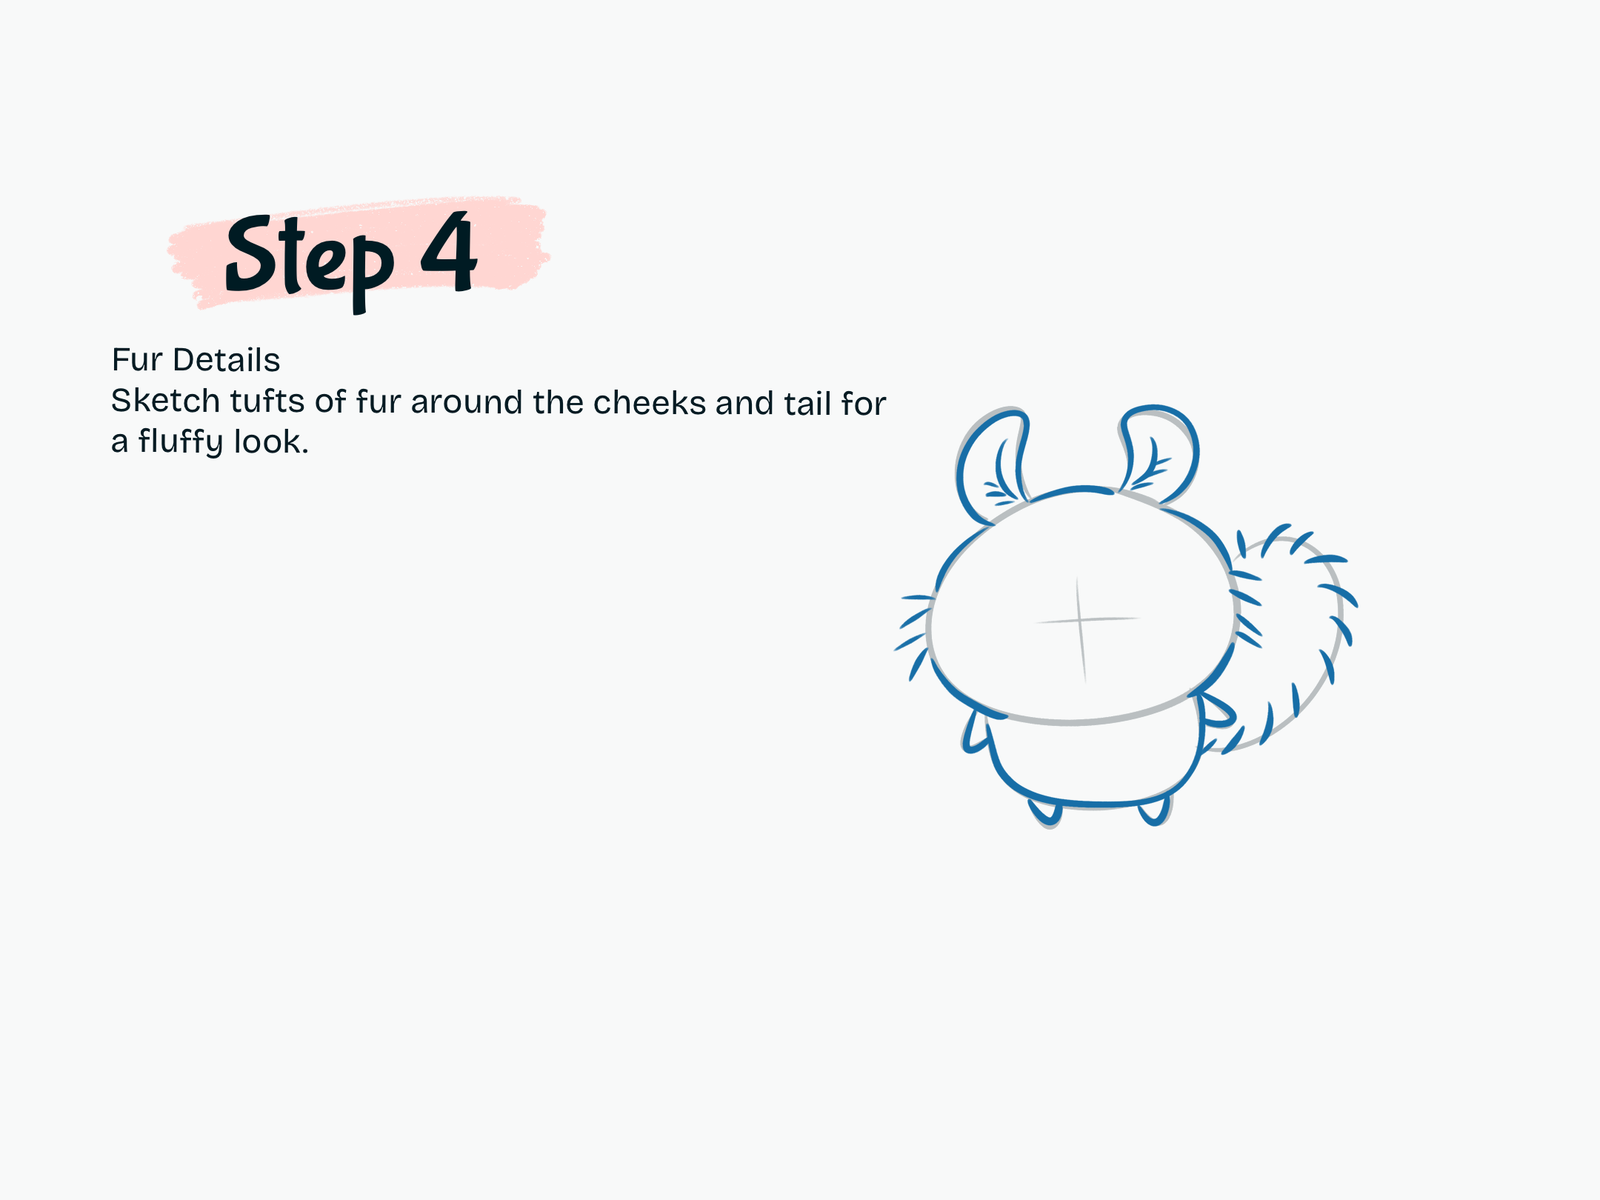
Add the Fur Details

Draw small tufts of fur around both cheeks to make the face look fluffy. Add curved fur lines around the tail and inside each ear to give the character extra texture and softness.

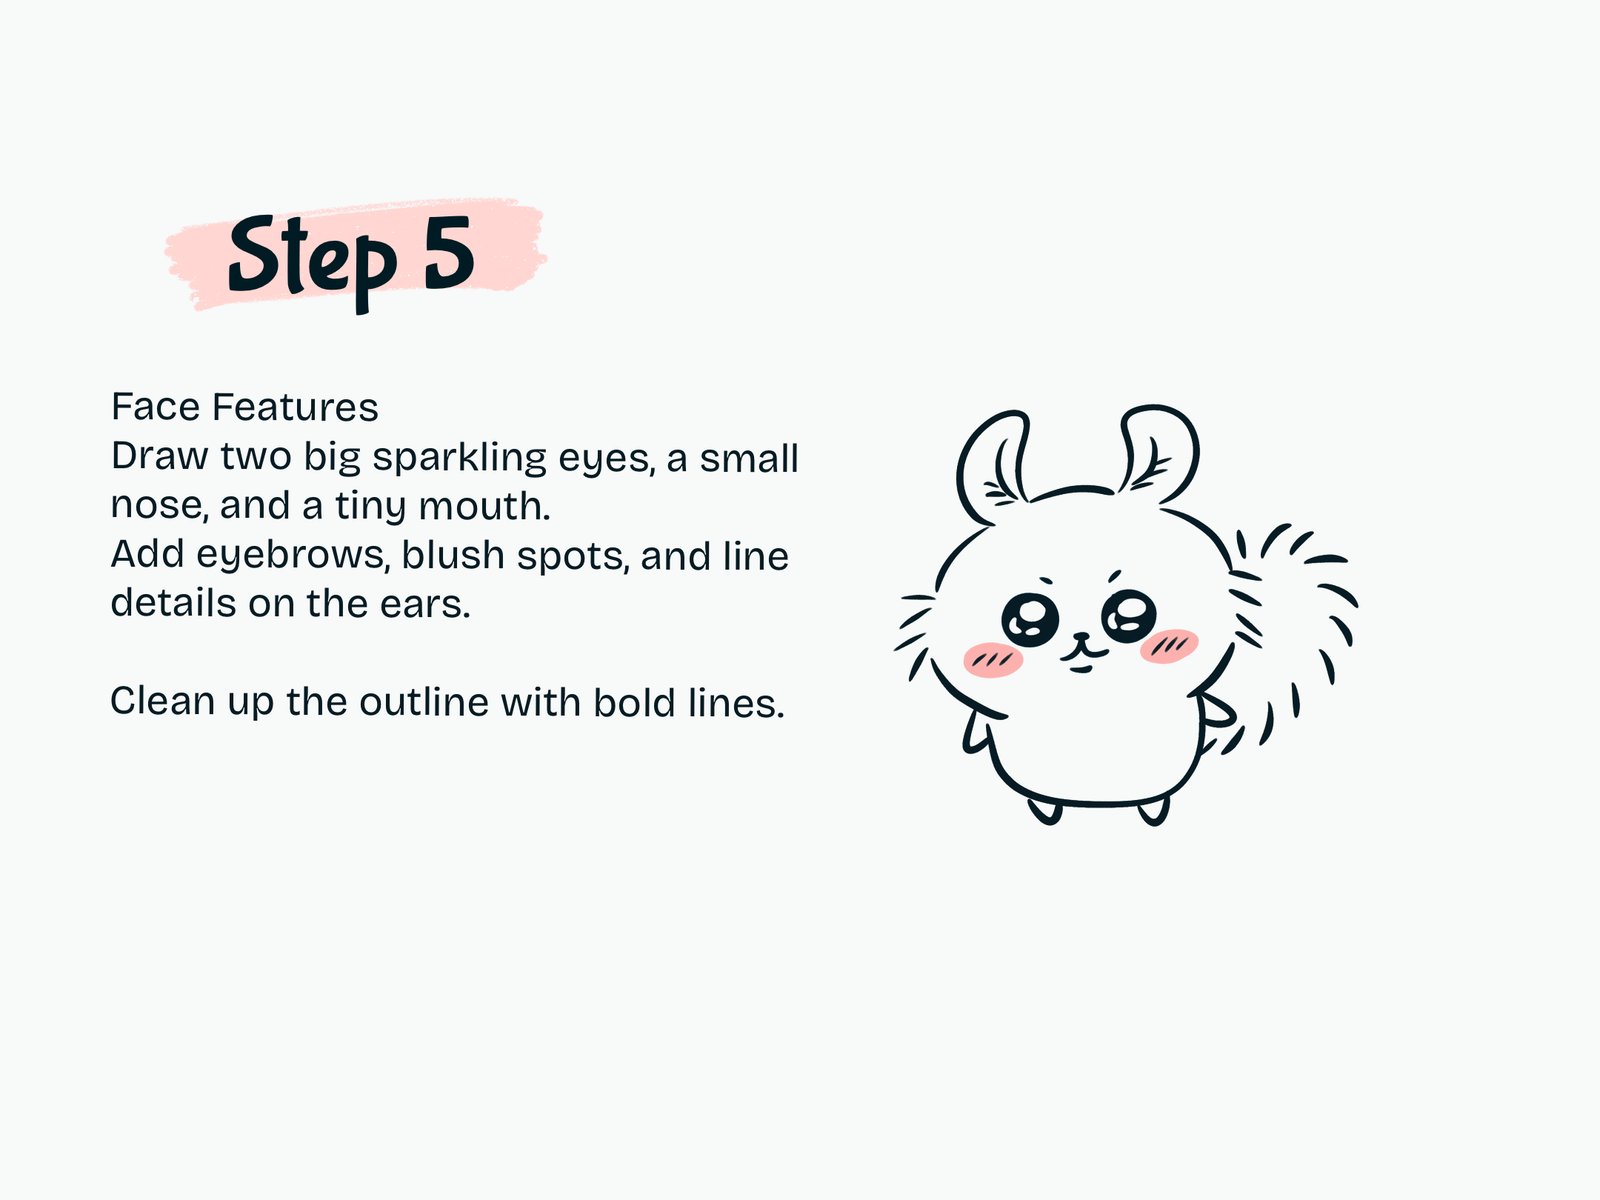
Step 5

Draw the Face

Using the guidelines, draw two large sparkling eyes. Add a tiny oval nose, a small smiling mouth, and thin eyebrows above the eyes. Finish with soft blush marks on the cheeks and clean up the outline with bold, smooth lines.

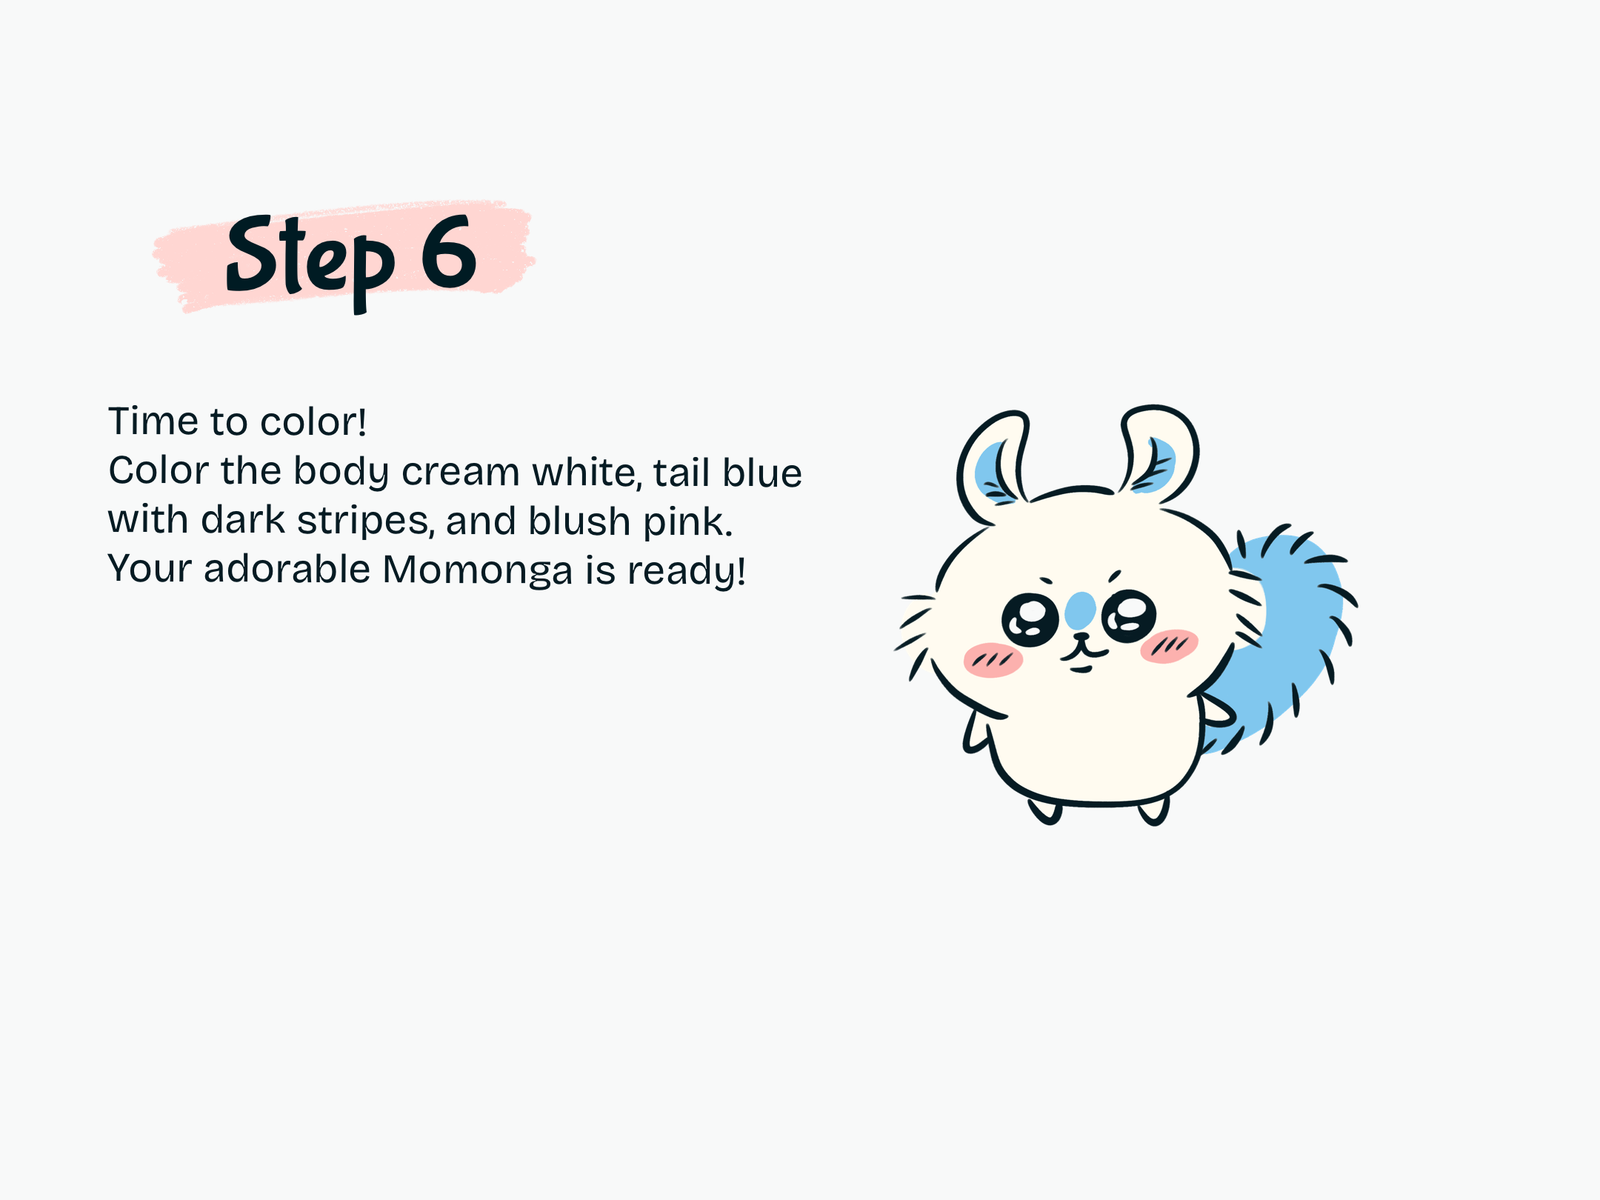
Step 6

Color Your Momonga

Color the body with a soft cream or warm white tone. Fill the tail with light blue and add darker blue stripes near the edges. Color the nose light blue, add pink blush to the cheeks, and keep the eyes bright with white highlights. Your adorable Chiikawa Momonga is now complete!

Drawing Resources

A few tools and books that can make drawing easier and more fun.

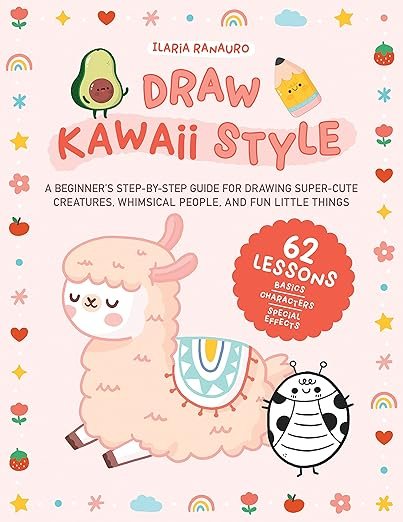
Kawaii Drawing Book

Kawaii Drawing Book

A simple guide for cute characters and beginner-friendly sketching.

View on Amazon
iPad for Digital Drawing

iPad for Digital Drawing

A great digital drawing tool for sketching cute tutorials anywhere.

View on Amazon
Apple Pencil

Apple Pencil

Perfect for line art, note-taking, and digital doodling.

View on Amazon
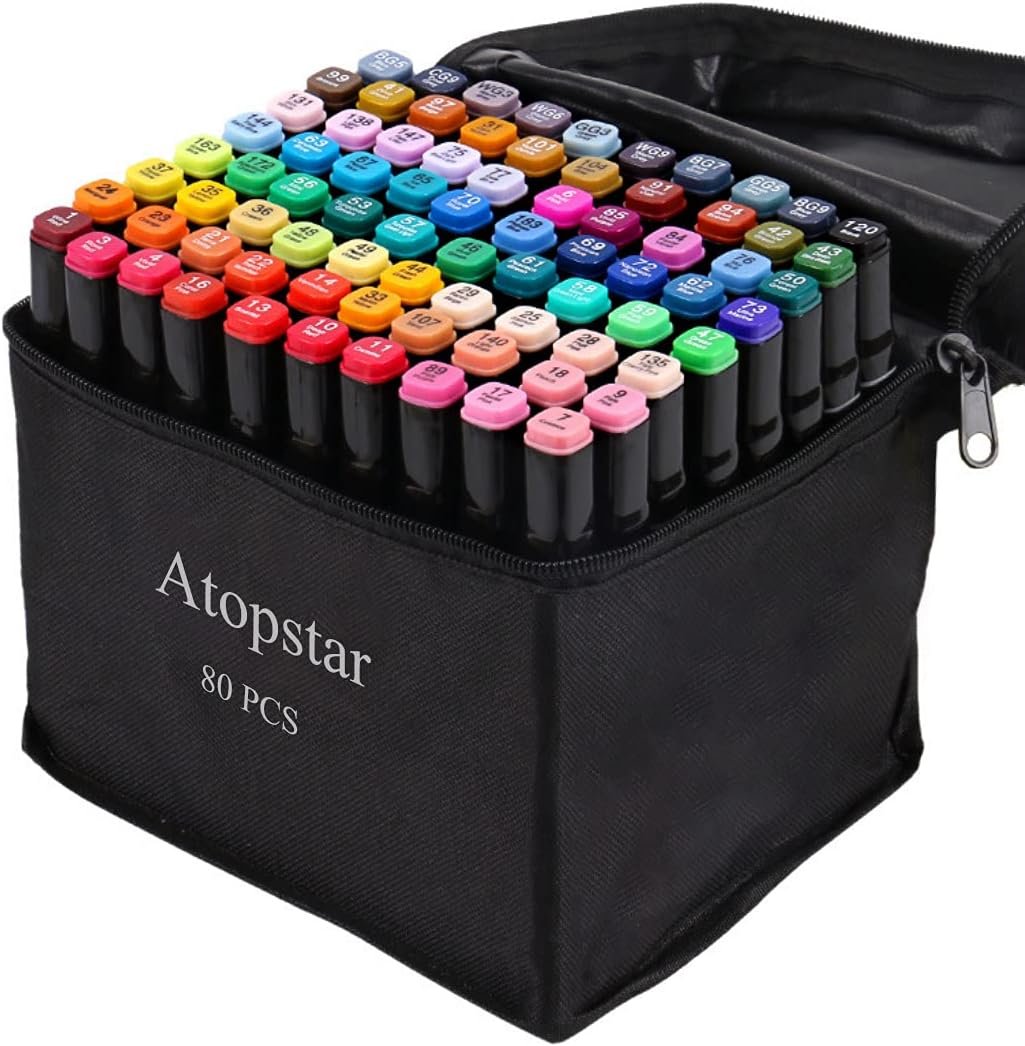
Colors Alcohol Markers

Colors Alcohol Markers

Smooth, vibrant markers for coloring cute drawings.

View on Amazon
Sketchbook

Sketchbook

A nice everyday sketchbook for practice and doodles.

View on Amazon
Fine Line Pens

Fine Line Pens

Helpful for clean outlines and cute little details.

View on Amazon

Some links may be affiliate links, which means Cute Thing Corner may earn a small commission at no extra cost to you.

Final Tips

Tips for Drawing Chiikawa Momonga

  • Keep the head much larger than the body.
  • Draw oversized ears and a fluffy tail for the signature Momonga look.
  • Use soft curved lines instead of sharp corners.
  • Make the eyes large with shiny highlights for extra cuteness.
  • Add small fur tufts around the cheeks and tail for more personality.

Final Thoughts

Congratulations! You’ve learned how to draw Chiikawa Momonga in just a few easy steps. By starting with simple shapes and adding fluffy details little by little, you can create an adorable kawaii character that’s fun to draw.

Keep practicing different Chiikawa characters like Chiikawa, Hachiware, and Usagi to build your kawaii drawing skills. Be sure to explore more easy step-by-step drawing tutorials on Cute Thing Corner and keep creating cute art every day!

Leave a Comment