
Cute Thing Corner
Buy me a coffee

Brainrot Animals

How to Draw Cute Piccione Machine | Easy Step-by-Step Drawing Tutorial

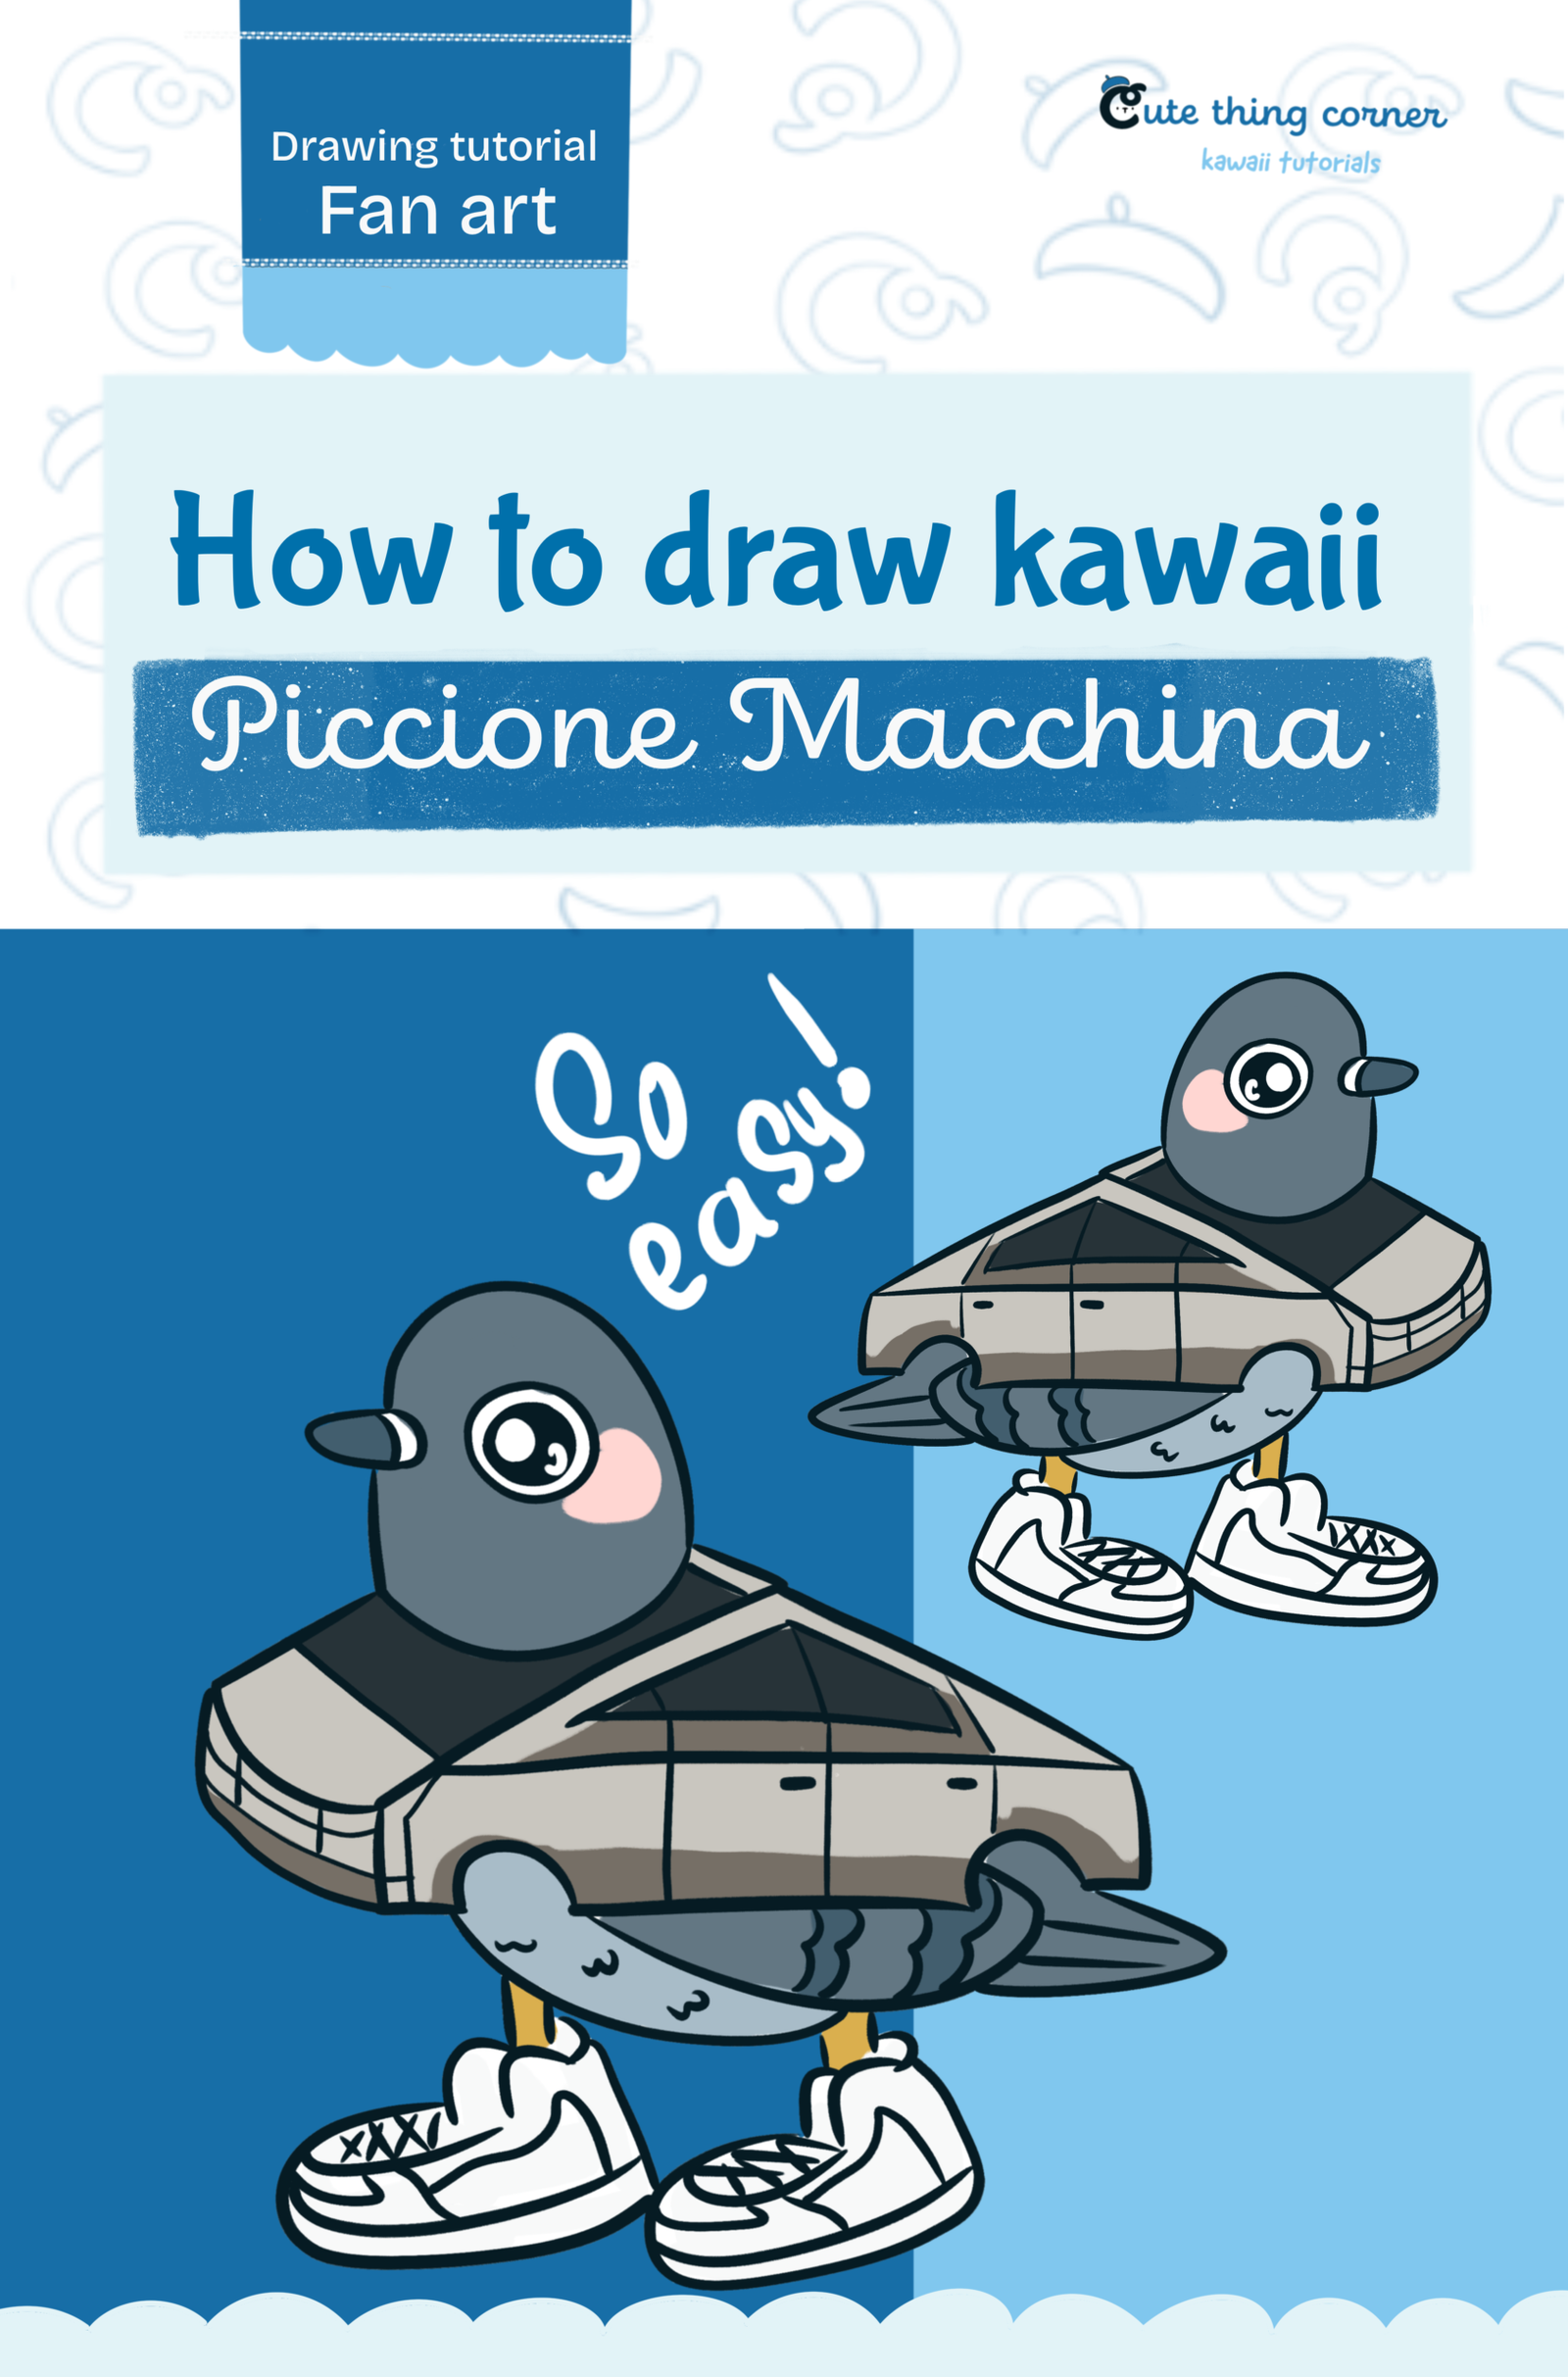
Want to learn how to draw Piccione Machine in a cute style? In this easy drawing tutorial, we’ll build the character step by step—from the unusual car-shaped body to the pigeon’s head, wings, sneakers, and final…
  • Quick
  • 15 minutes
  • 7 steps
How to Draw Cute Piccione Machine | Easy Step-by-Step Drawing Tutorial

Before You Start

Want to learn how to draw Piccione Machine in a cute style? In this easy drawing tutorial, we’ll build the character step by step—from the unusual car-shaped body to the pigeon’s head, wings, sneakers, and final colors.

Grab your pencil or drawing tablet, and let’s get started, Cuties!

Step 1

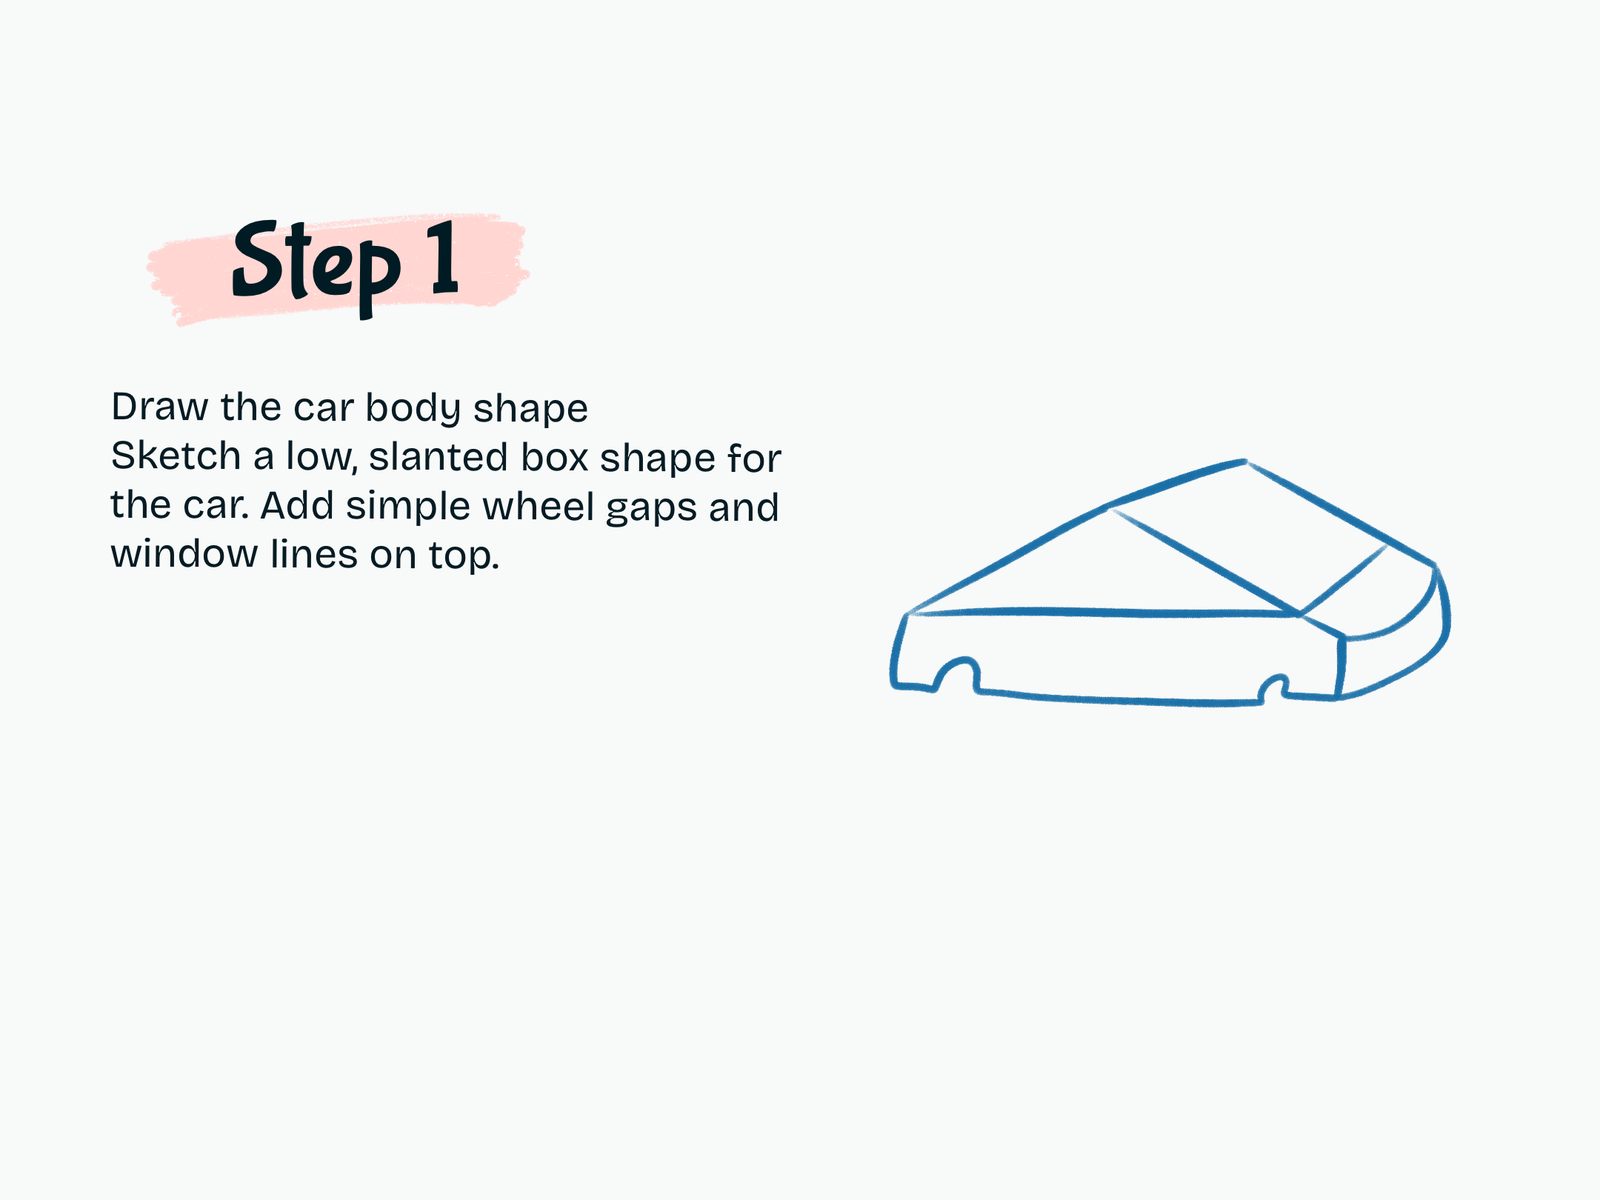
Draw the Car Body

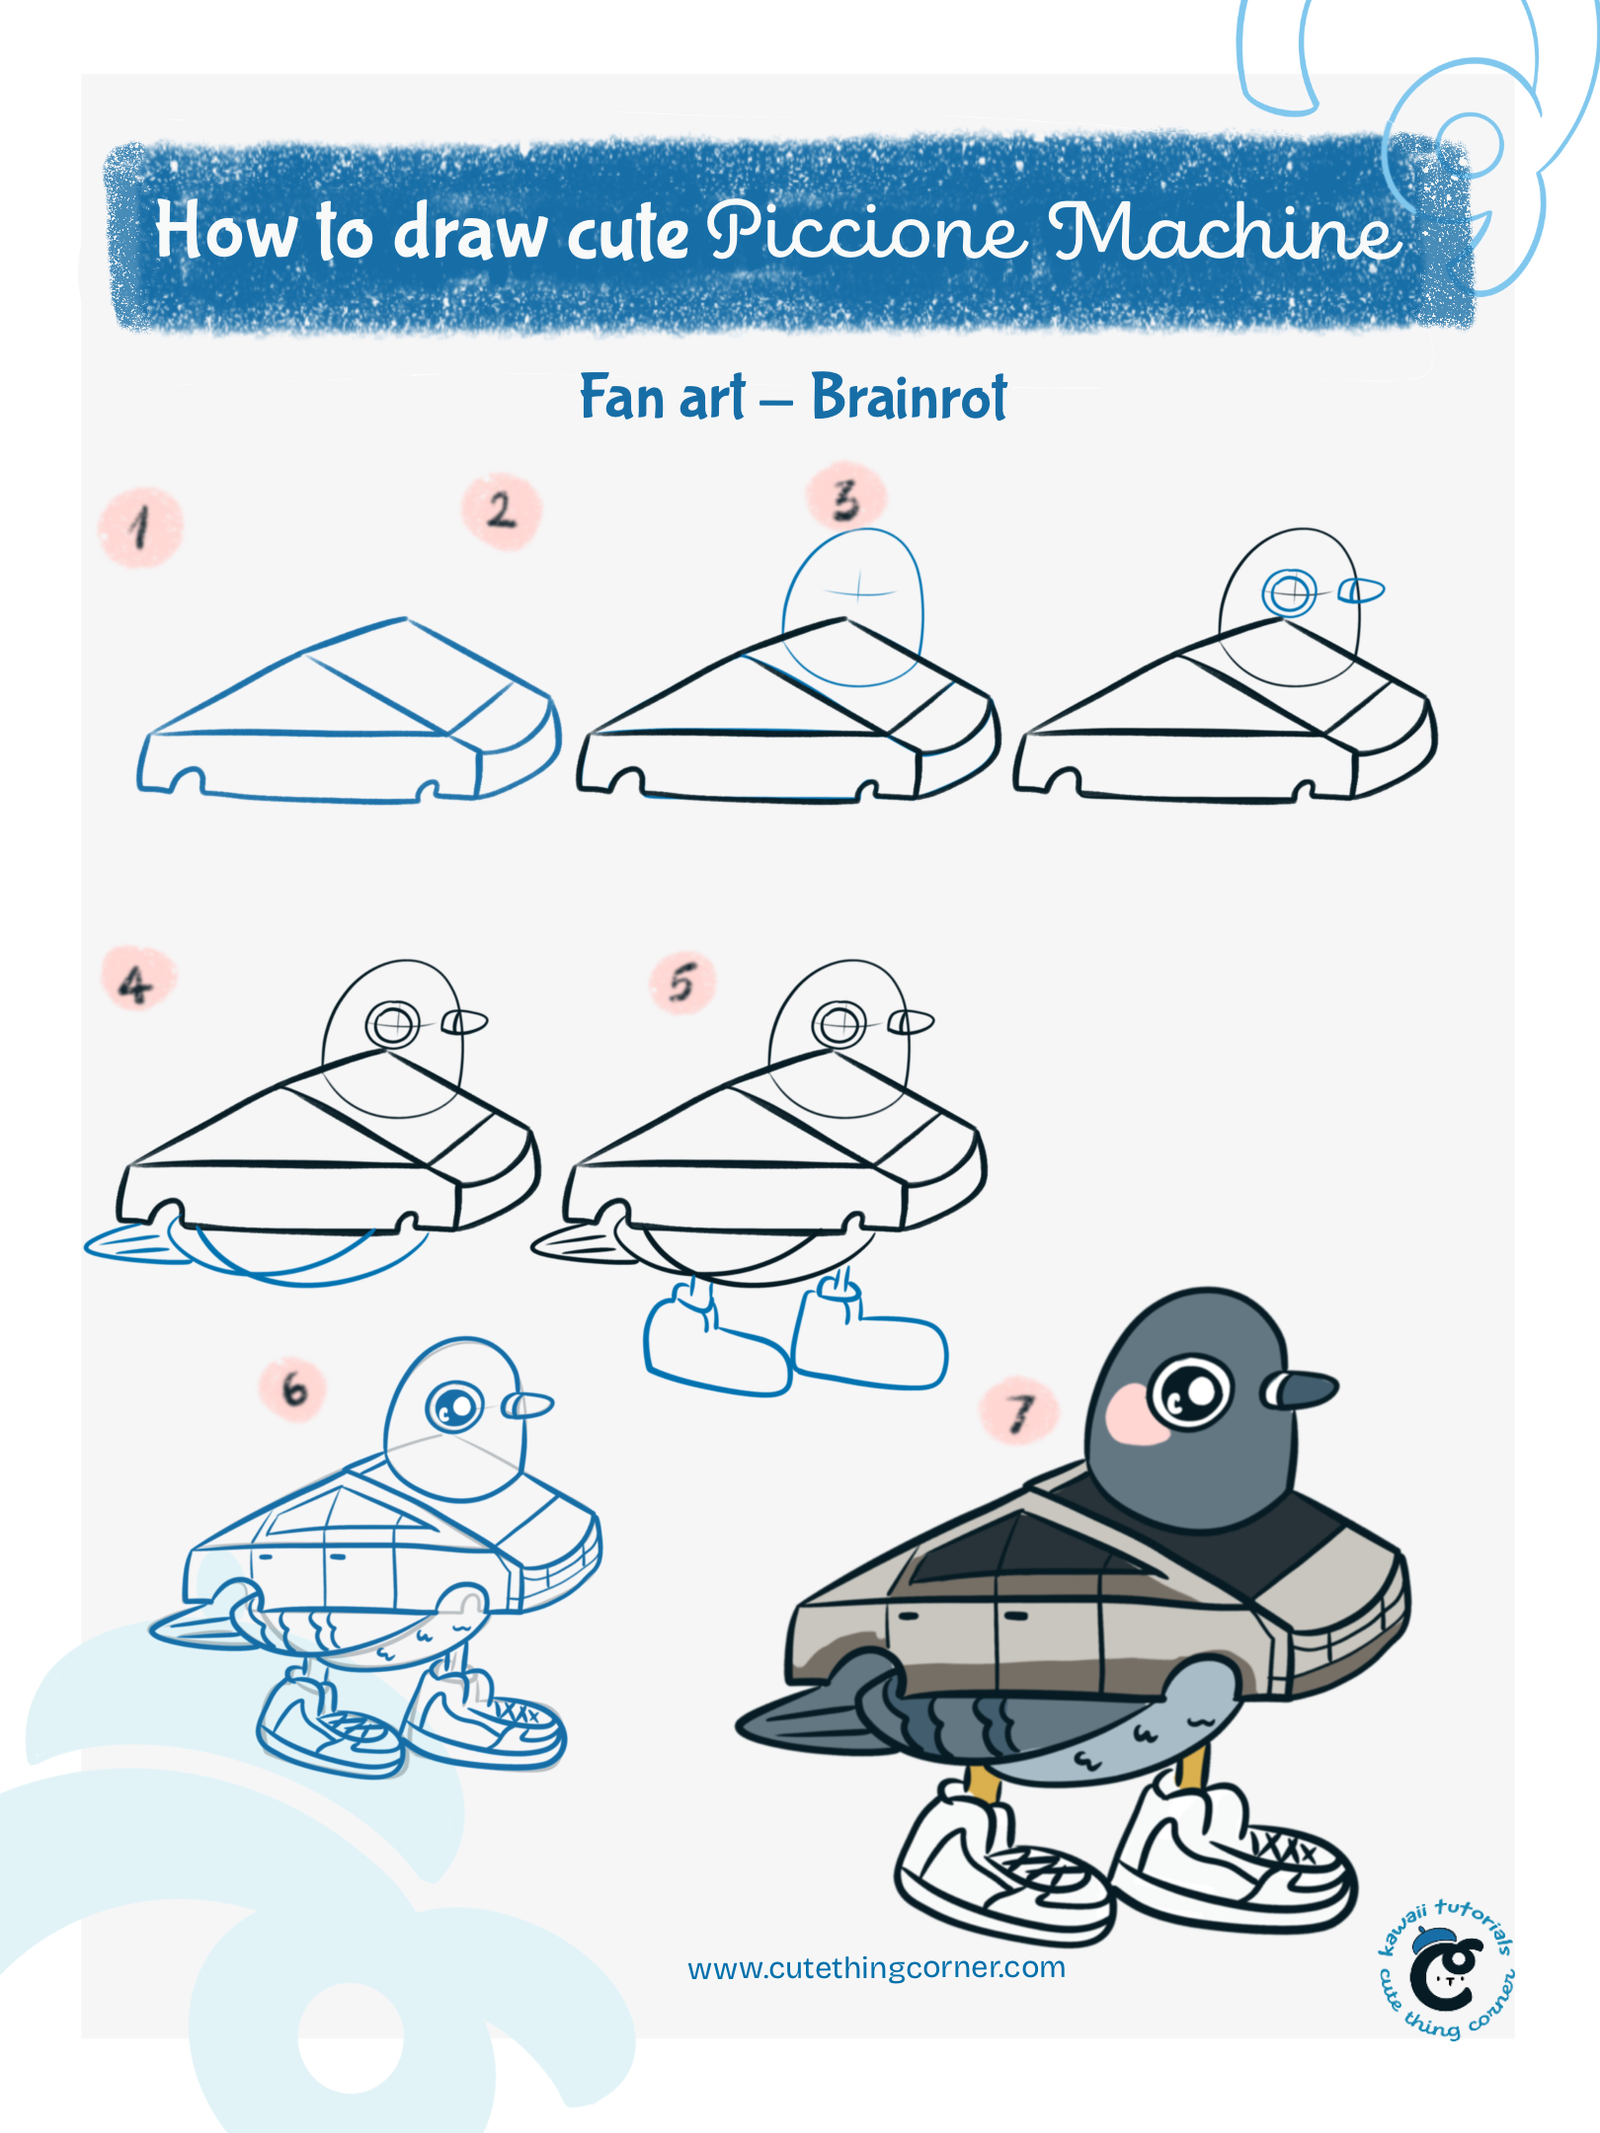
Start by sketching a low, slanted box shape for the main car body.

Draw the top with angled lines to create the roof and windows.

At the bottom, leave two small curved gaps where the wheels would normally be.

Keep the lines simple for now. We’ll add the smaller car details later.

Step 2

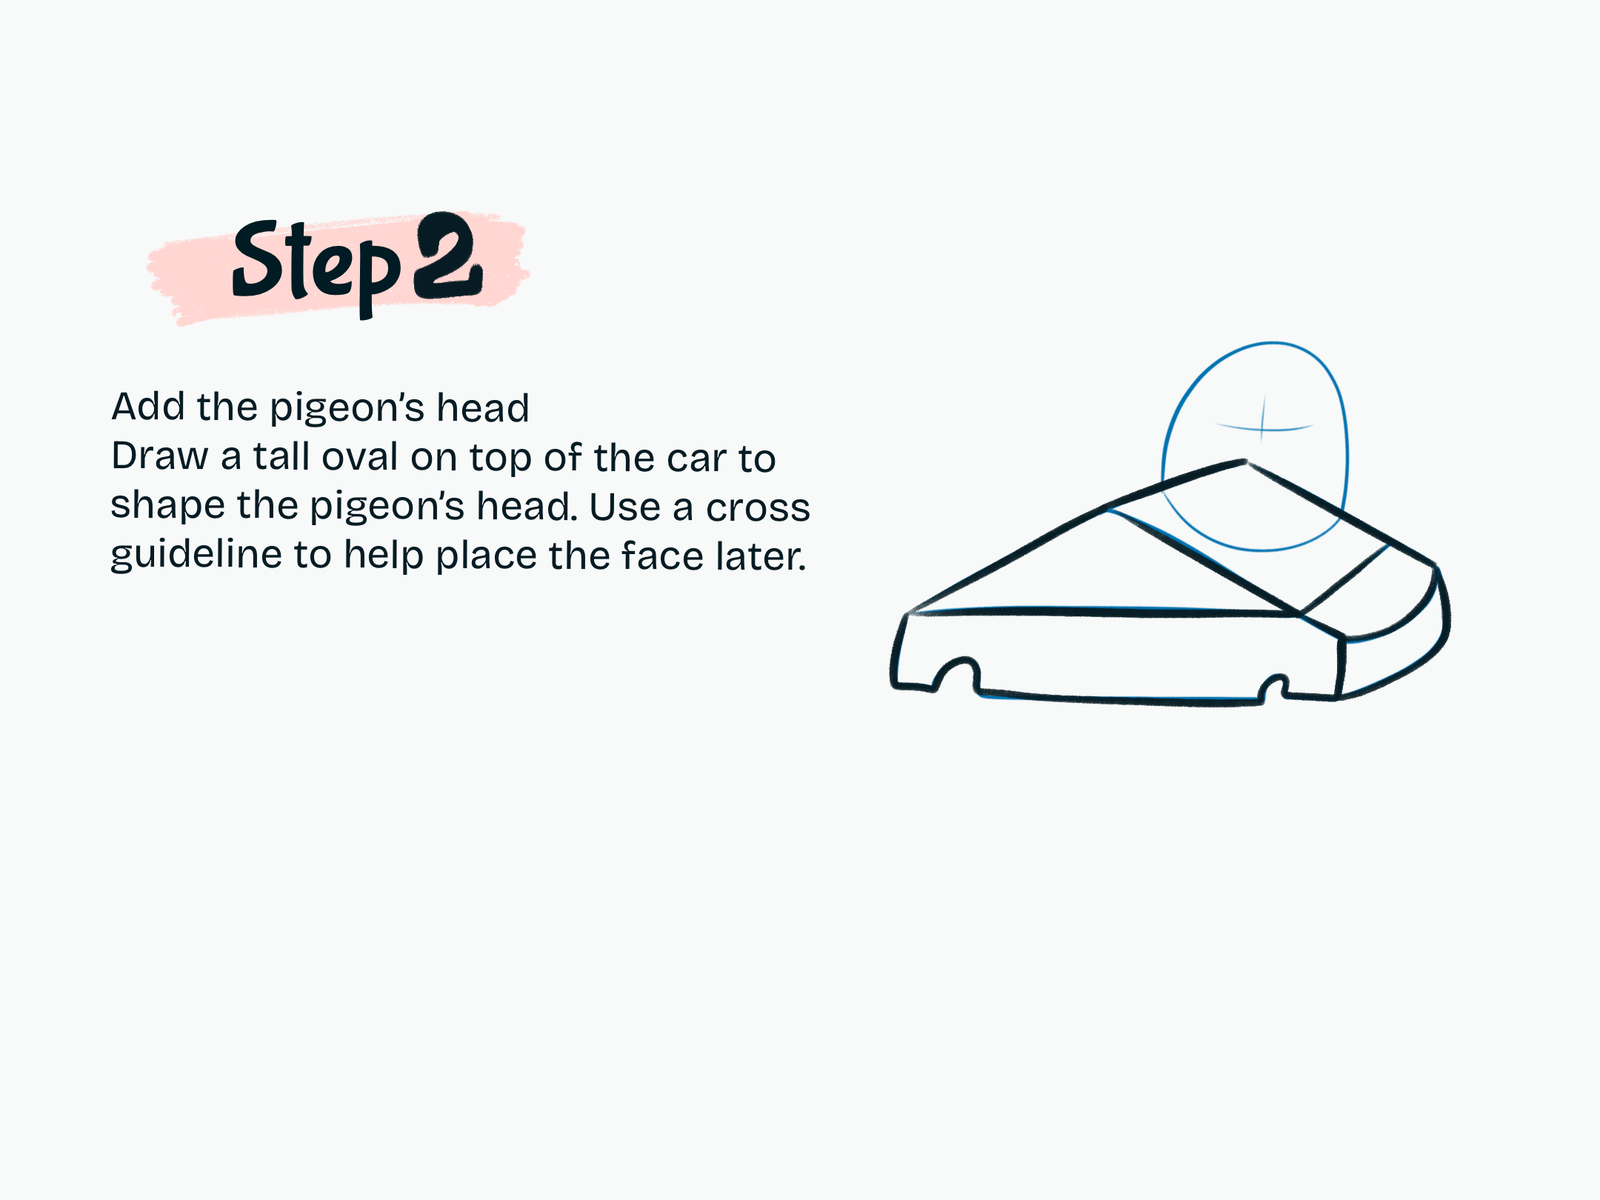
Add the Pigeon’s Head

Draw a tall oval rising from the top of the car.

This will become the pigeon’s head.

Add simple horizontal and vertical guidelines across the oval. These will help you position the eye and beak correctly in the next step.

Step 3

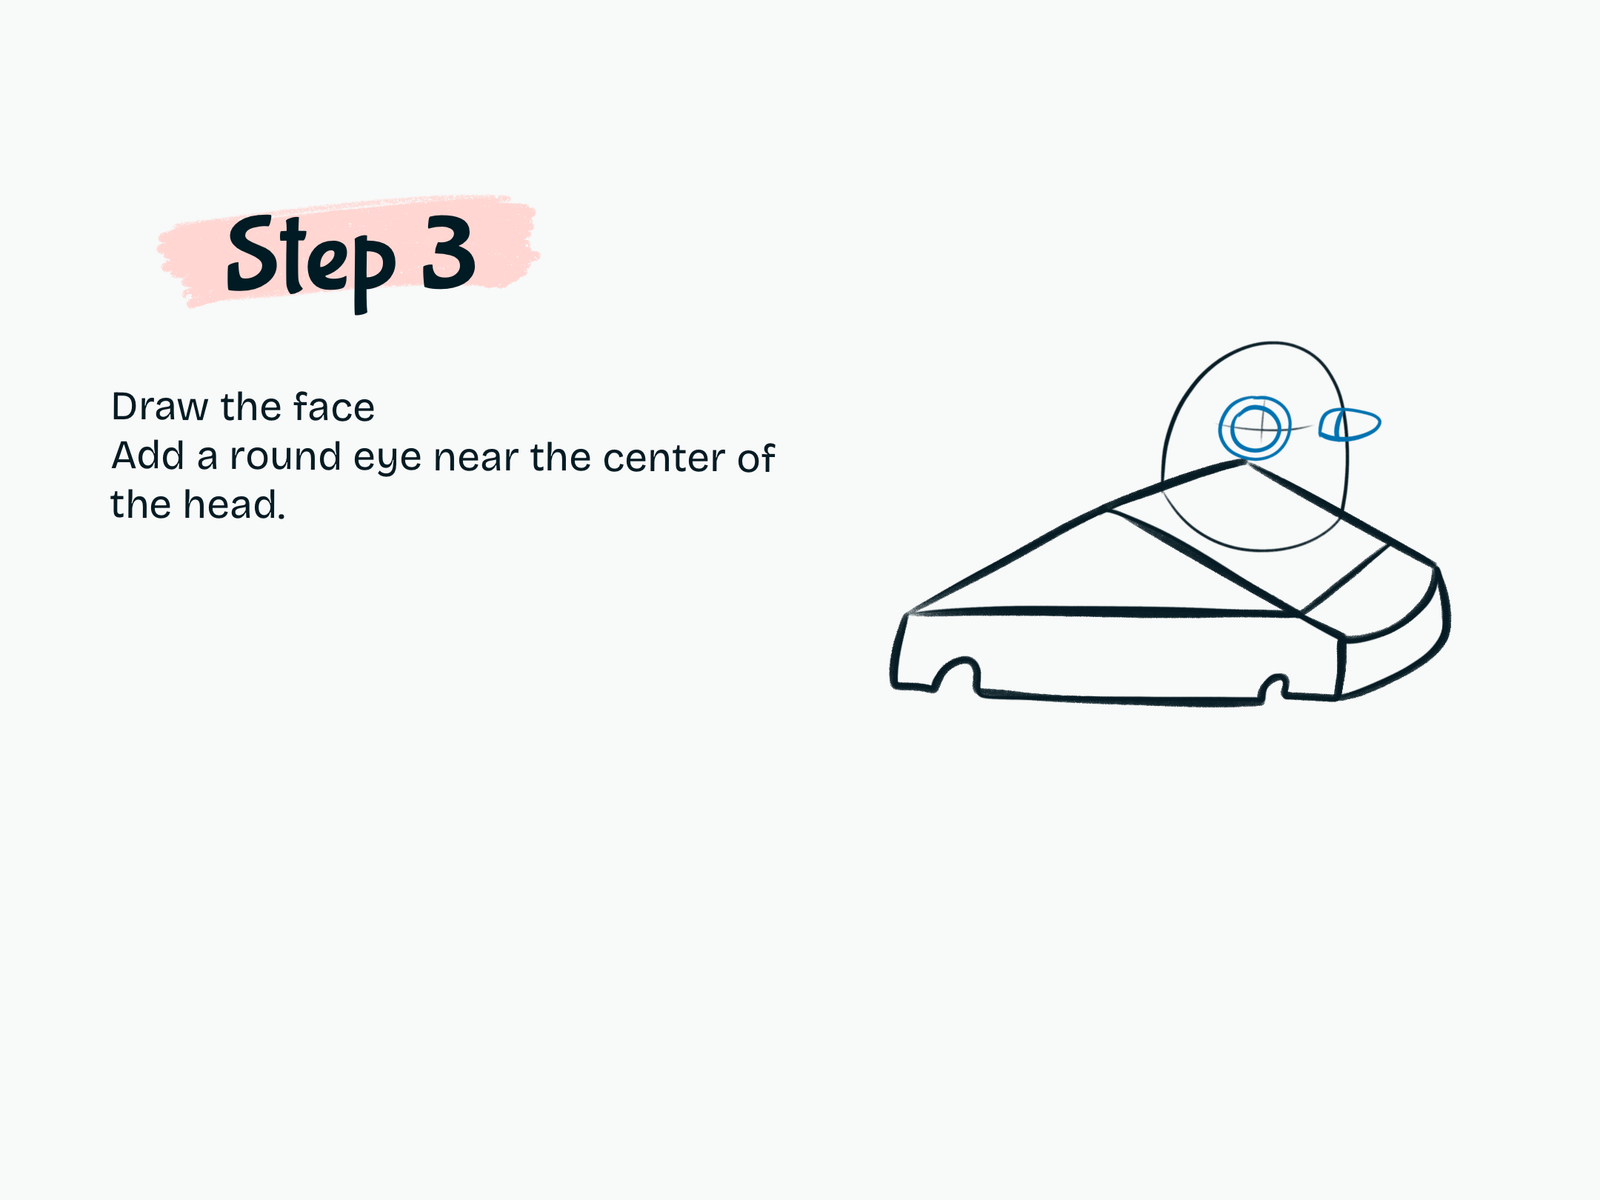
Draw the Face

Using your guidelines, draw one large round eye near the center of the head.

Add another smaller circle inside it to prepare the eye for its final cute details.

Next, draw a small oval-shaped beak sticking out from the side of the head.

Step 4

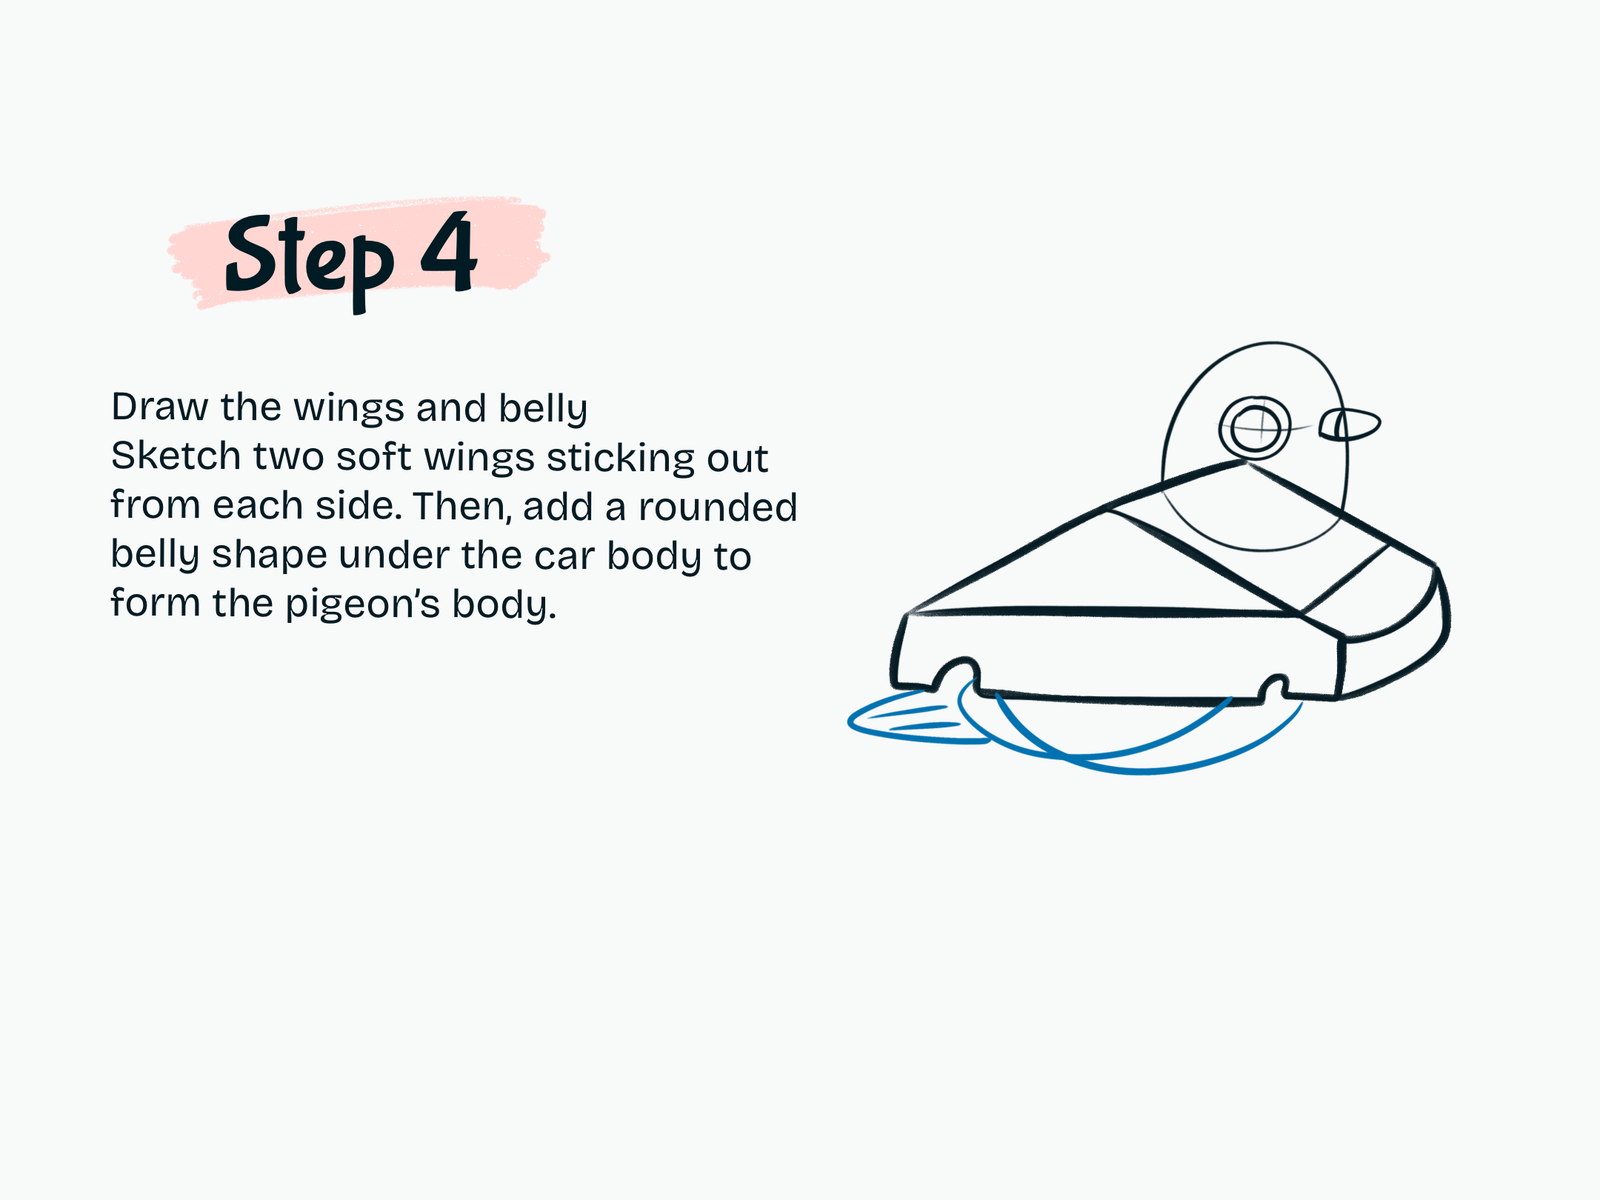
Add the Wings and Belly

Now start building the pigeon’s body underneath the car.

Draw a large rounded belly below the car body.

Add the wings and tail using long, soft shapes that extend outward from the sides.

Keep these shapes slightly curved so the pigeon feels soft and organic against the angular car body.

Step 5

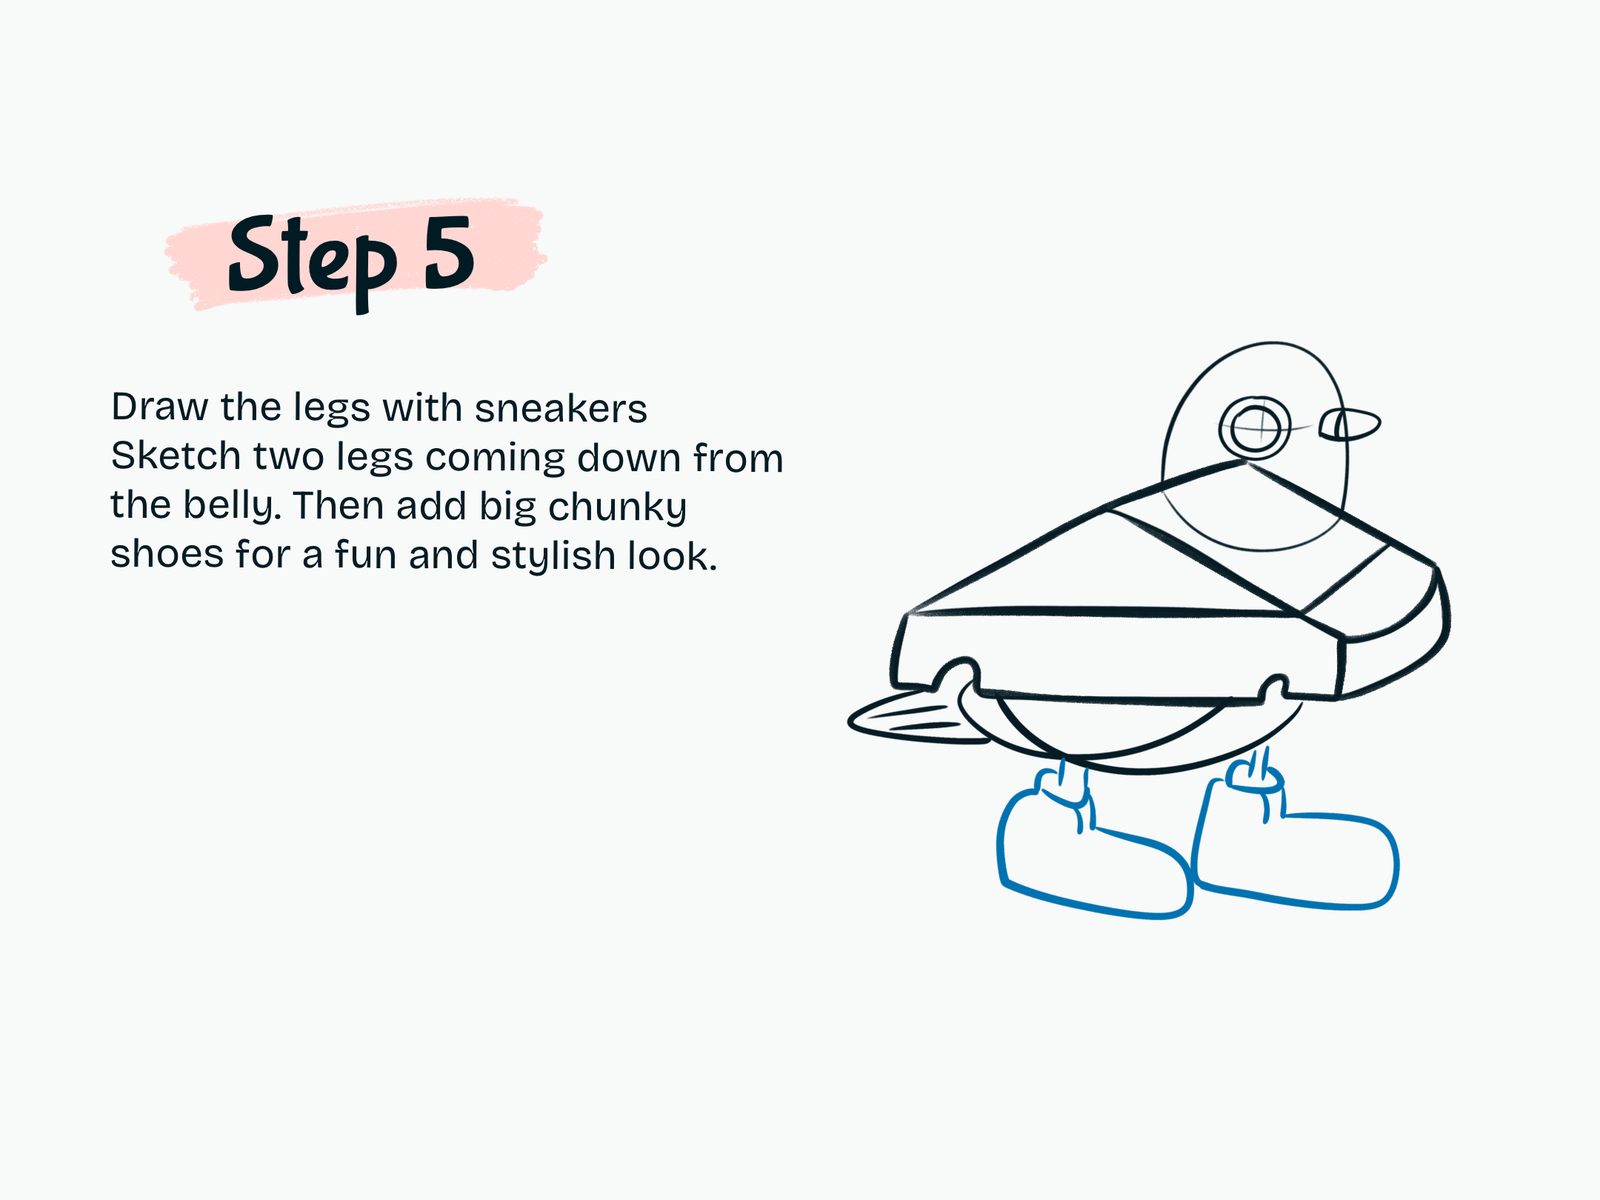
Draw the Legs and Sneakers

Add two thin legs coming down from the pigeon’s belly.

At the bottom of each leg, sketch a large chunky sneaker.

Make the shoes oversized compared with the legs. This gives Piccione Machine its fun and cute proportions.

Step 6

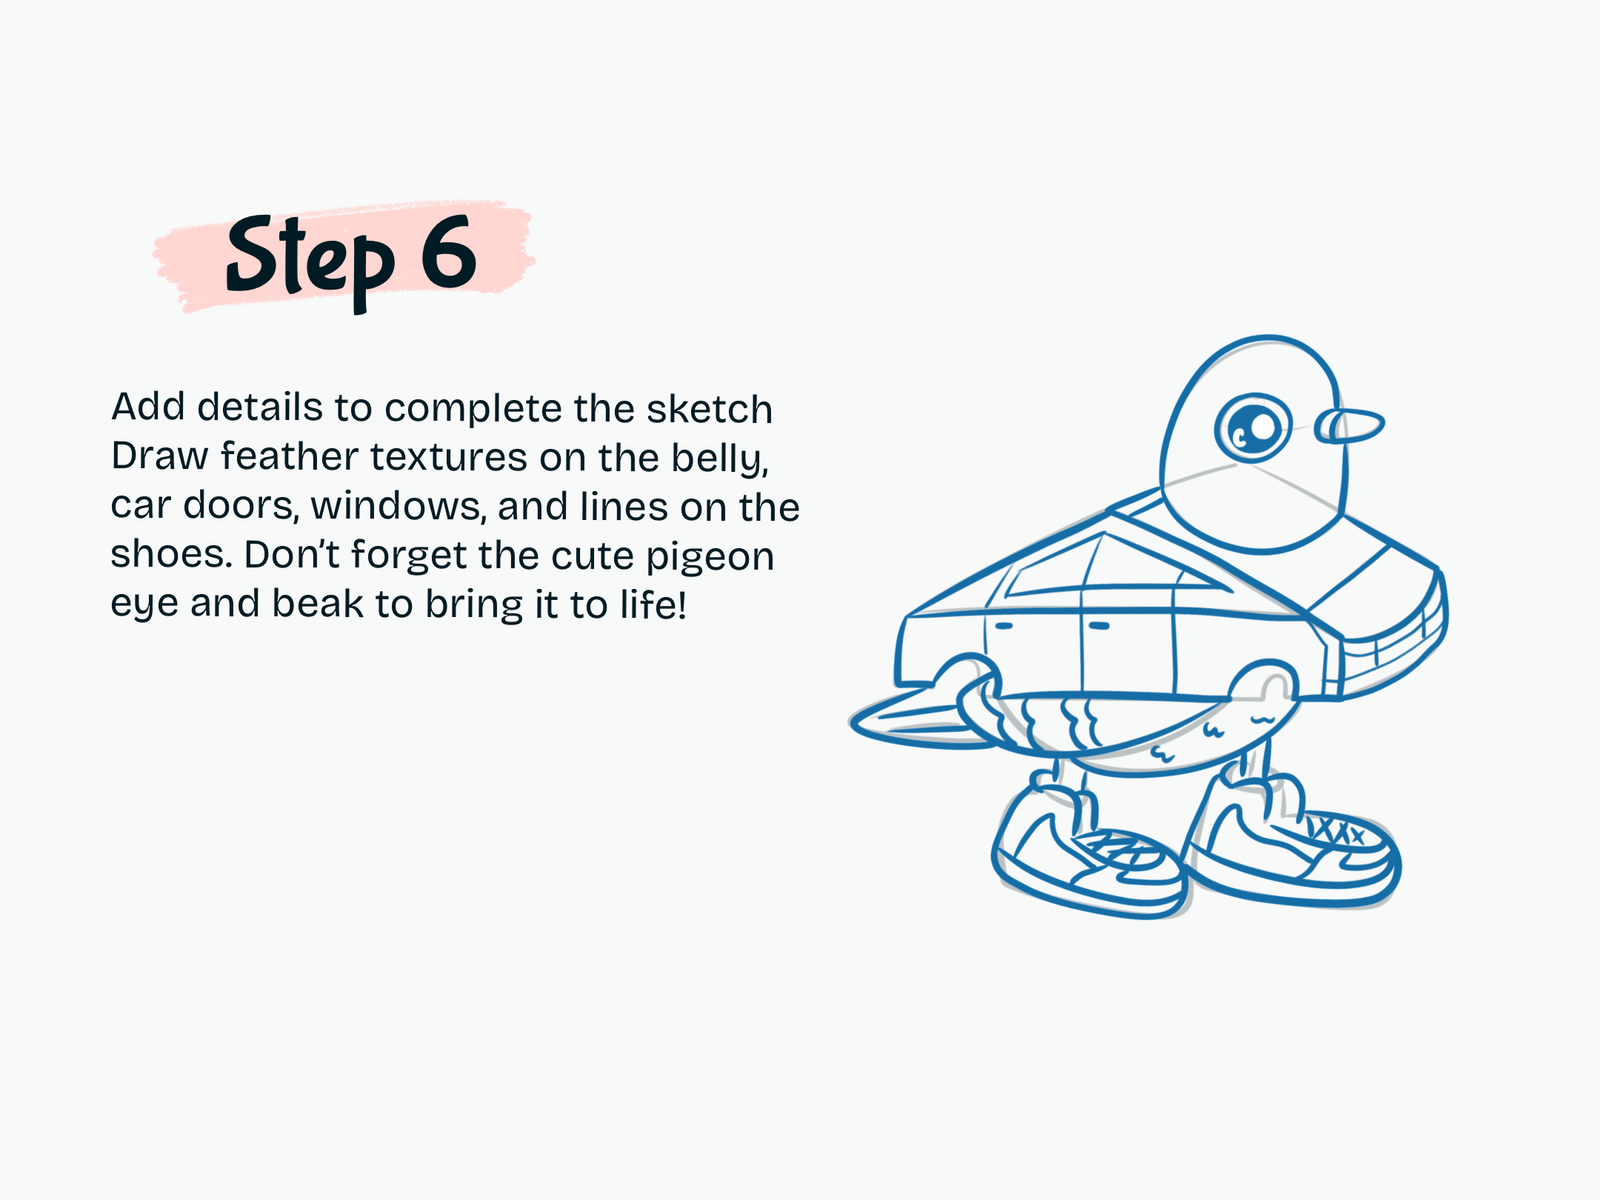
Add the Final Details

Now refine the whole character.

Add the car doors, windows, front details, wheel areas, and other small lines.

Draw feather sections along the wing and tail, then add a few small feather marks on the belly.

Finish the sneakers with soles, panels, laces, and other simple details.

Refine the pigeon’s large eye with a dark pupil and small highlights.

Clean up any extra sketch lines until you have a clear final outline.

Step 7

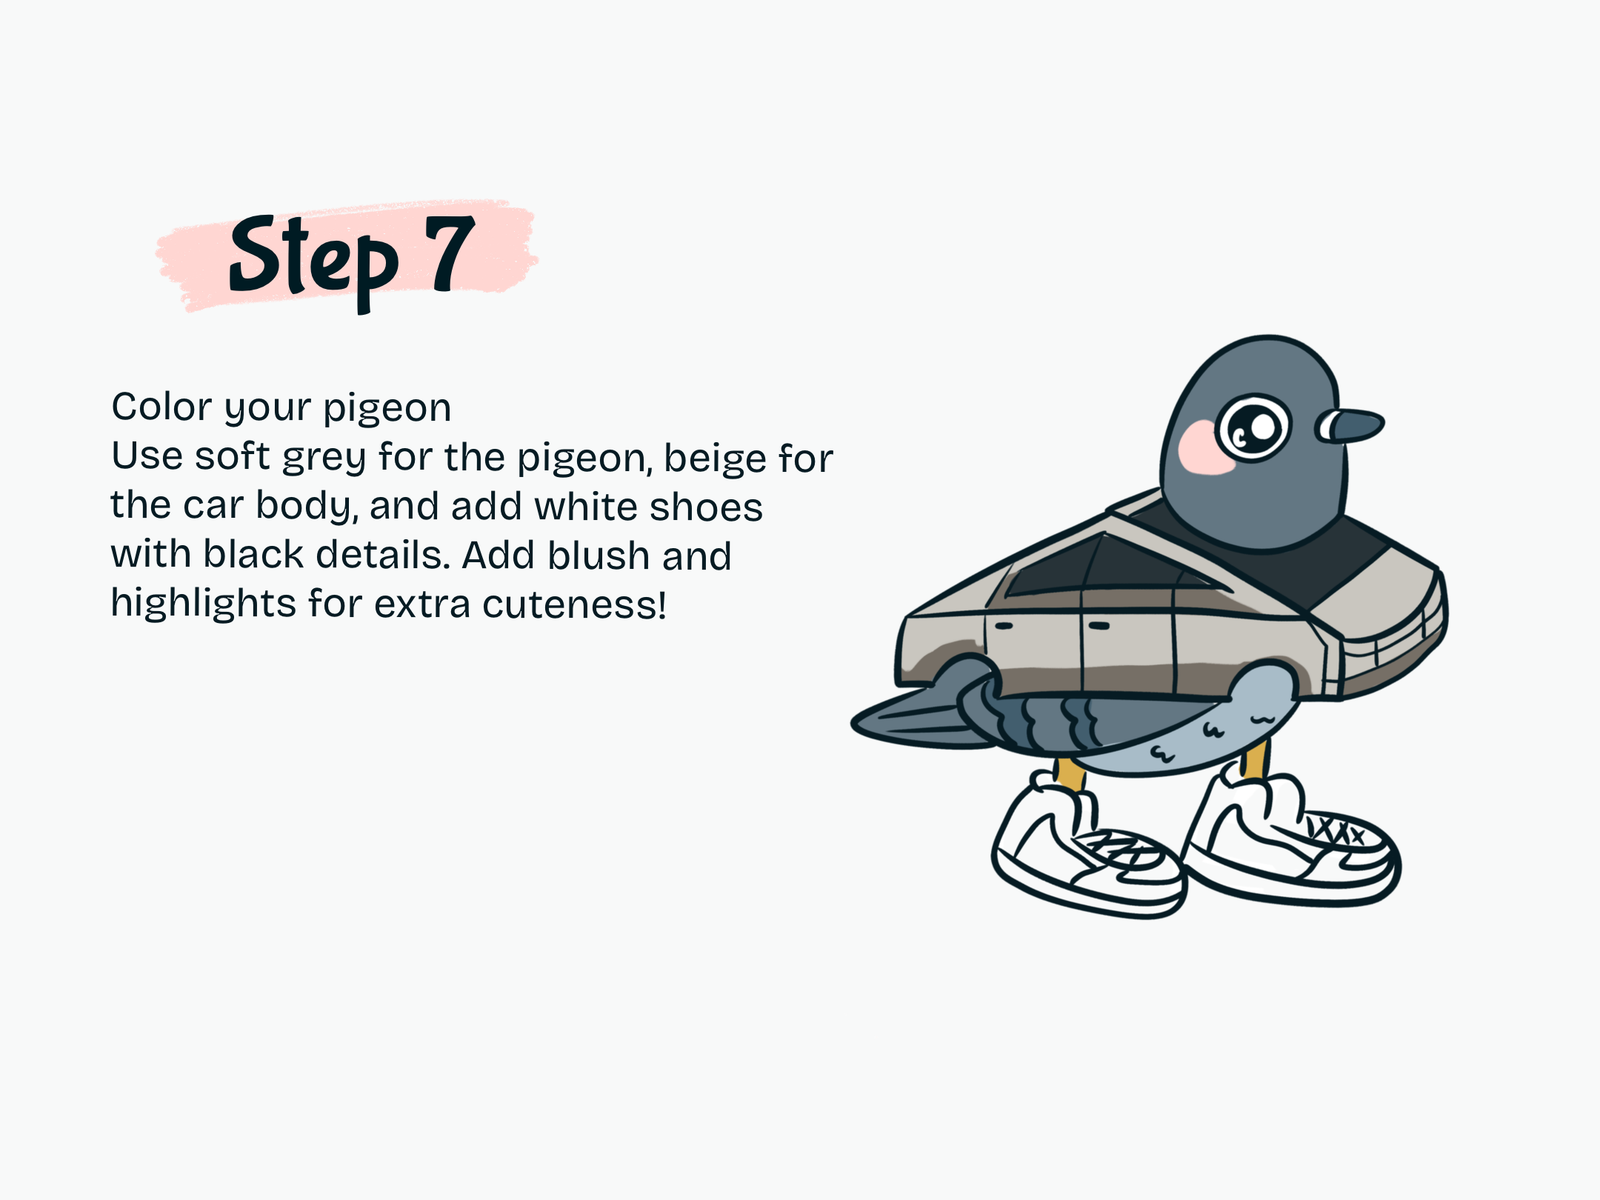
Color Piccione Machine

Time to add color!

Use soft gray and blue-gray shades for the pigeon, with darker gray feathers on the wing and tail.

Color the car body with beige and warm gray tones. Use very dark gray for the windows and roof area.

Add yellow-orange legs and white sneakers with dark details.

Finally, add a soft pink blush to the pigeon’s cheek and bright white highlights inside the eye.

And your cute Piccione Machine drawing is complete!

Drawing Resources

A few tools and books that can make drawing easier and more fun.

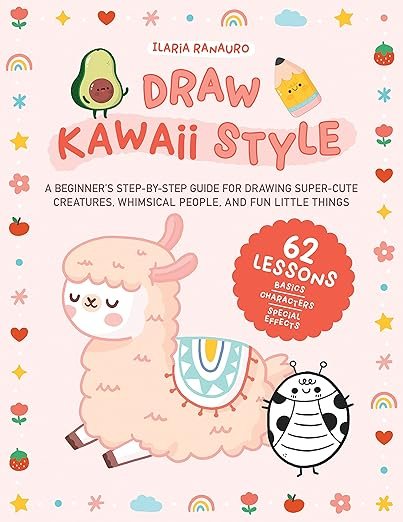
Kawaii Drawing Book

Kawaii Drawing Book

A simple guide for cute characters and beginner-friendly sketching.

View on Amazon
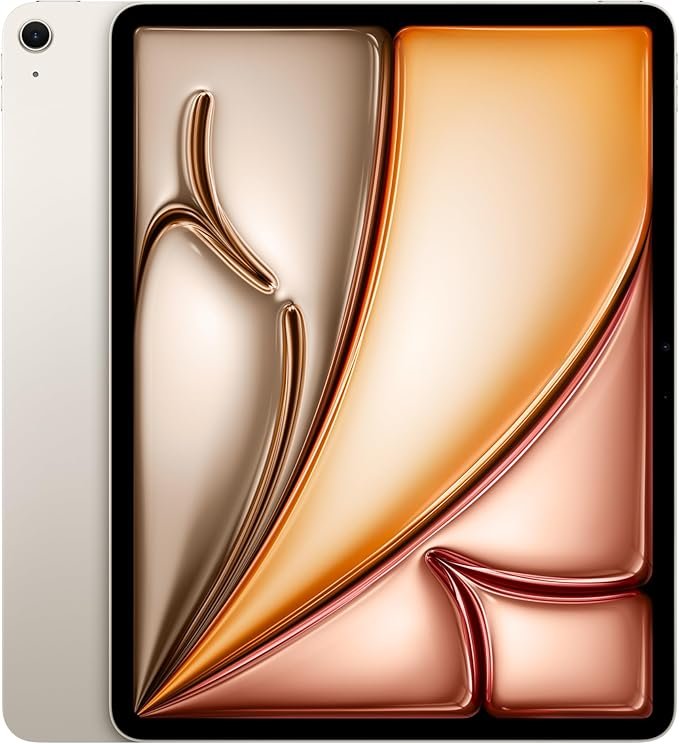
iPad for Digital Drawing

iPad for Digital Drawing

A great digital drawing tool for sketching cute tutorials anywhere.

View on Amazon
Apple Pencil

Apple Pencil

Perfect for line art, note-taking, and digital doodling.

View on Amazon
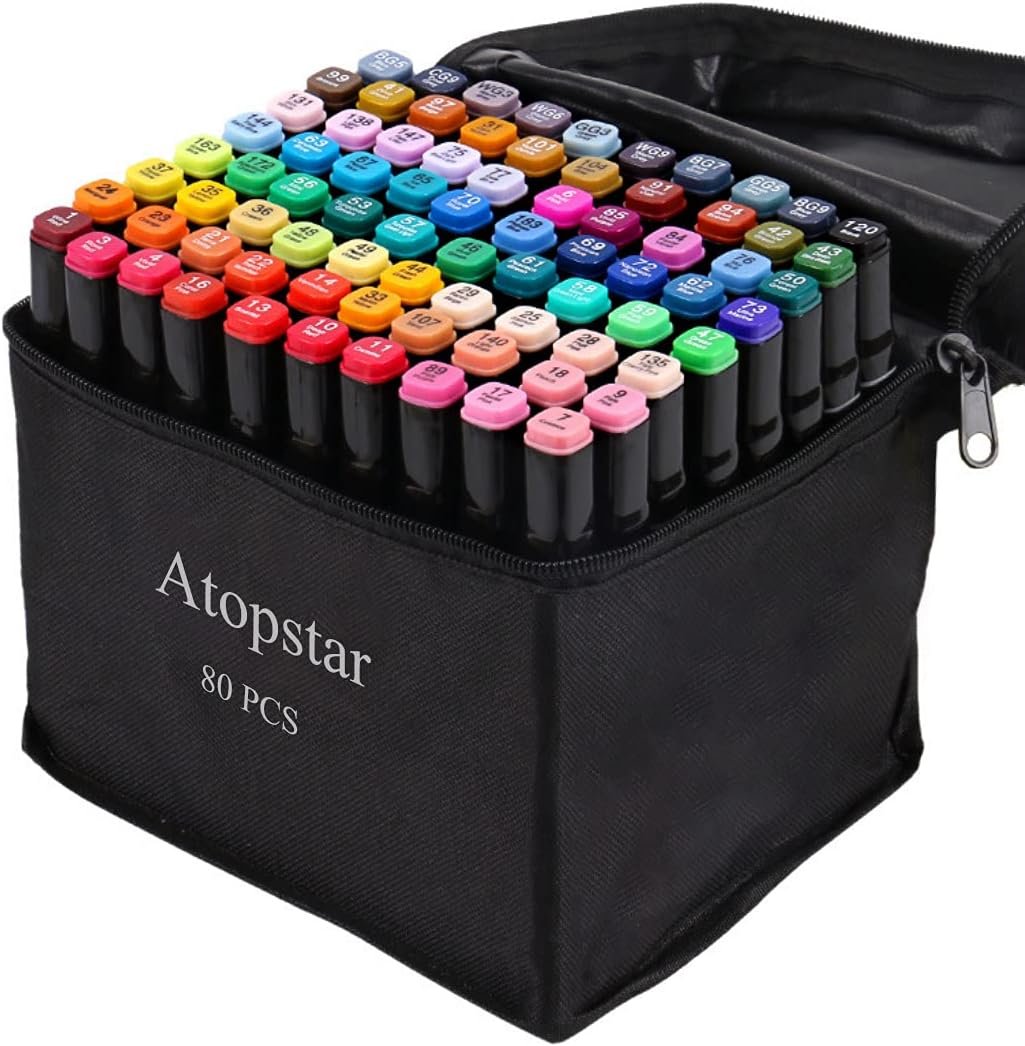
Colors Alcohol Markers

Colors Alcohol Markers

Smooth, vibrant markers for coloring cute drawings.

View on Amazon
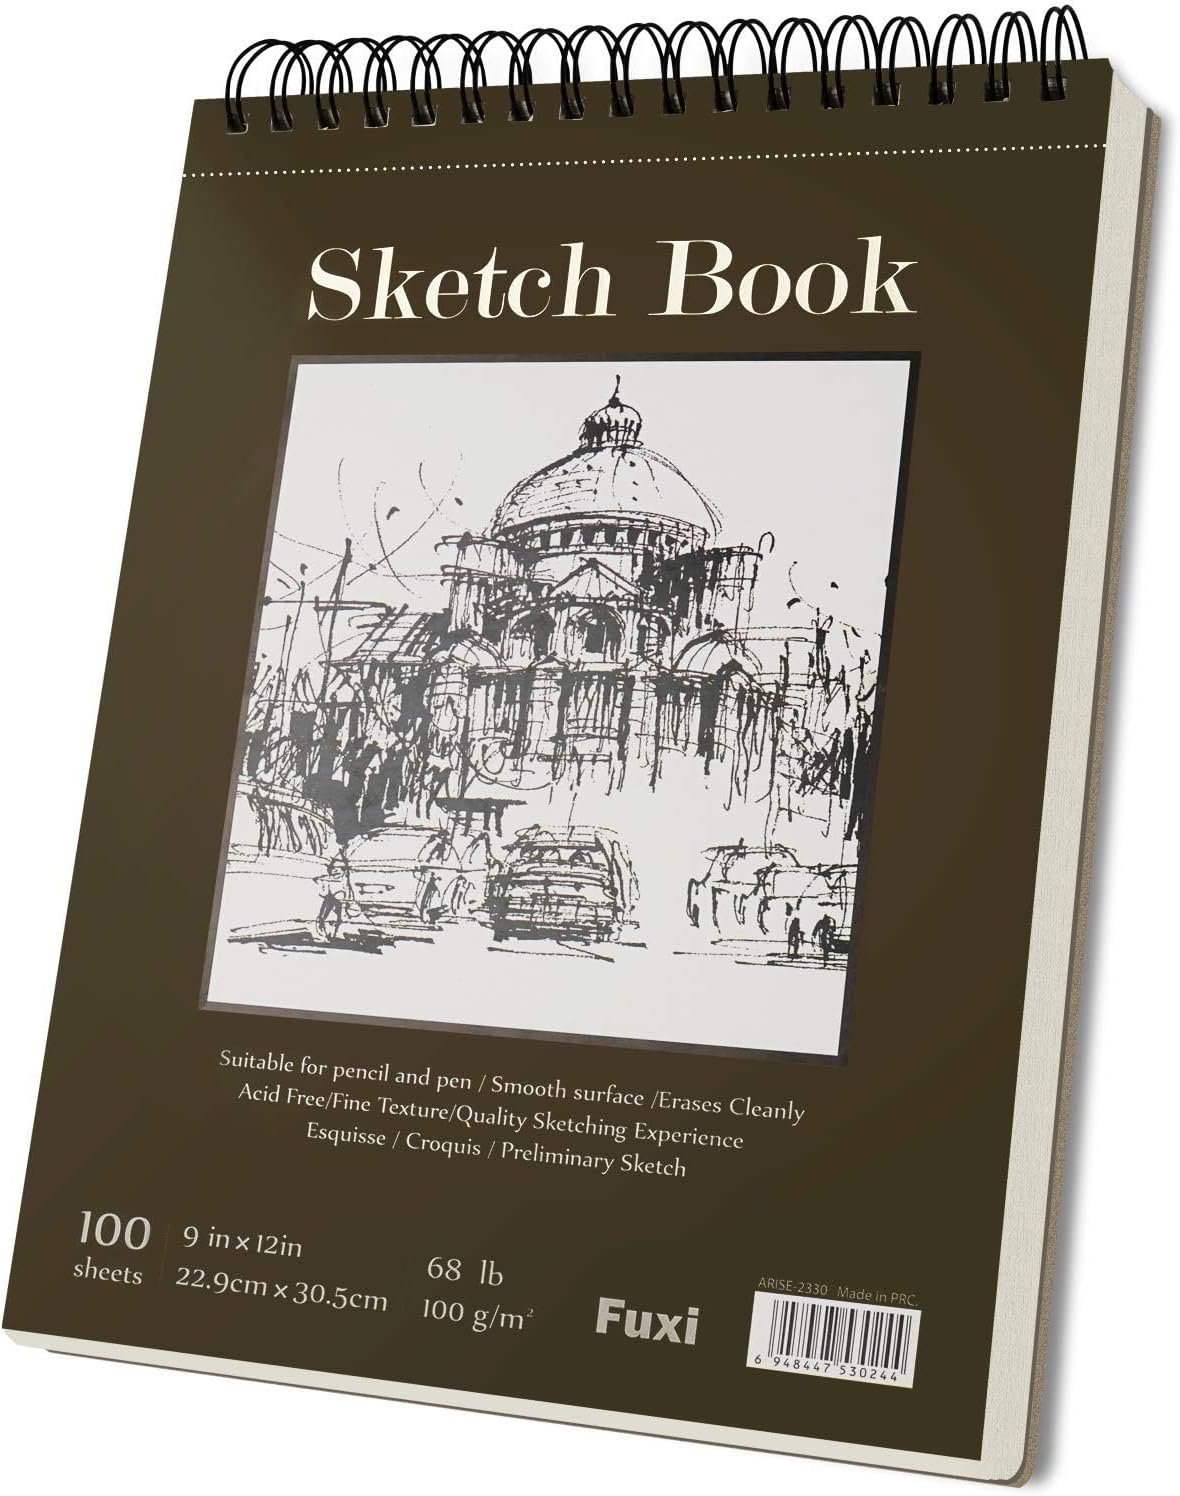
Sketchbook

Sketchbook

A nice everyday sketchbook for practice and doodles.

View on Amazon
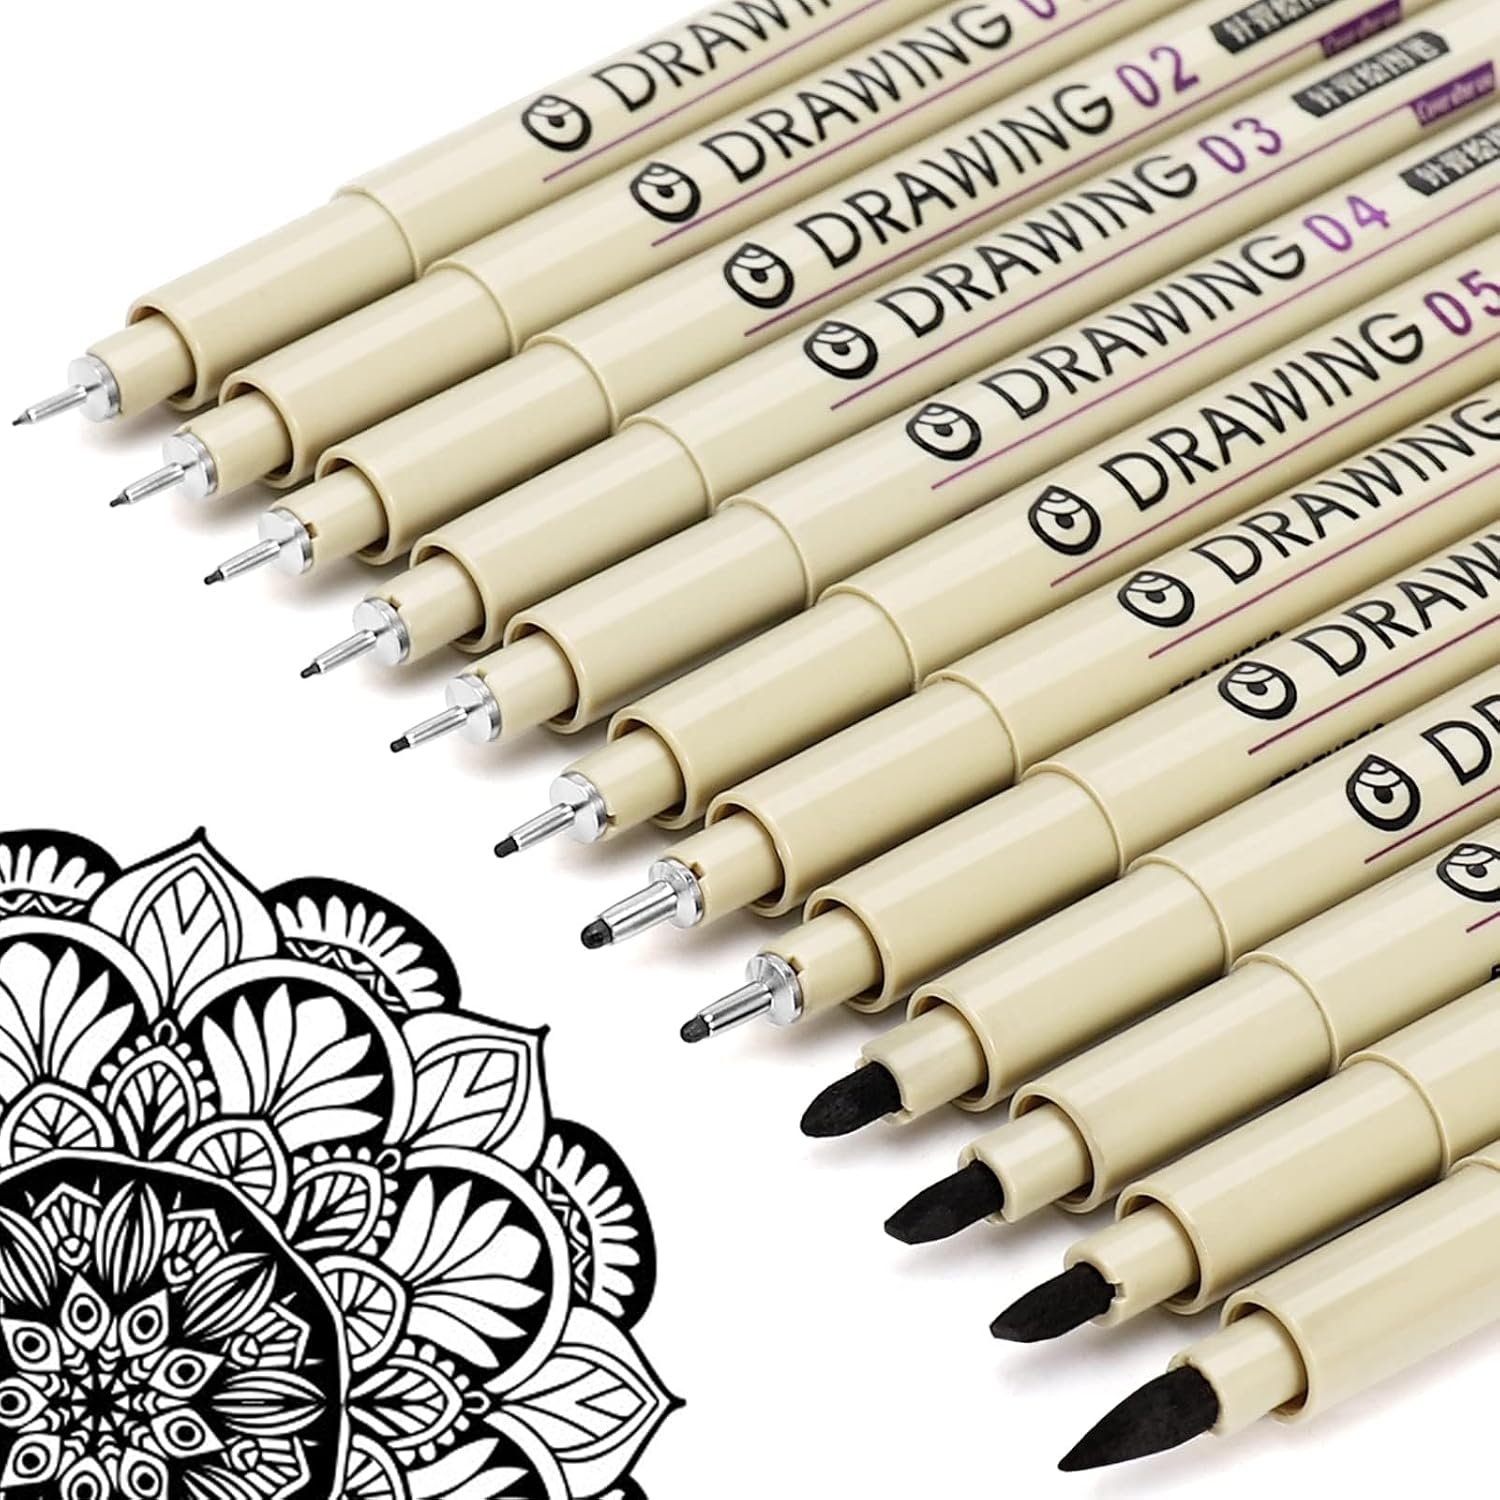
Fine Line Pens

Fine Line Pens

Helpful for clean outlines and cute little details.

View on Amazon

Some links may be affiliate links, which means Cute Thing Corner may earn a small commission at no extra cost to you.

Final Tips

Great job, Cuties! You’ve learned how to draw cute Piccione Machine step by step, starting with simple shapes and slowly building the pigeon, car body, wings, legs, sneakers, and final details.

The process is easy to remember:

Car Body → Head → Face → Wings & Belly → Legs & Sneakers → Details → Color

Explore more easy kawaii drawing tutorials and Brainrot drawings with Cute Thing Corner.

Keep drawing, keep creating, and see you in the next tutorial, Cuties!

Leave a Comment