Turkey
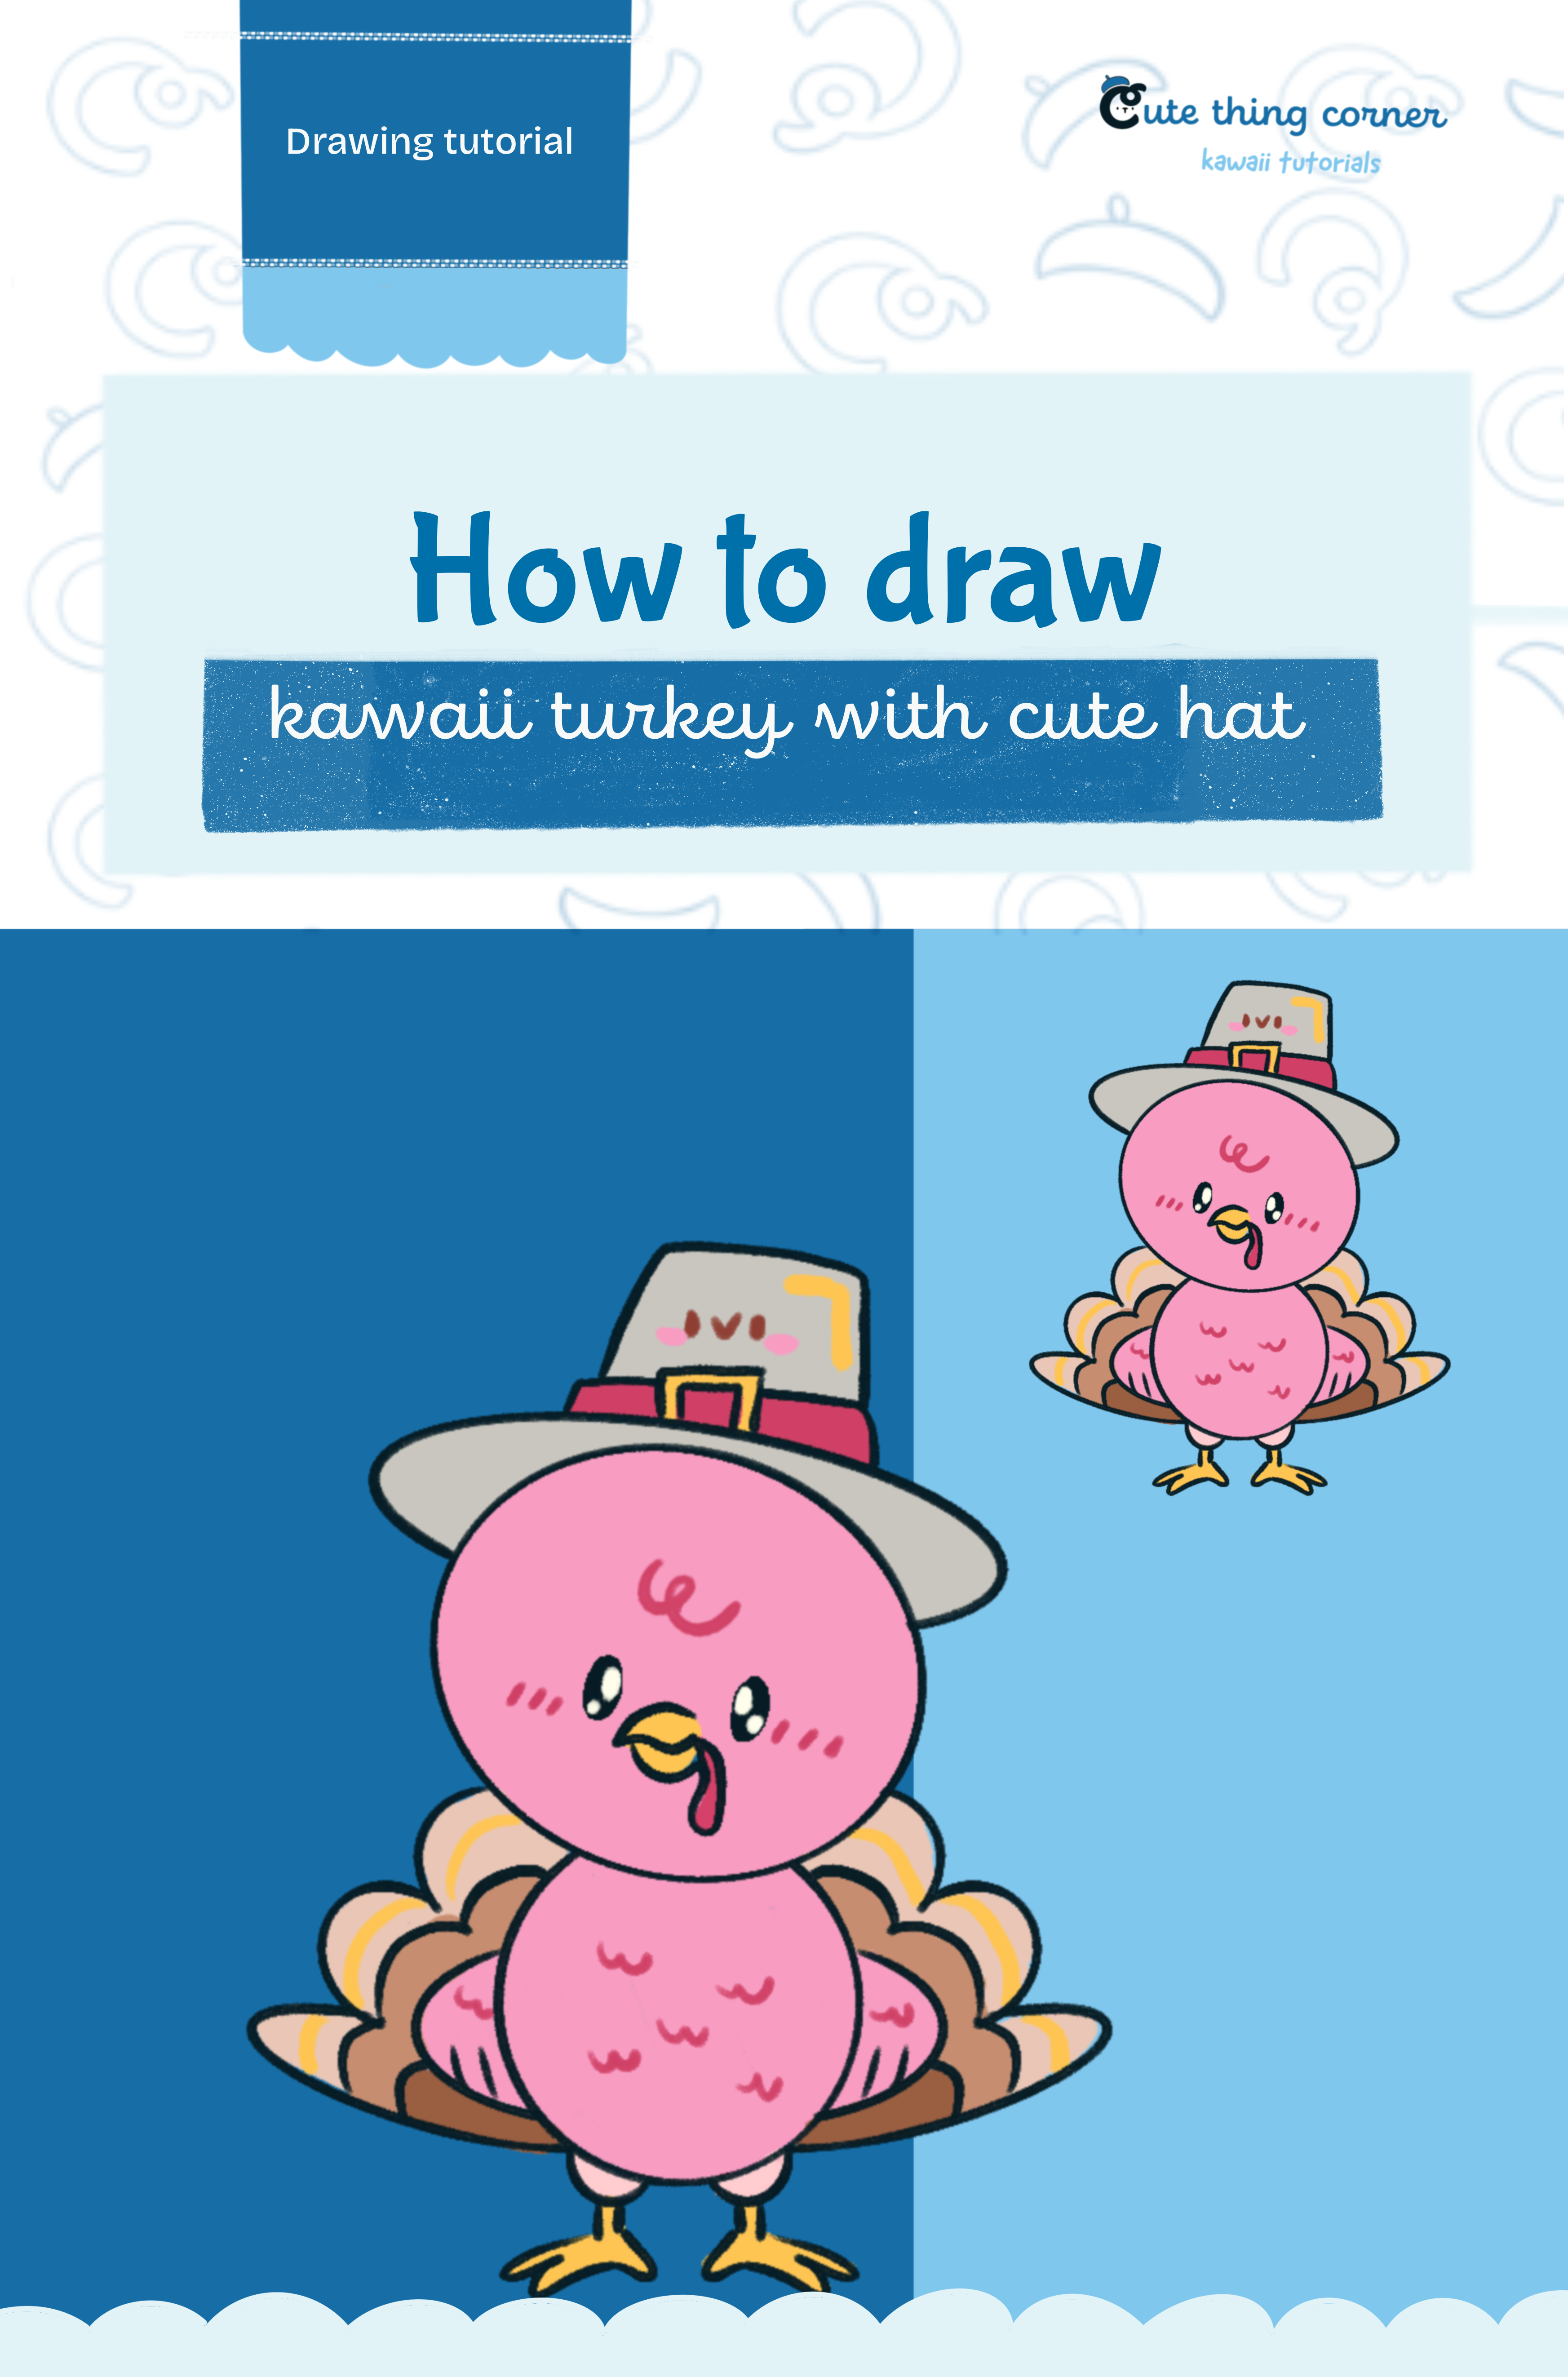
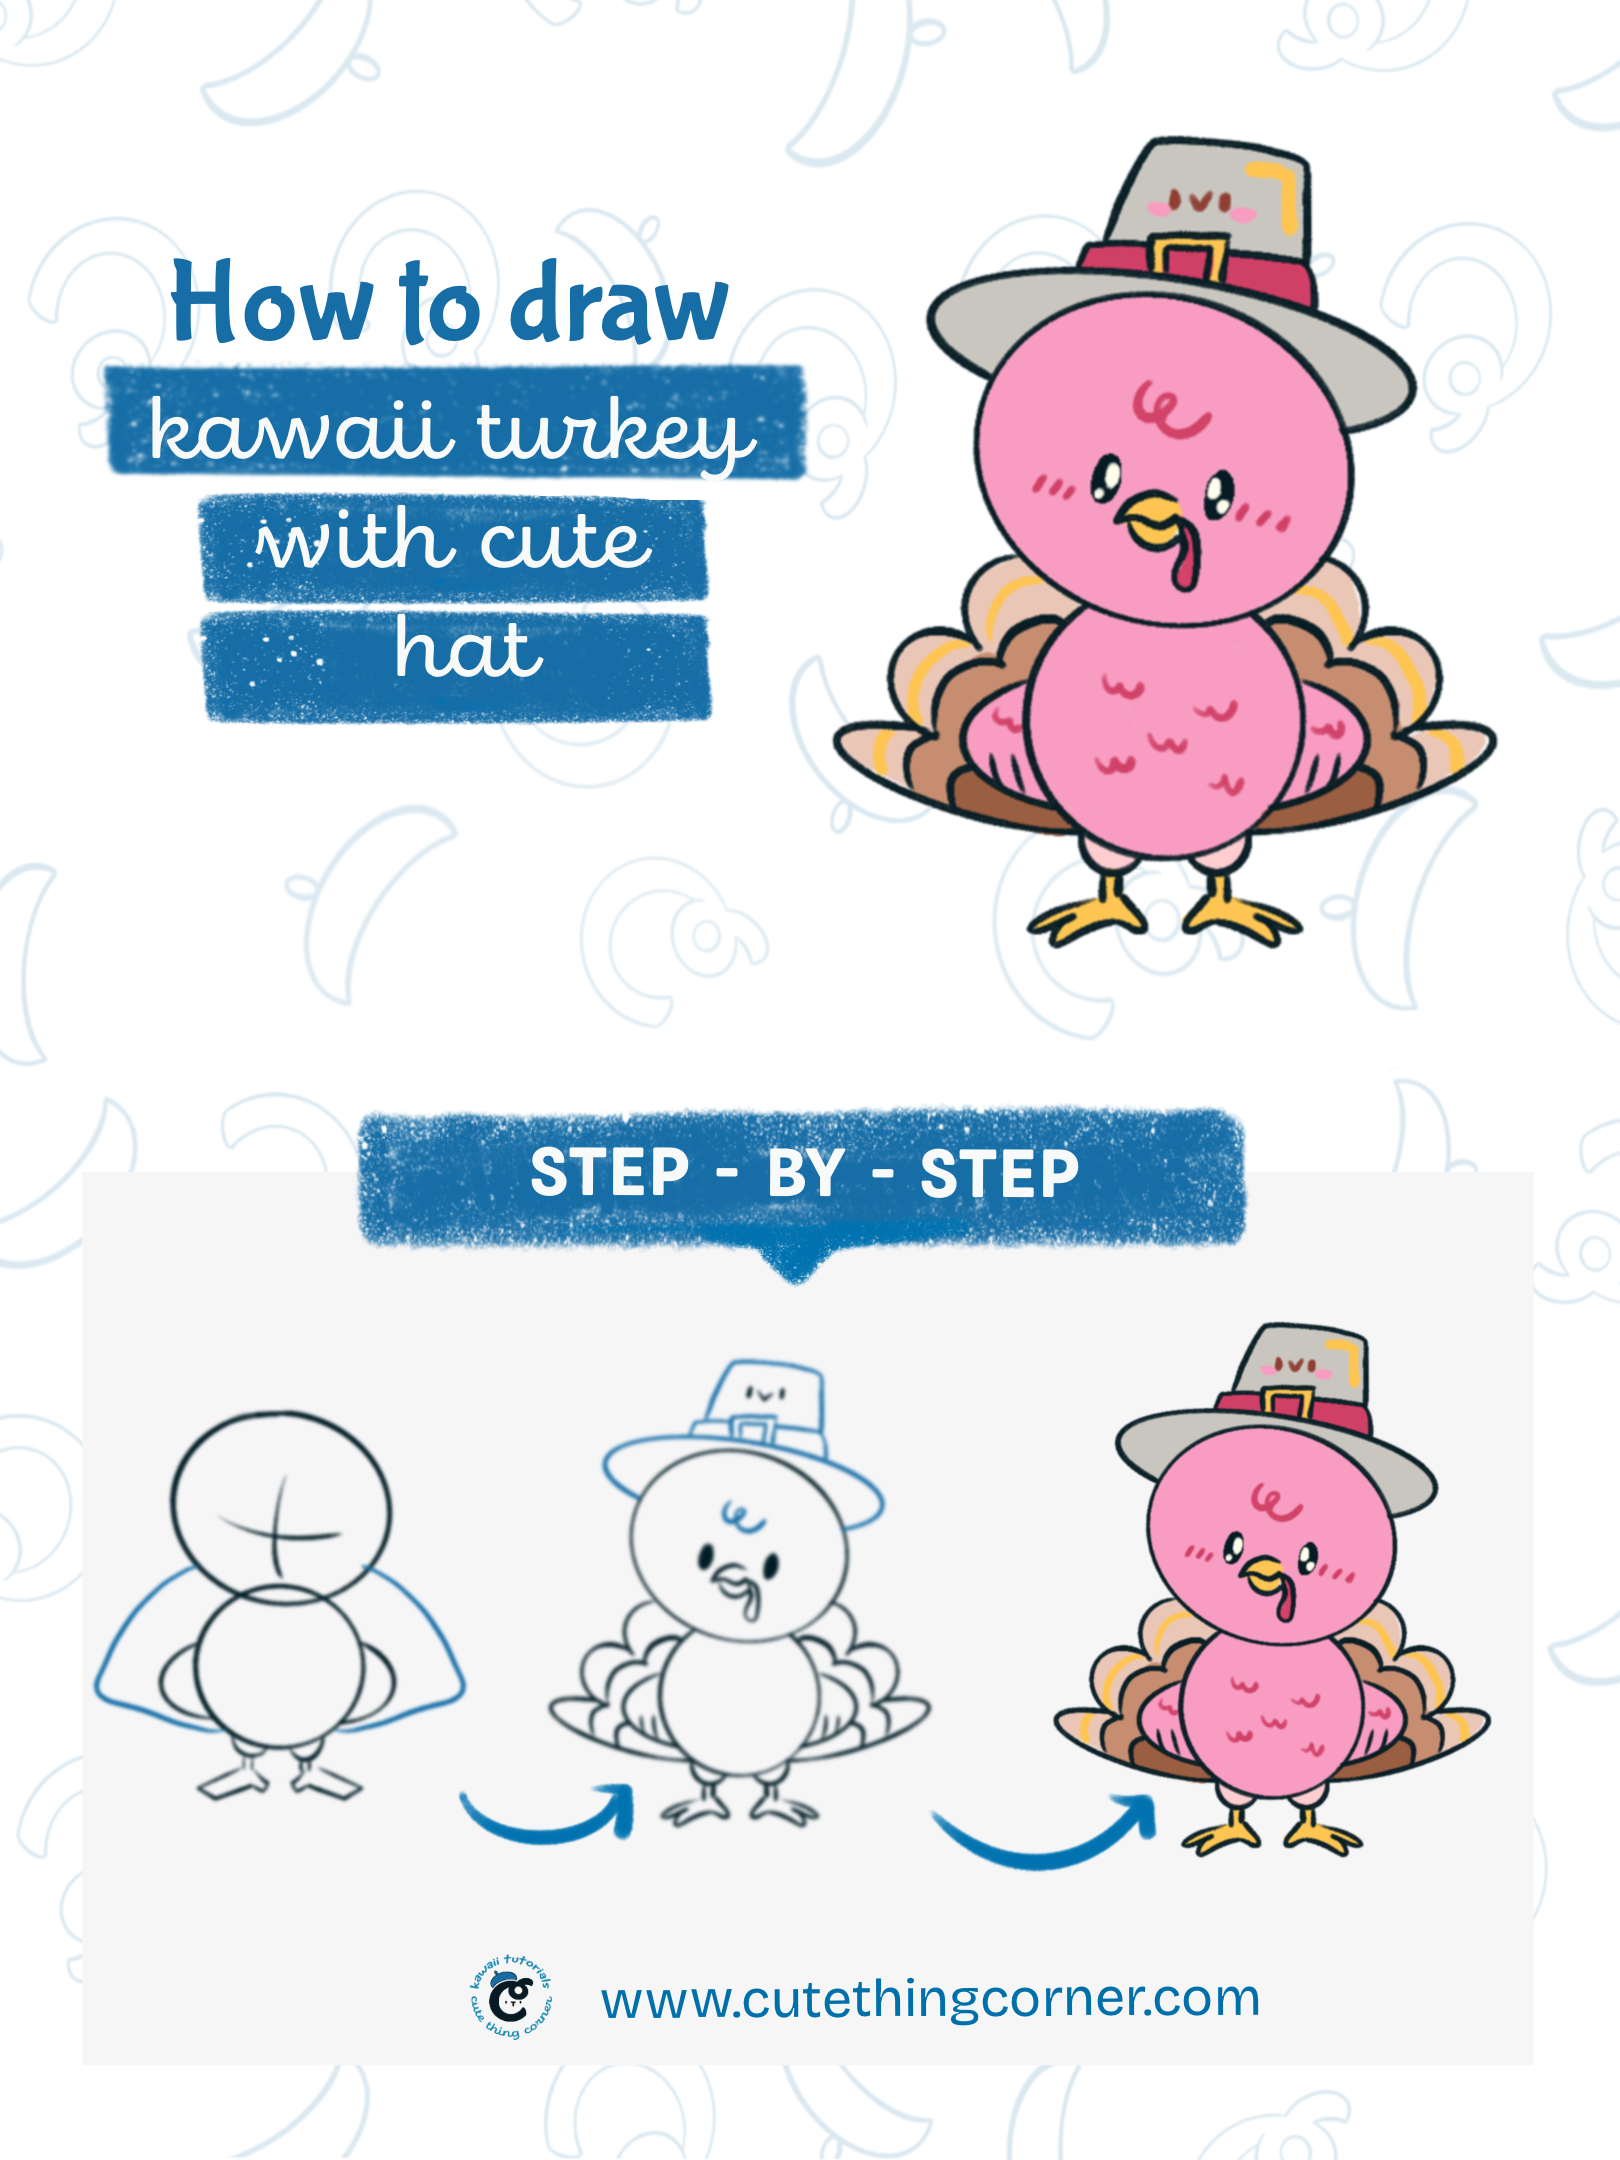
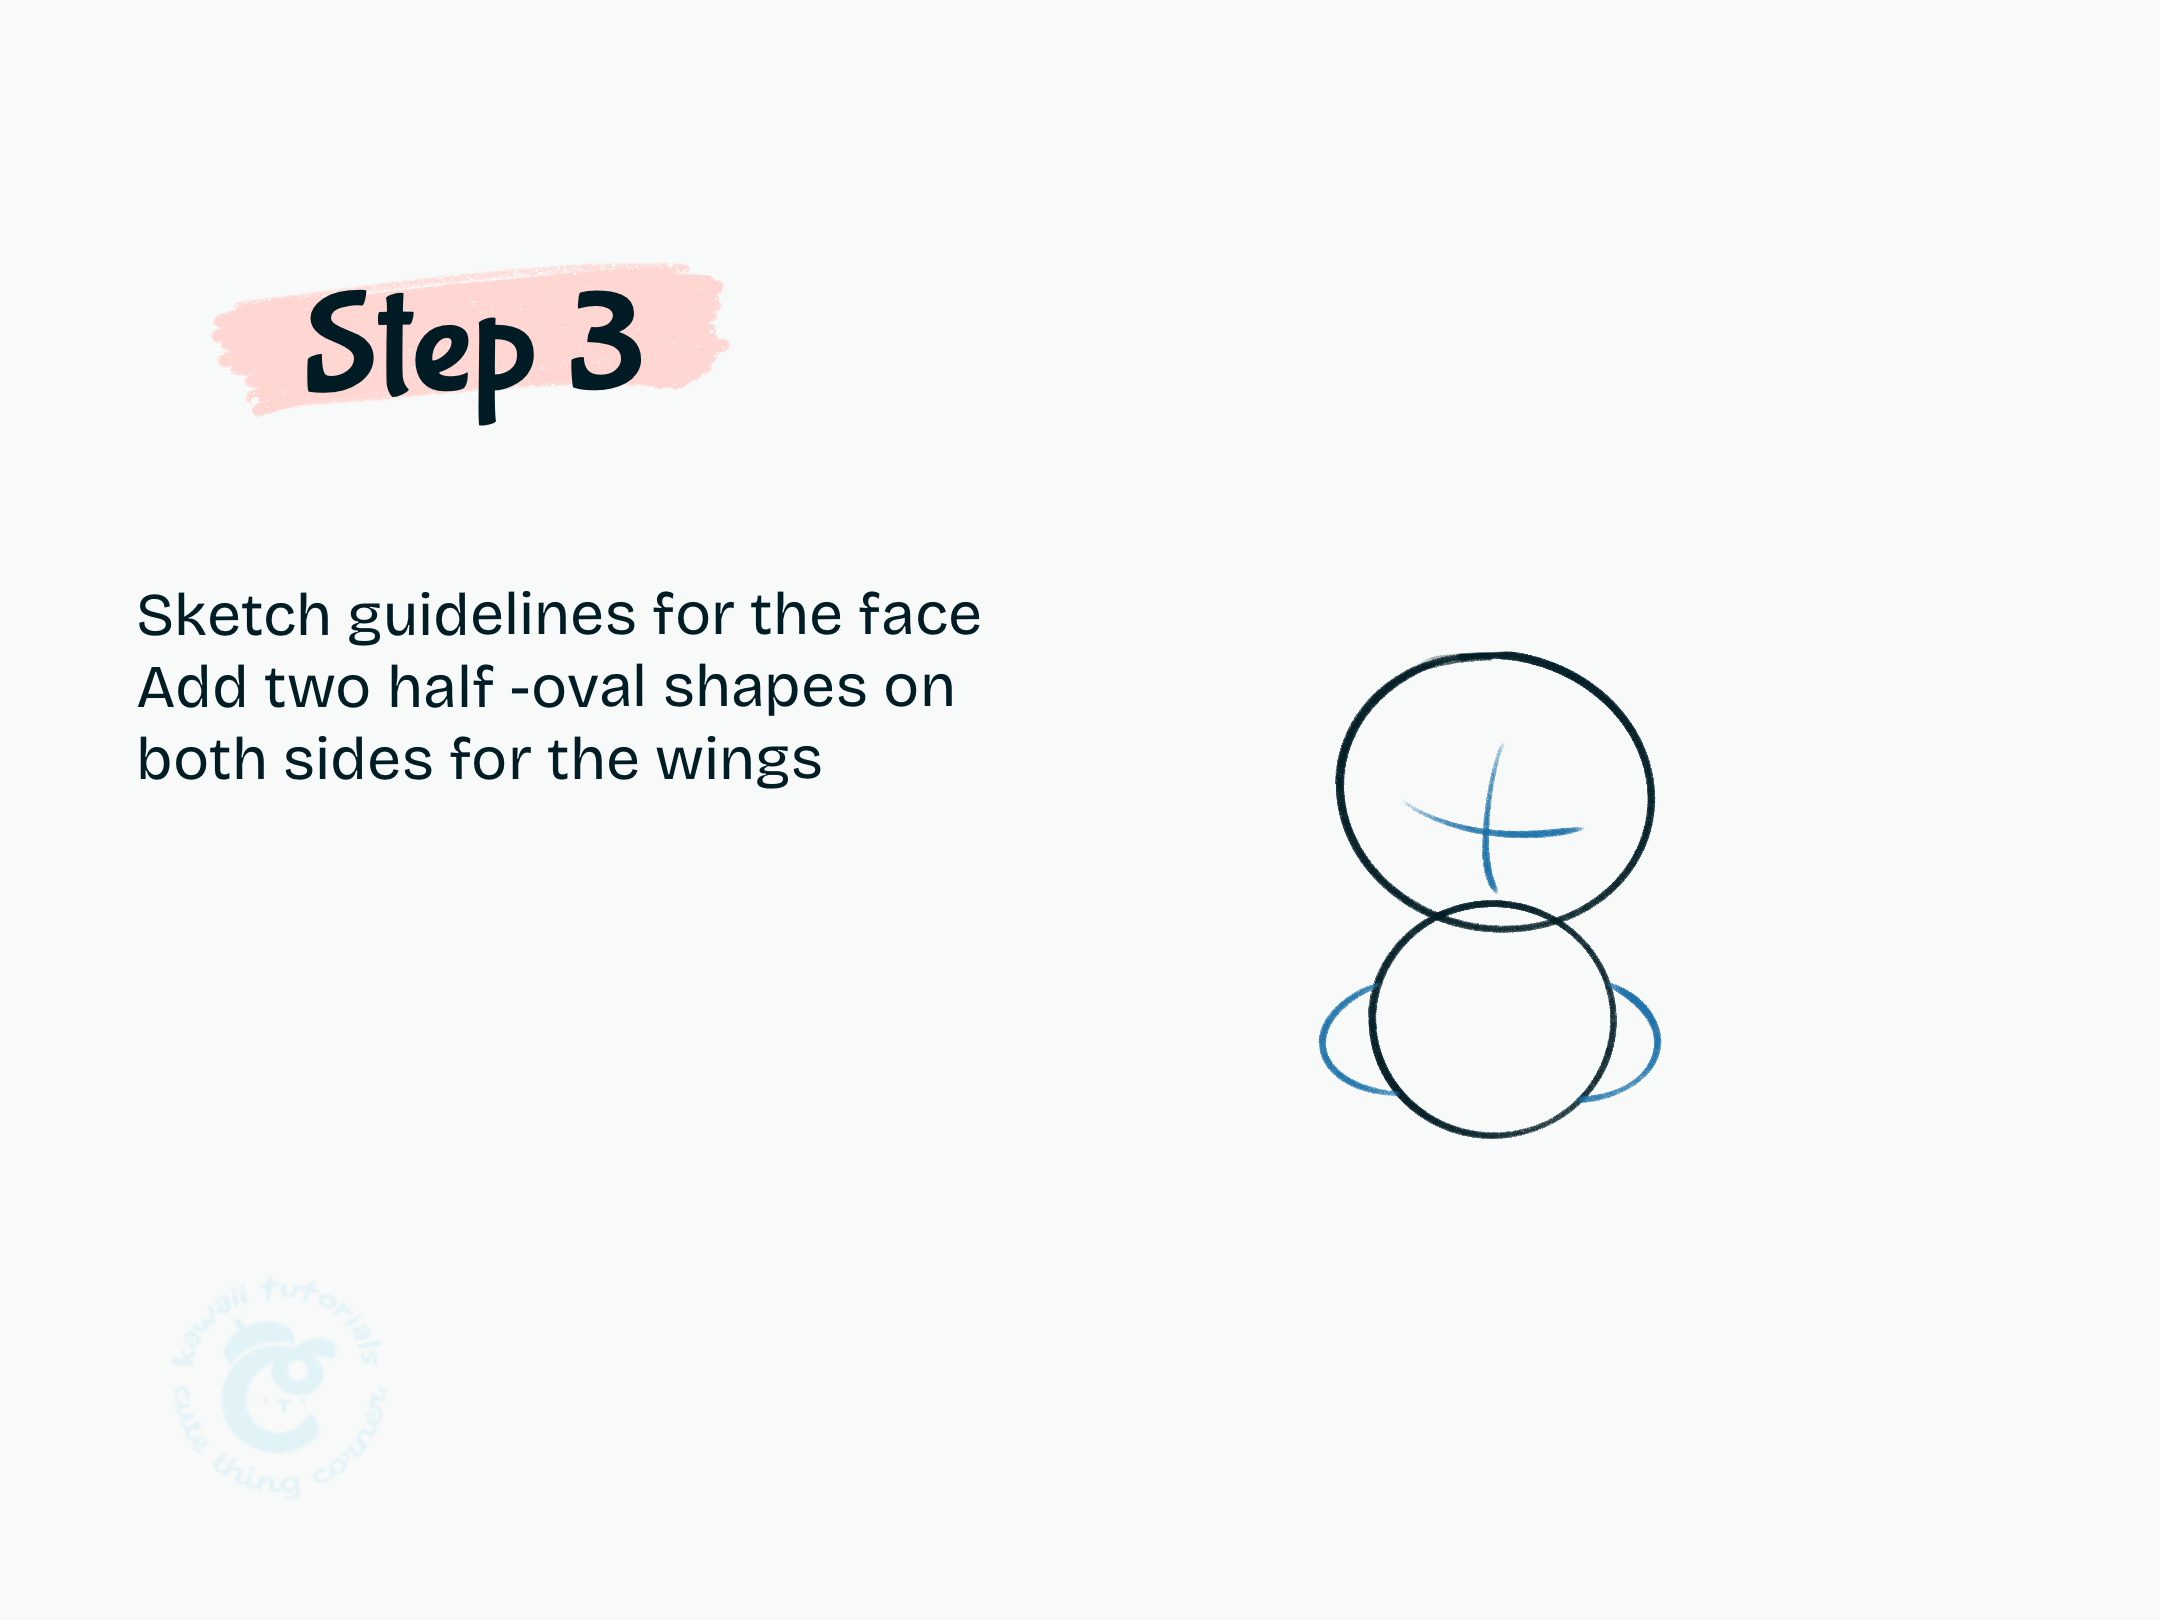
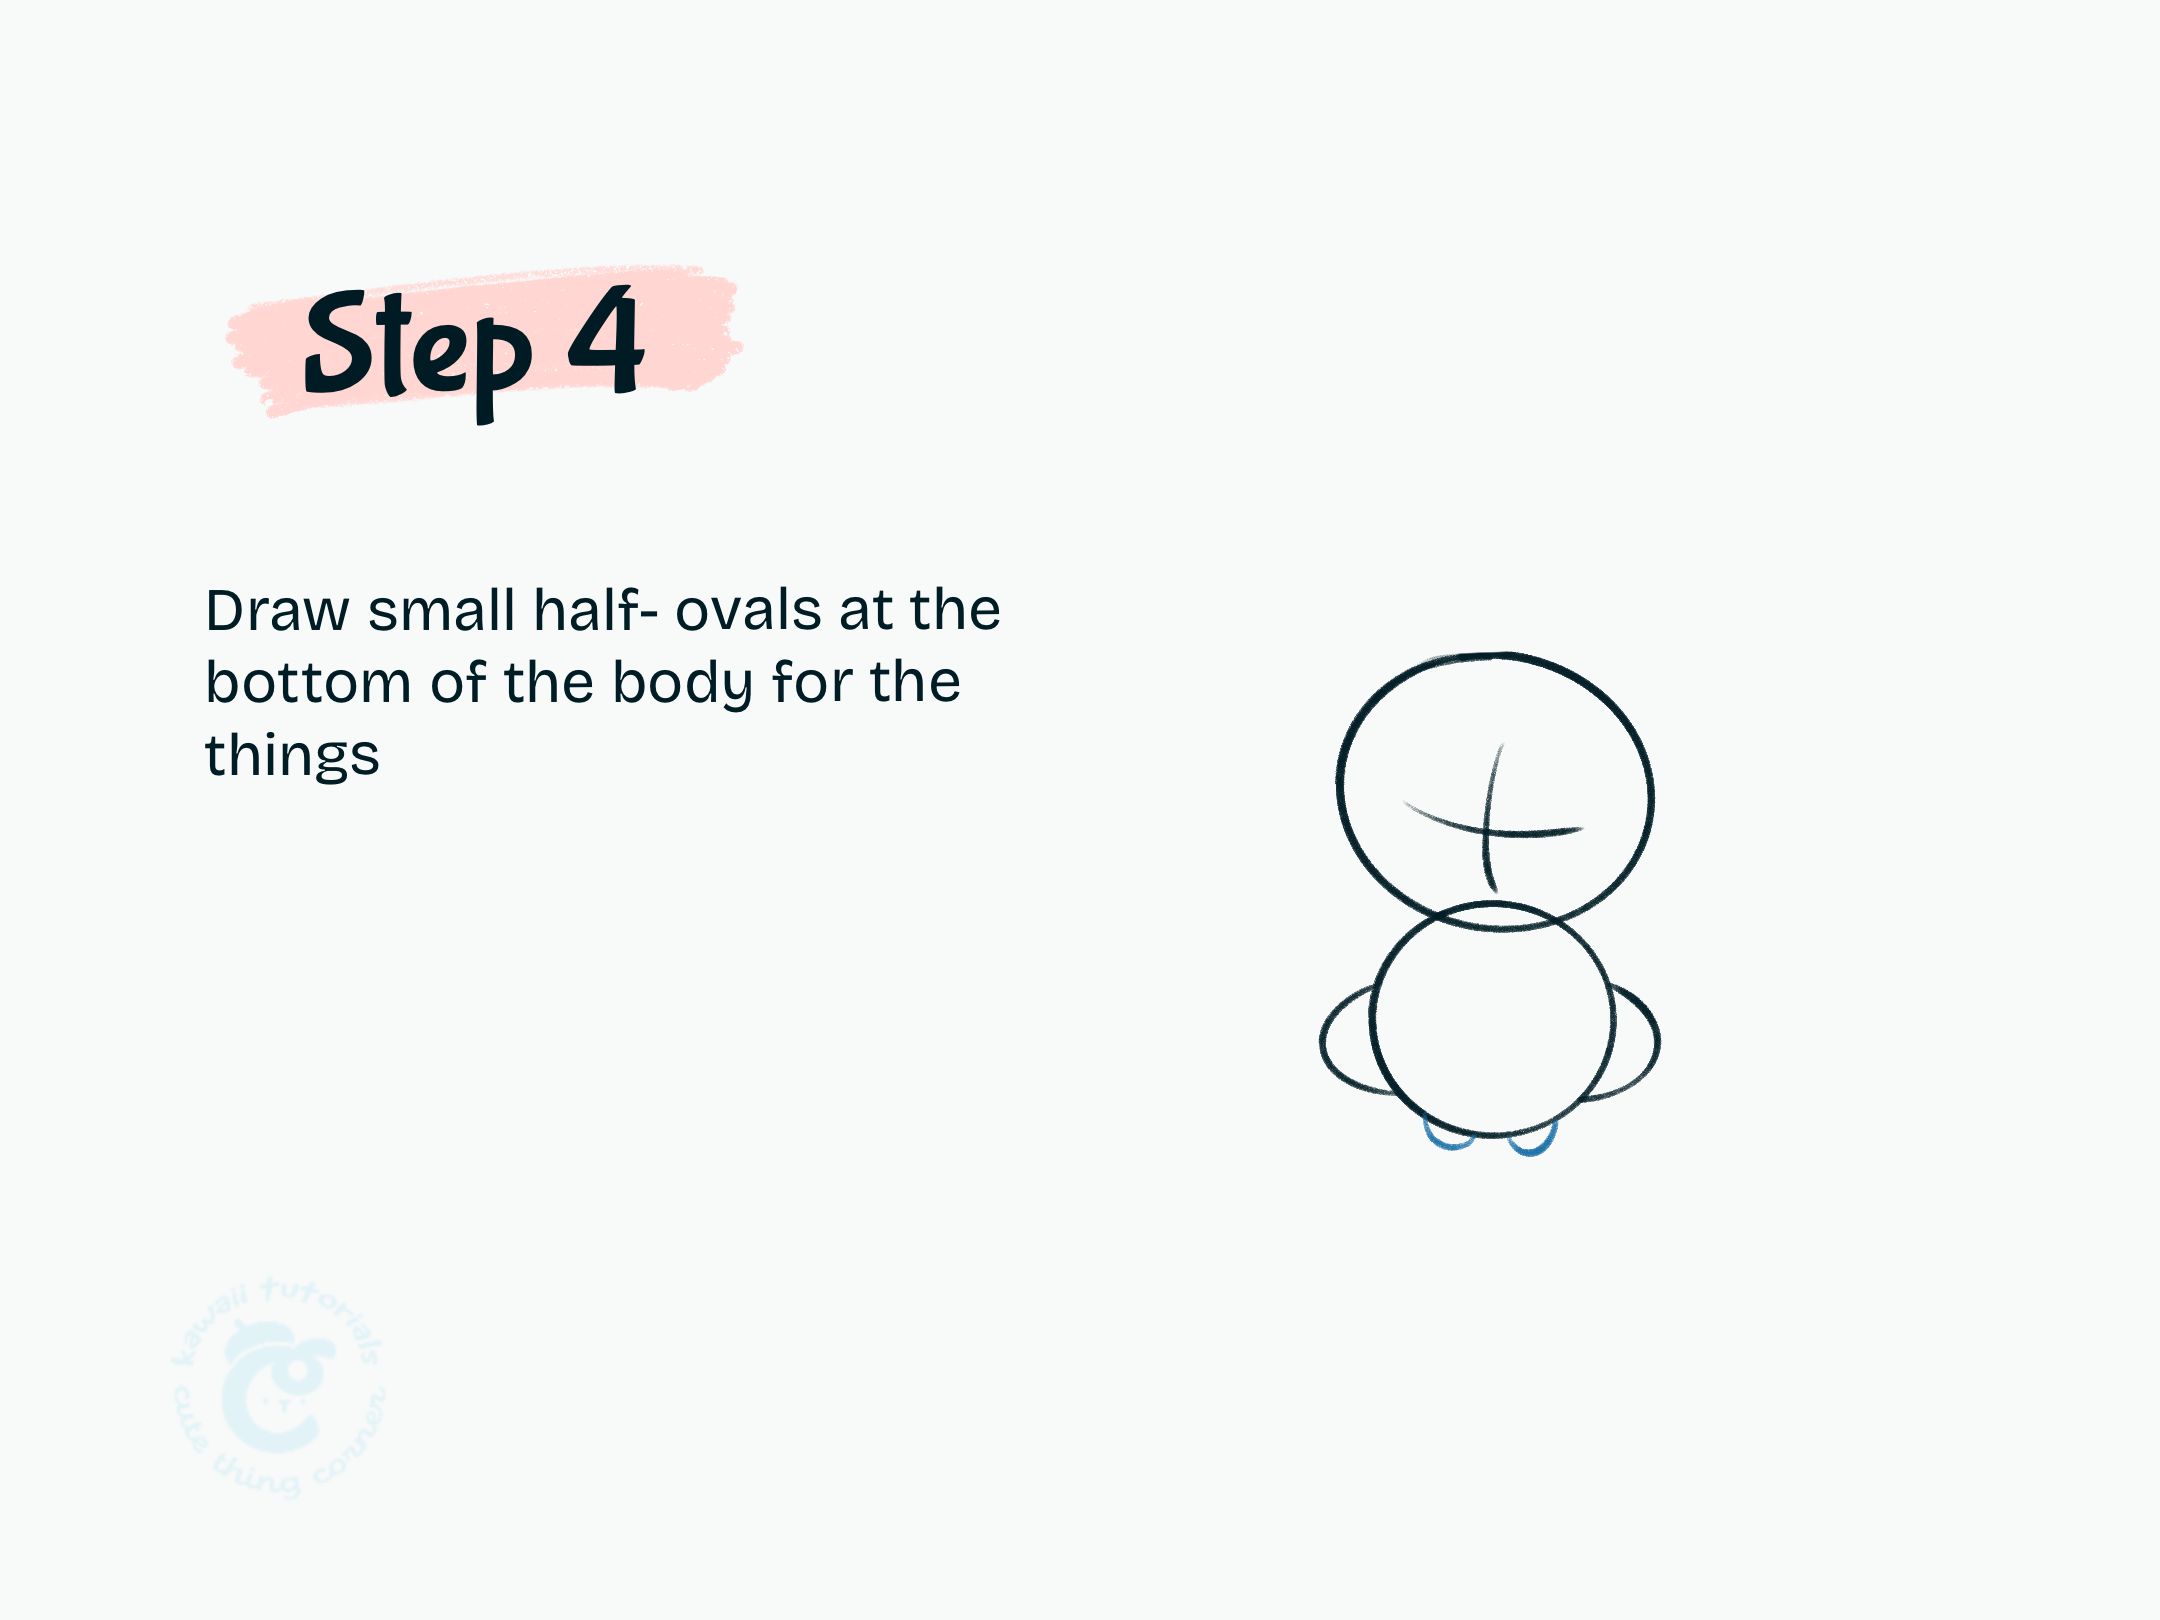
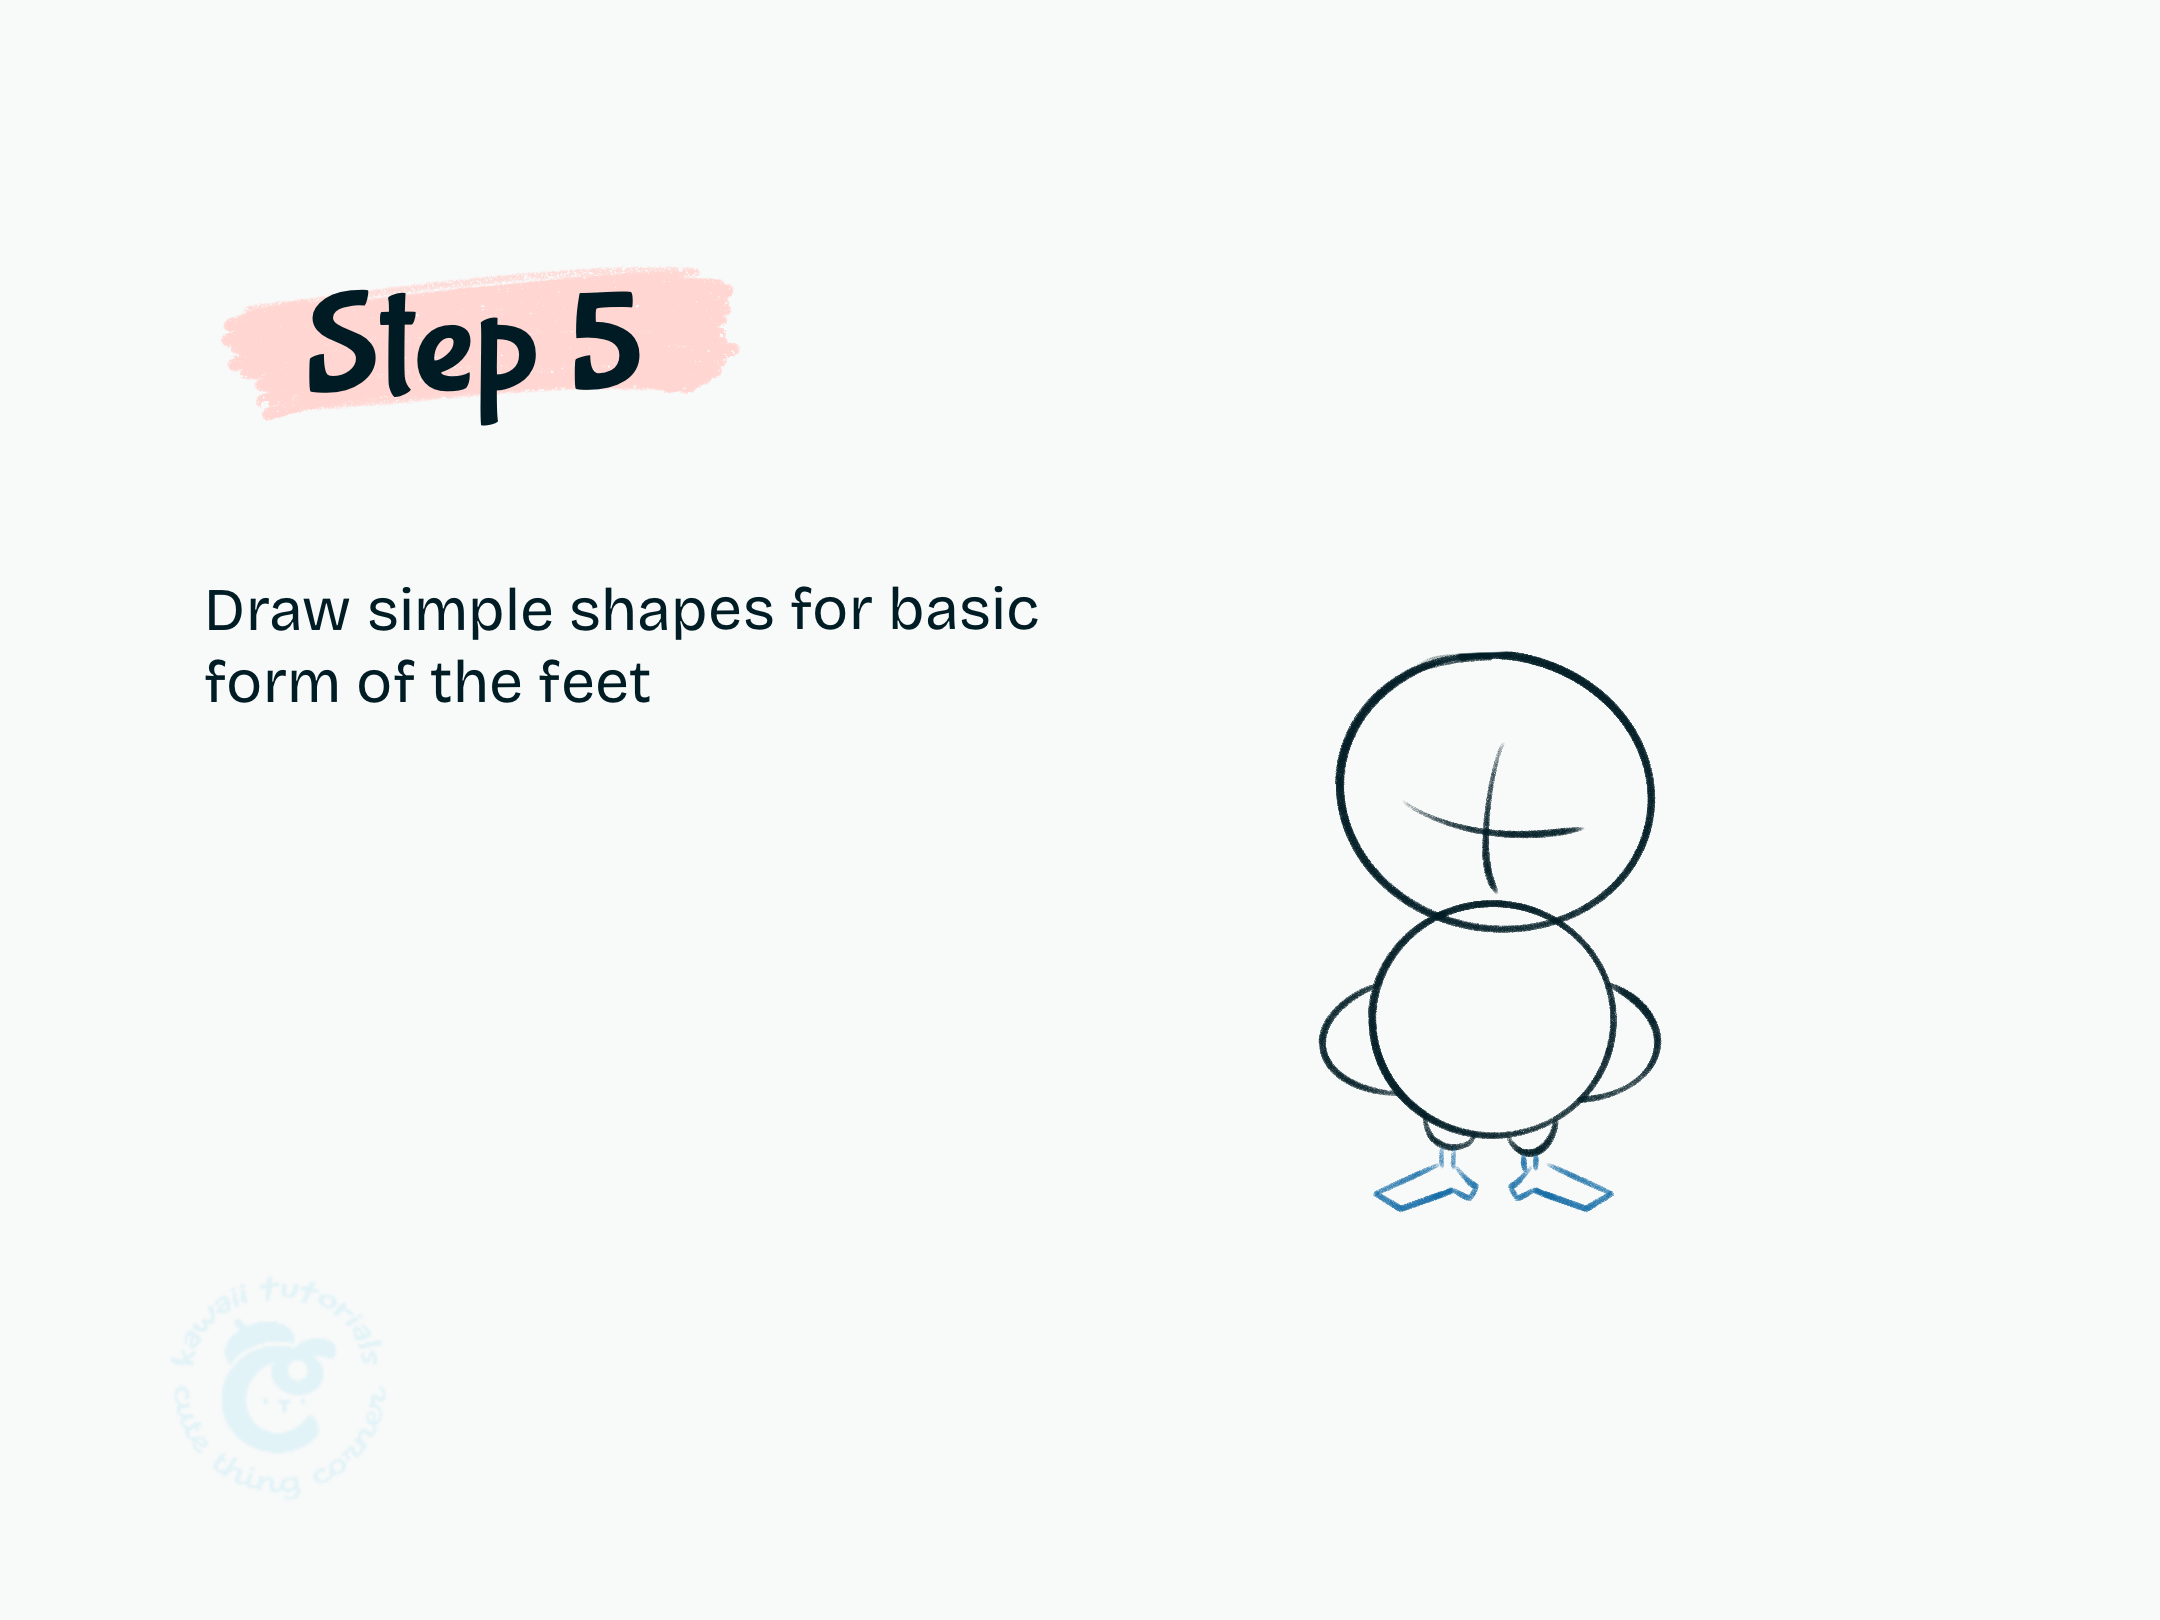
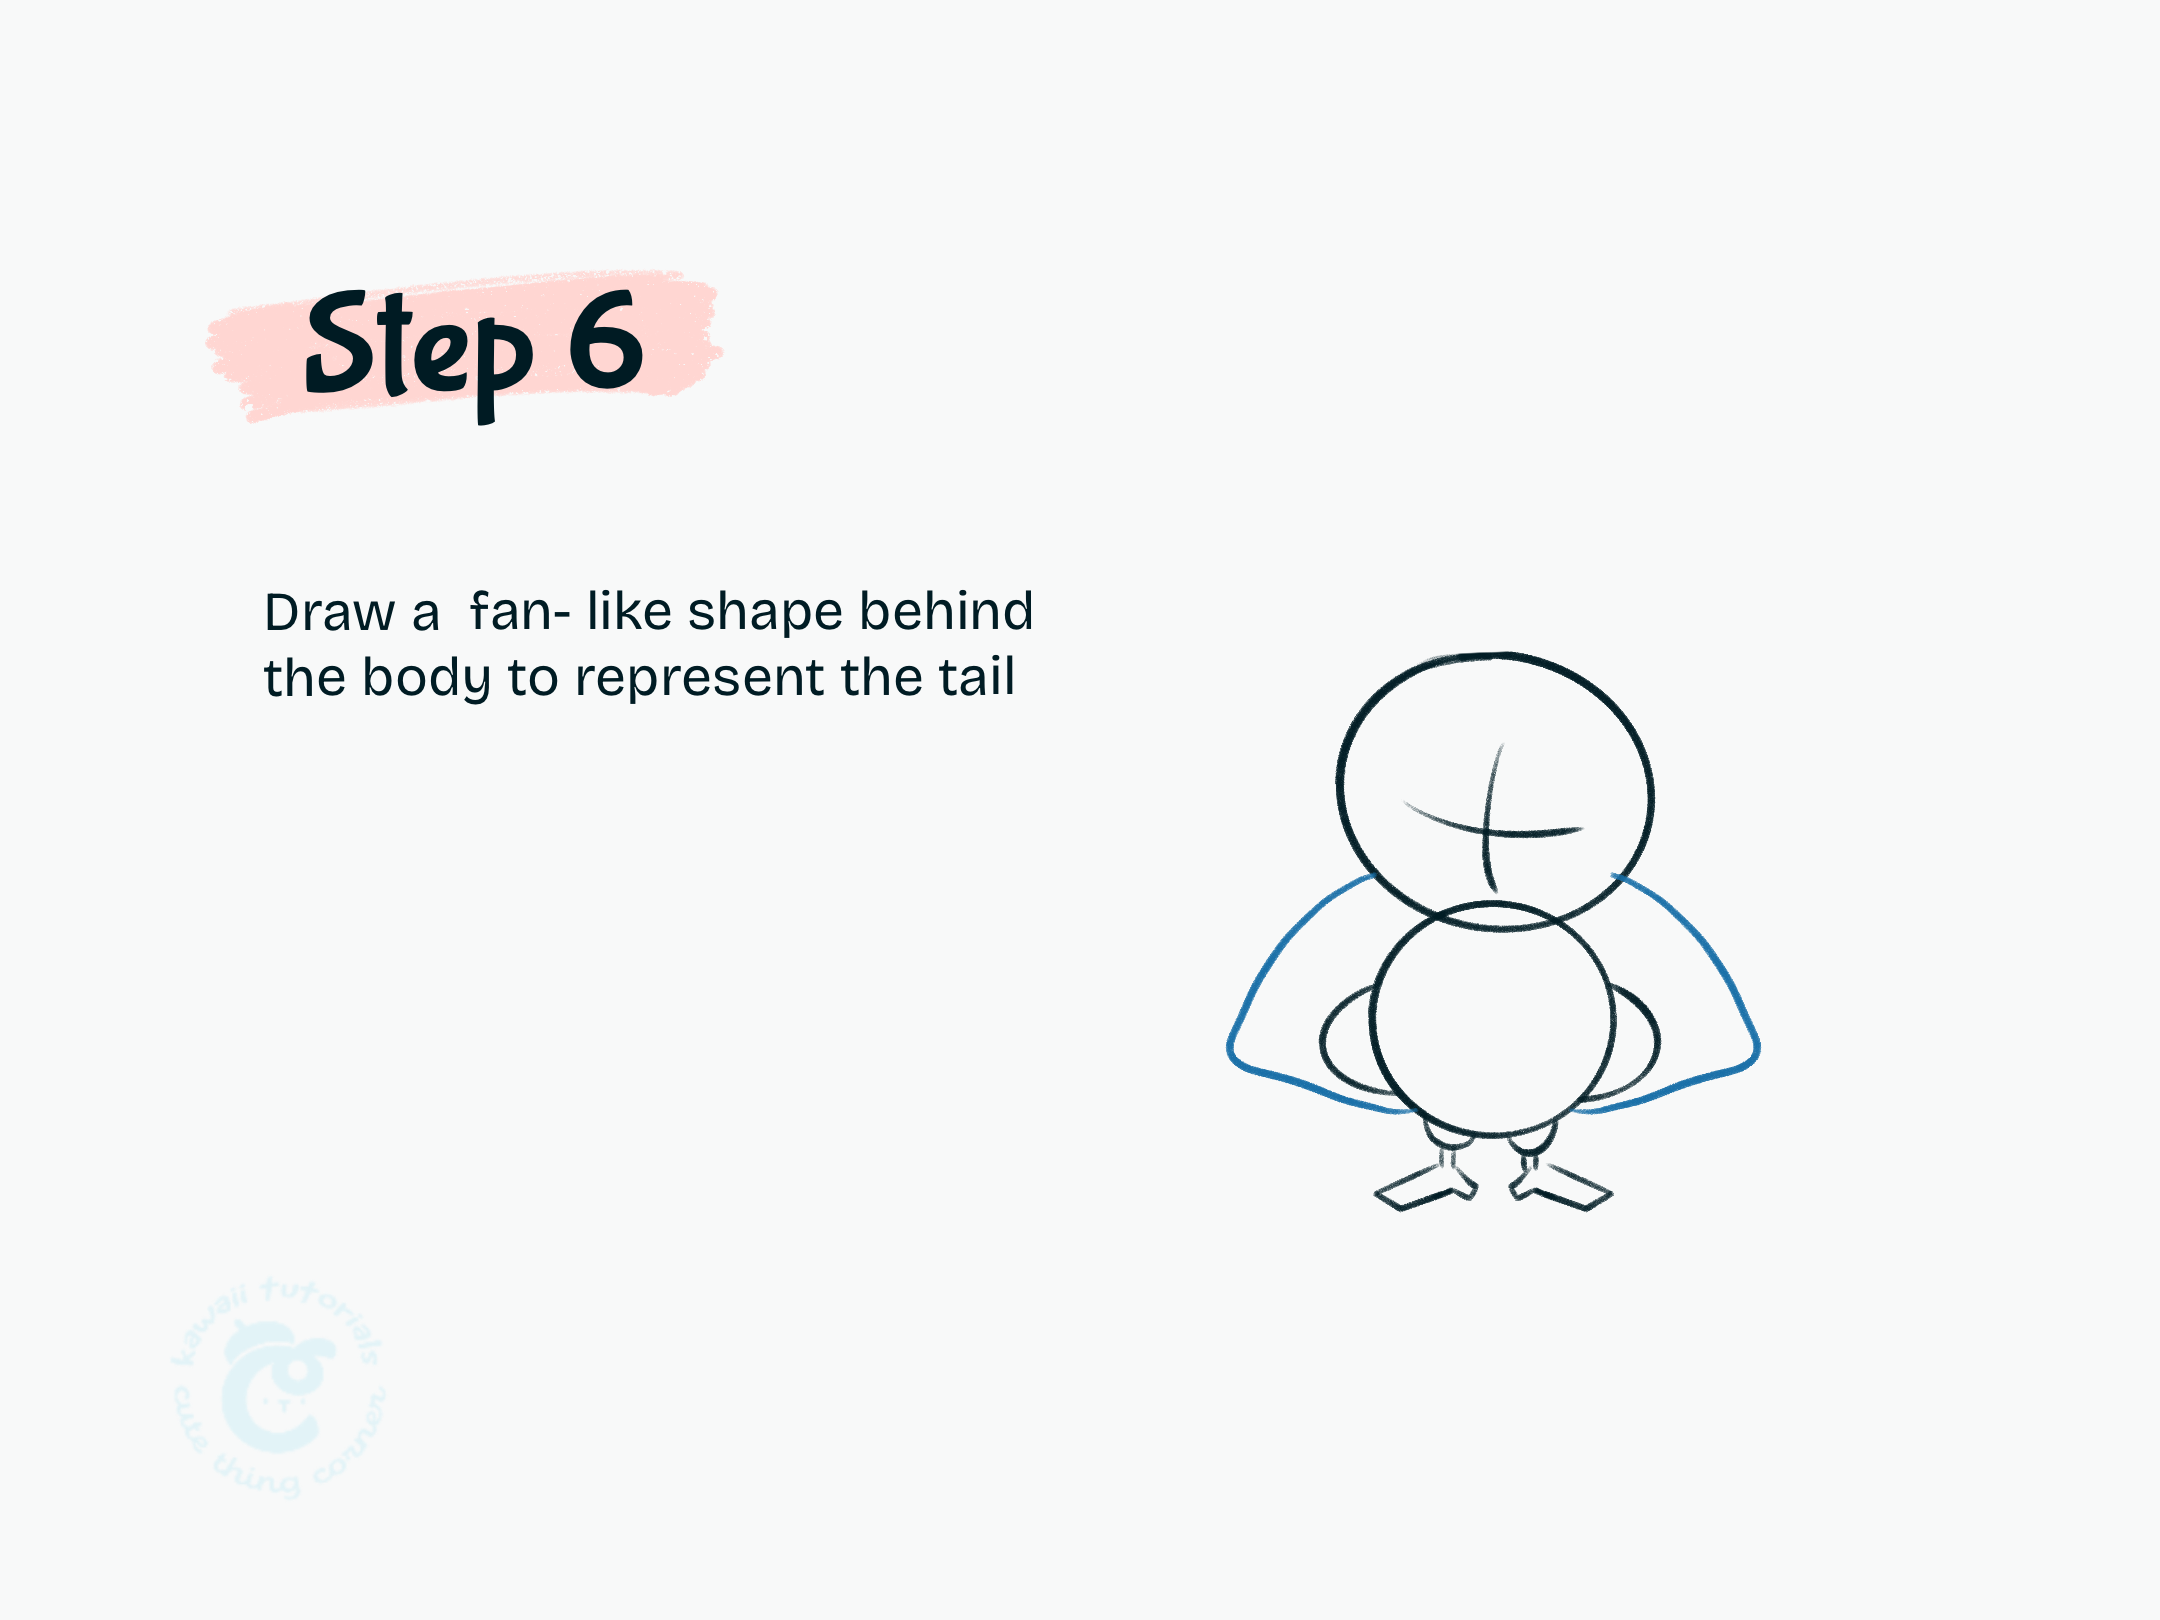
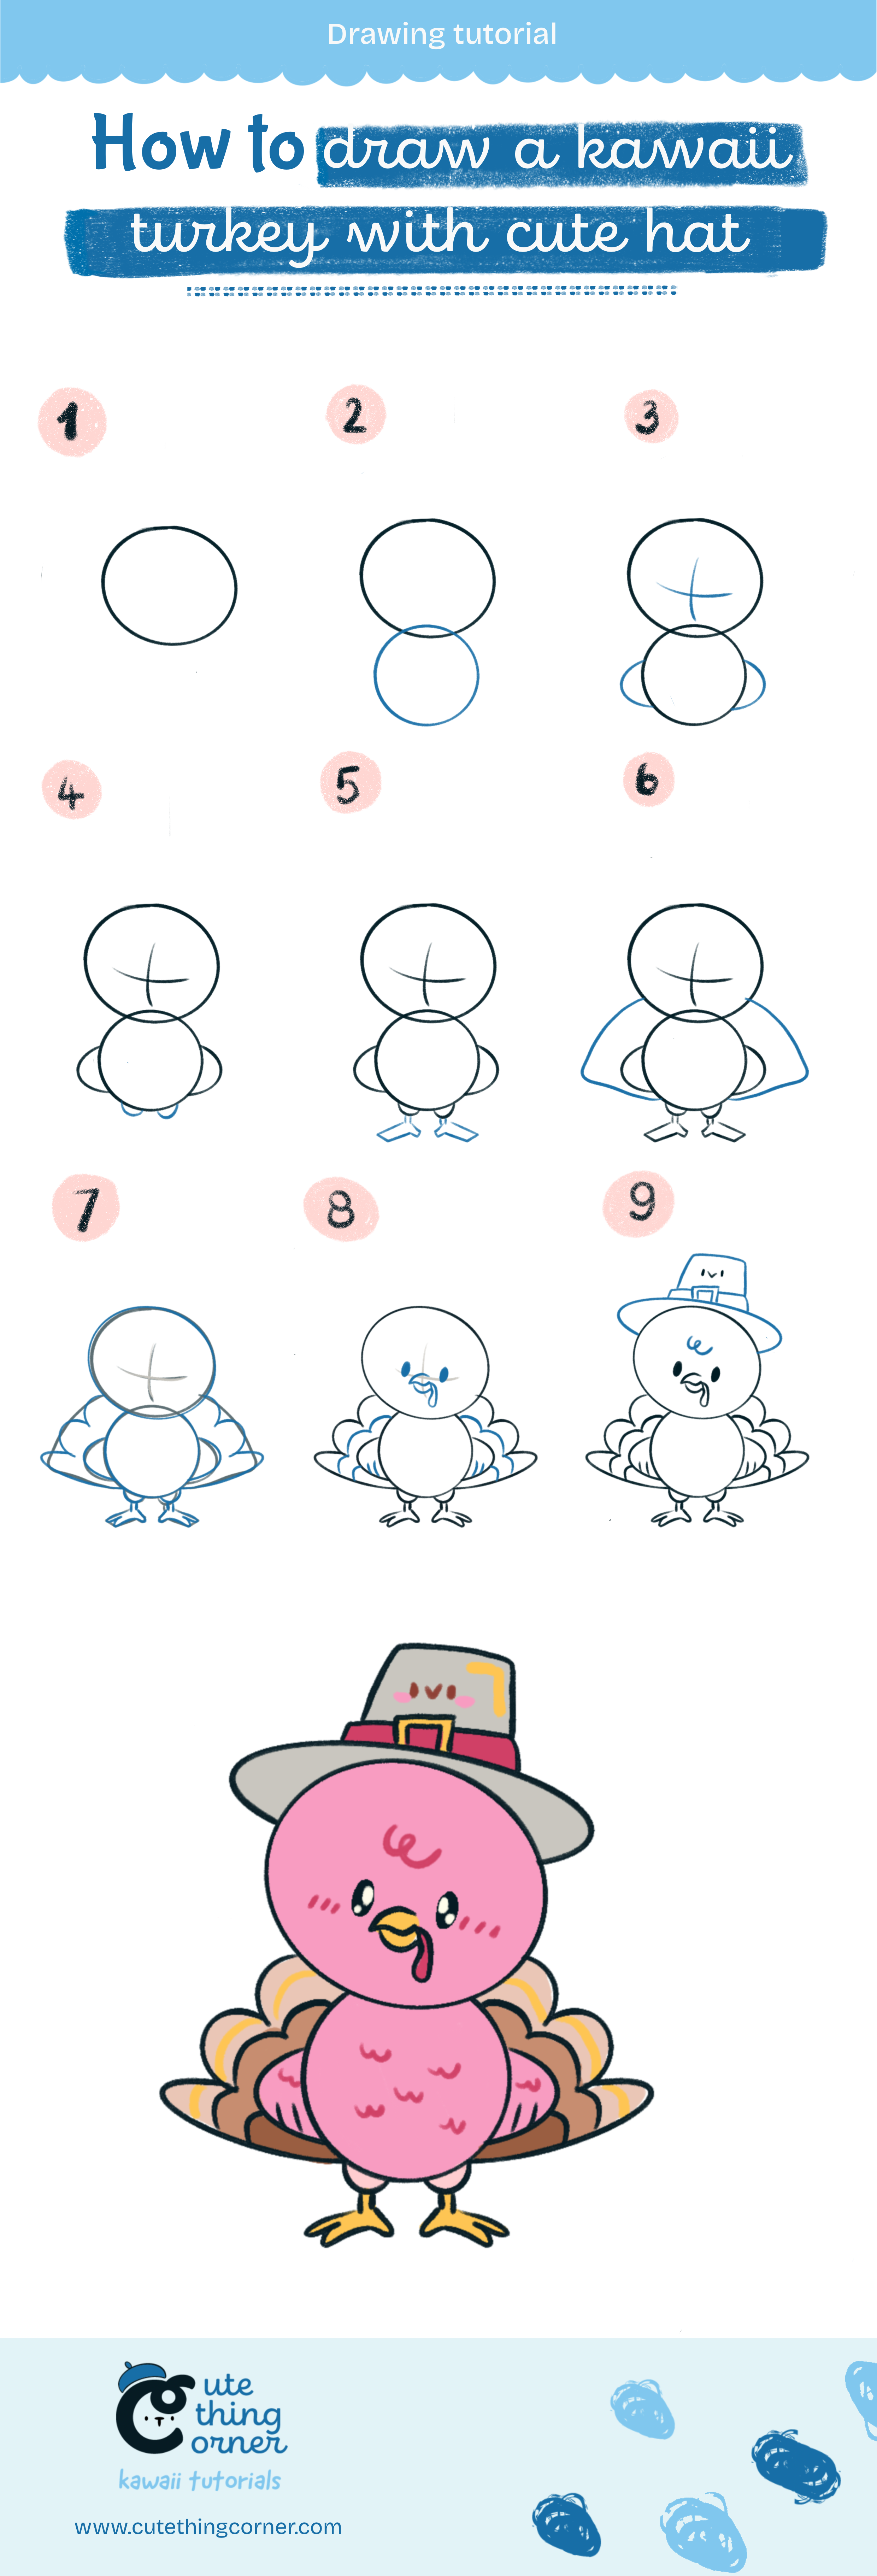
How to draw Kawaii Turkey with cute hat (Step-by-step)
This step-by-step tutorial will teach you how to draw kawaii turkey with cute hat! Perfect for holiday-themed drawings, this guide from Cute Thing Corner uses simple shapes and fun details to create a turkey that’s both…