Garfield
How to Draw a Baby Garfield (Step-by-step)
Today, I will share with you a step-by-step to Draw a Baby Cute Garfield. Are you a fan of Garfield Cat? It’s a special character that I actually really love. Follow 10 steps below by Kawaii…
Garfield
Today, I will share with you a step-by-step to Draw a Baby Cute Garfield. Are you a fan of Garfield Cat? It’s a special character that I actually really love. Follow 10 steps below by Kawaii…
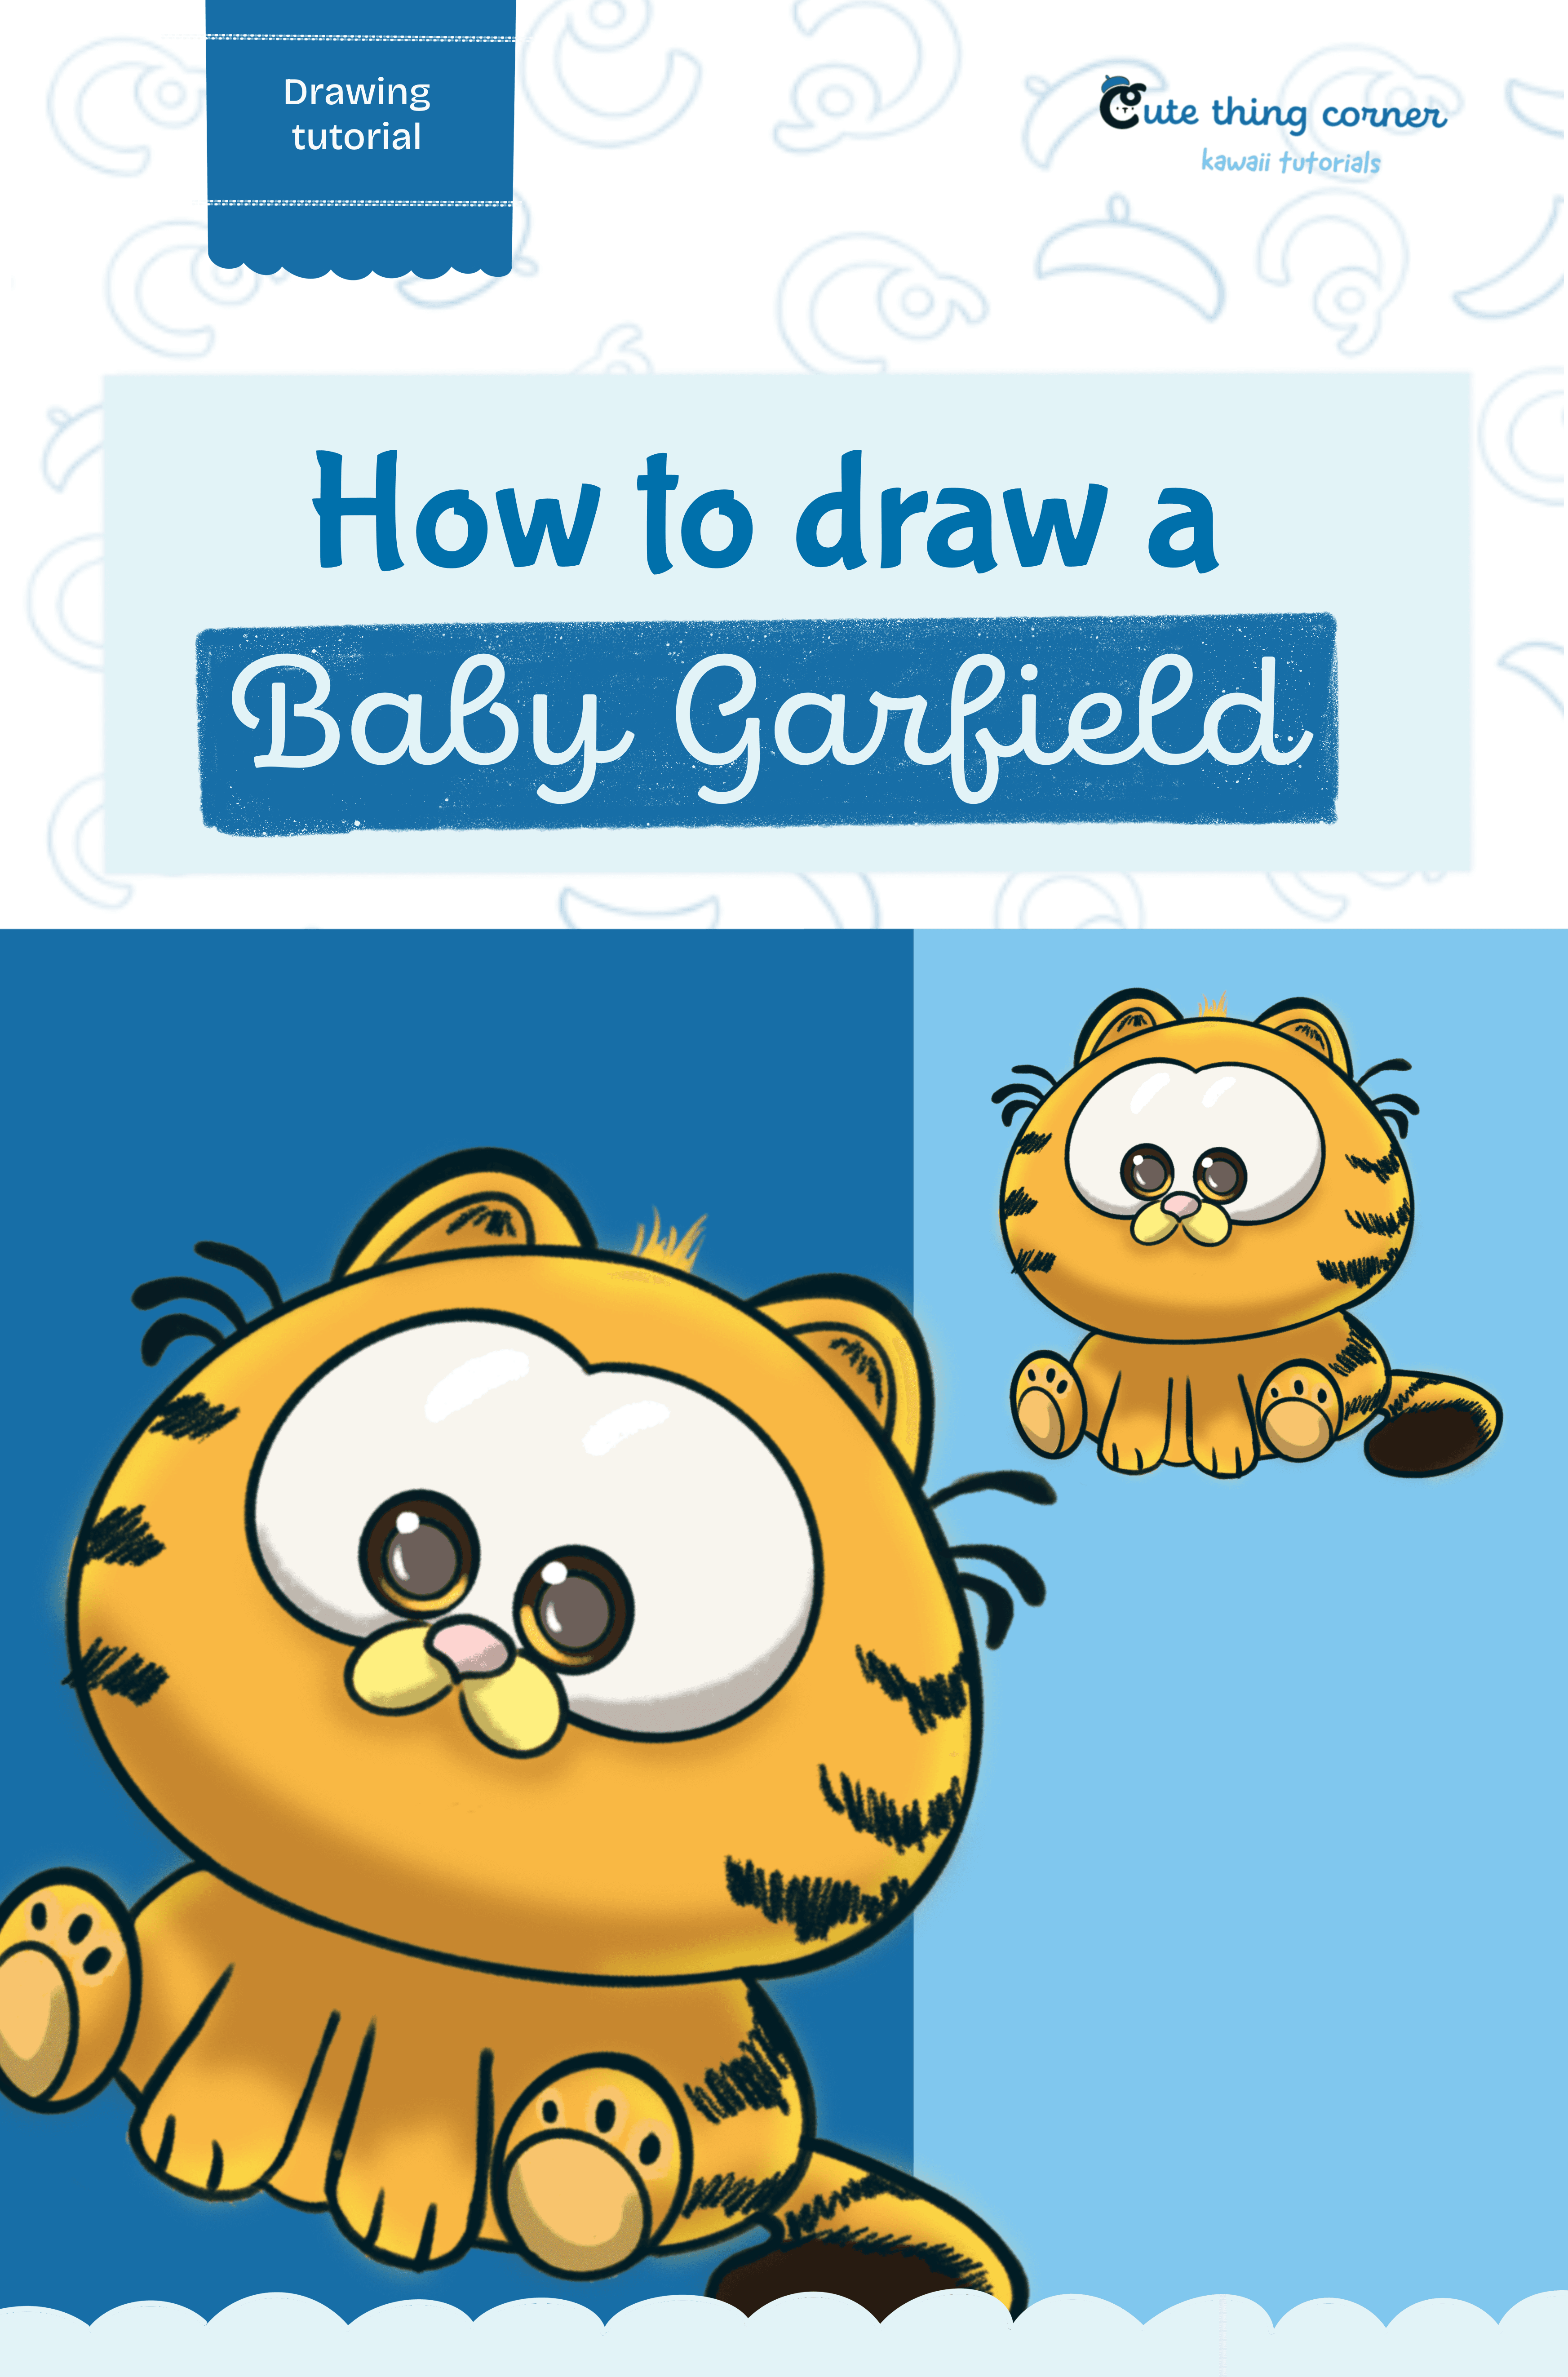
Today, I will share with you a step-by-step to Draw a Baby Cute Garfield.
Are you a fan of Garfield Cat? It’s a special character that I actually really love.
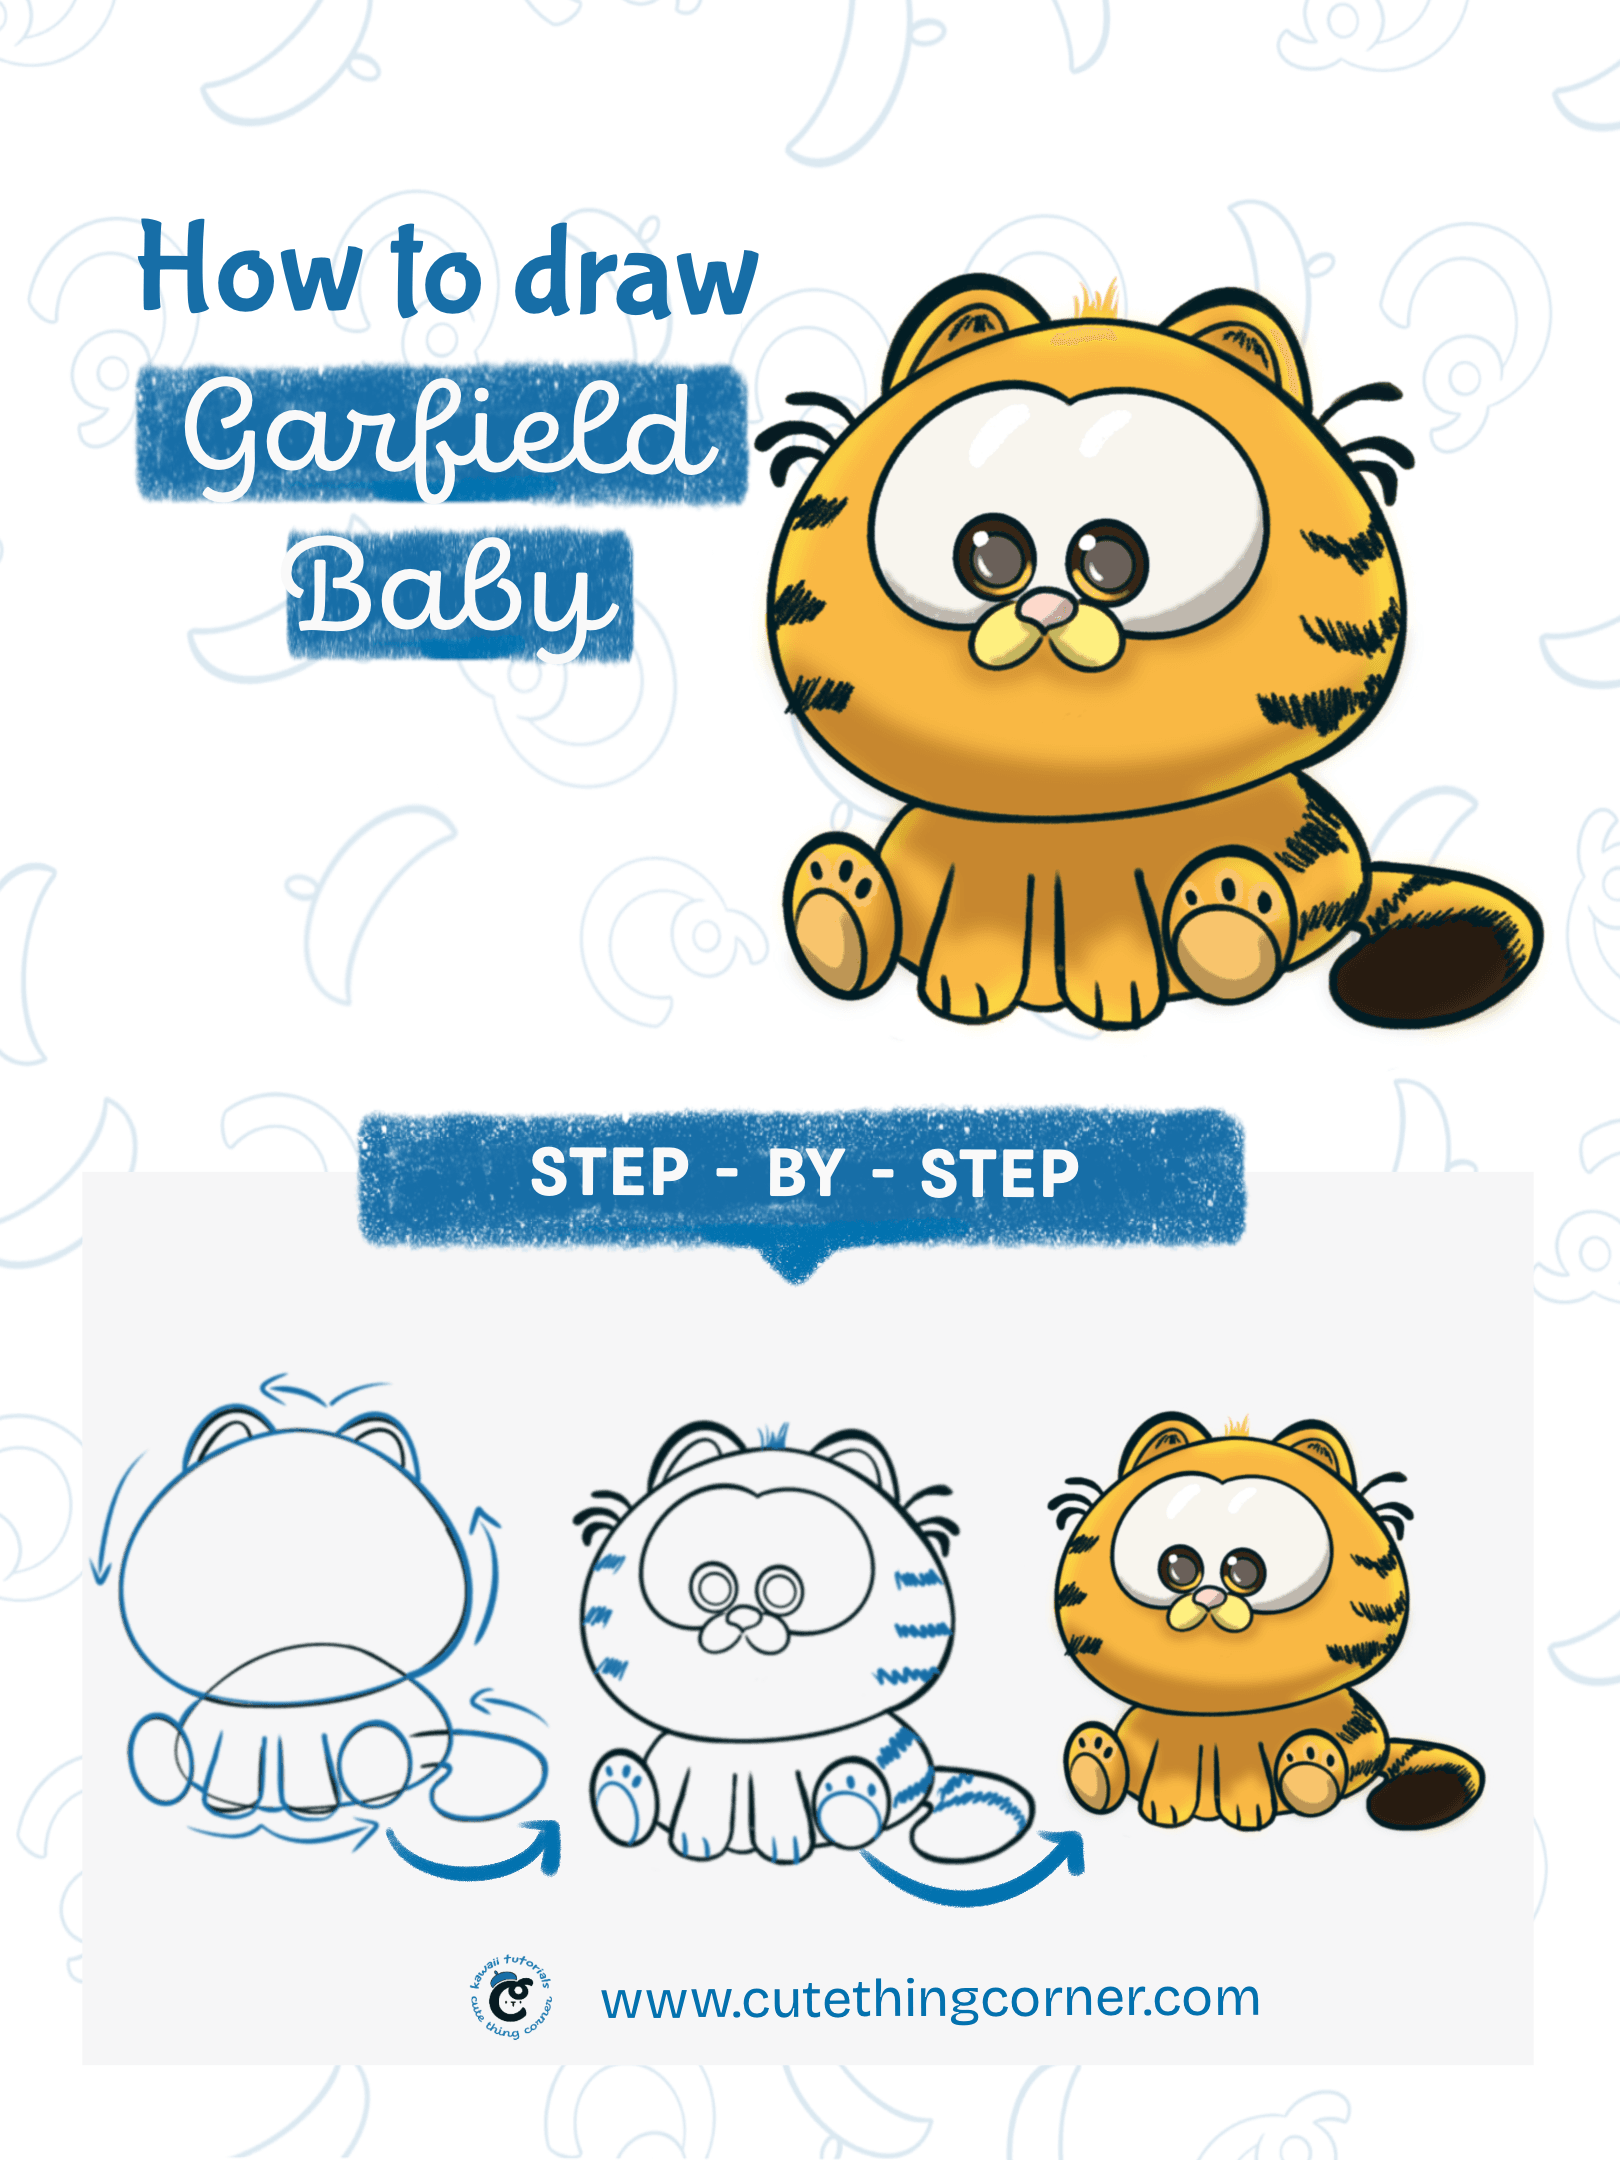
Follow 10 steps below by Kawaii Tutorial Cutethingcorner.com that will help you finalize a Baby Cute Garfield by yourself.
It’s easy to start. So let’s get started.
You just have paper and a pencil to start. Color will belong to your favorite or using an Ipad and pencil.
Whatever makes you comfortable to start.
Jump into step-by-step to draw a Baby Garfield cat by yourself.
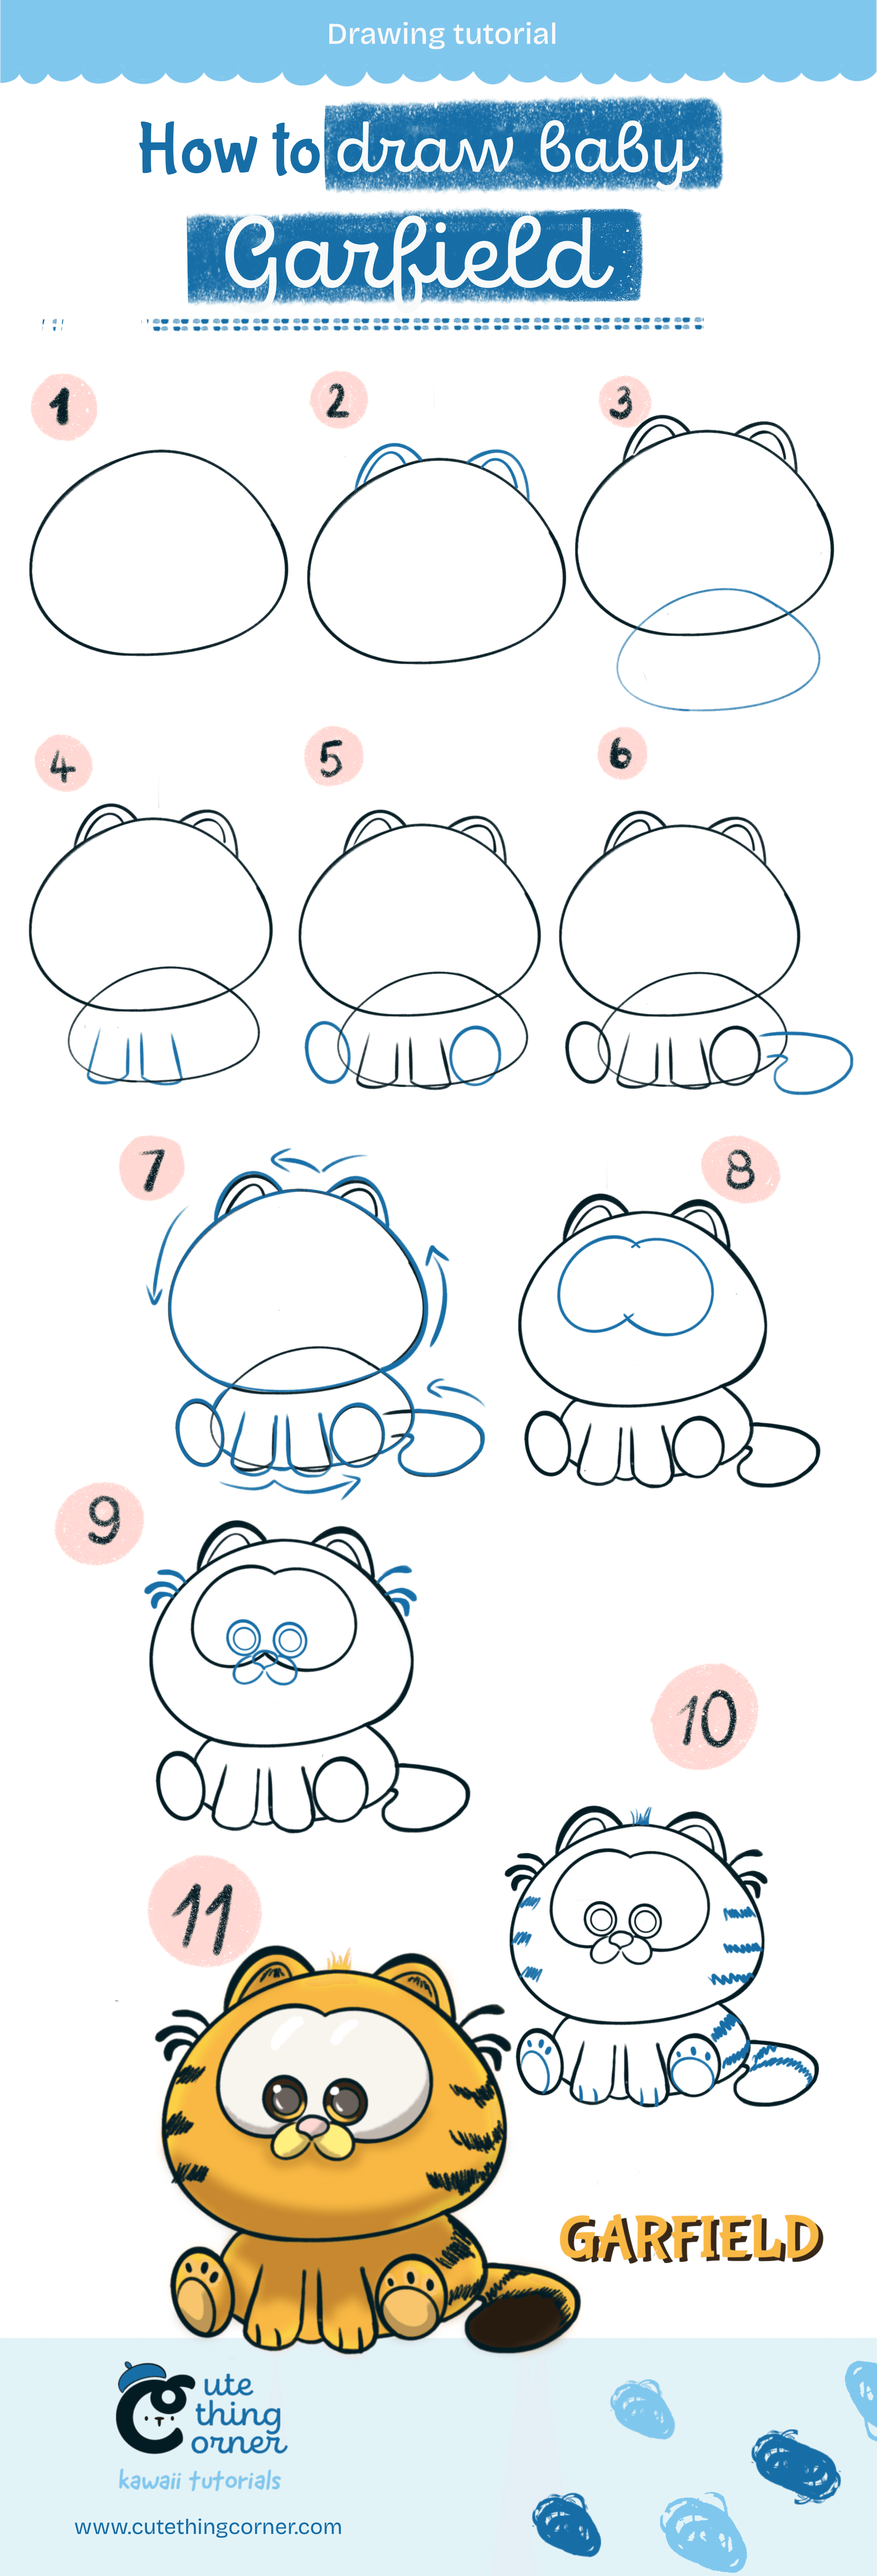
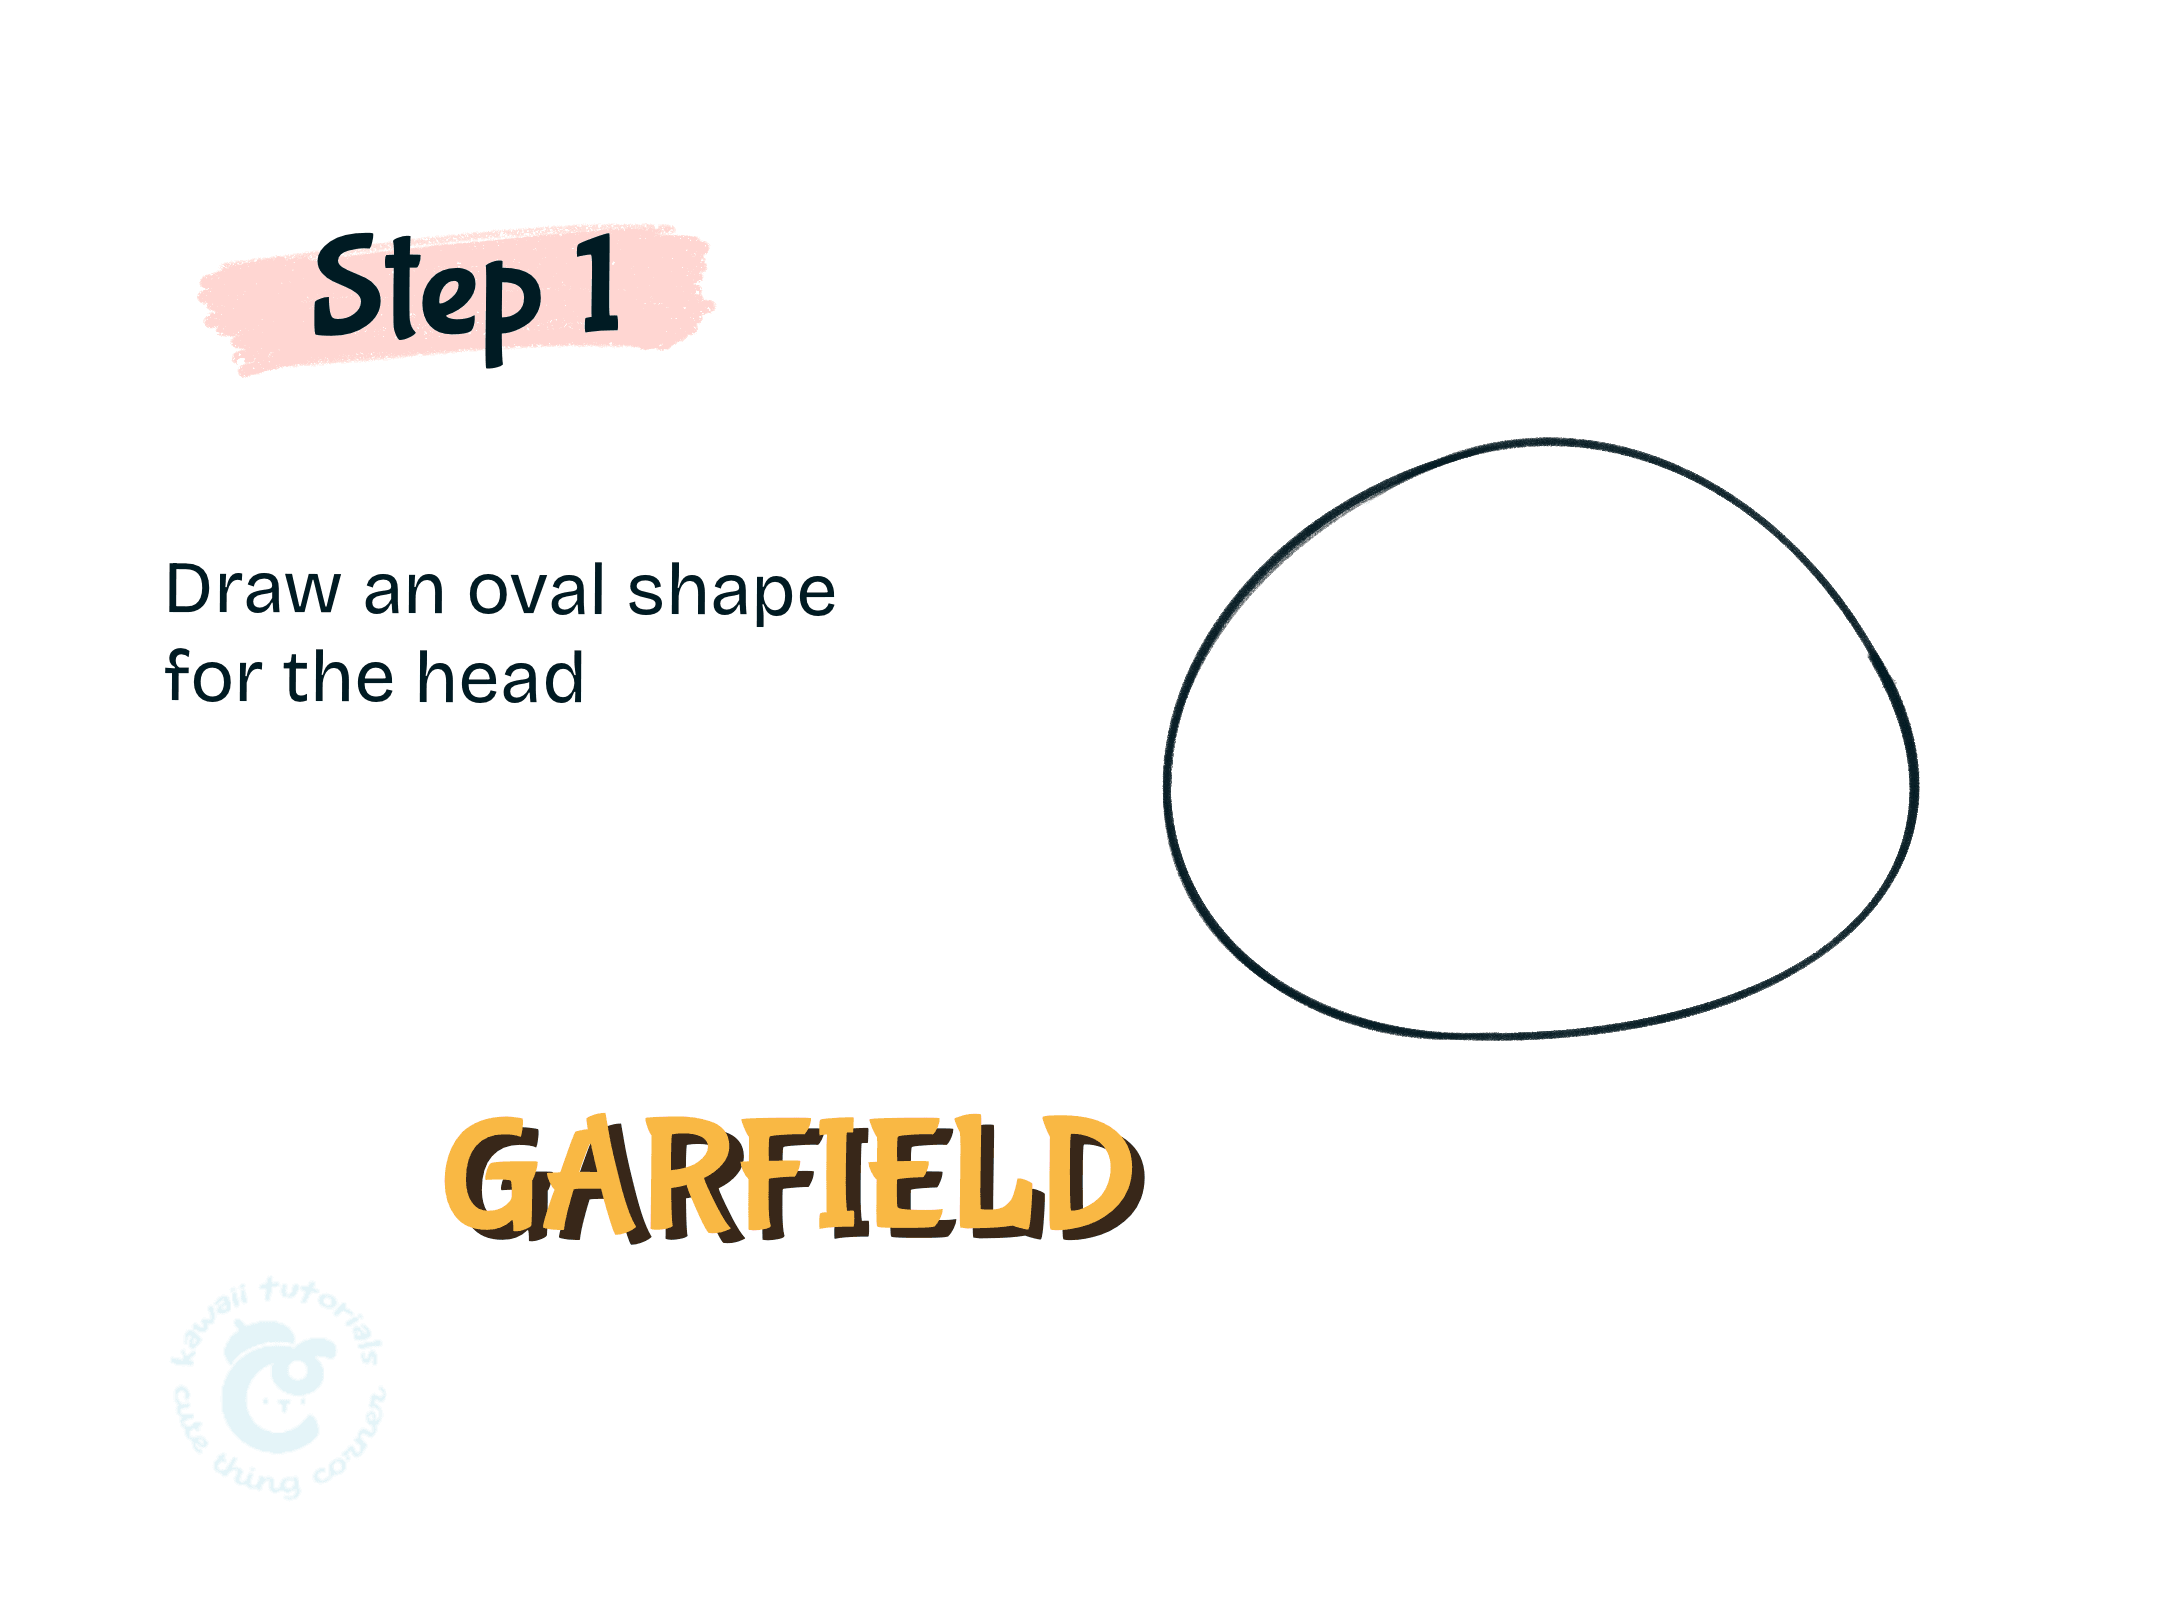
Firstly, you need to draw an oval shape for the head of a Garfield.
Then you need to draw two ears of the baby Garfield cat with the color you love, it’s based on your favorite.

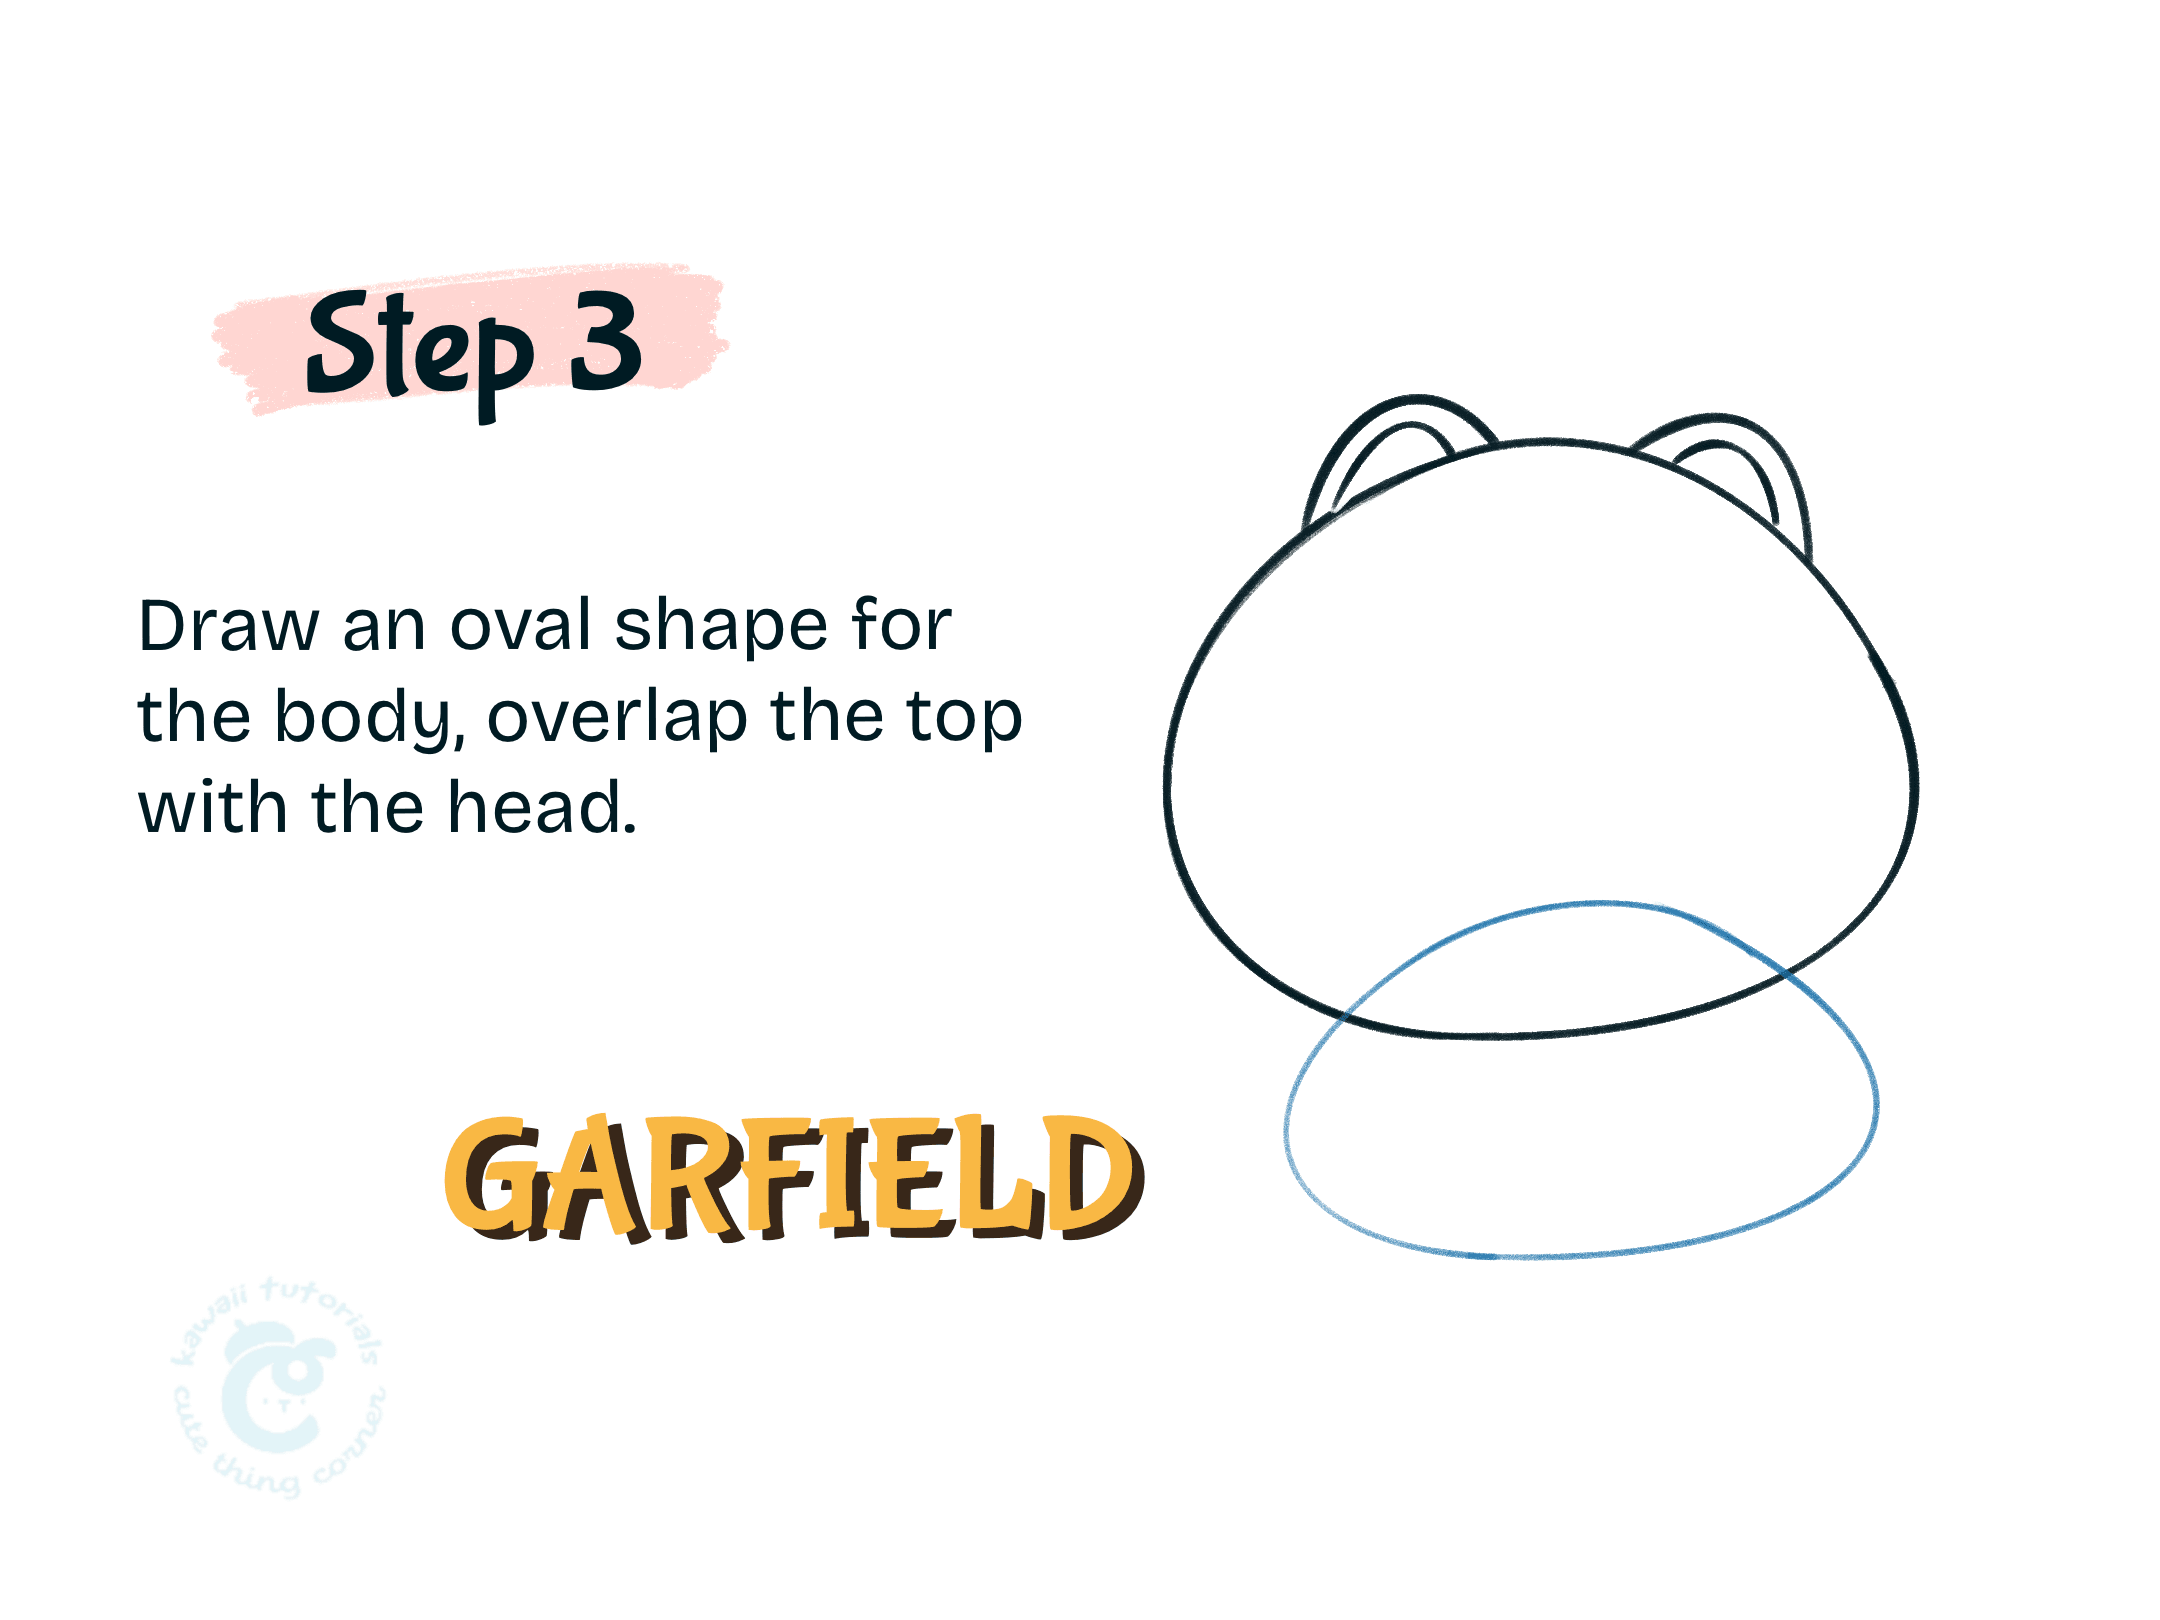
Next step, you have to draw an oval shape for the Garfield, overlapping the top with the head.
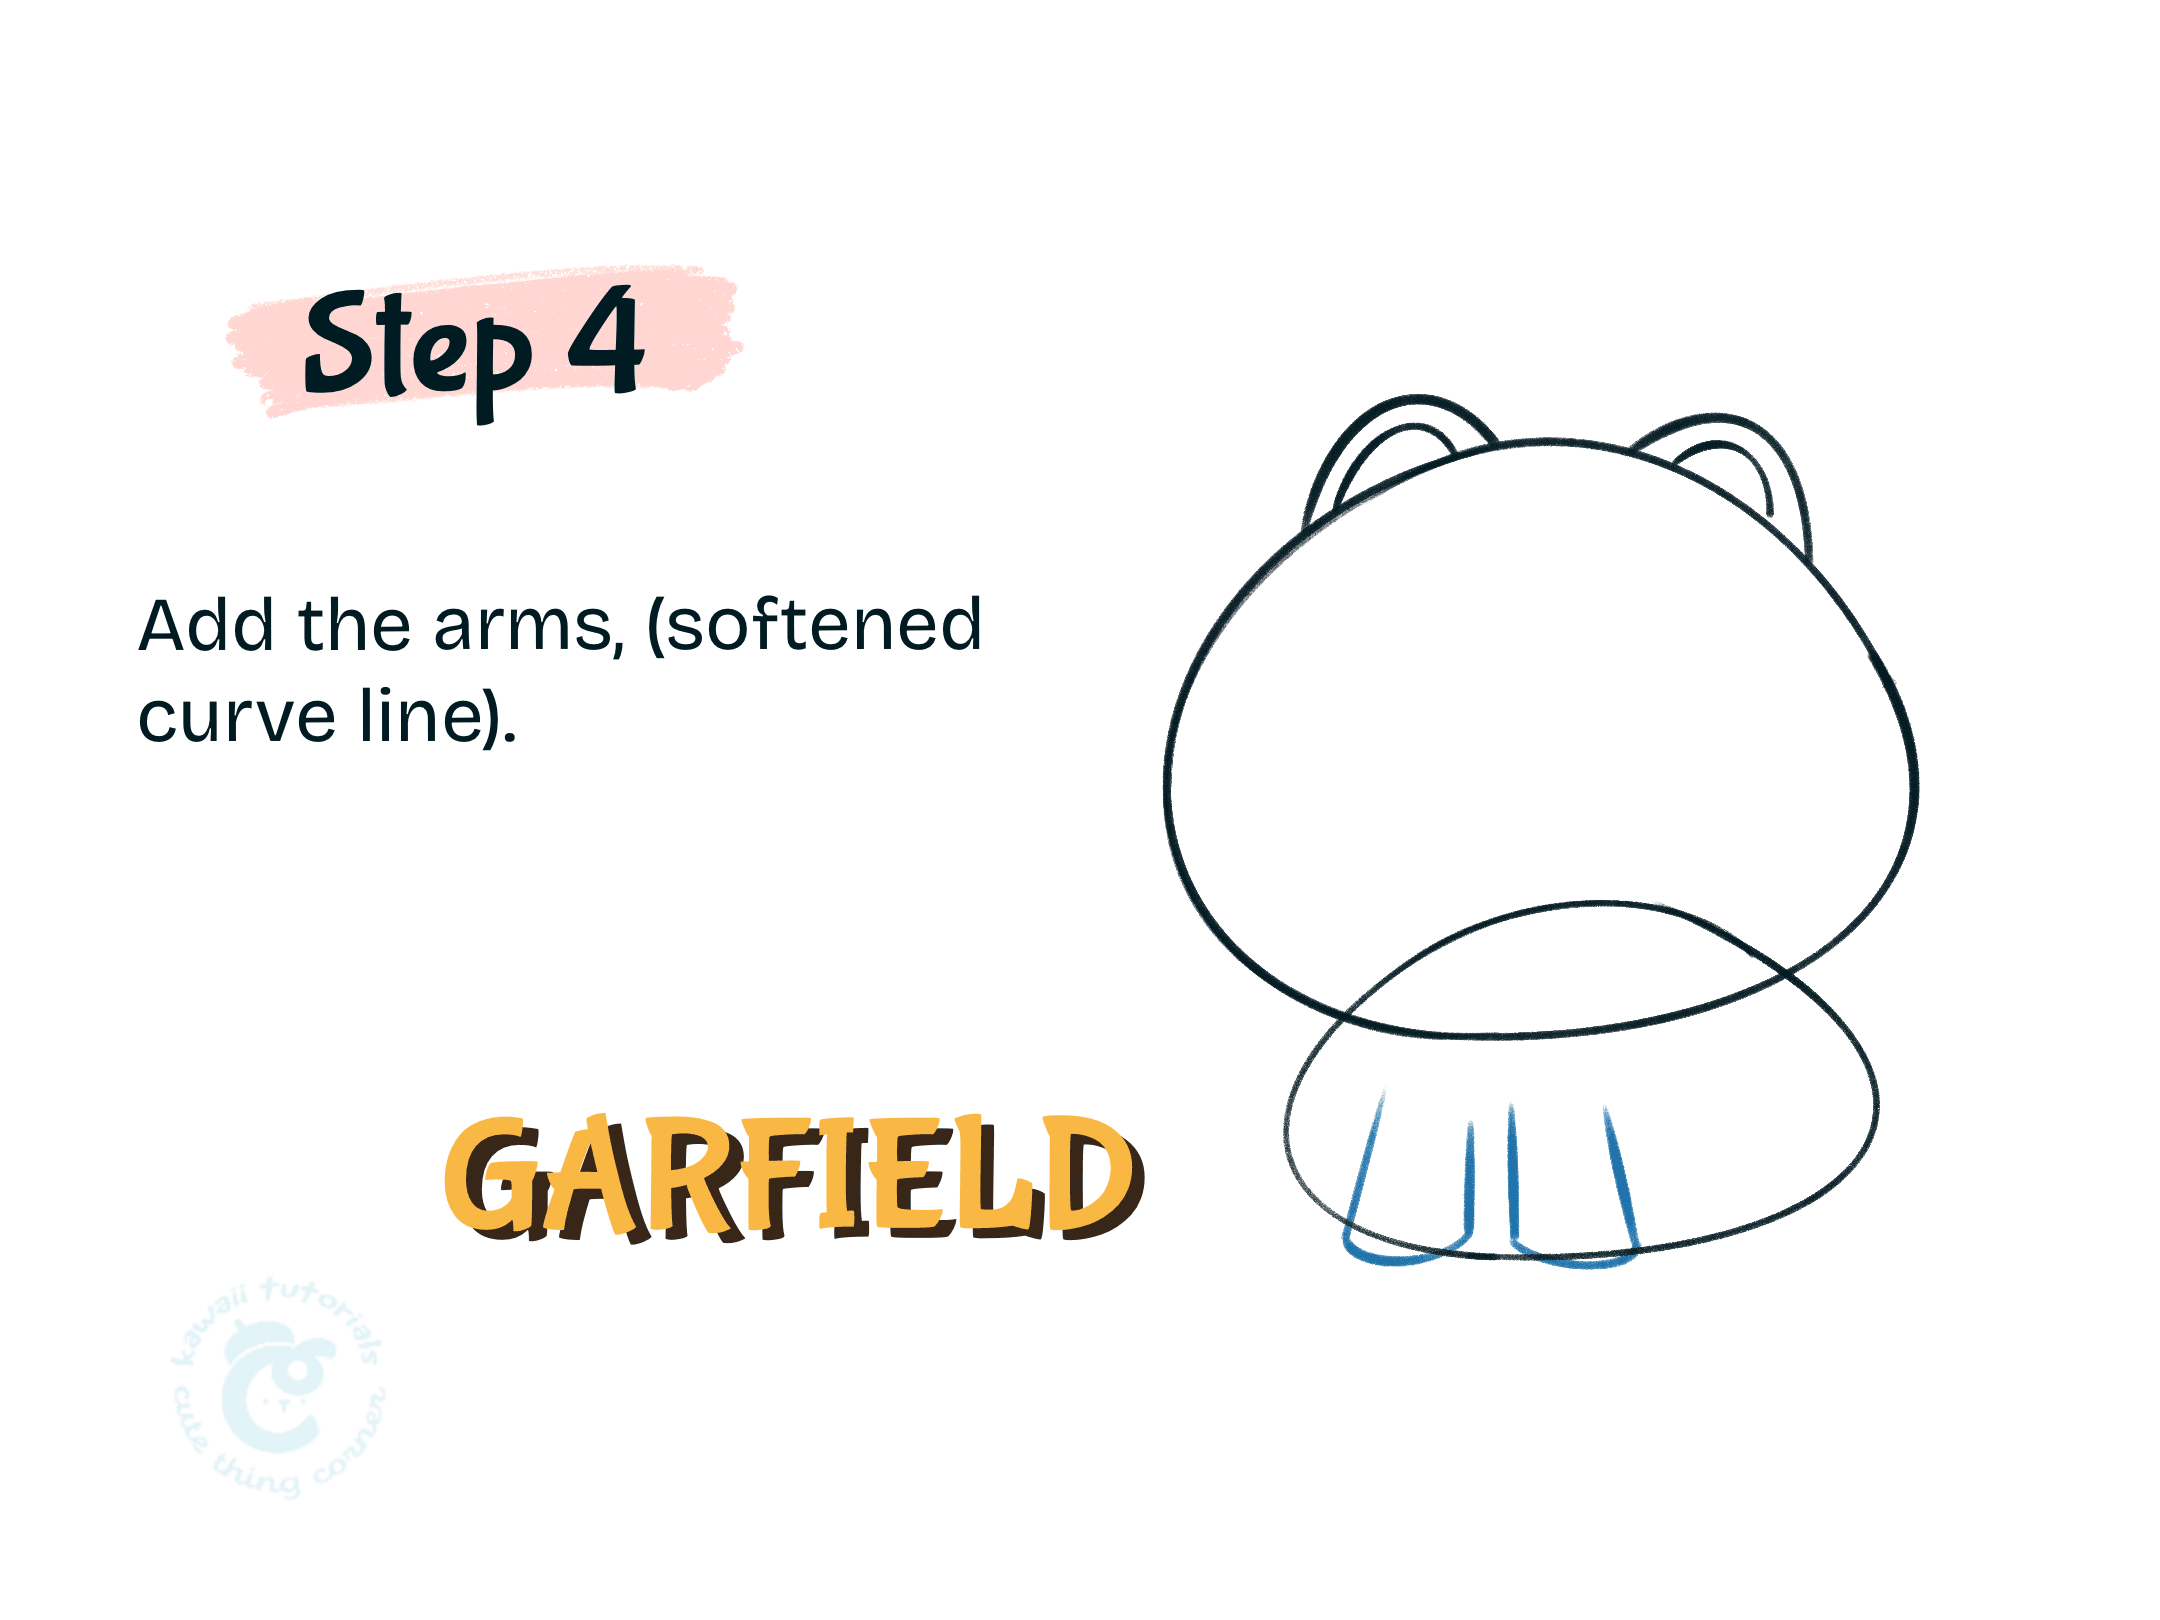
Then to draw the Garfield arms, you have to use a softened curve line.
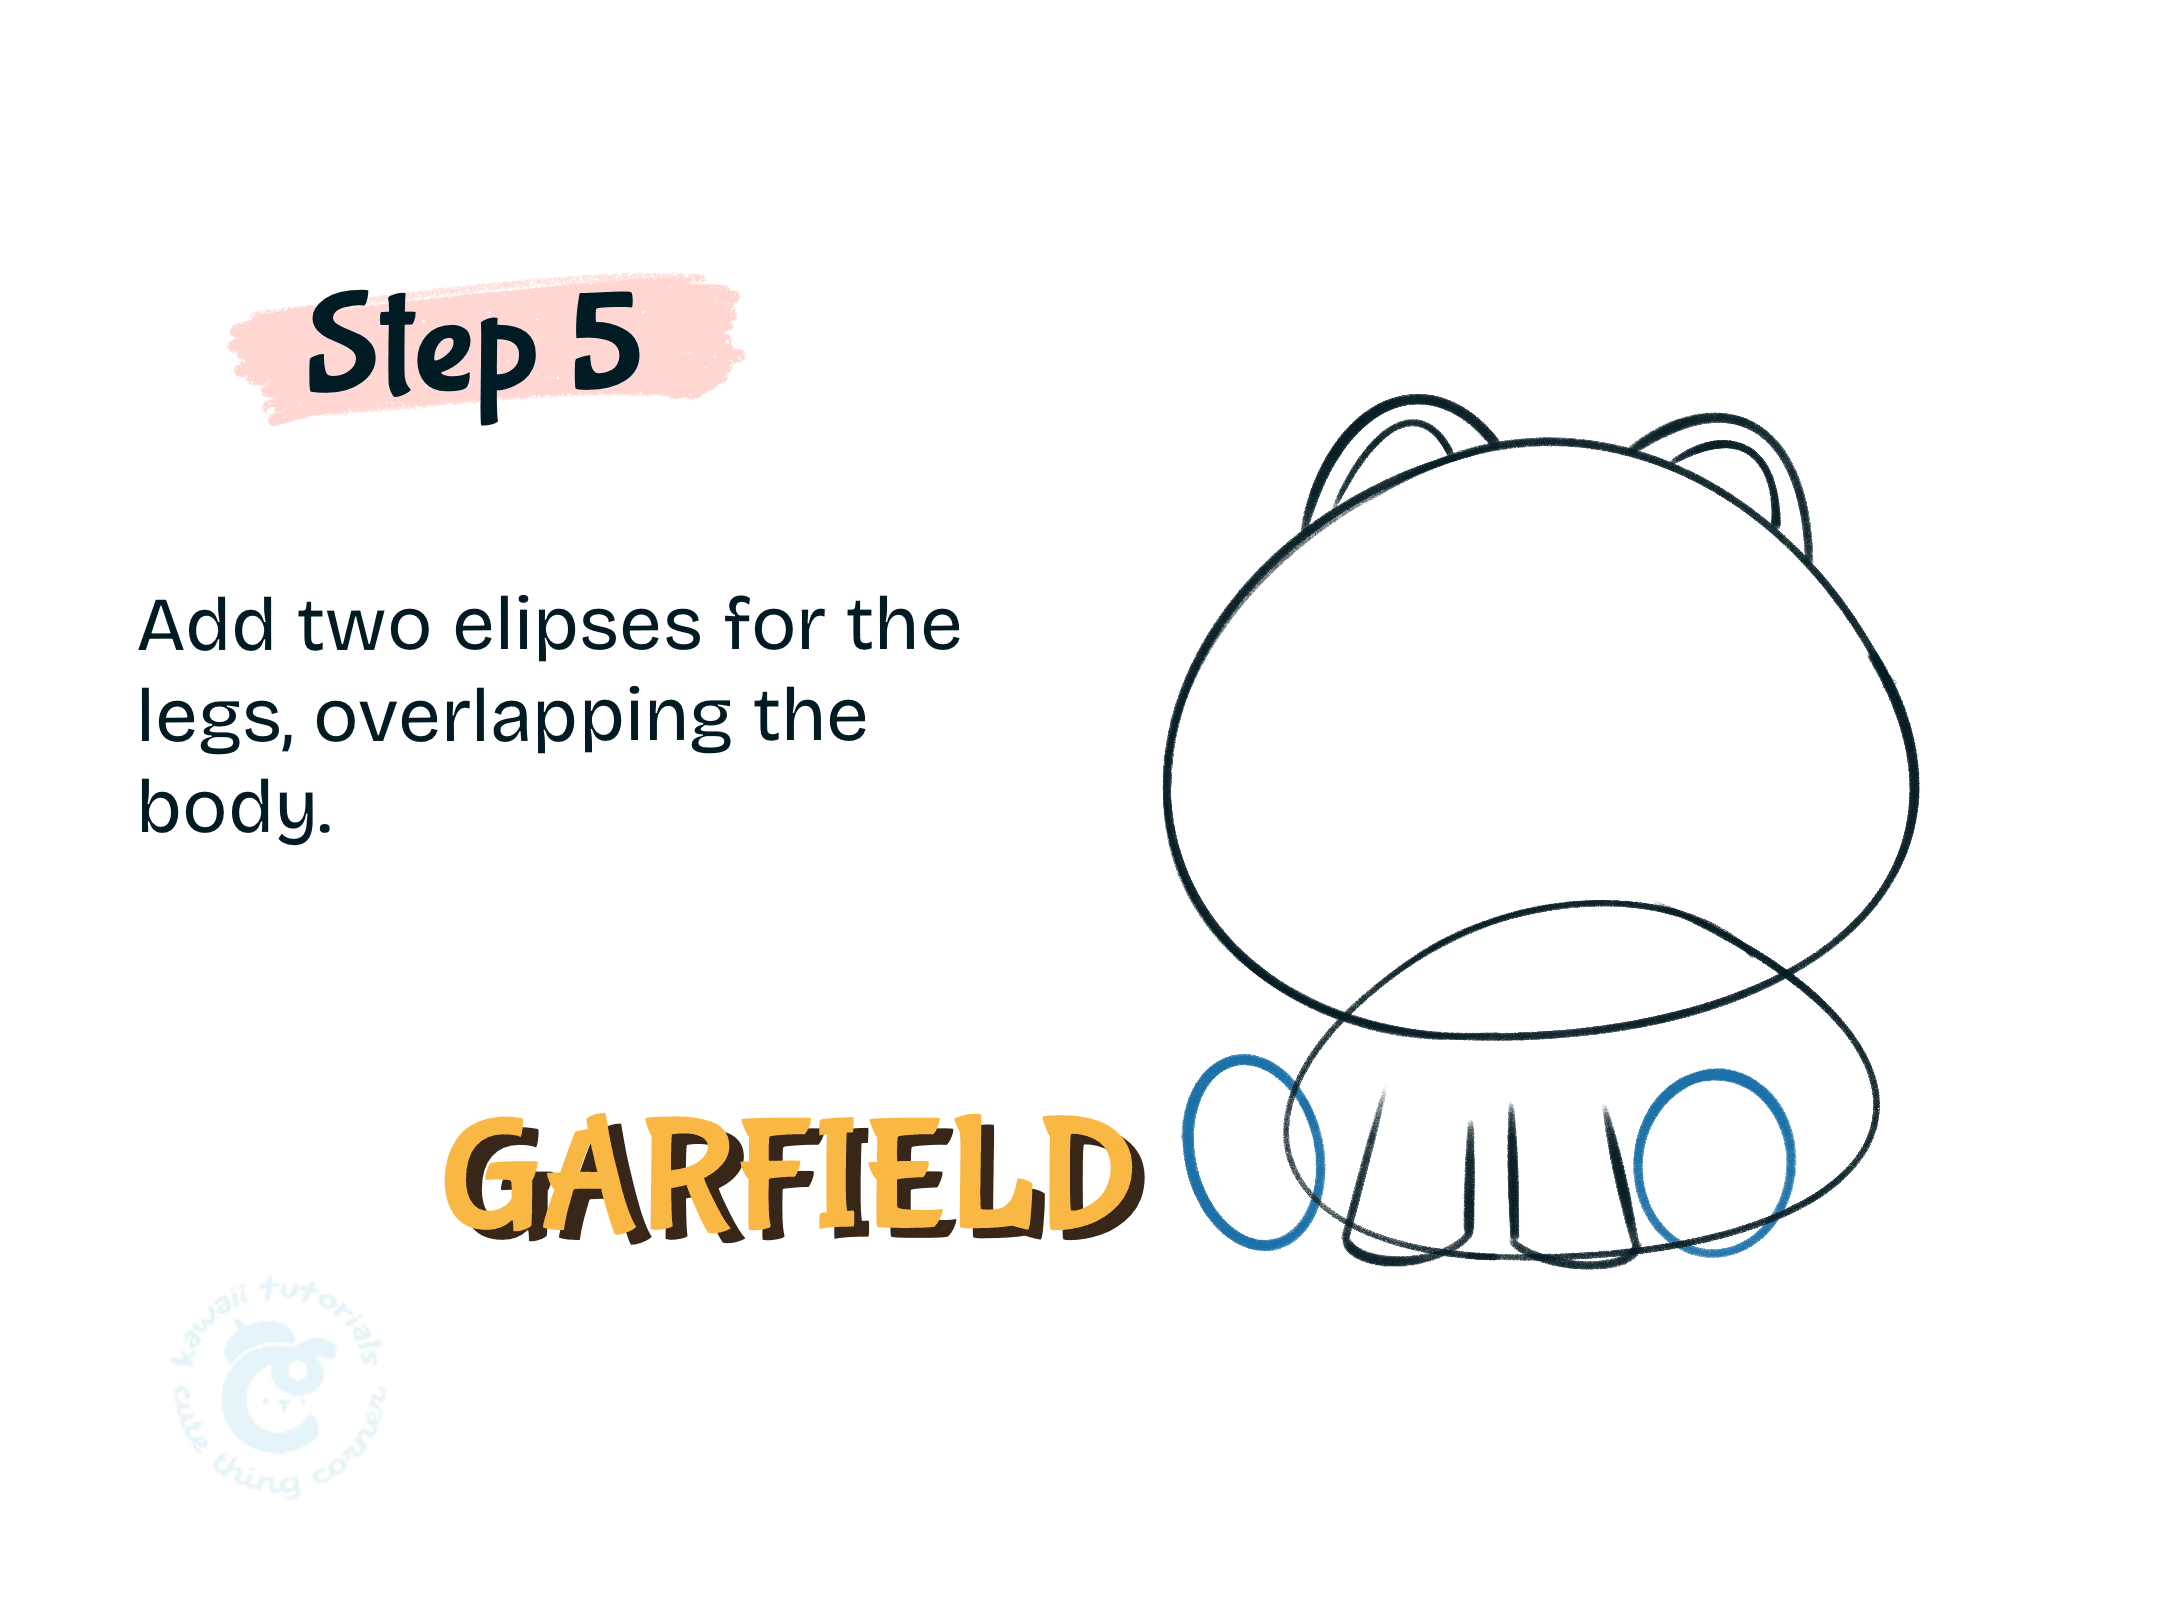
Drawing two ellipses for Garfield legs, overlapping with Garfield body.
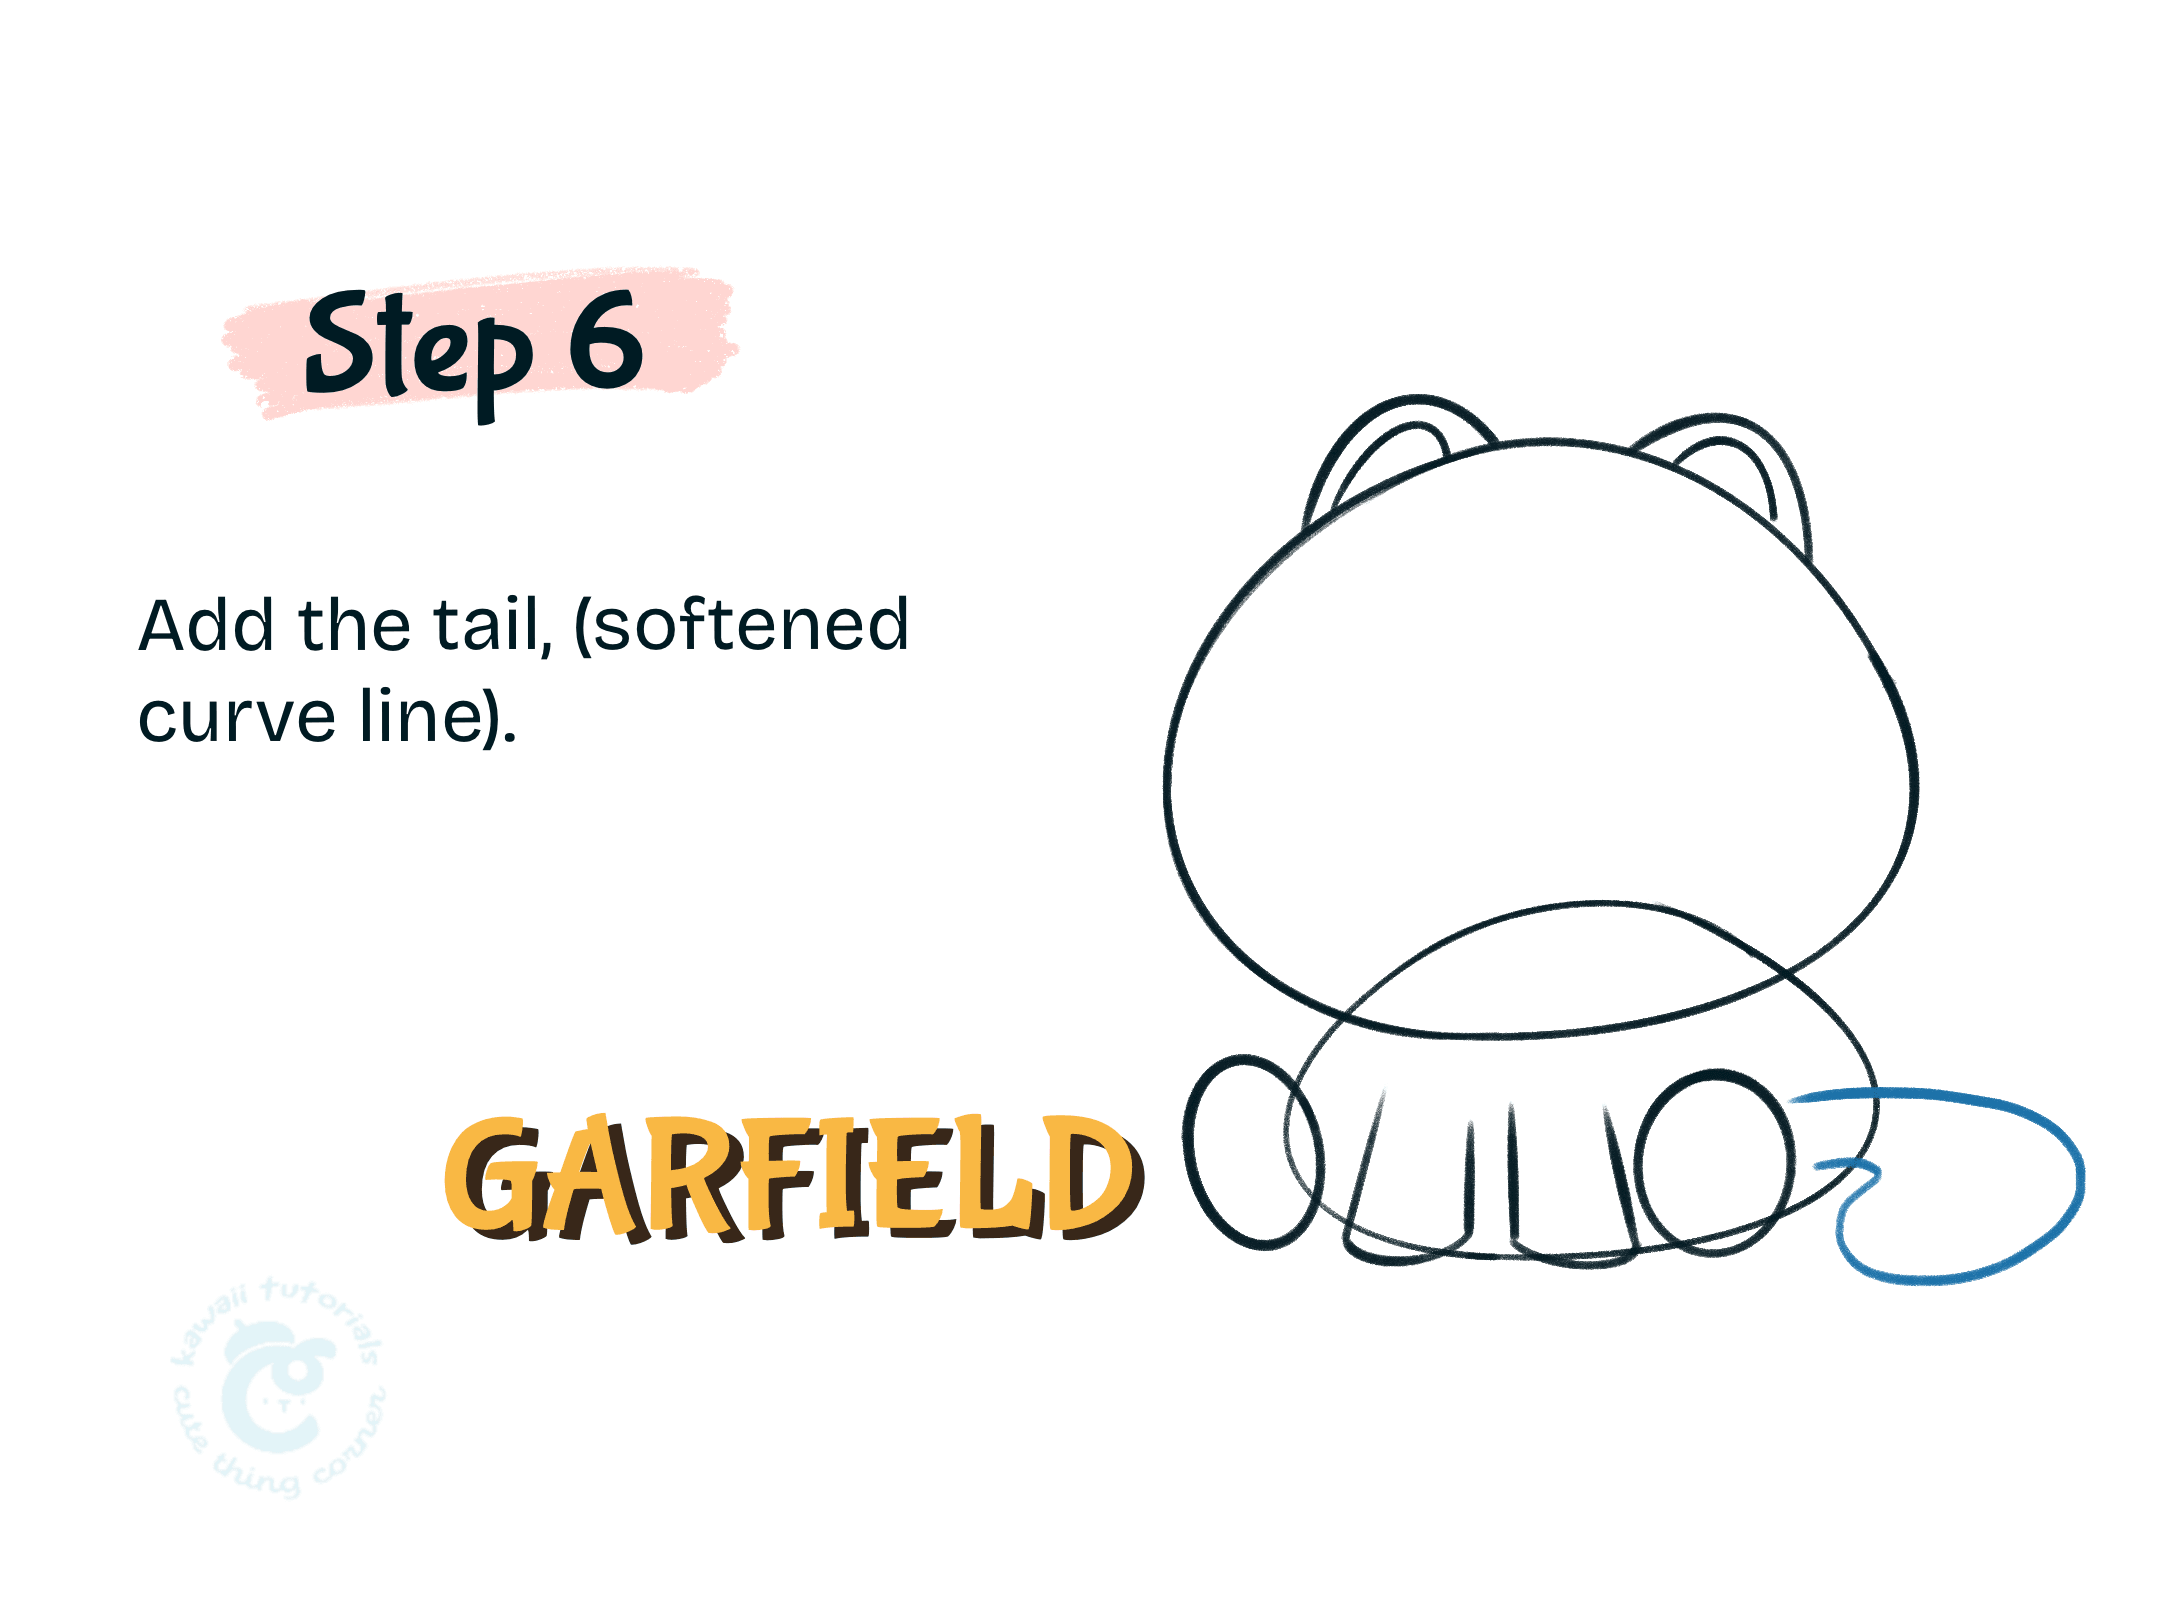
In this step, you have to draw the Garfield tail by a curved line.
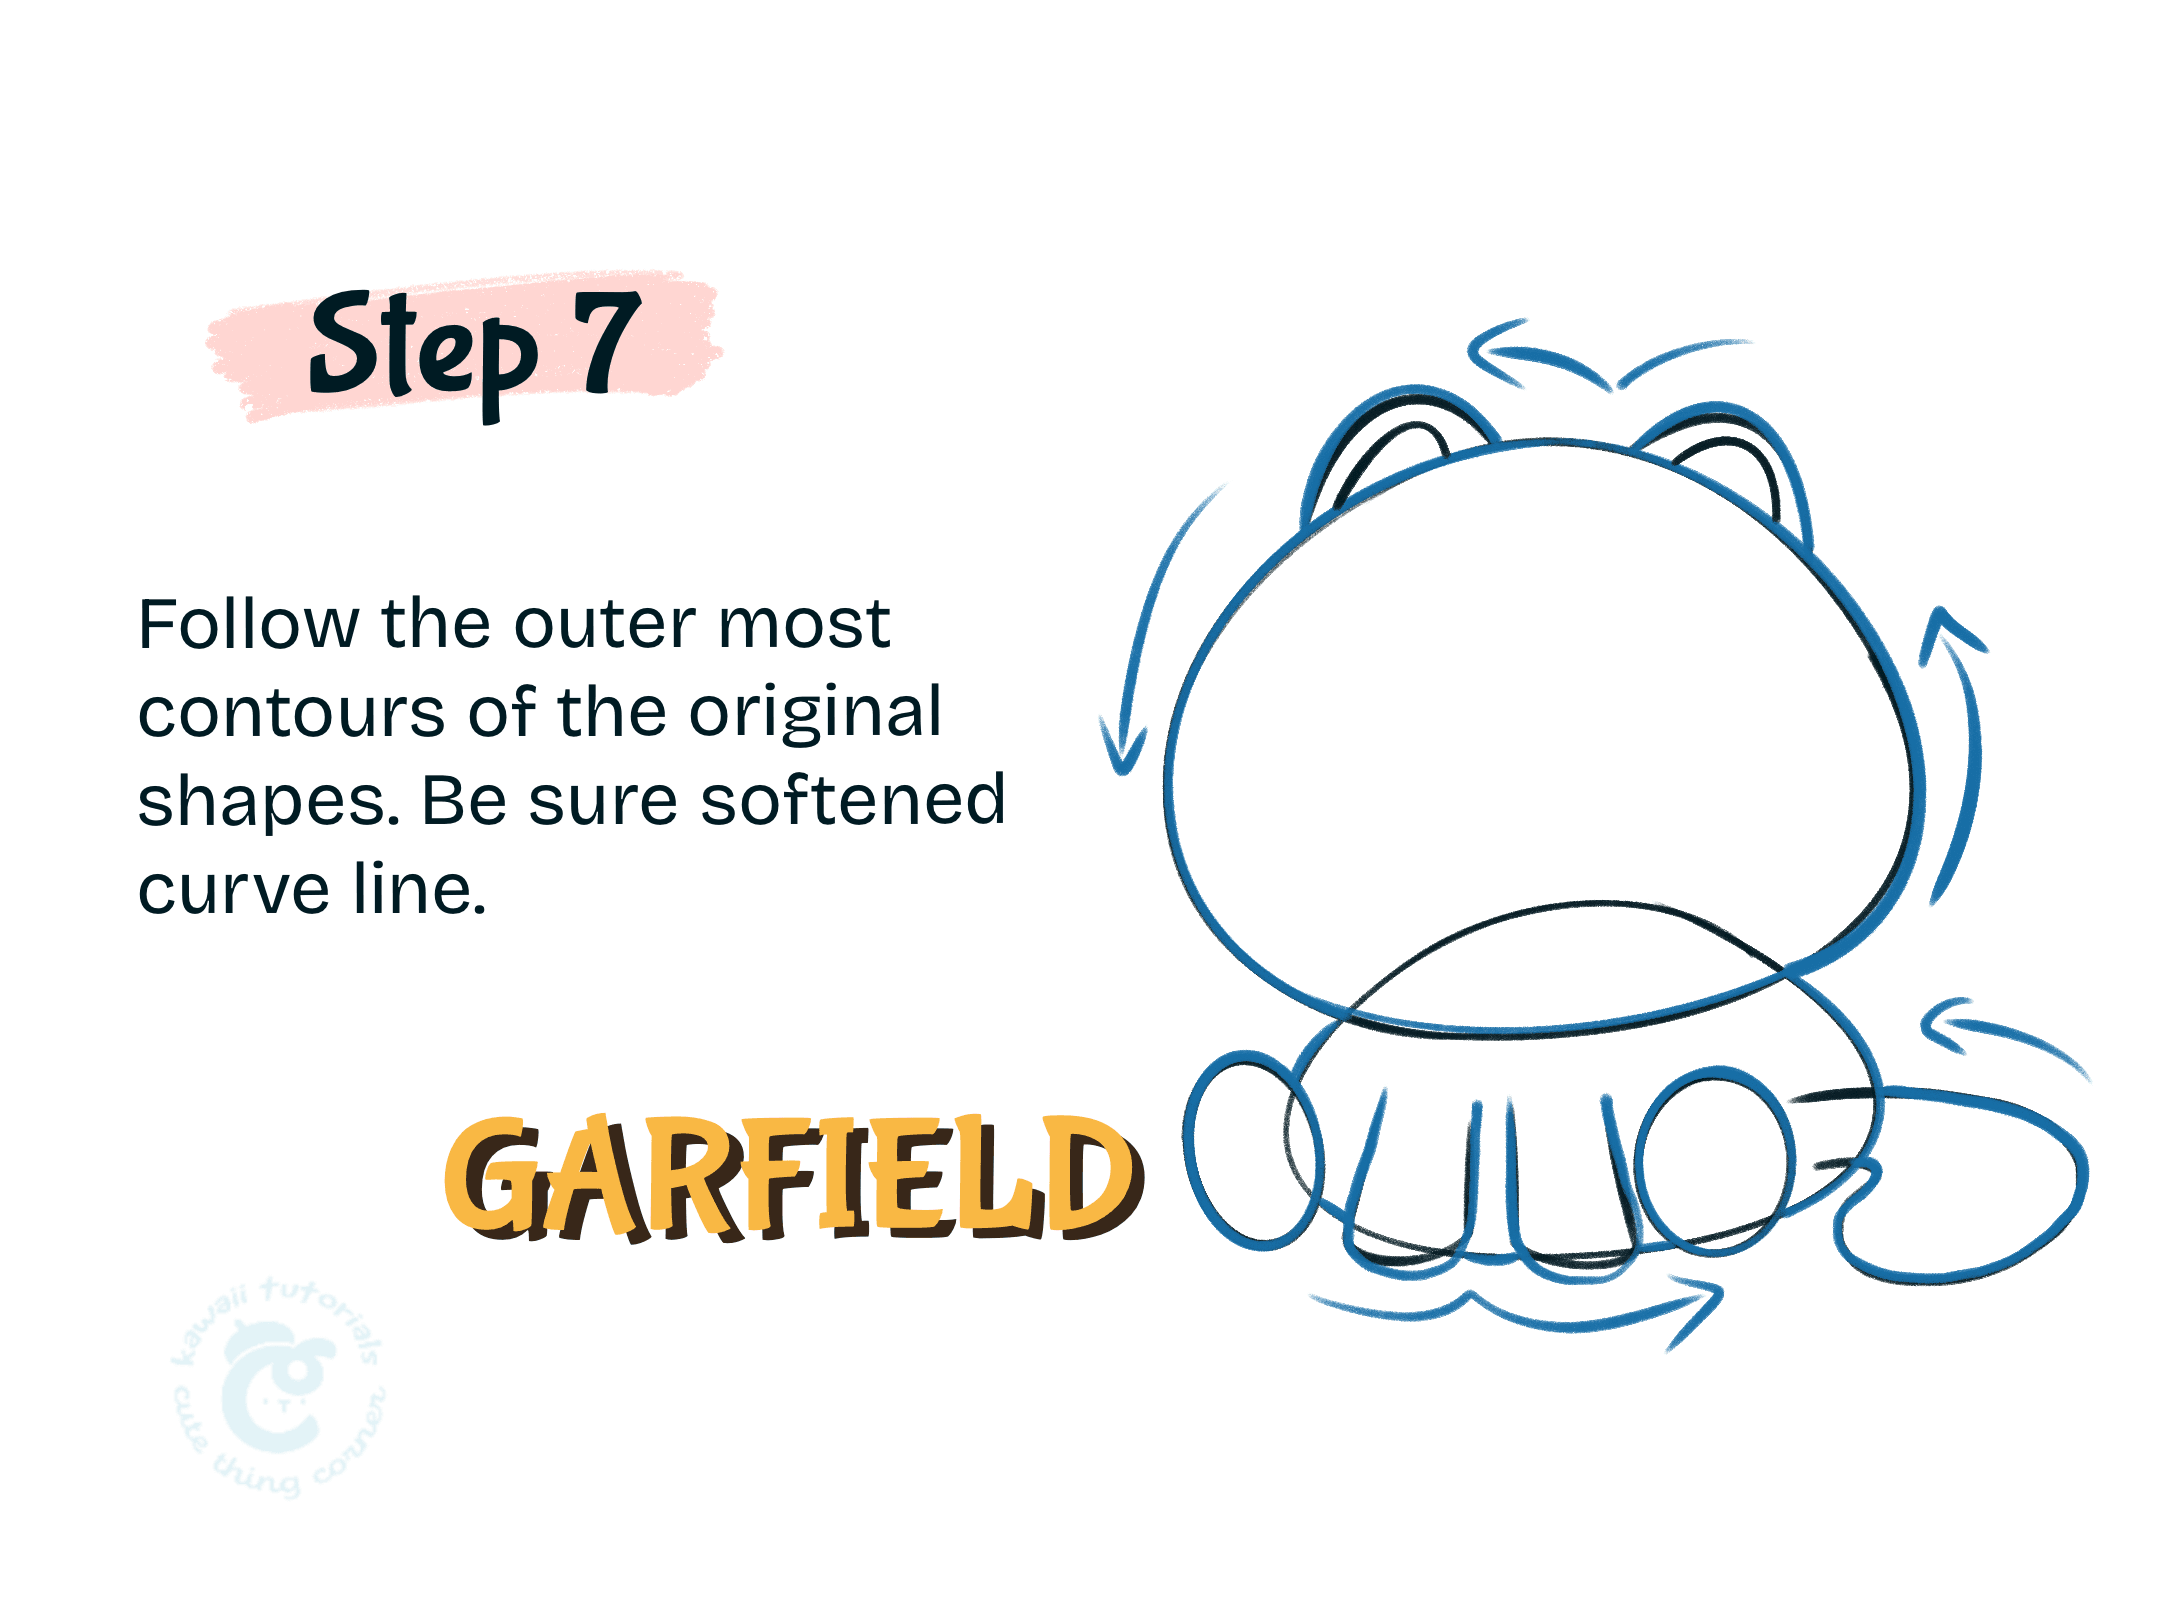
This step follows the outermost contours of the original shapes. Be sure to soften the curve line.
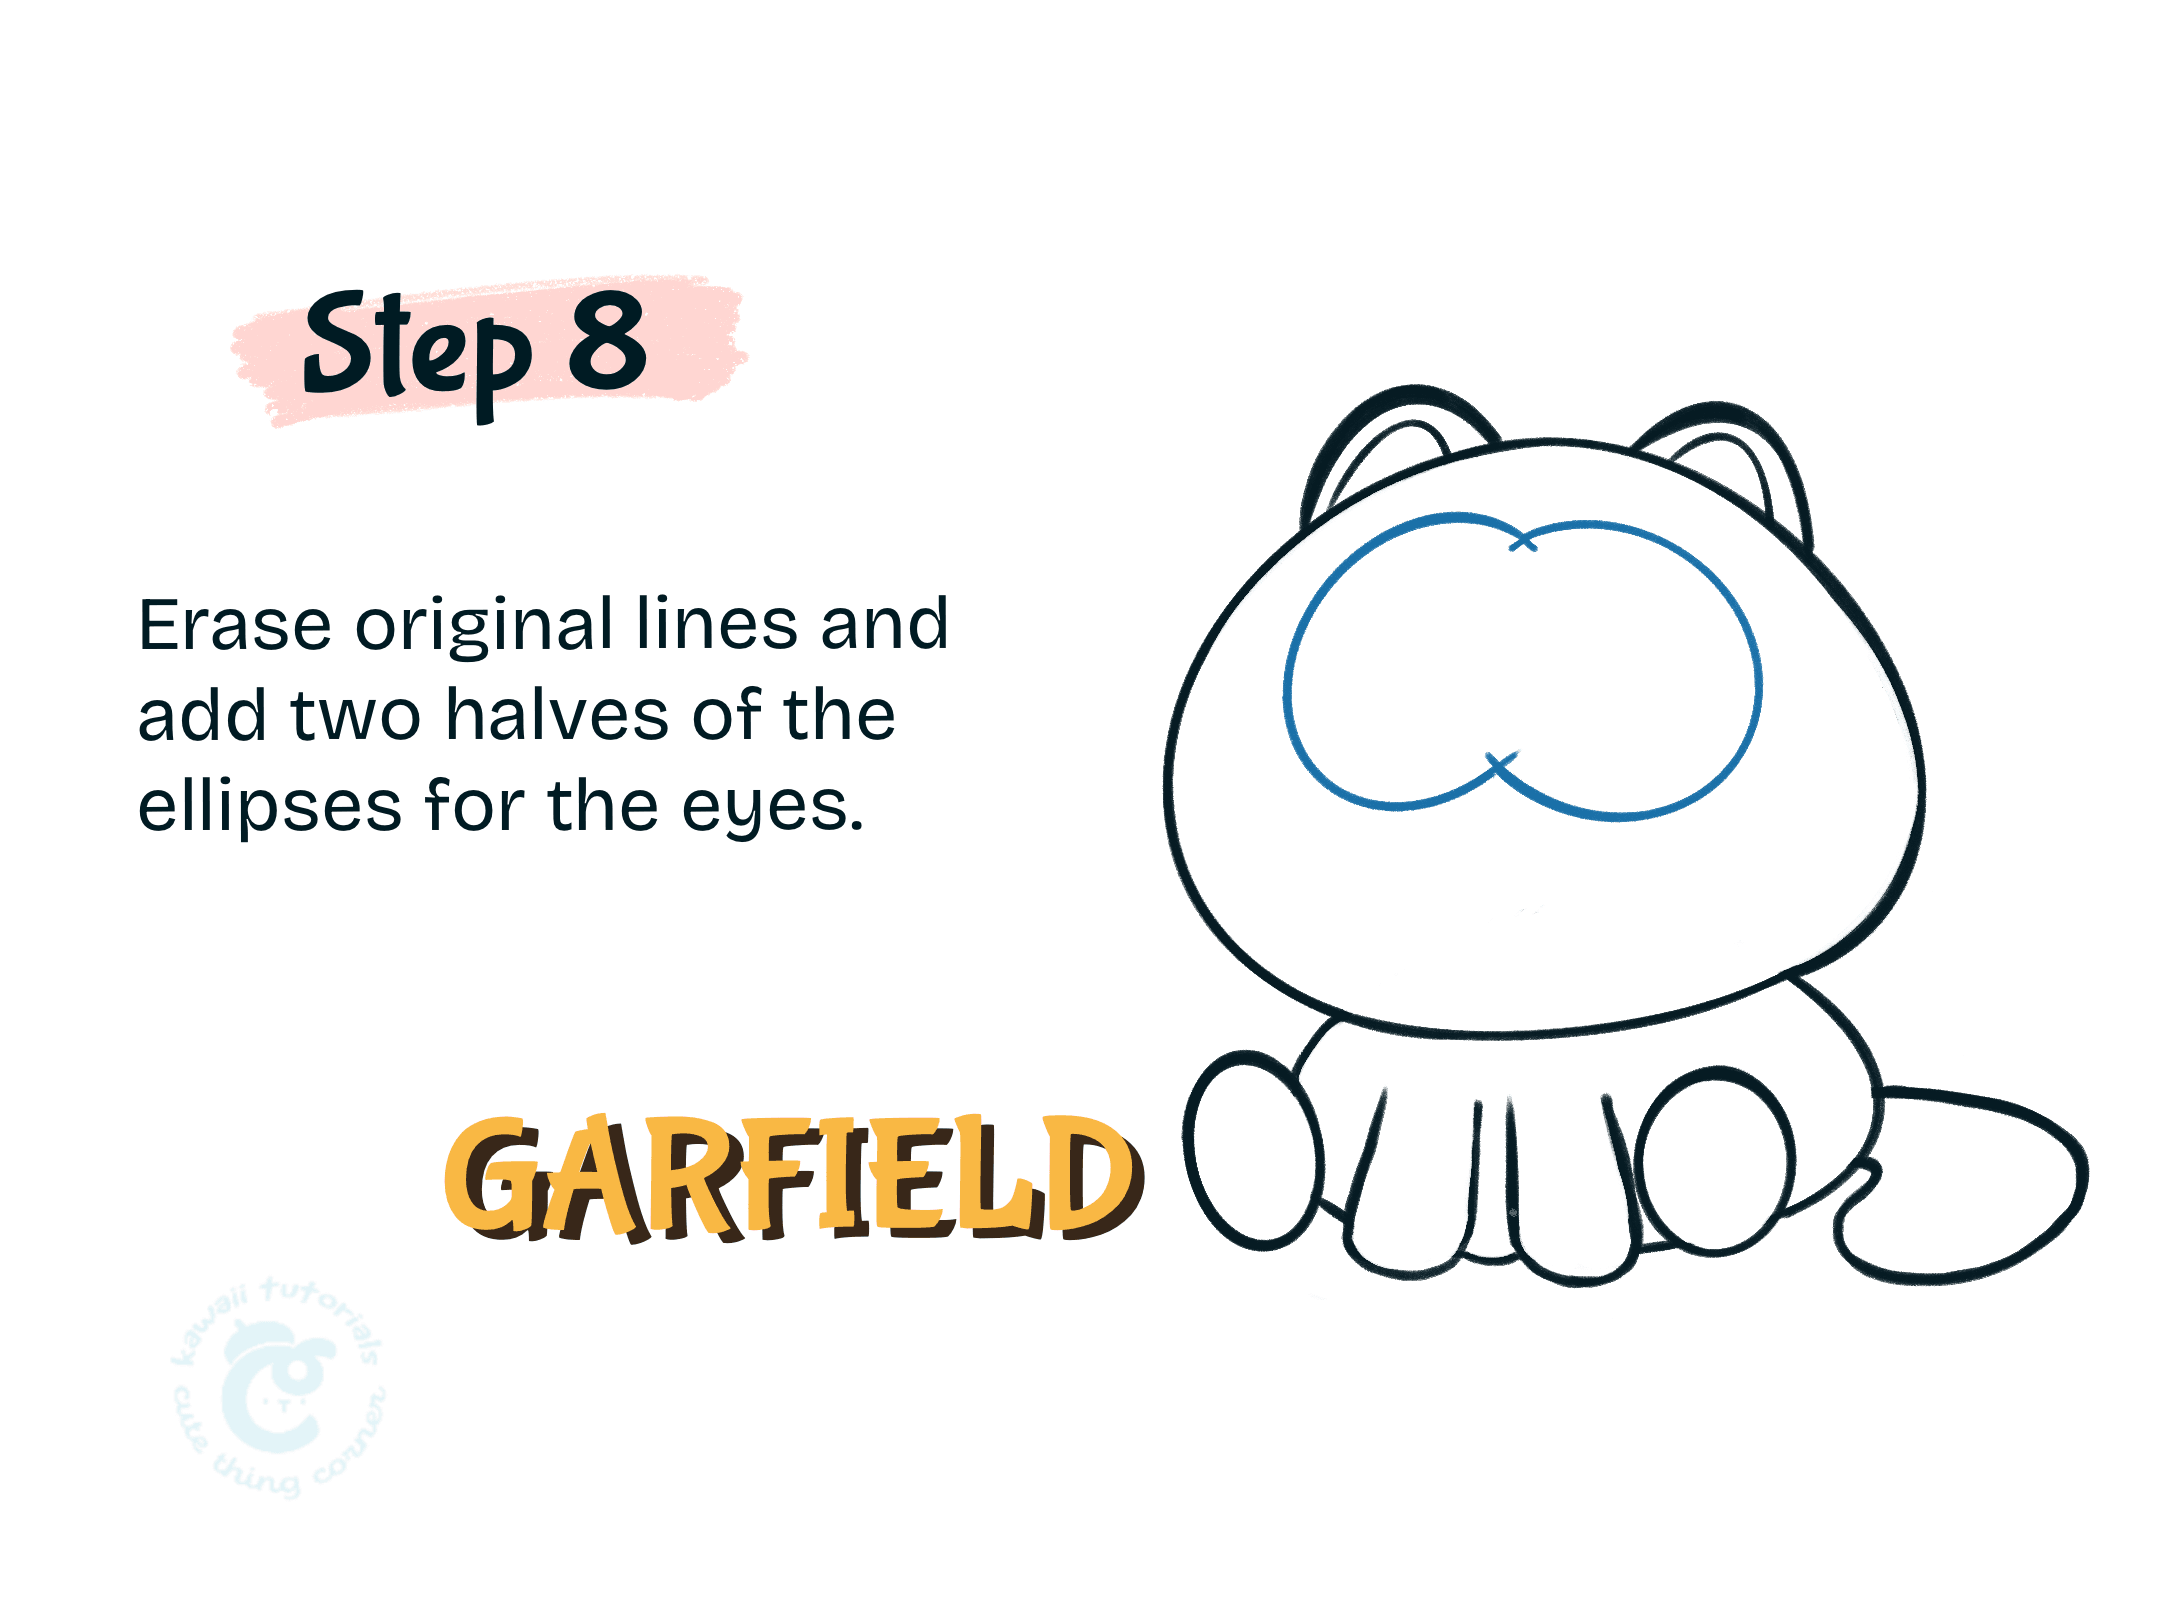
Then you erase original lines and draw two halves of the ellipses. You have almost done a Baby Garfield Cat.
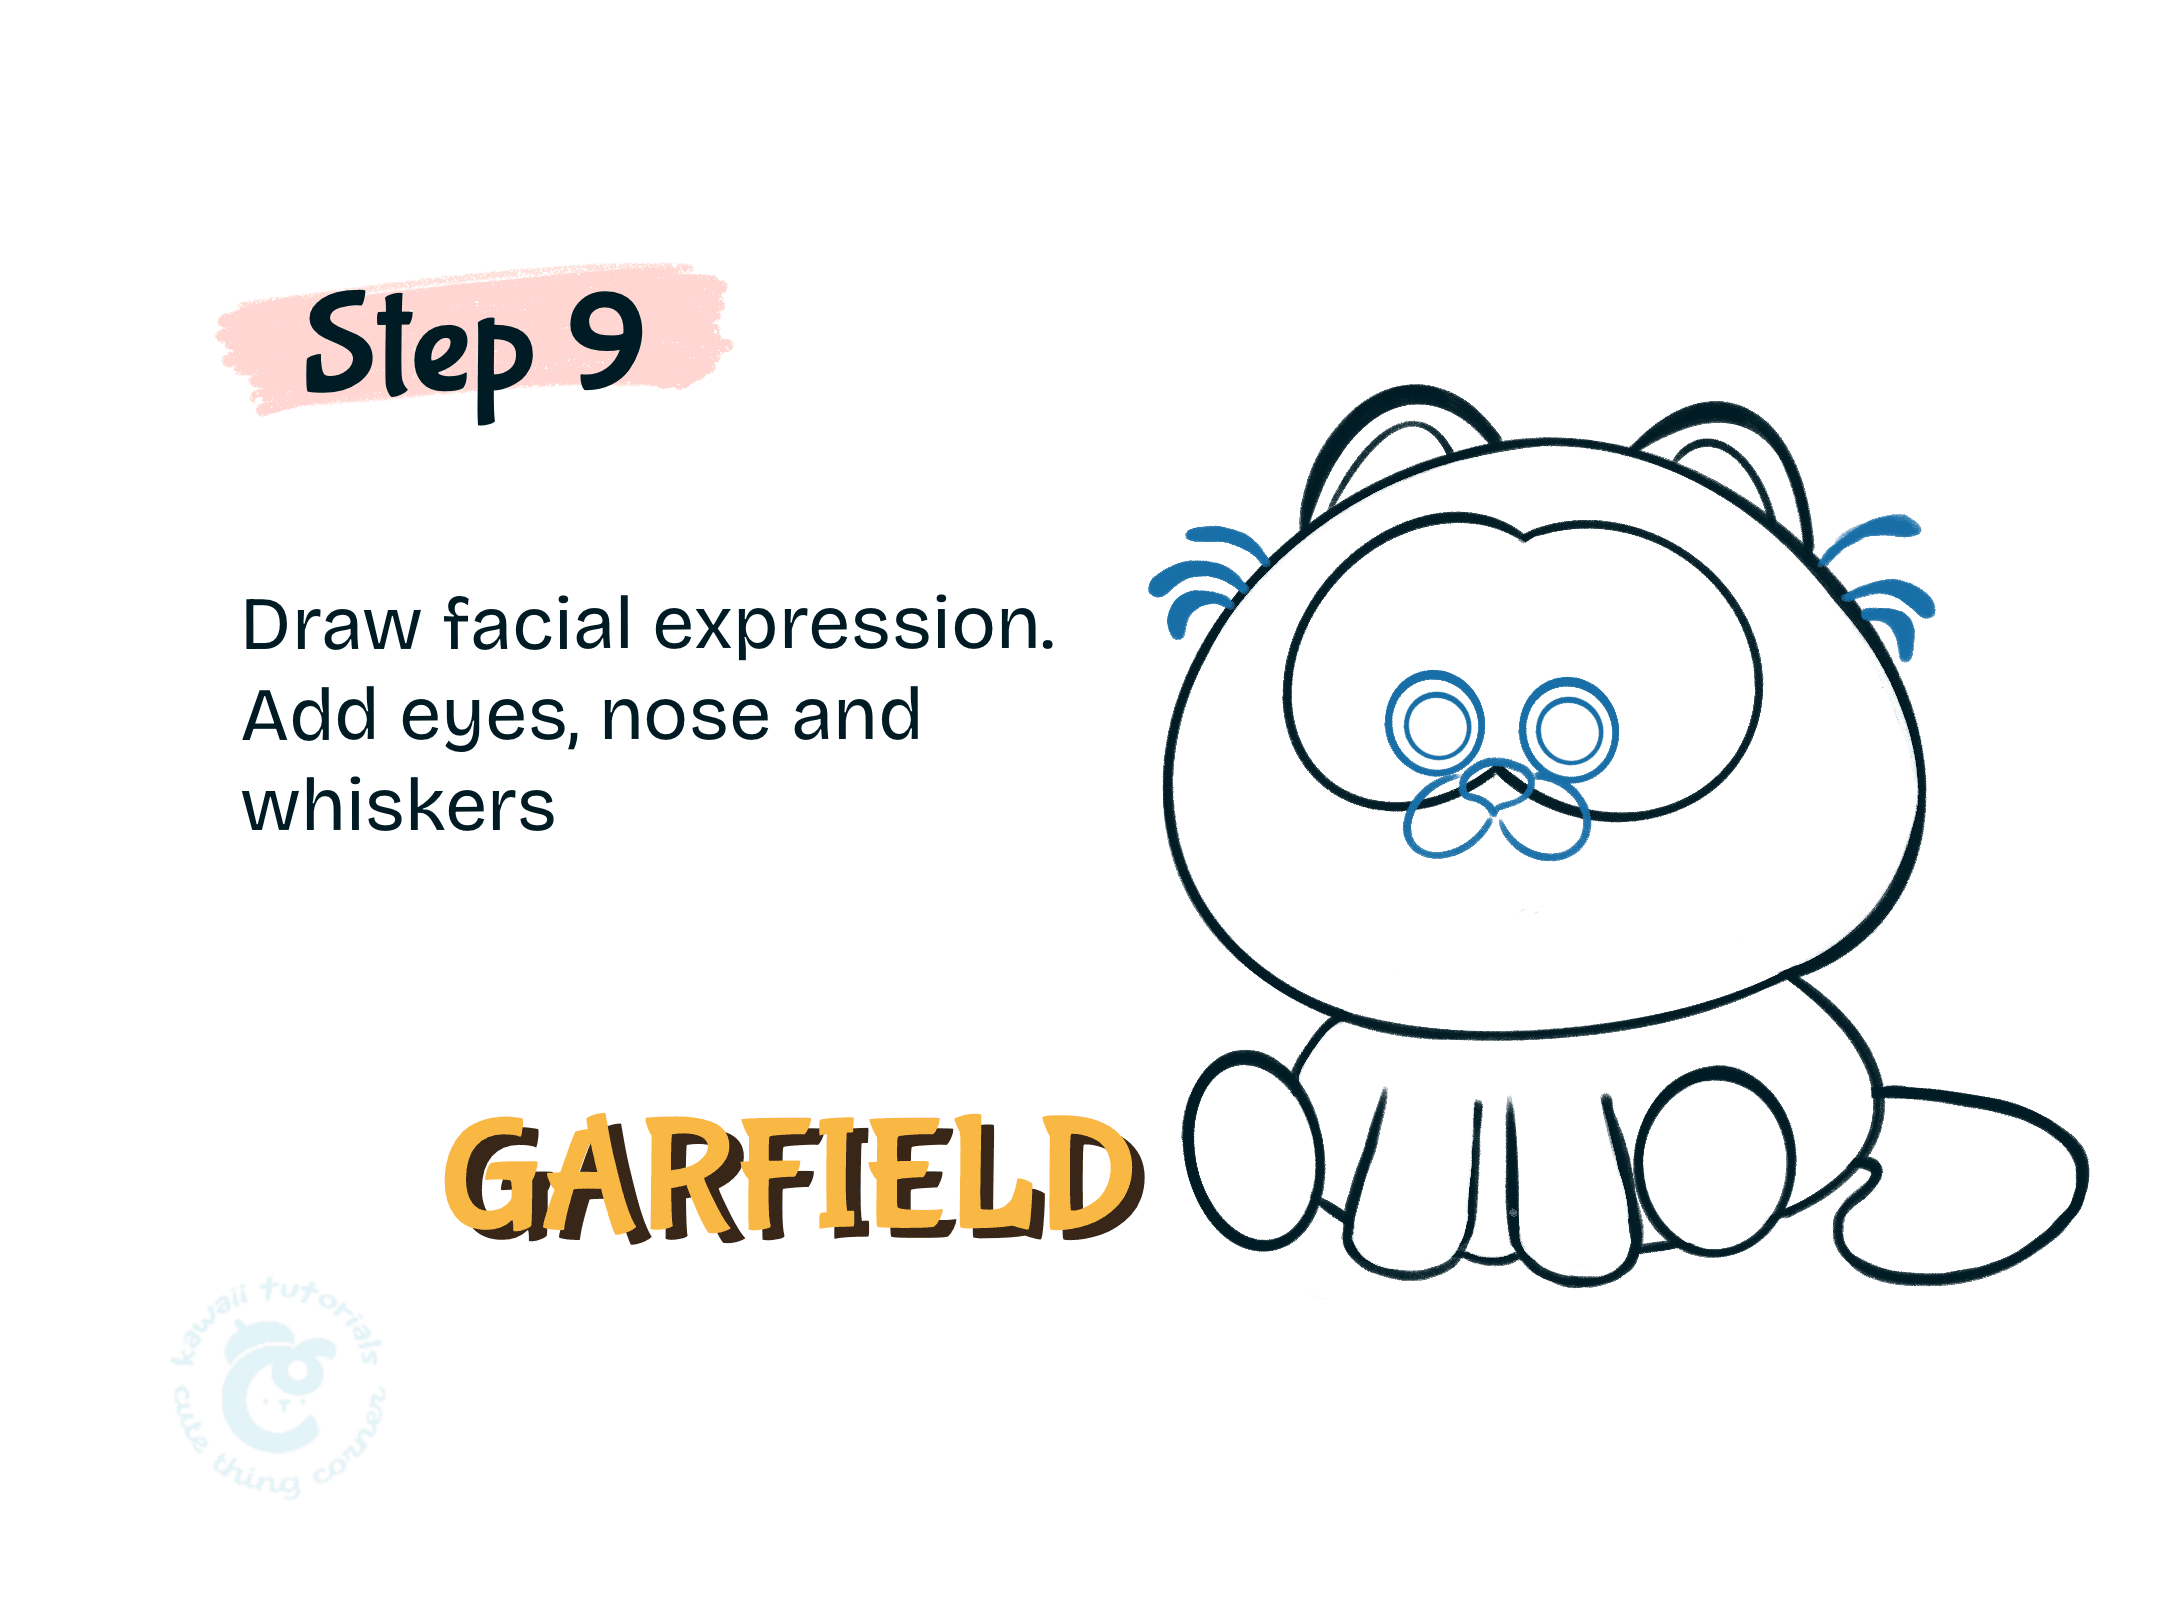
In this step, you draw facial expressions for Baby Garfield. It’s important to decide what the Garfield feeling is.
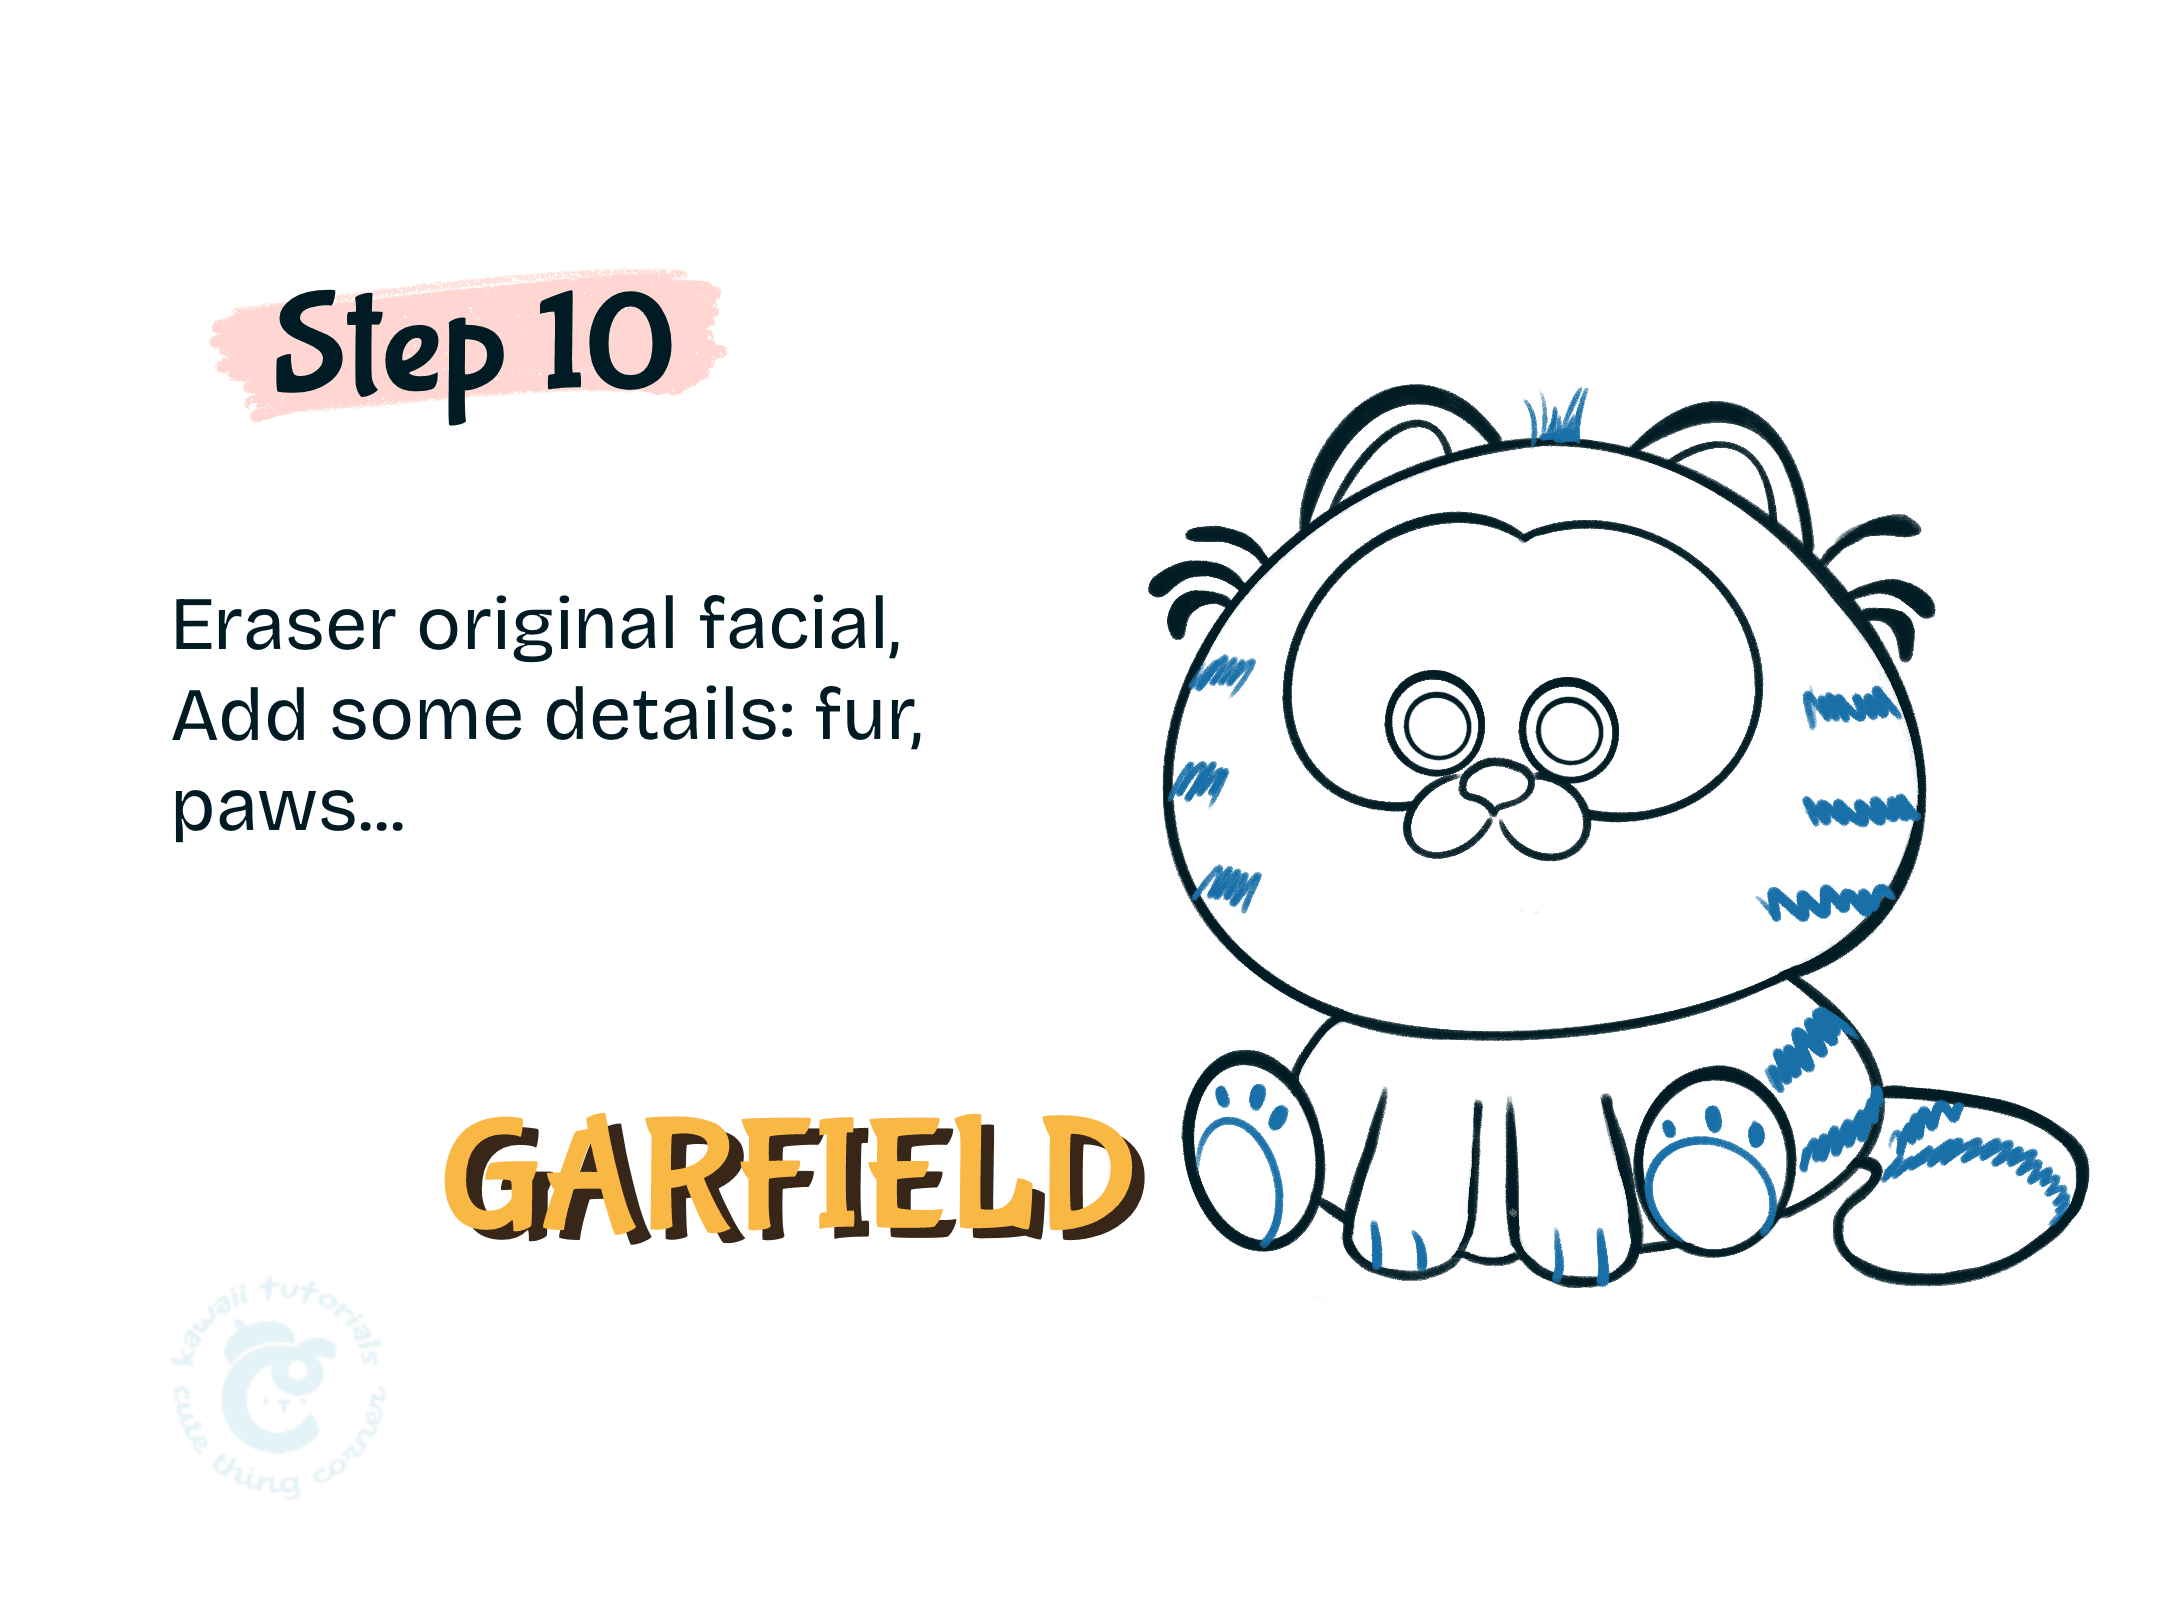
In this step, you have to erase the original facial and draw other details for Garfield baby such as fur, paws,…
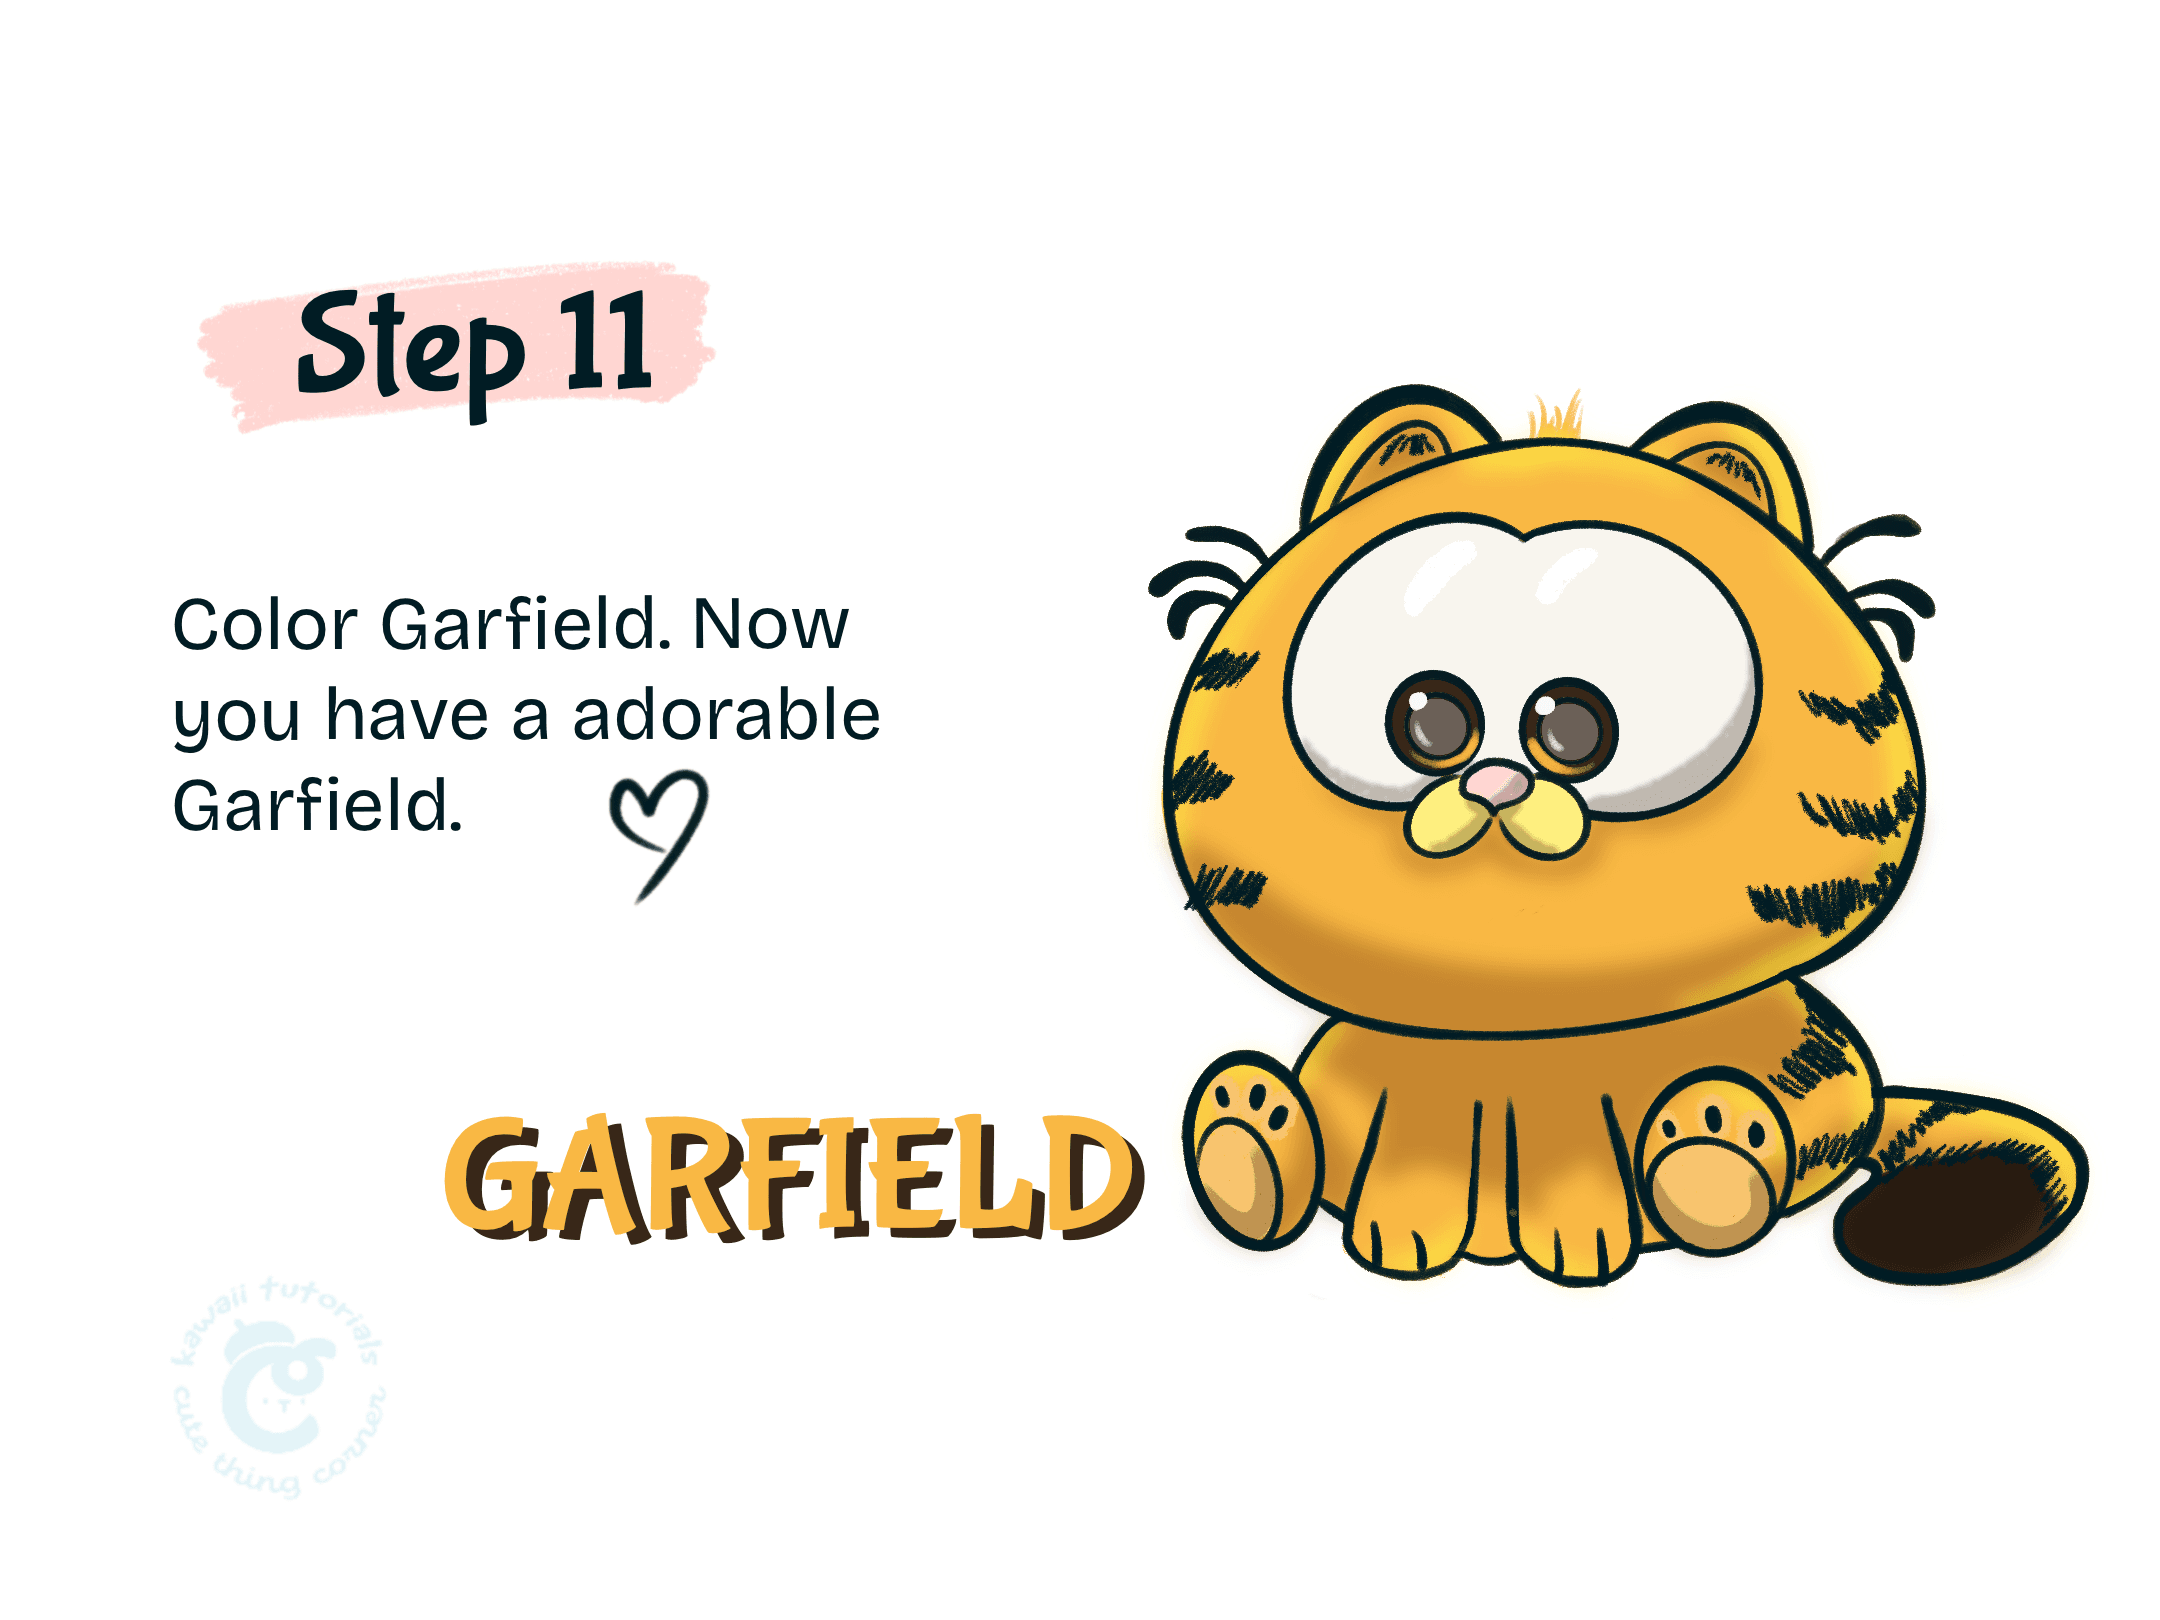
It belongs to your choice, you could color Garfield with the original color or the color you love.
Now you have the baby Garfield by yourself.
Hope you enjoyed your time drawing a baby Garfield. If you love it, please comment below and tell me the character you love for the next post.
Thanks for following this guide.
Goodbye and see you soon.
Follow full step-by-step drawing baby Garfield and pin it on your pinterest: