Cute Thing Corner

Food

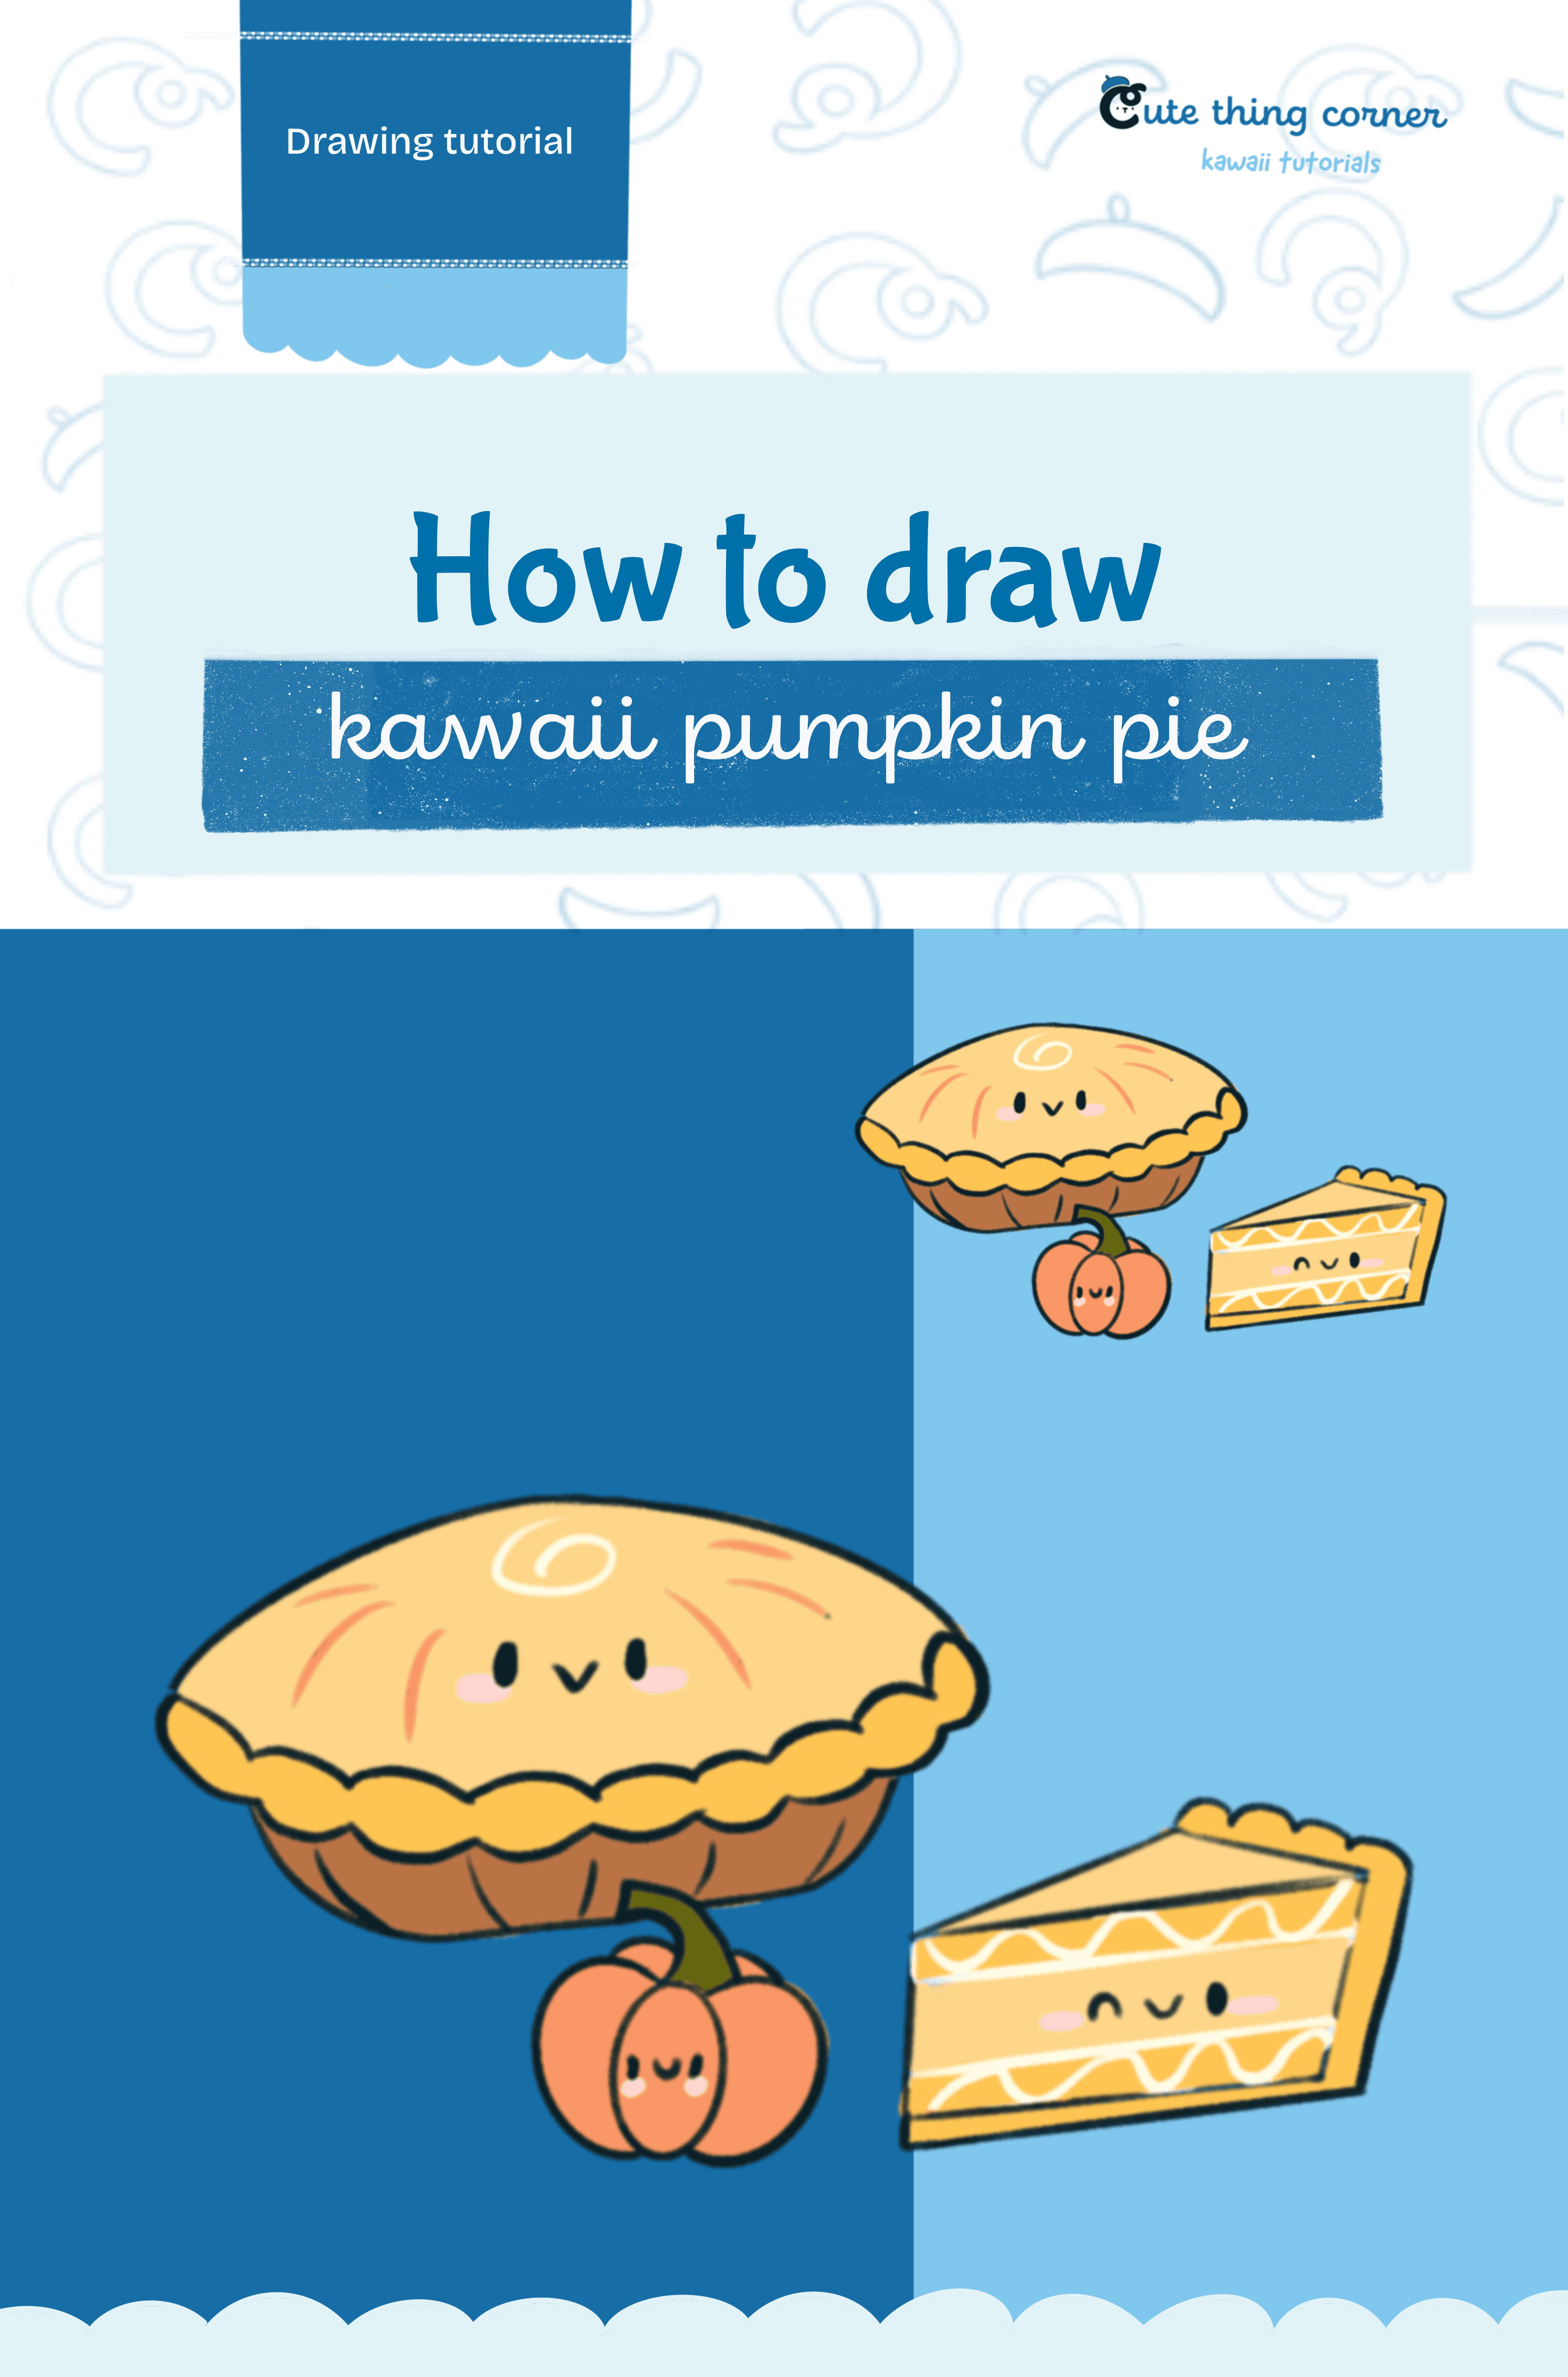
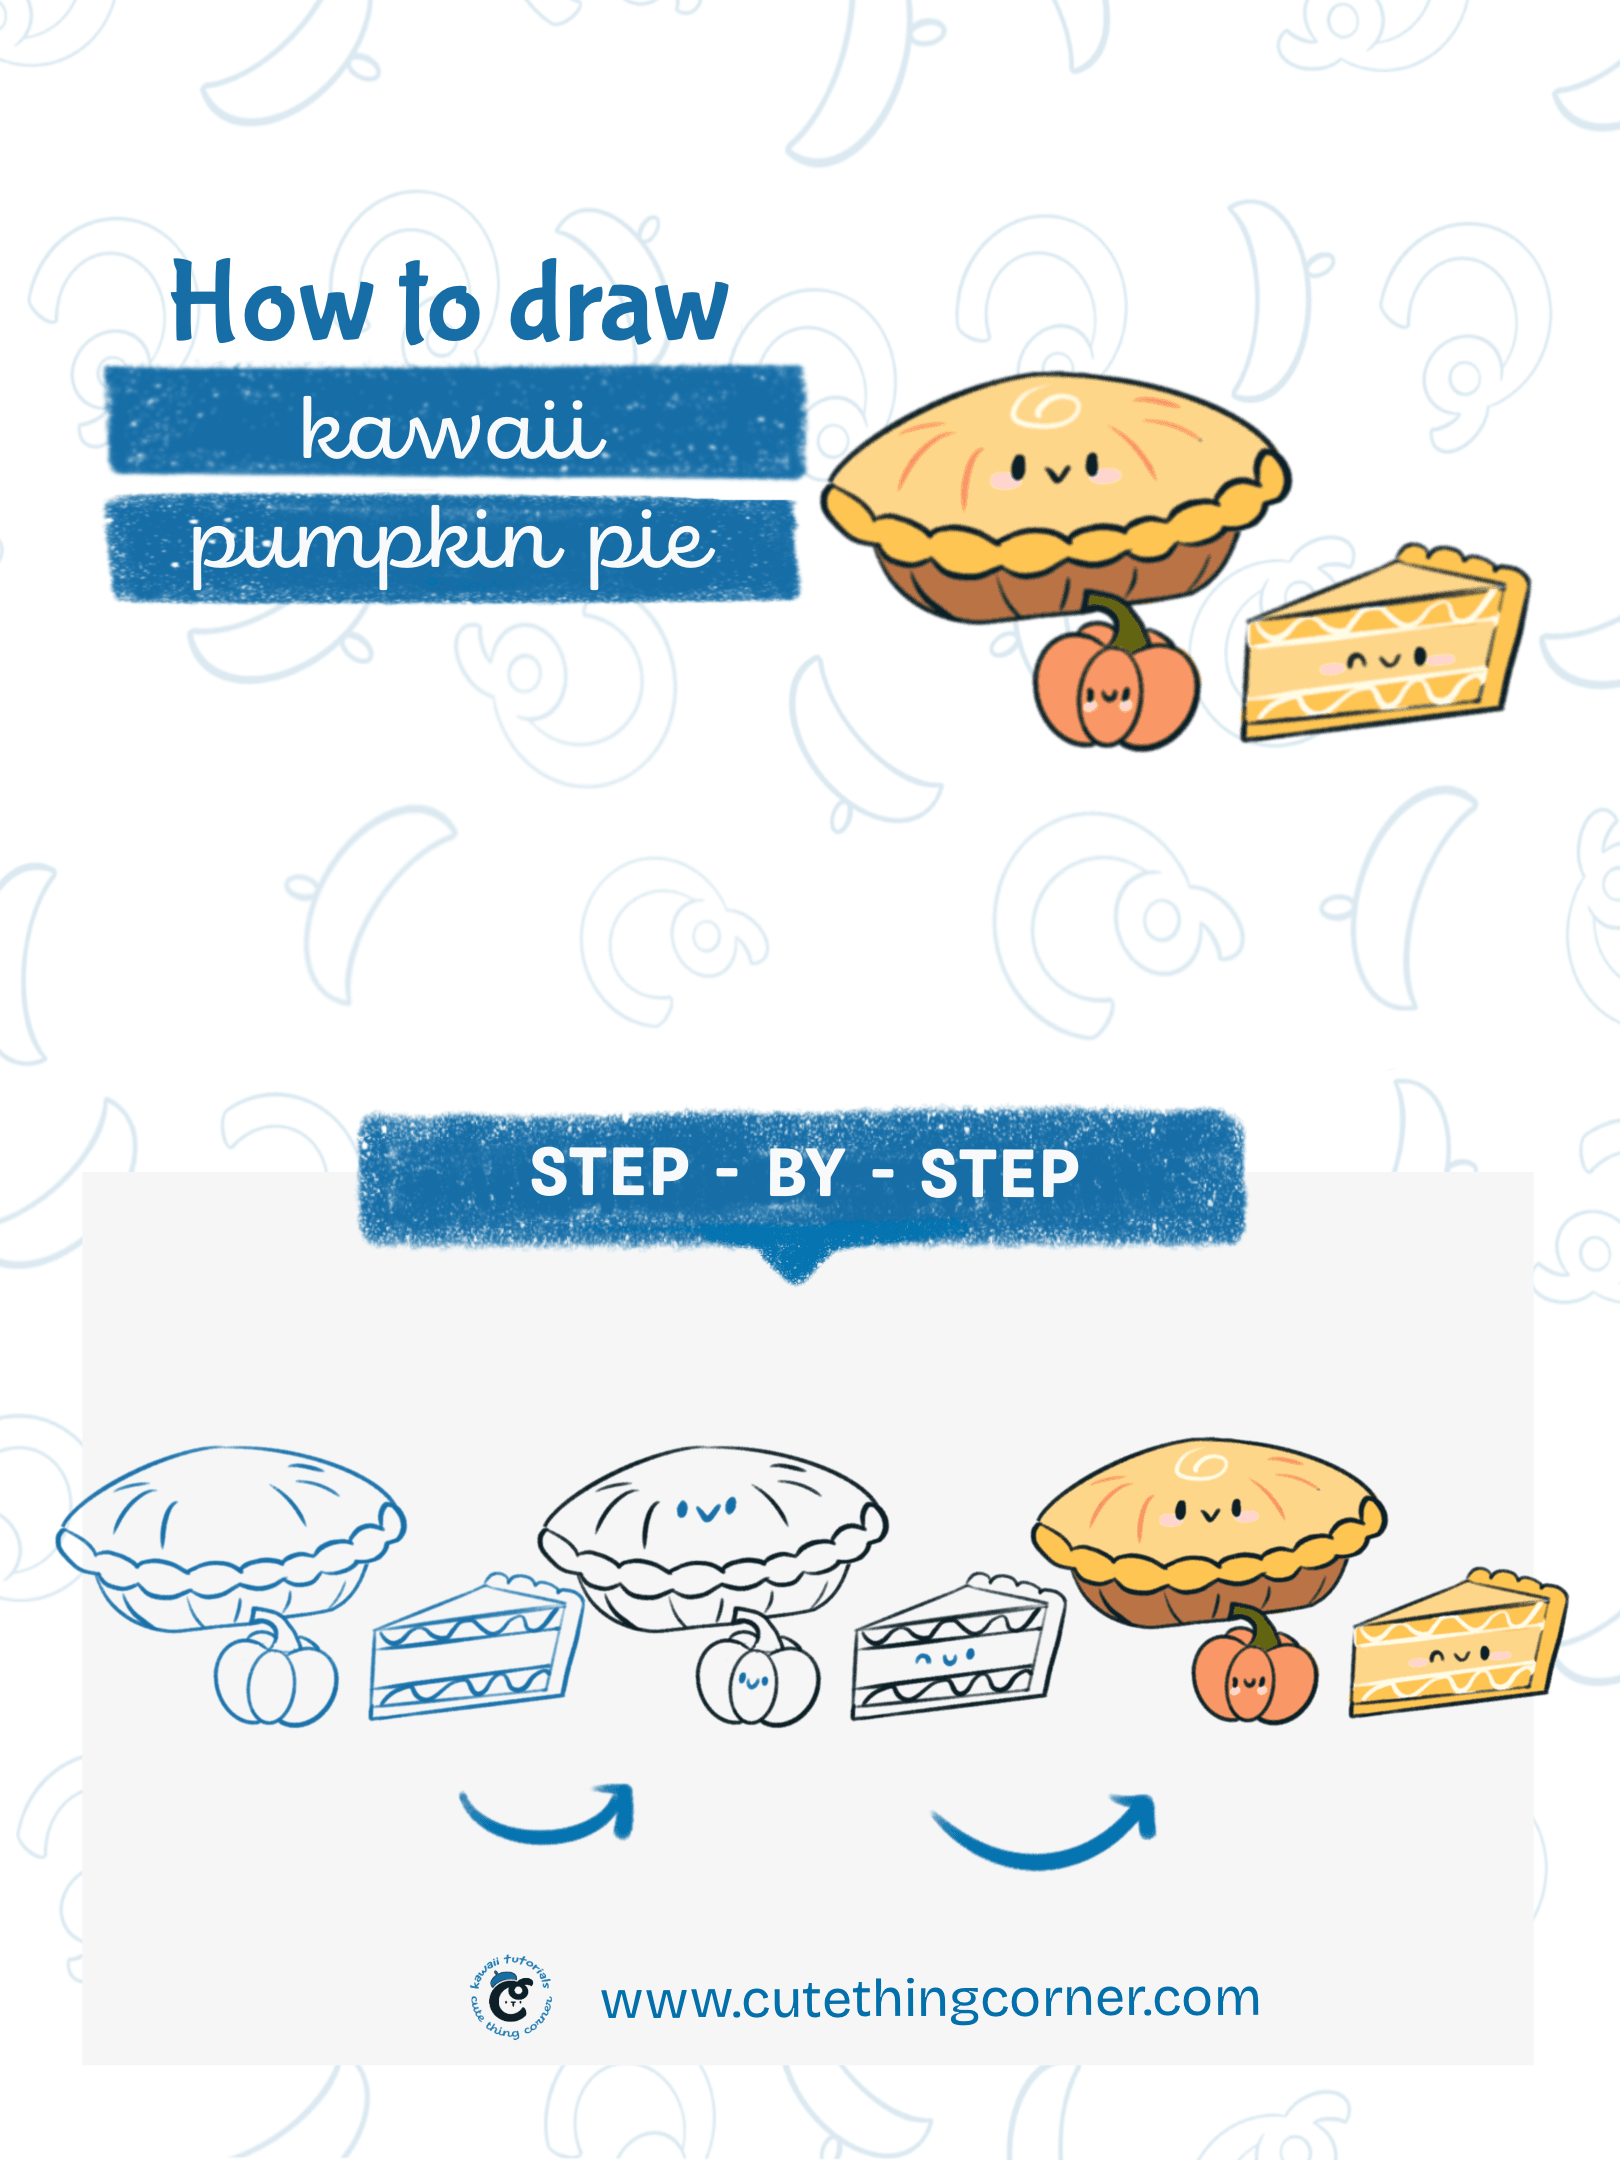
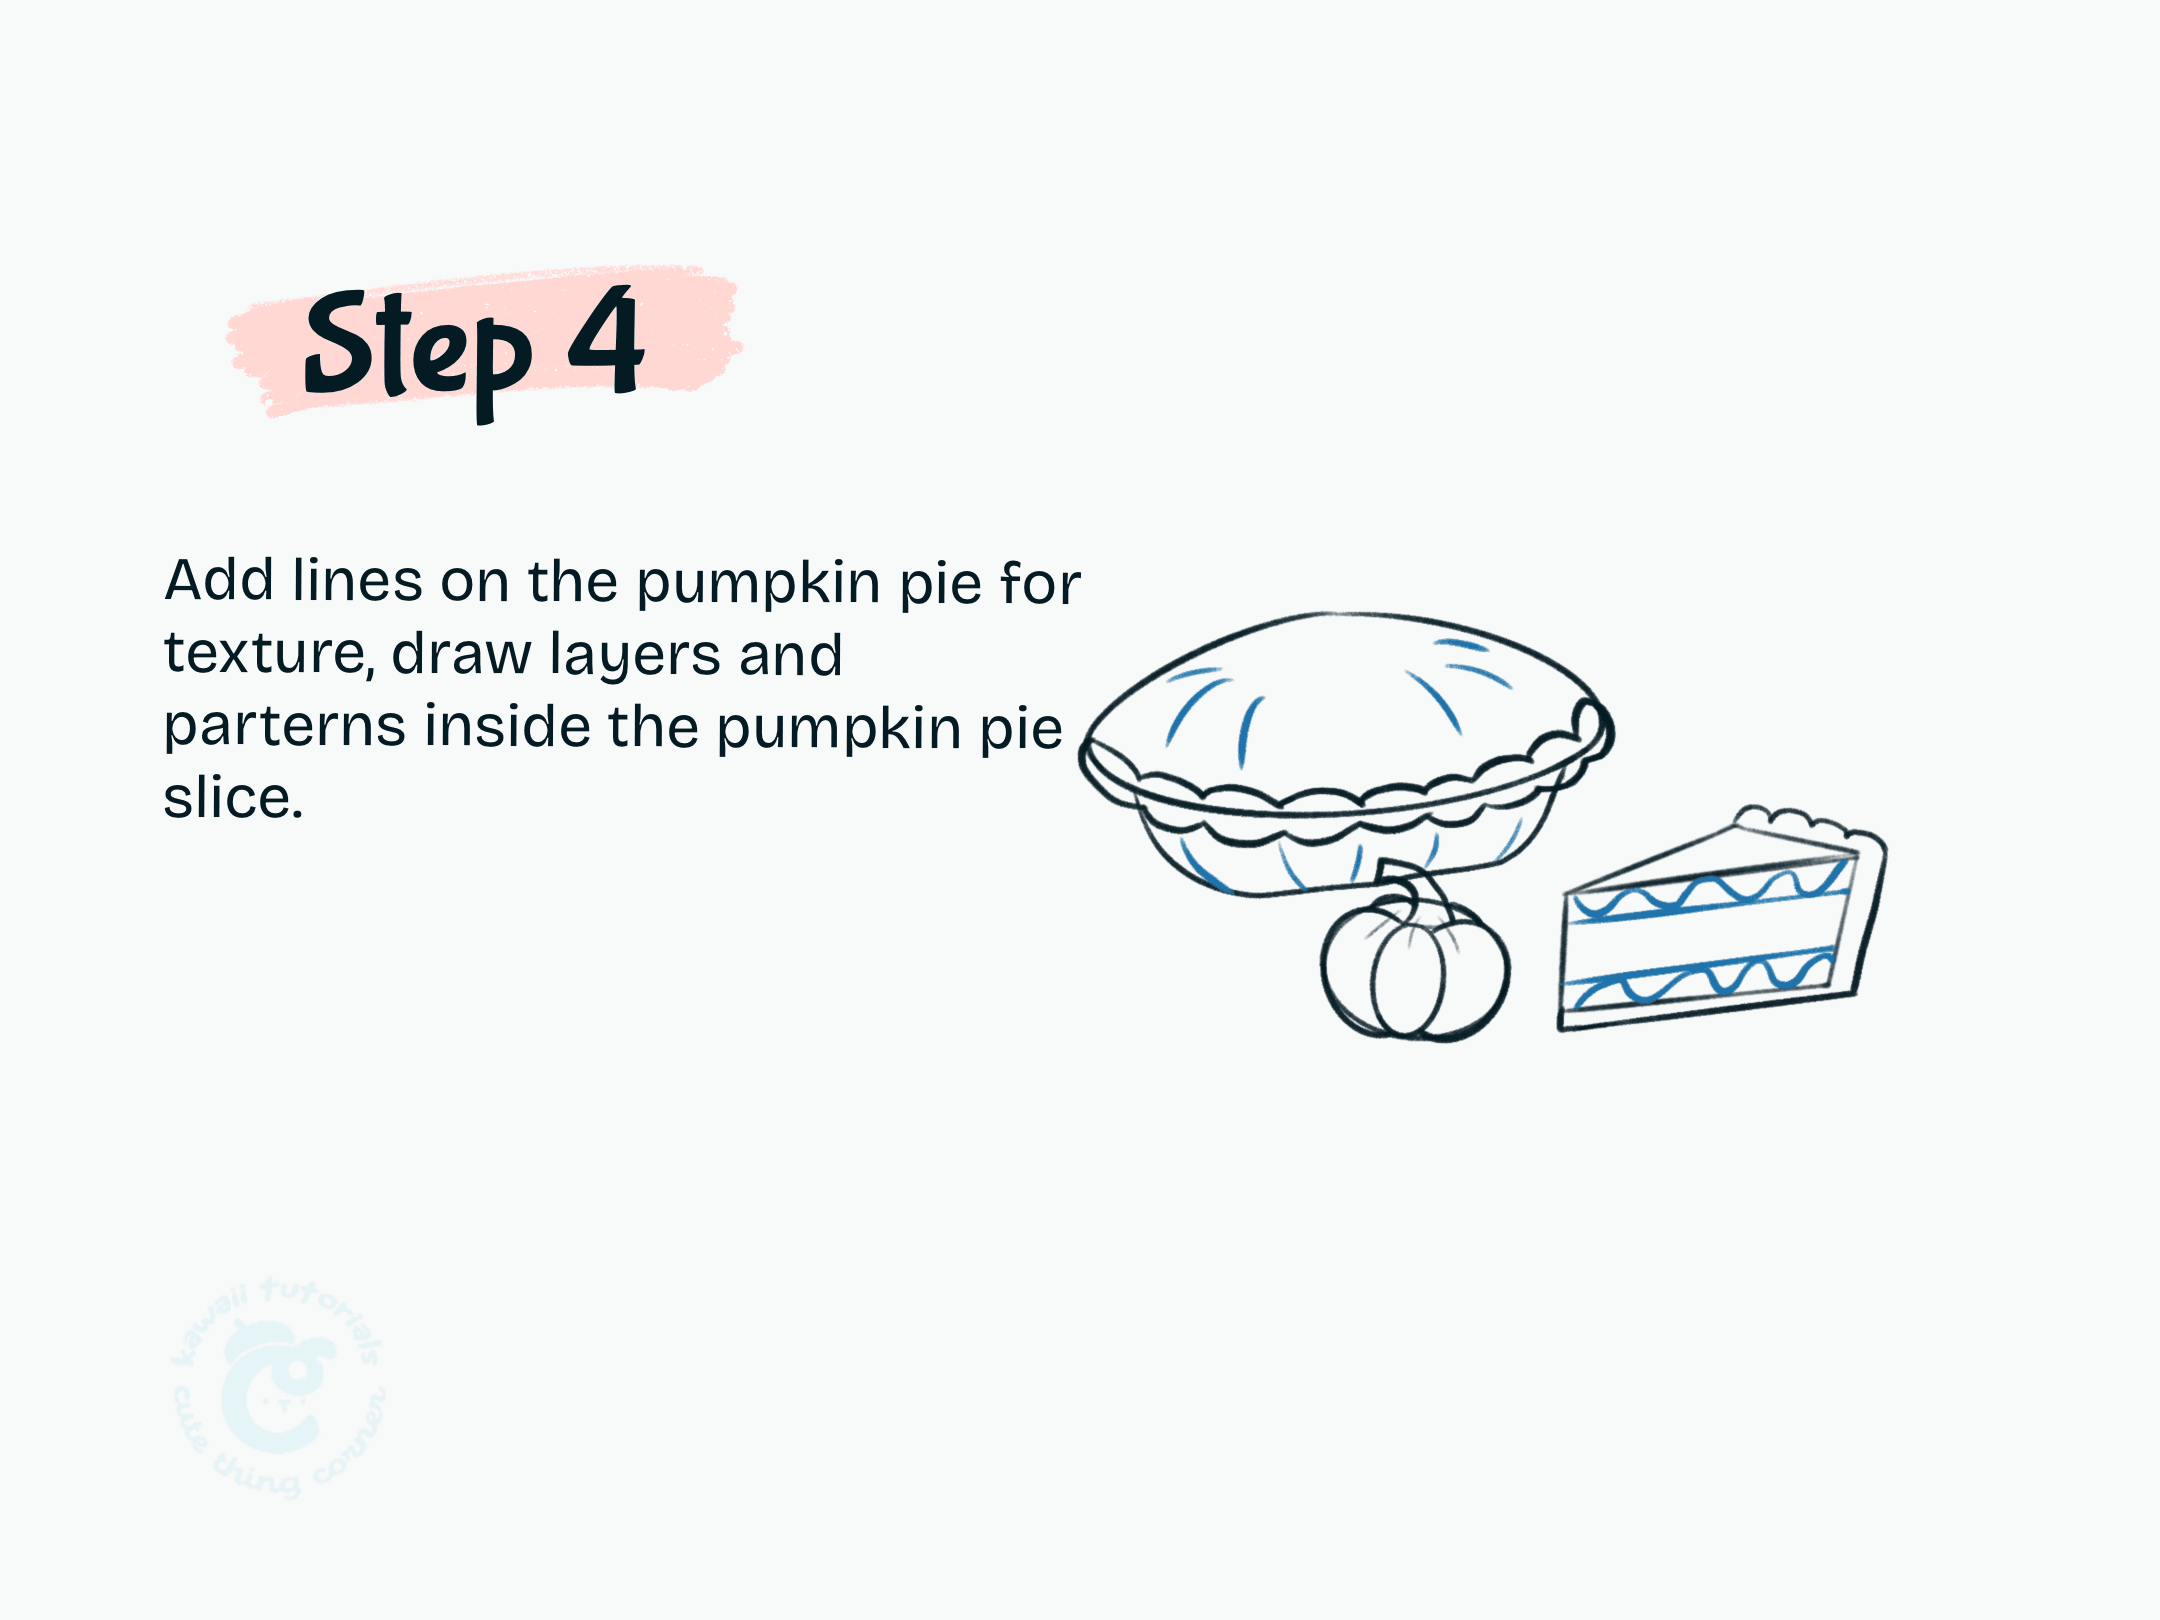
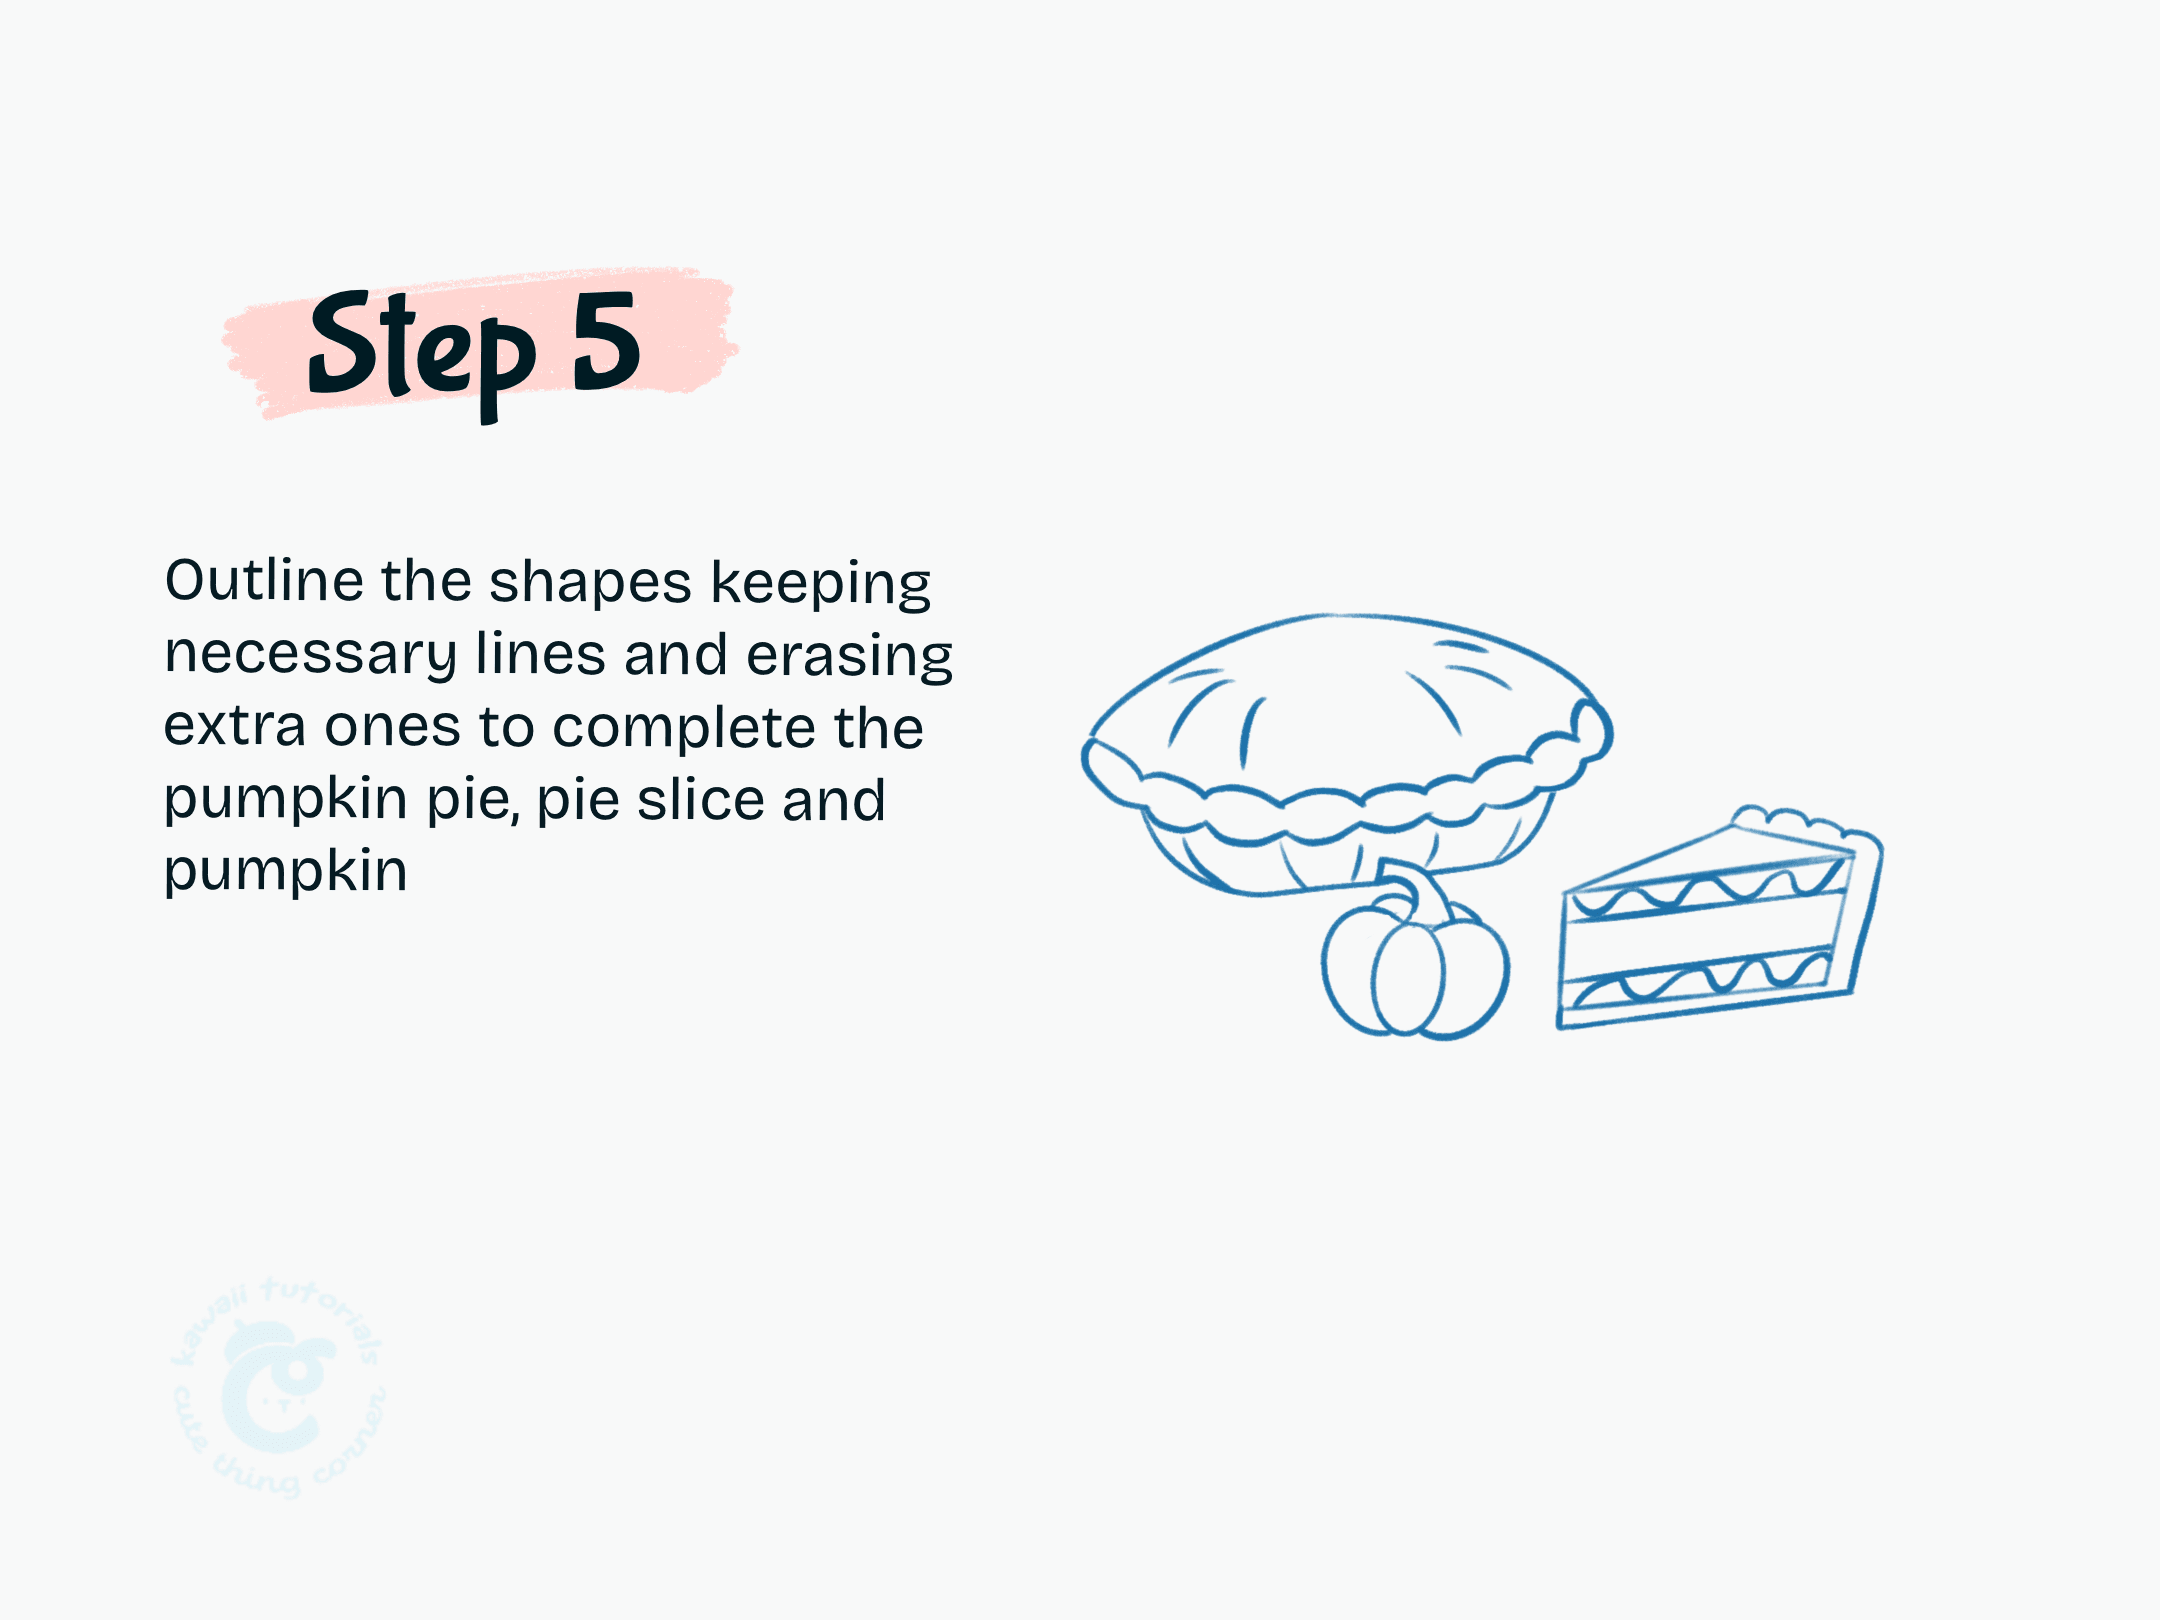
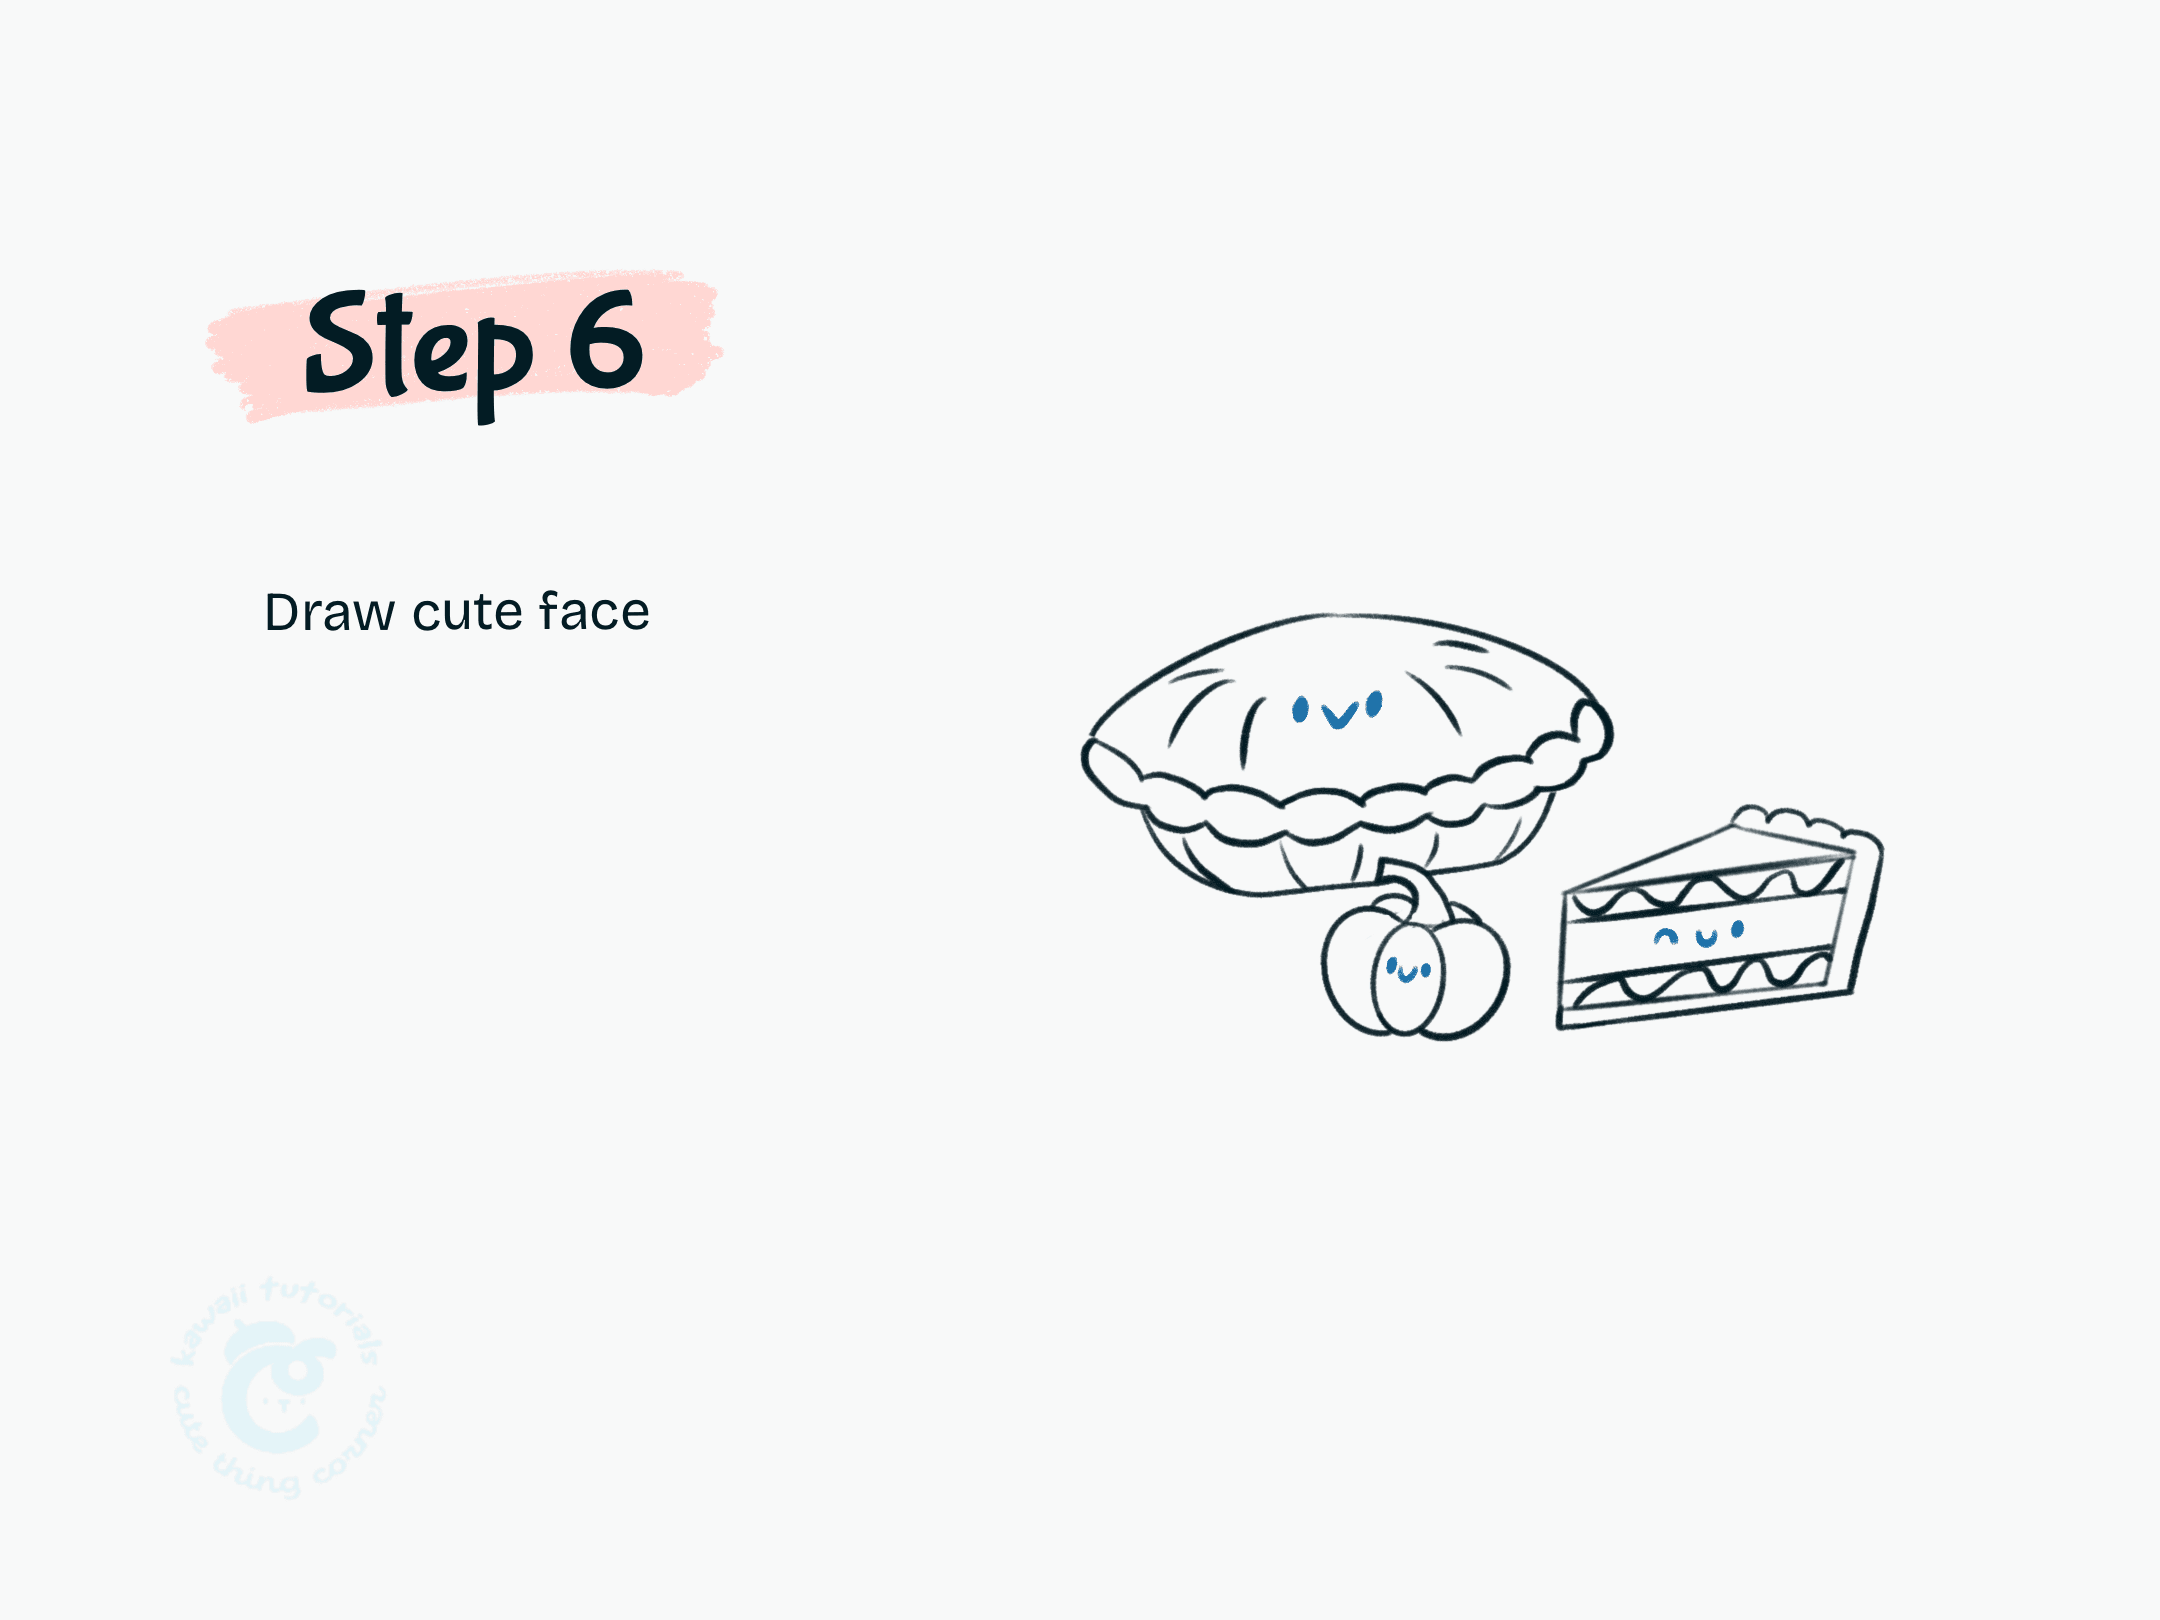
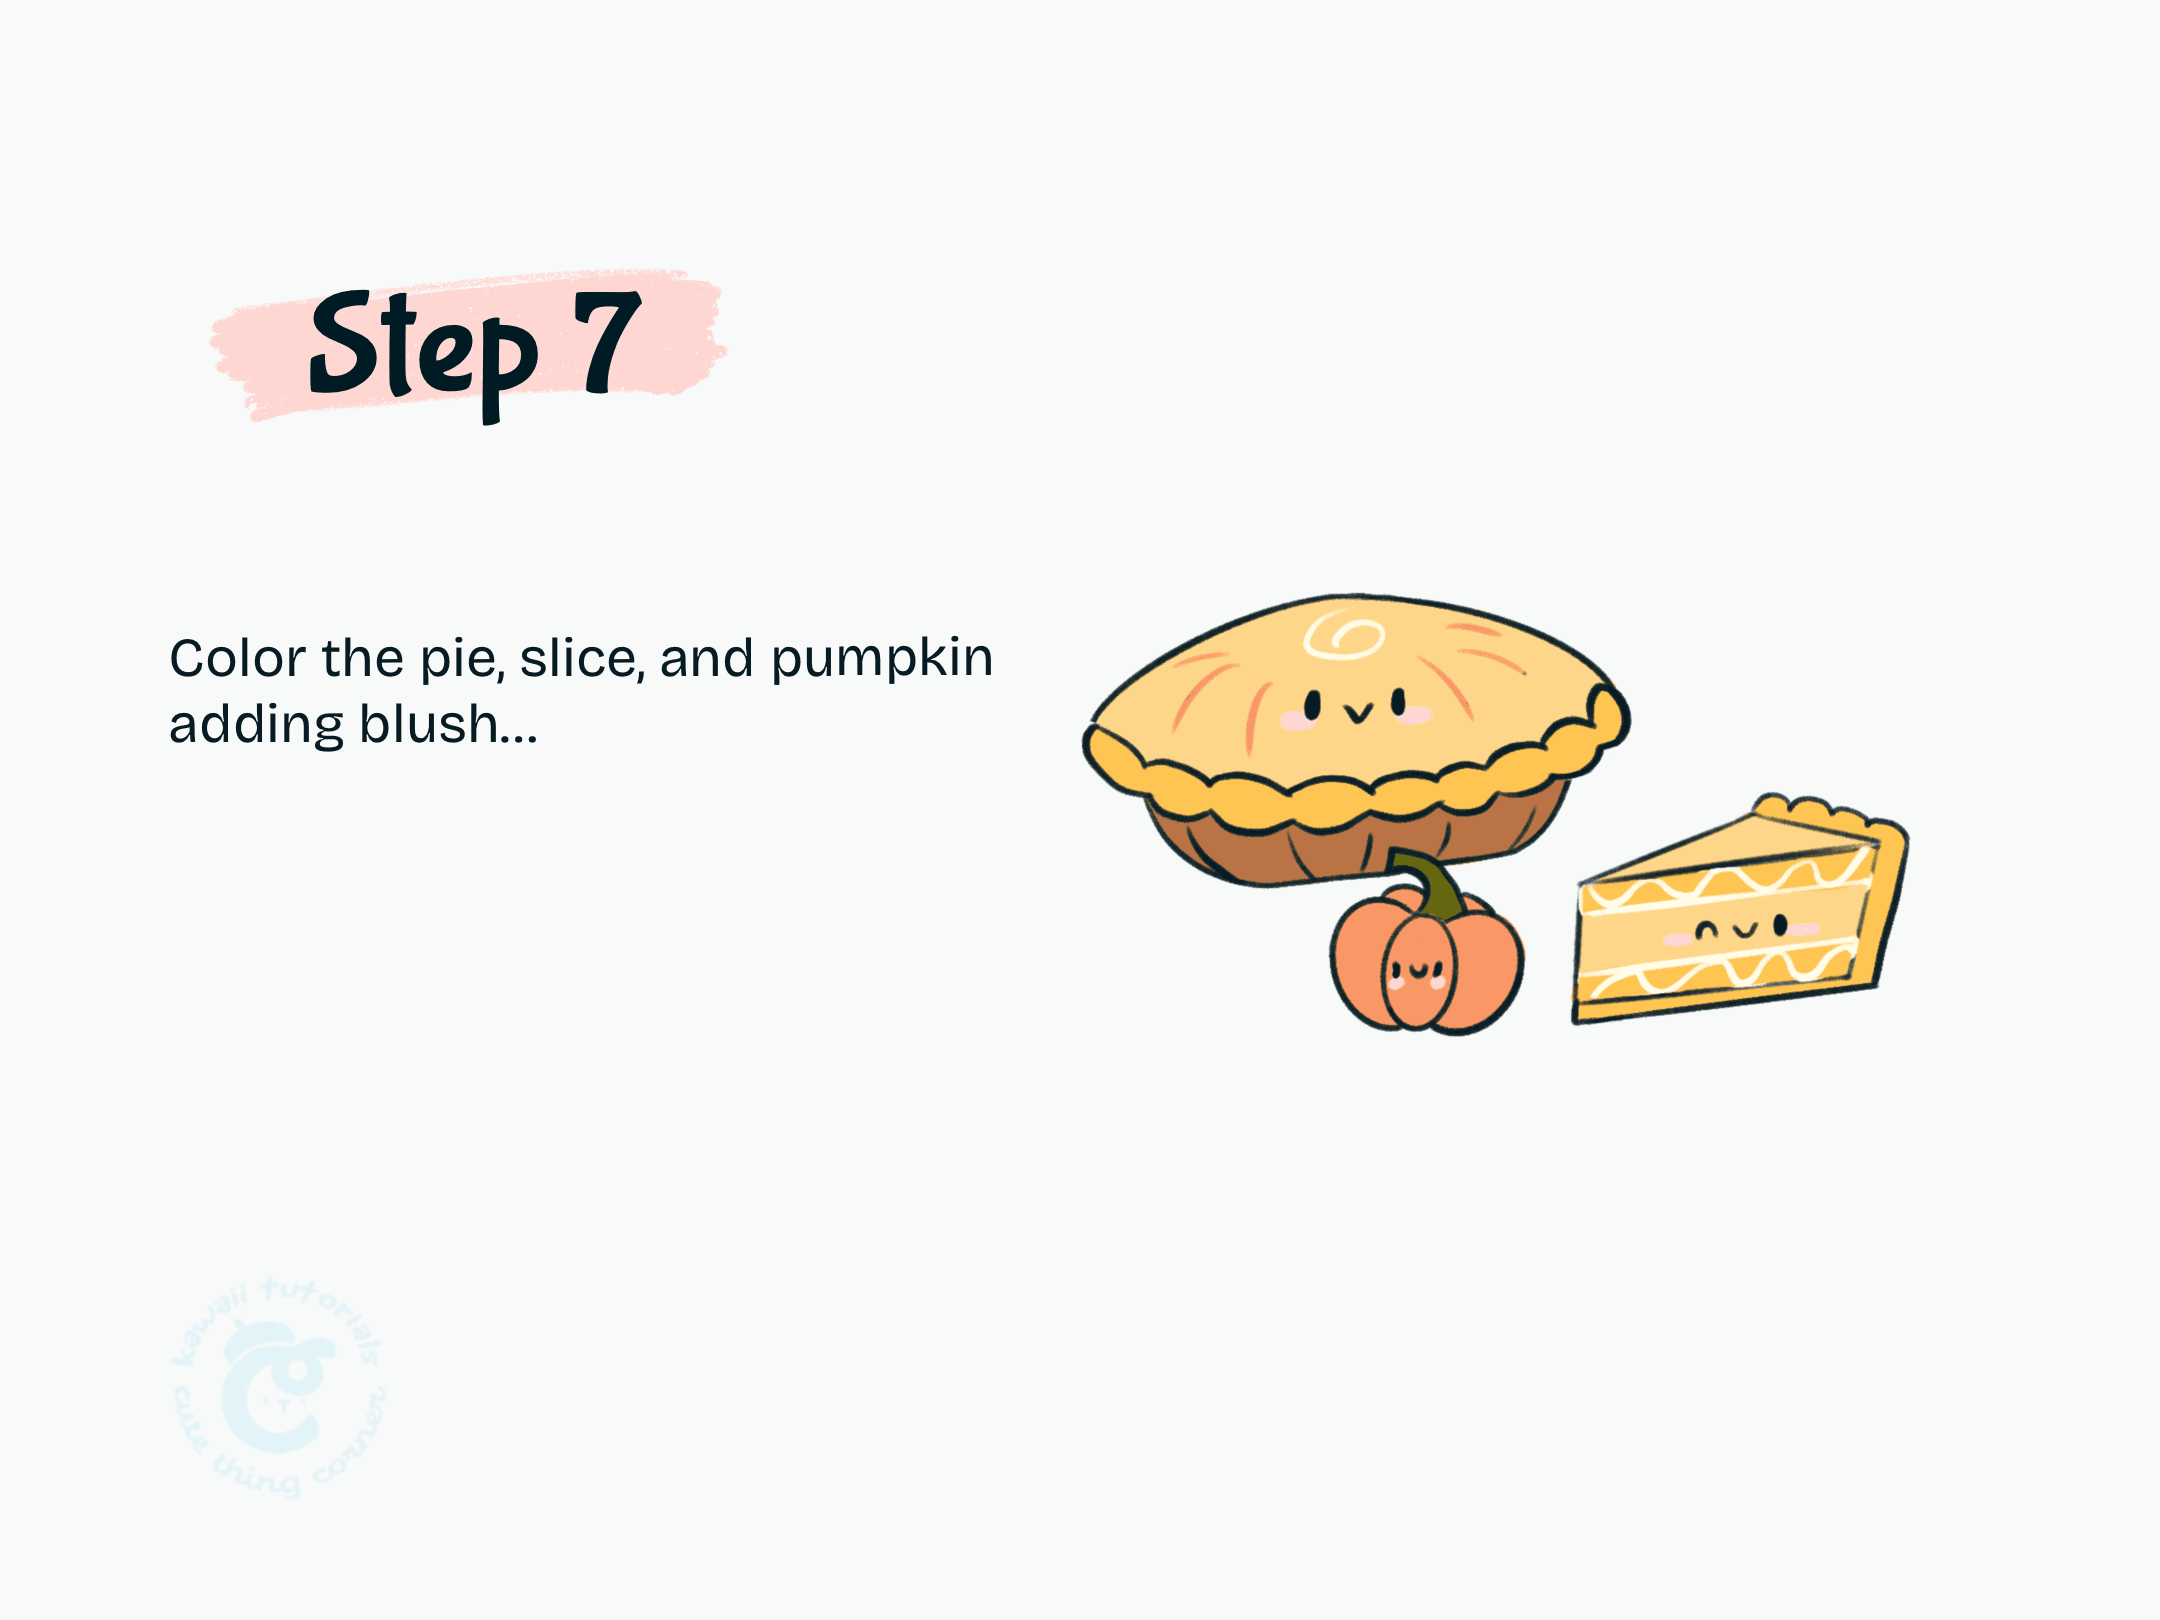
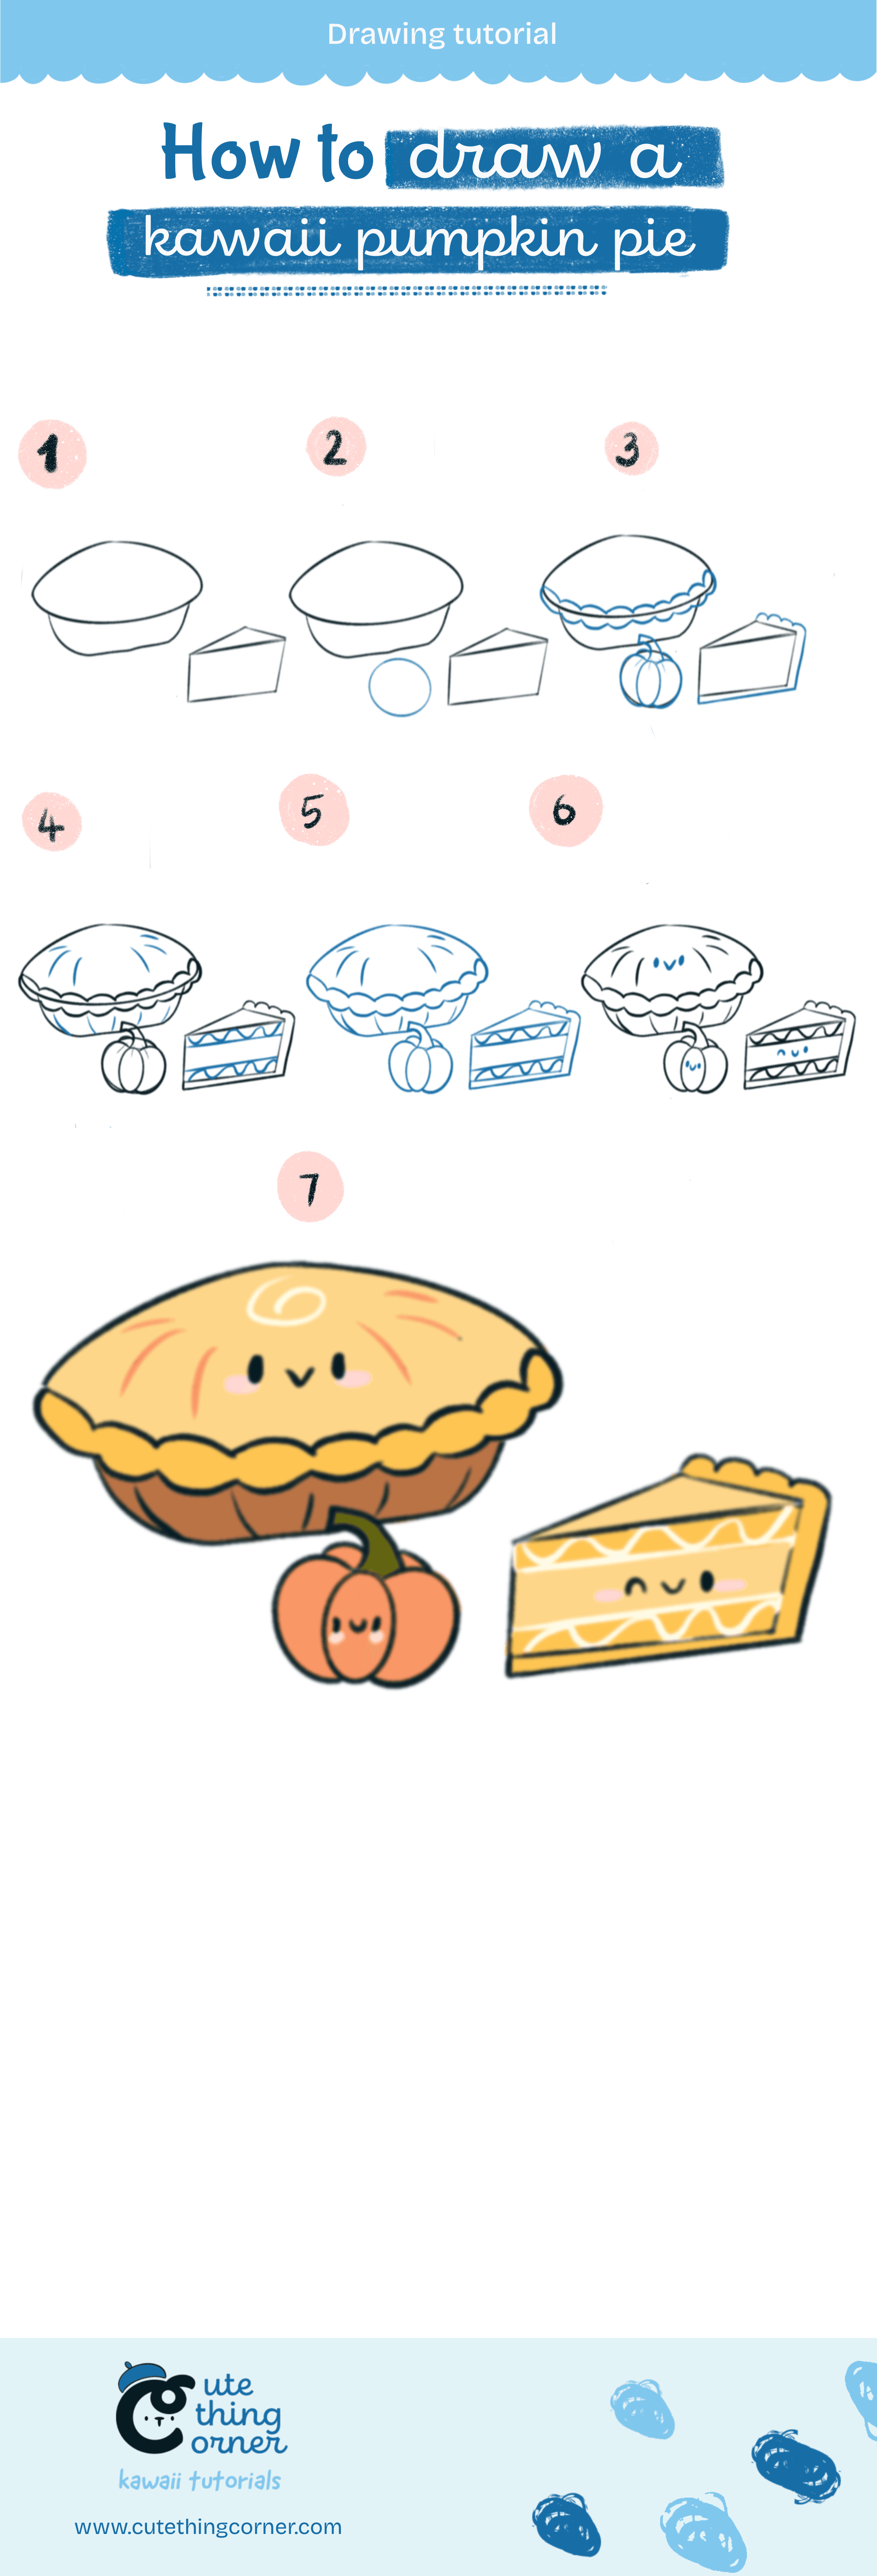
How to draw a kawaii pumpkin pie (Step-by-step)

This step-by-step tutorial from Cute Thing Corner will teach you how to draw kawaii pumpkin pie with a happy face and fun details! Perfect for fall or Thanksgiving-themed art, this guide makes it easy to bring…

  • Quick
  • 12 minutes
  • 7 steps
How to draw cute pumpkin pie (Step-by-step)

Before You Start

This step-by-step tutorial from Cute Thing Corner will teach you how to draw kawaii pumpkin pie with a happy face and fun details!

Perfect for fall or Thanksgiving-themed art, this guide makes it easy to bring this cozy dessert to life.

Grab your pencils, and let’s get started on this delightful drawing!

How to draw kawaii pumpkin pie (Step-by-step)

You just have paper and a pencil to start. Color will belong to your favorite or using an Ipad and pencil.

Whatever makes you comfortable to start.

Now jump into step-by-step to draw kawaii pumpkin pie:

Step 1

Draw an oval for the pie top, a curved line for the dish, and a triangle for the slice

Draw an oval for the pie top, a curved line for the dish, and a triangle for the slice

Step 1 Draw an oval for the pie top, a curved line for the dish, and a triangle for the slice.
Step 2

Draw a small oval below the pie and next to the slice to outline the base of the pumpkin

Draw a small oval below the pie and next to the slice to outline the base of the pumpkin

Step 2 Draw a small oval below the pie and next to the slice to outline the base of the pumpkin
Step 3

Add wavy lines for the pie crust and outline the pumpkin with the stem

Add wavy lines for the pie crust and outline the pumpkin with the stem

Step 3 Add wavy lines for the pie crust and outline the pumpkin with the stem
Step 4

Add texture lines and patterns to the pumpkin pie layers

Add texture lines and patterns to the pumpkin pie layers

Step 4 Add texture lines and patterns to the pumpkin pie layers.
Step 5

Outline the shapes keeping necessary lines and erasing extra ones to complete the pumpkin pie, pie slice and pumpkin

Outline the shapes keeping necessary lines and erasing extra ones to complete the pumpkin pie, pie slice and pumpkin

Step 5 Outline the shapes keeping necessary lines and erasing extra ones to complete the pumpkin pie, pie slice and pumpkin
Step 6

Draw cute face

Draw cute face

Step 6 Draw cute face
Step 7

Color the pie, slice, and pumpkin adding blush

Color the pie, slice, and pumpkin adding blush

Step 7 Color the pie, slice, and pumpkin adding blush...

Final Tips

And there you have it—your super cute kawaii pumpkin pie, ready to bring smiles and cozy vibes!

I hope you had fun following this step-by-step guide and adding your creative touch.

Don’t forget to share your masterpiece and tag us so we can see your amazing art!

Keep practicing, stay inspired, and check back soon for more kawaii drawing tutorials.

Let’s keep the creativity flowing together!

How to draw a kawaii pumpkin pie

Leave a Comment