Cute Thing Corner

Food

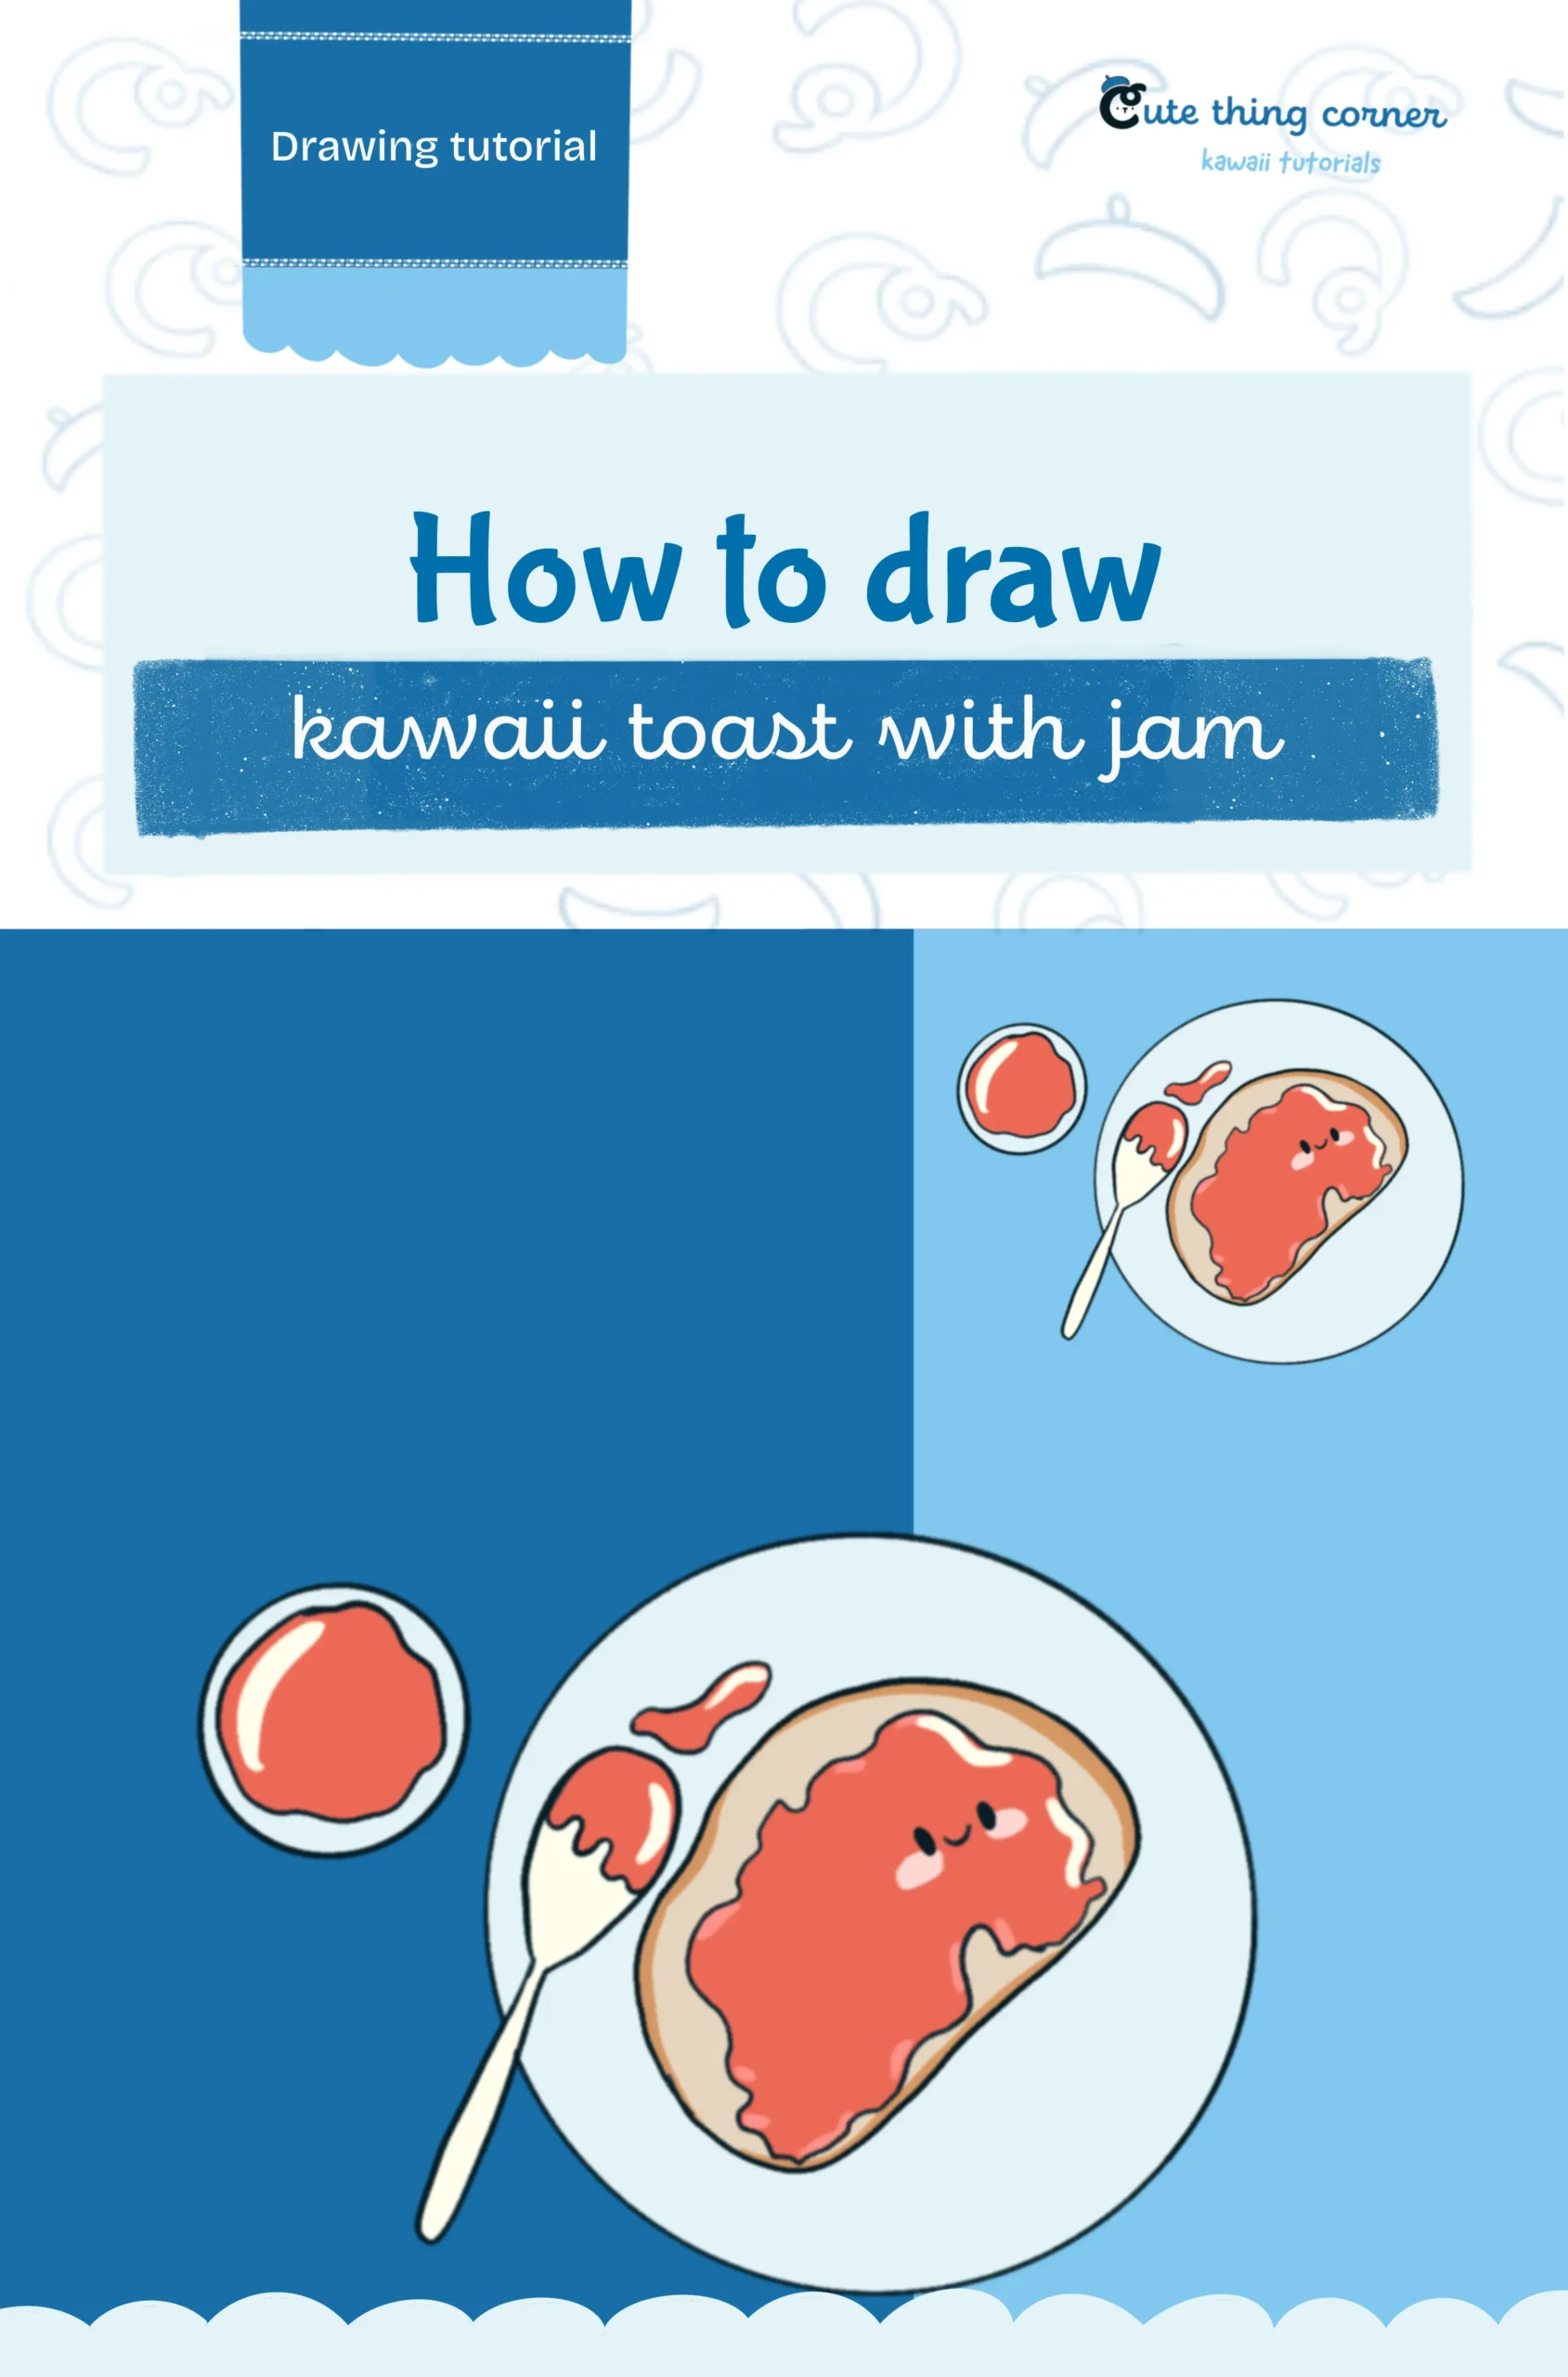
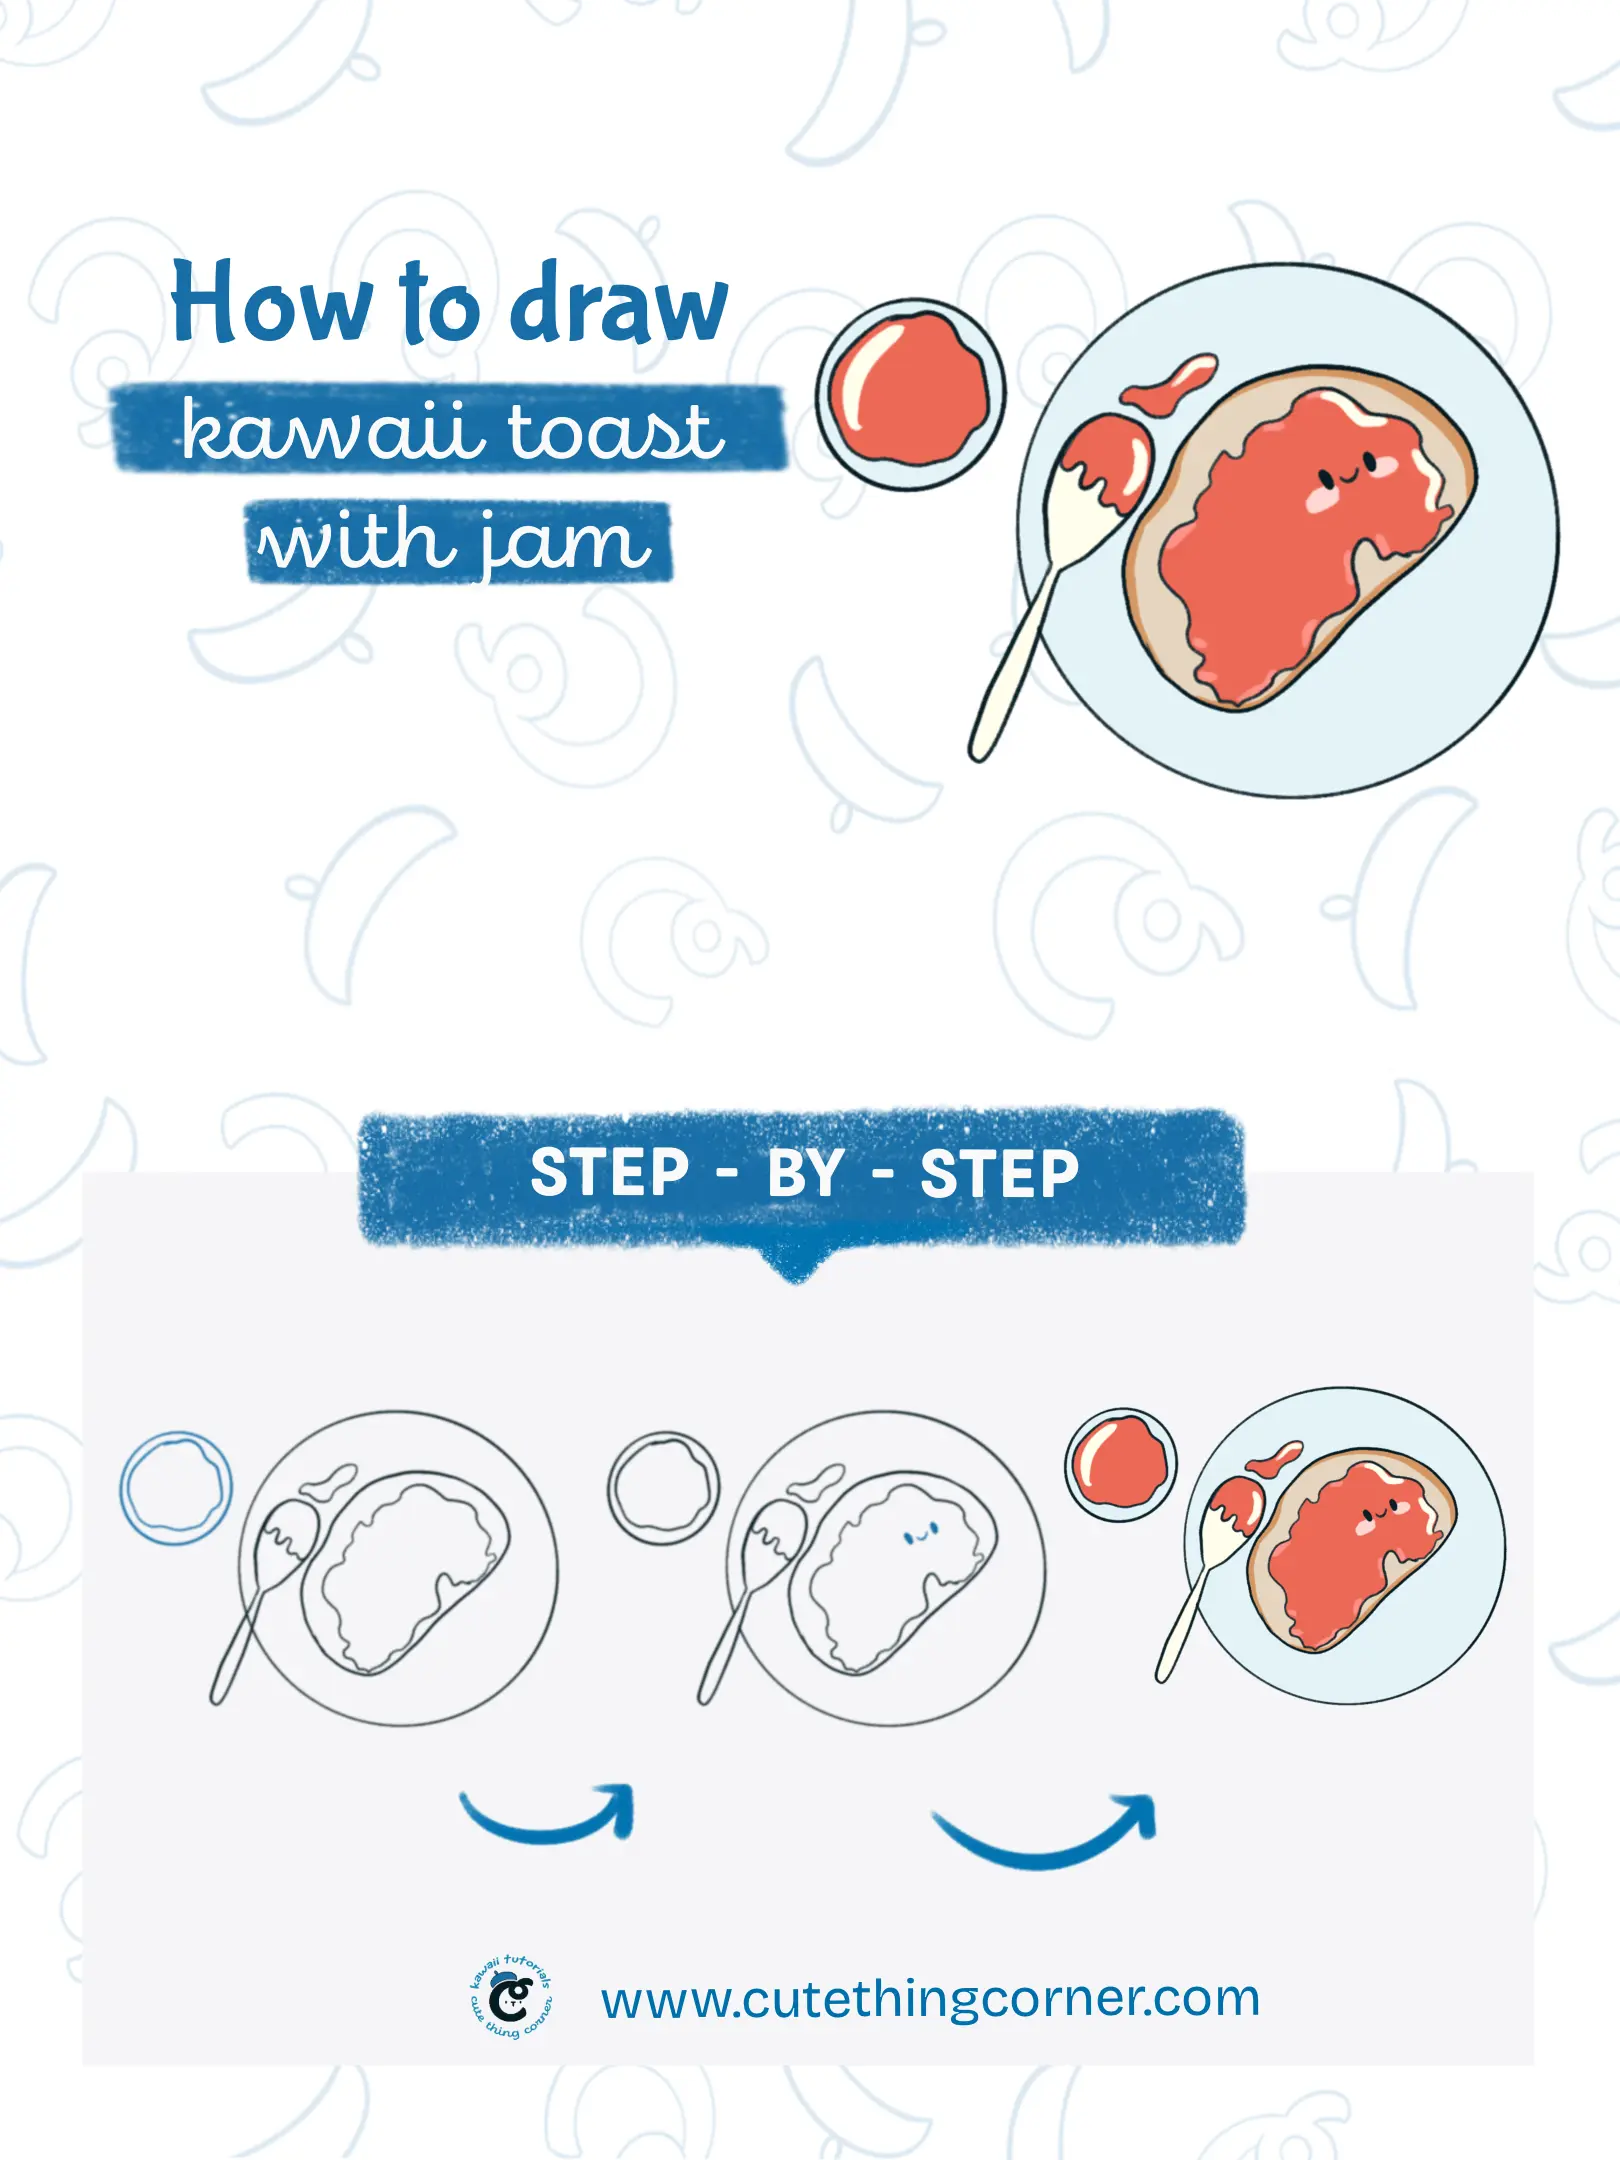
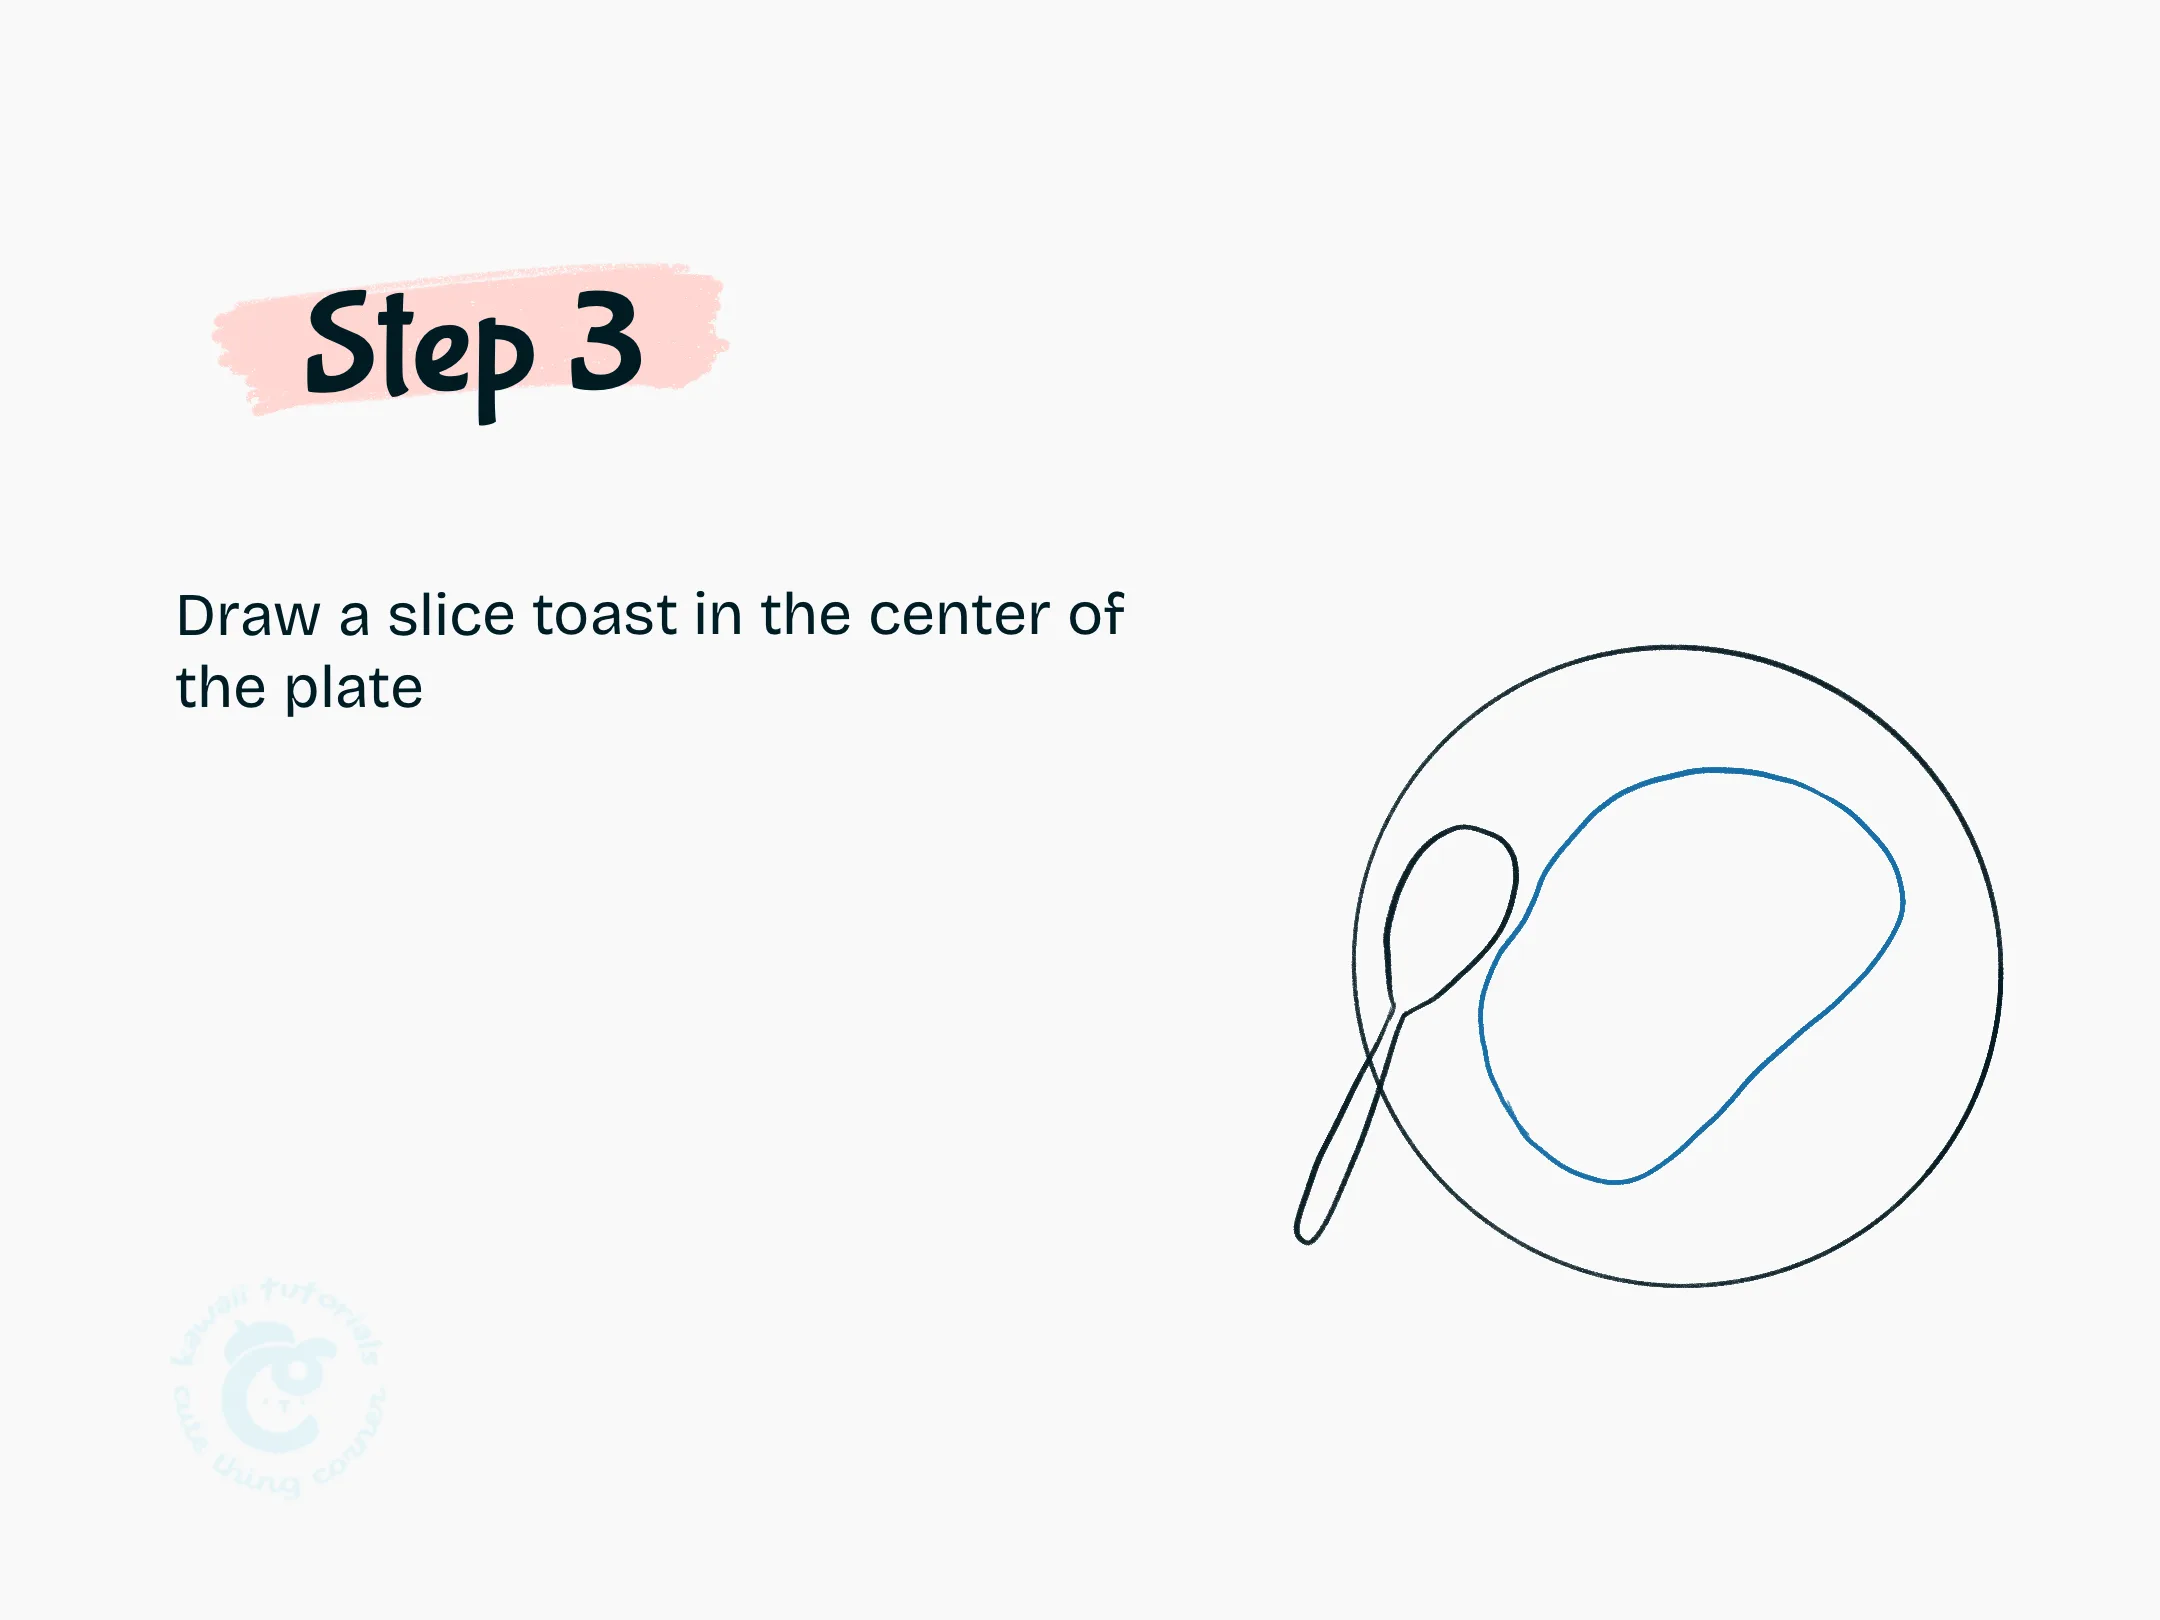
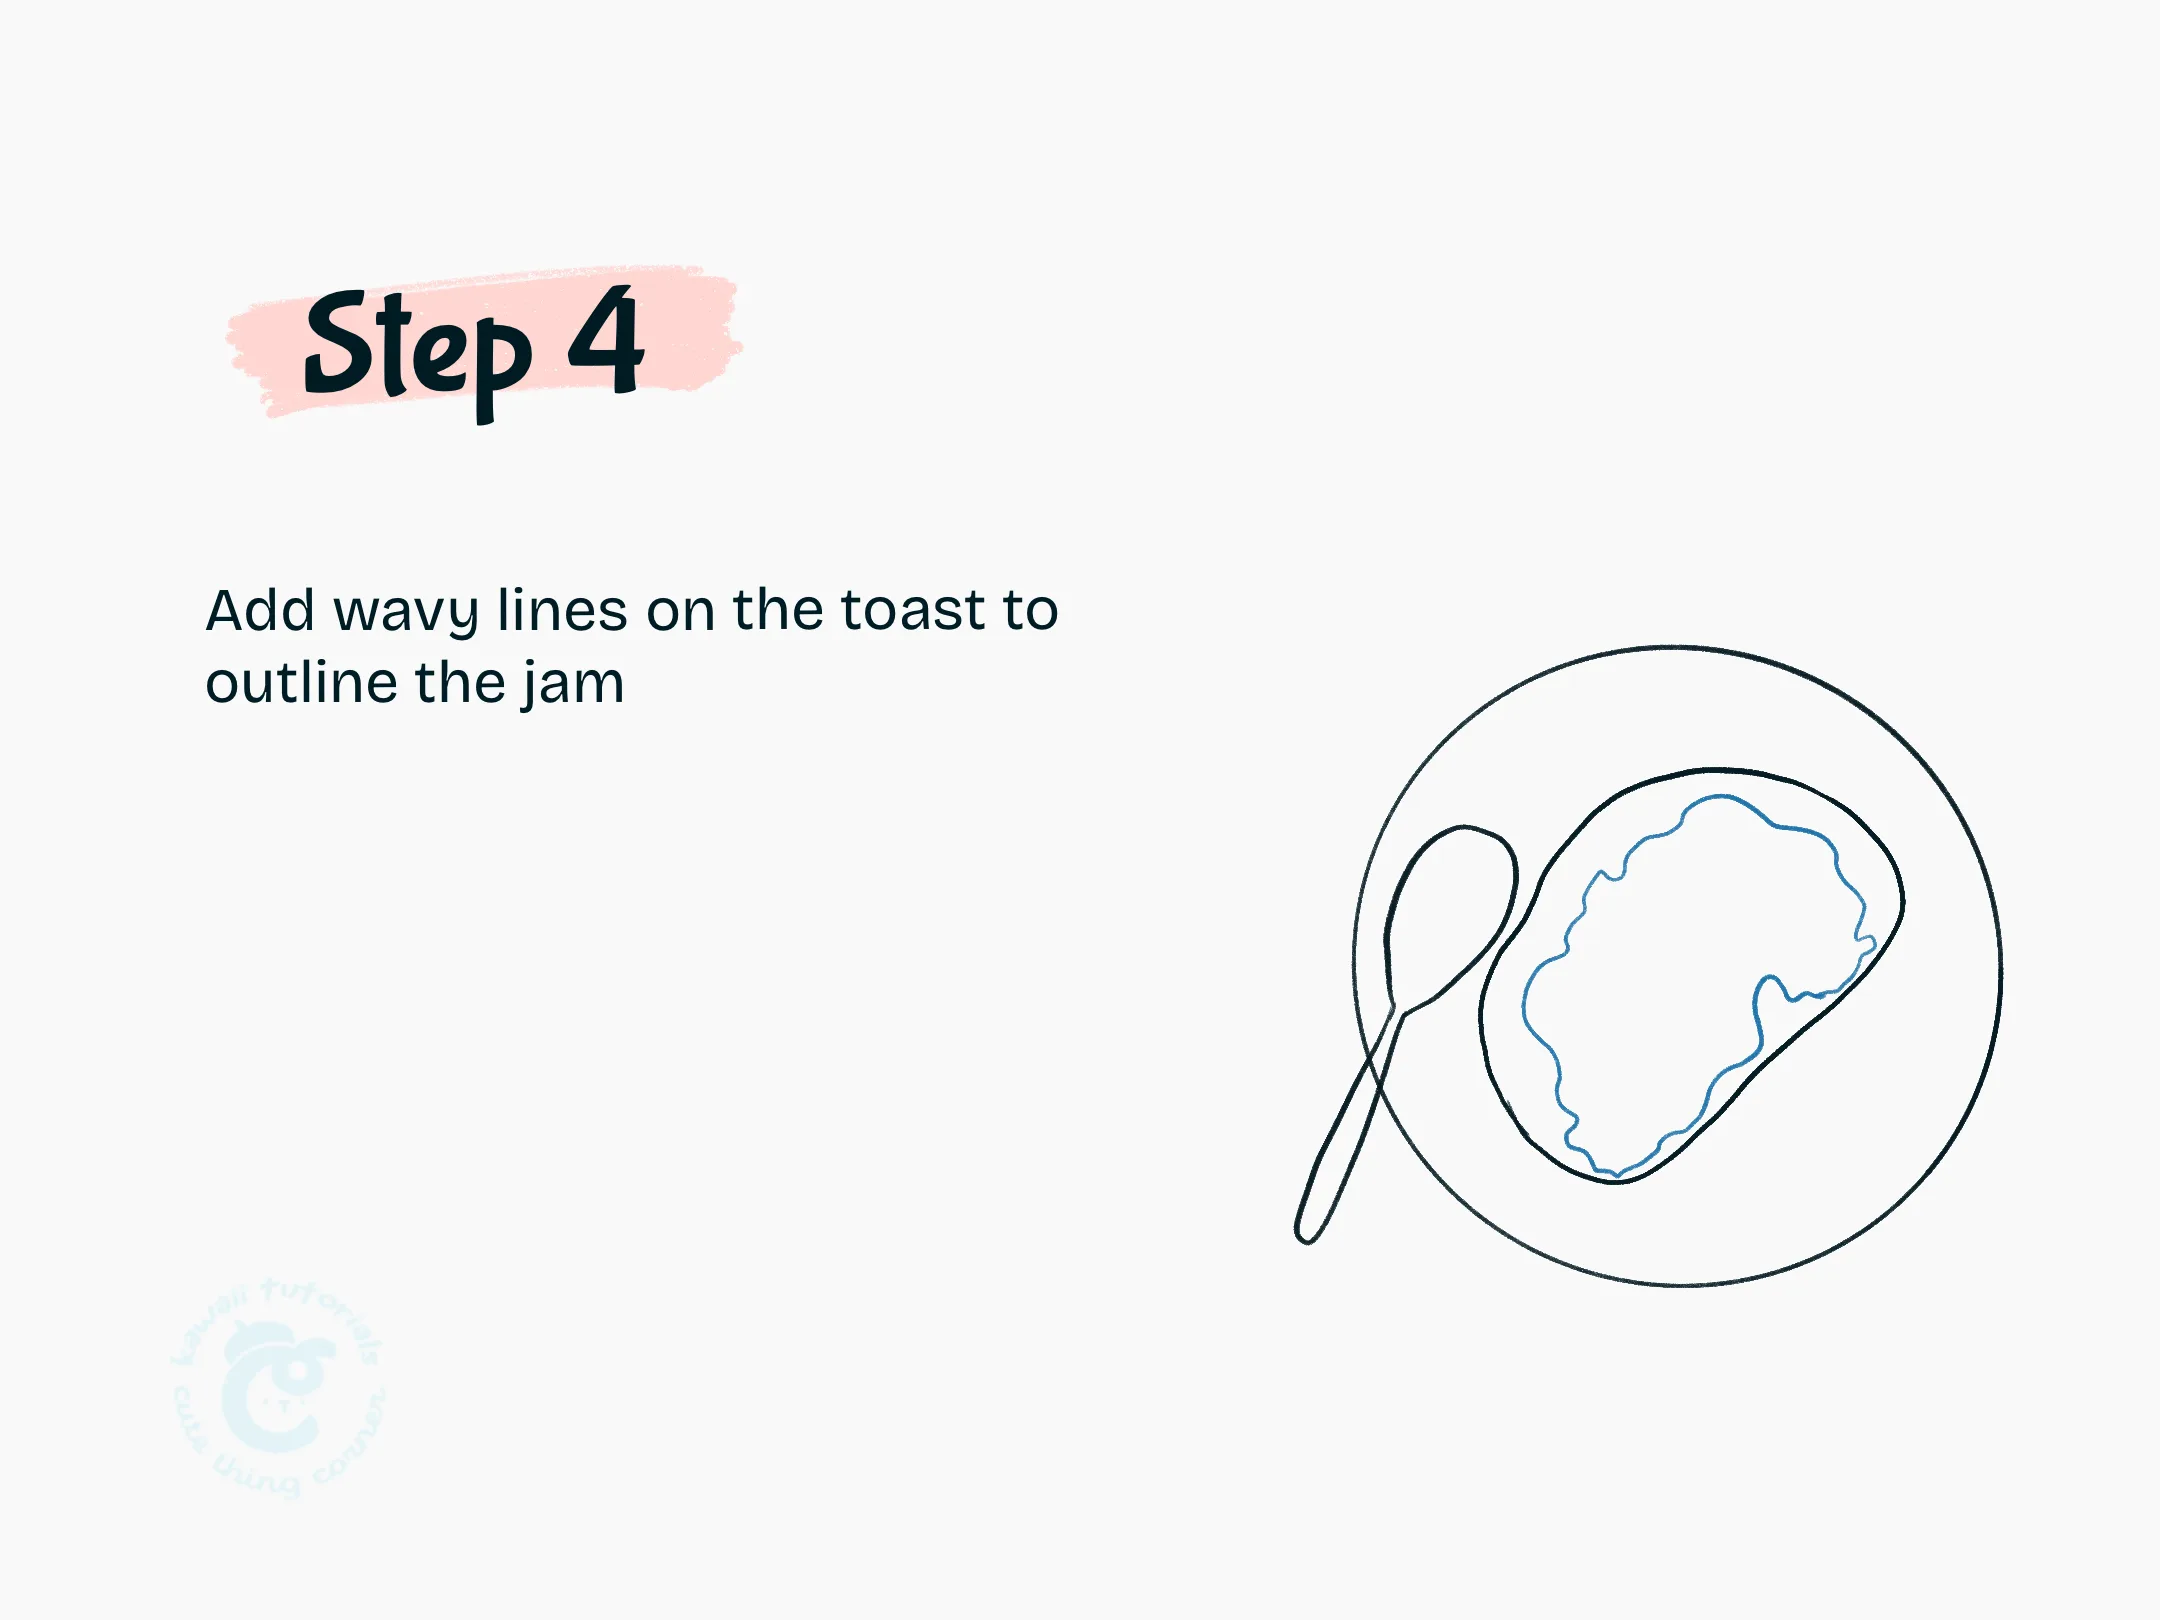
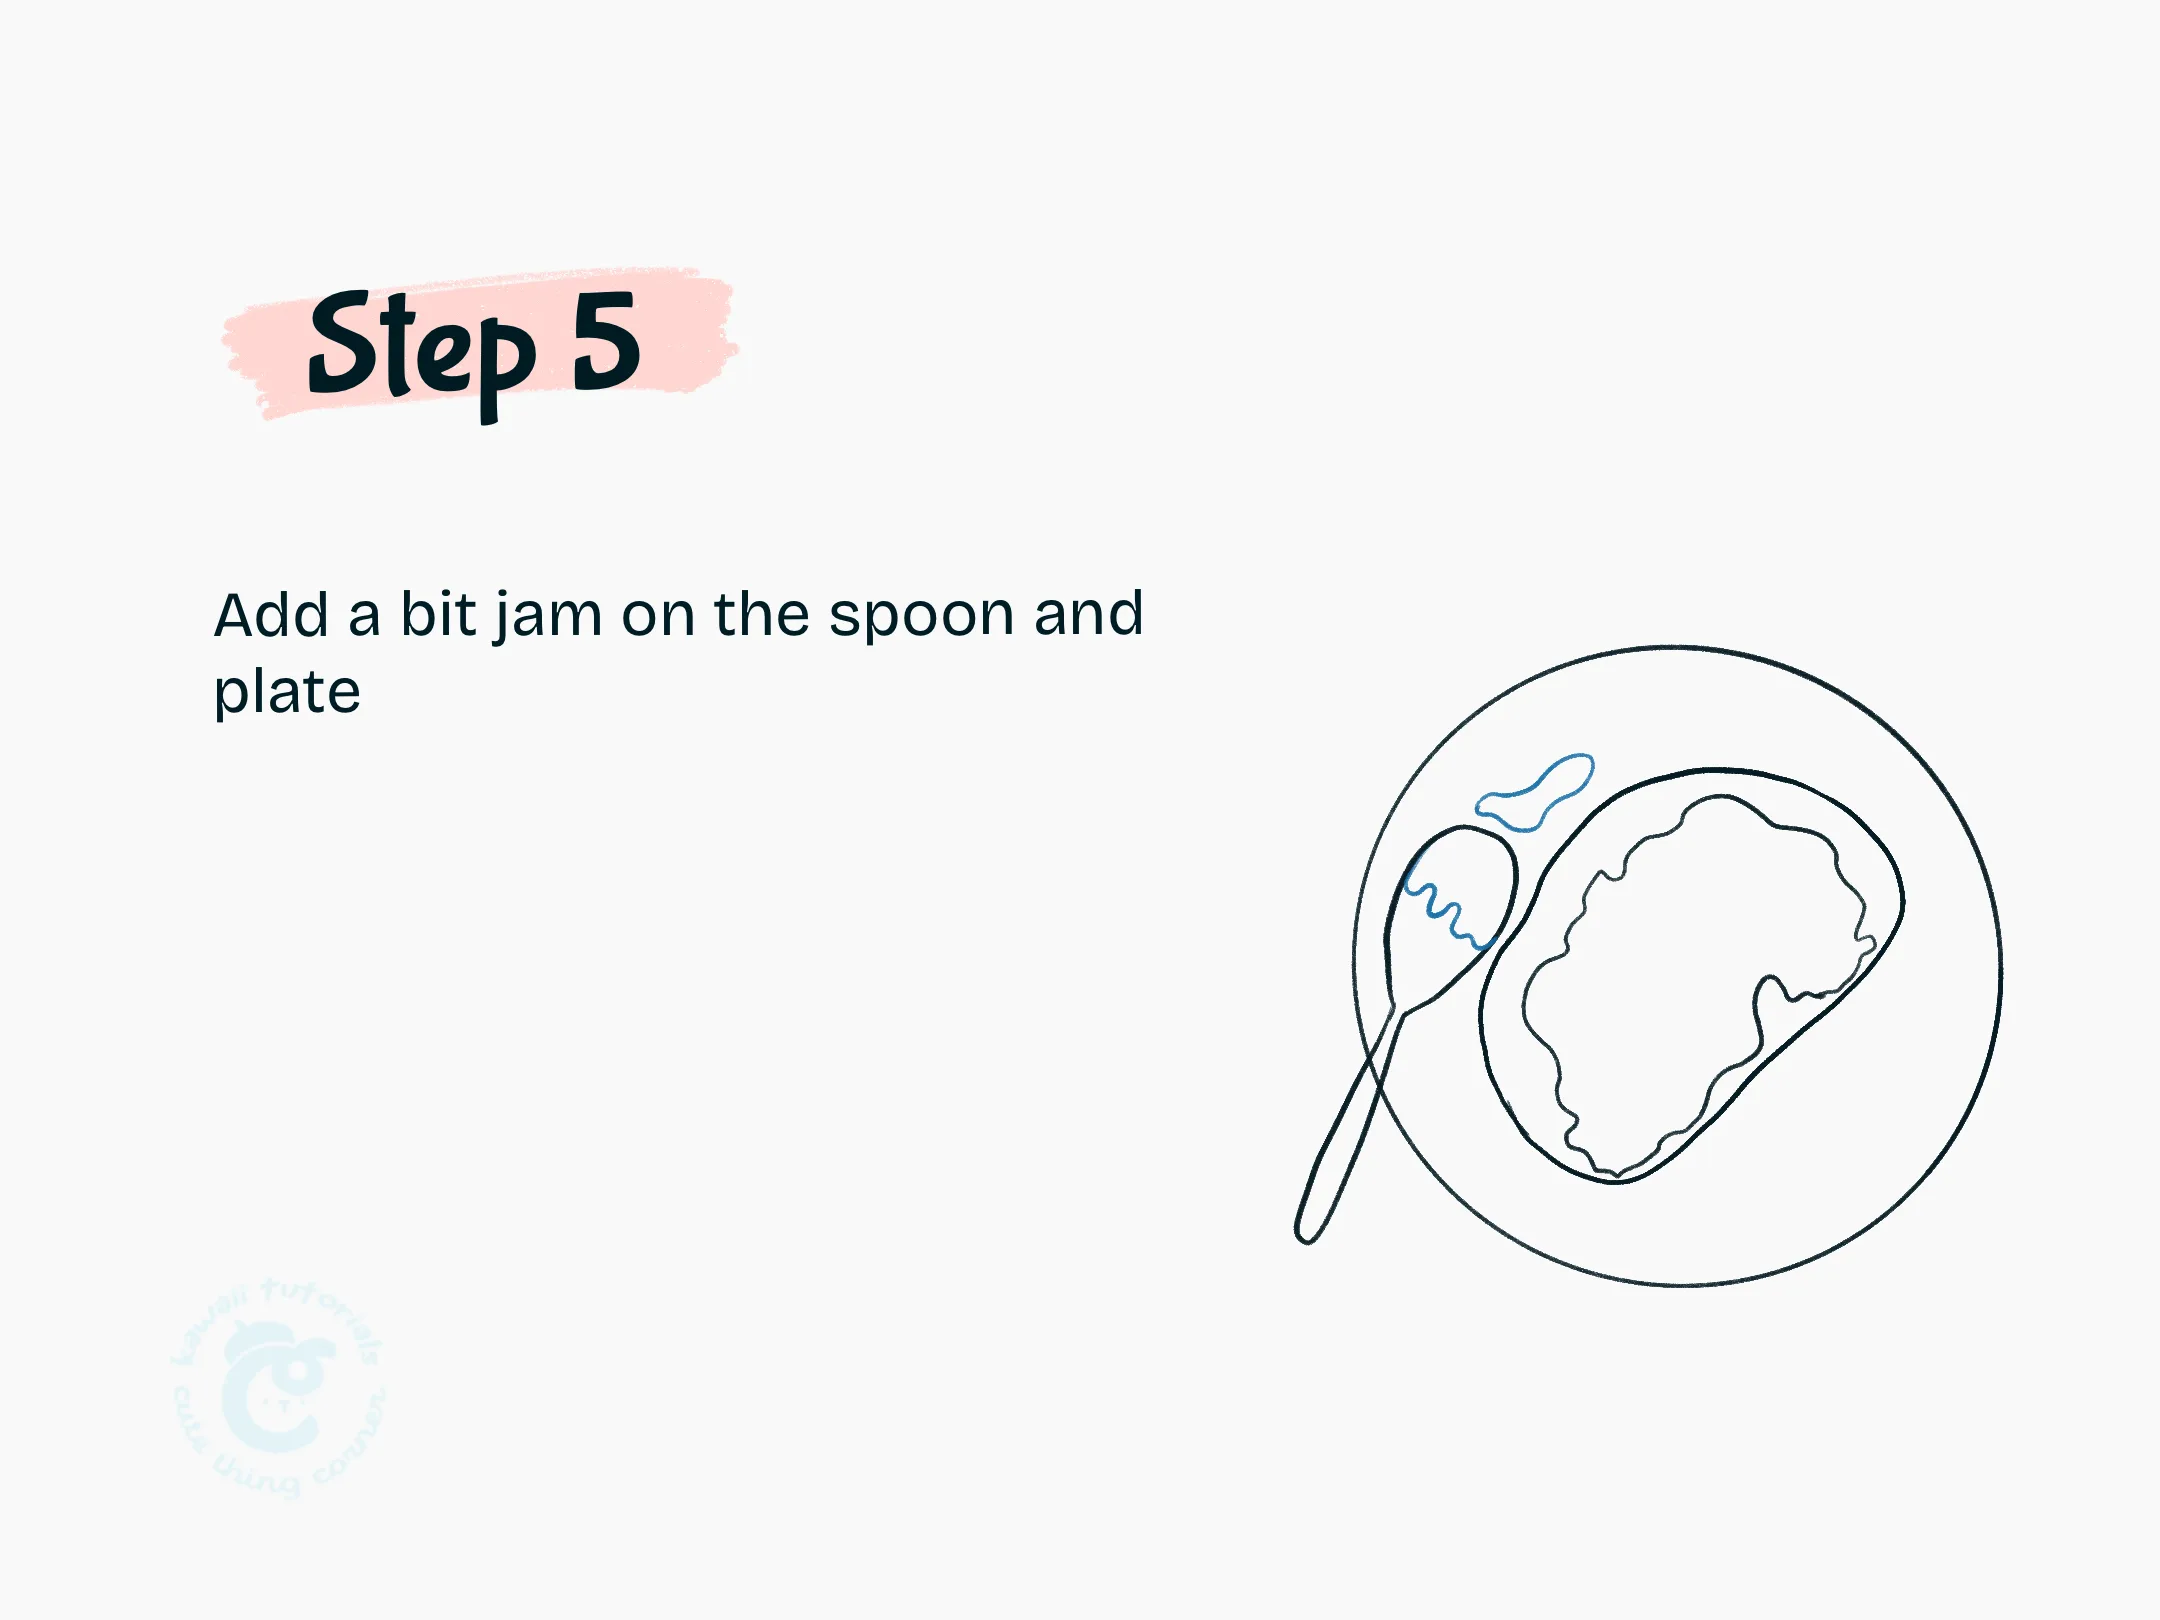
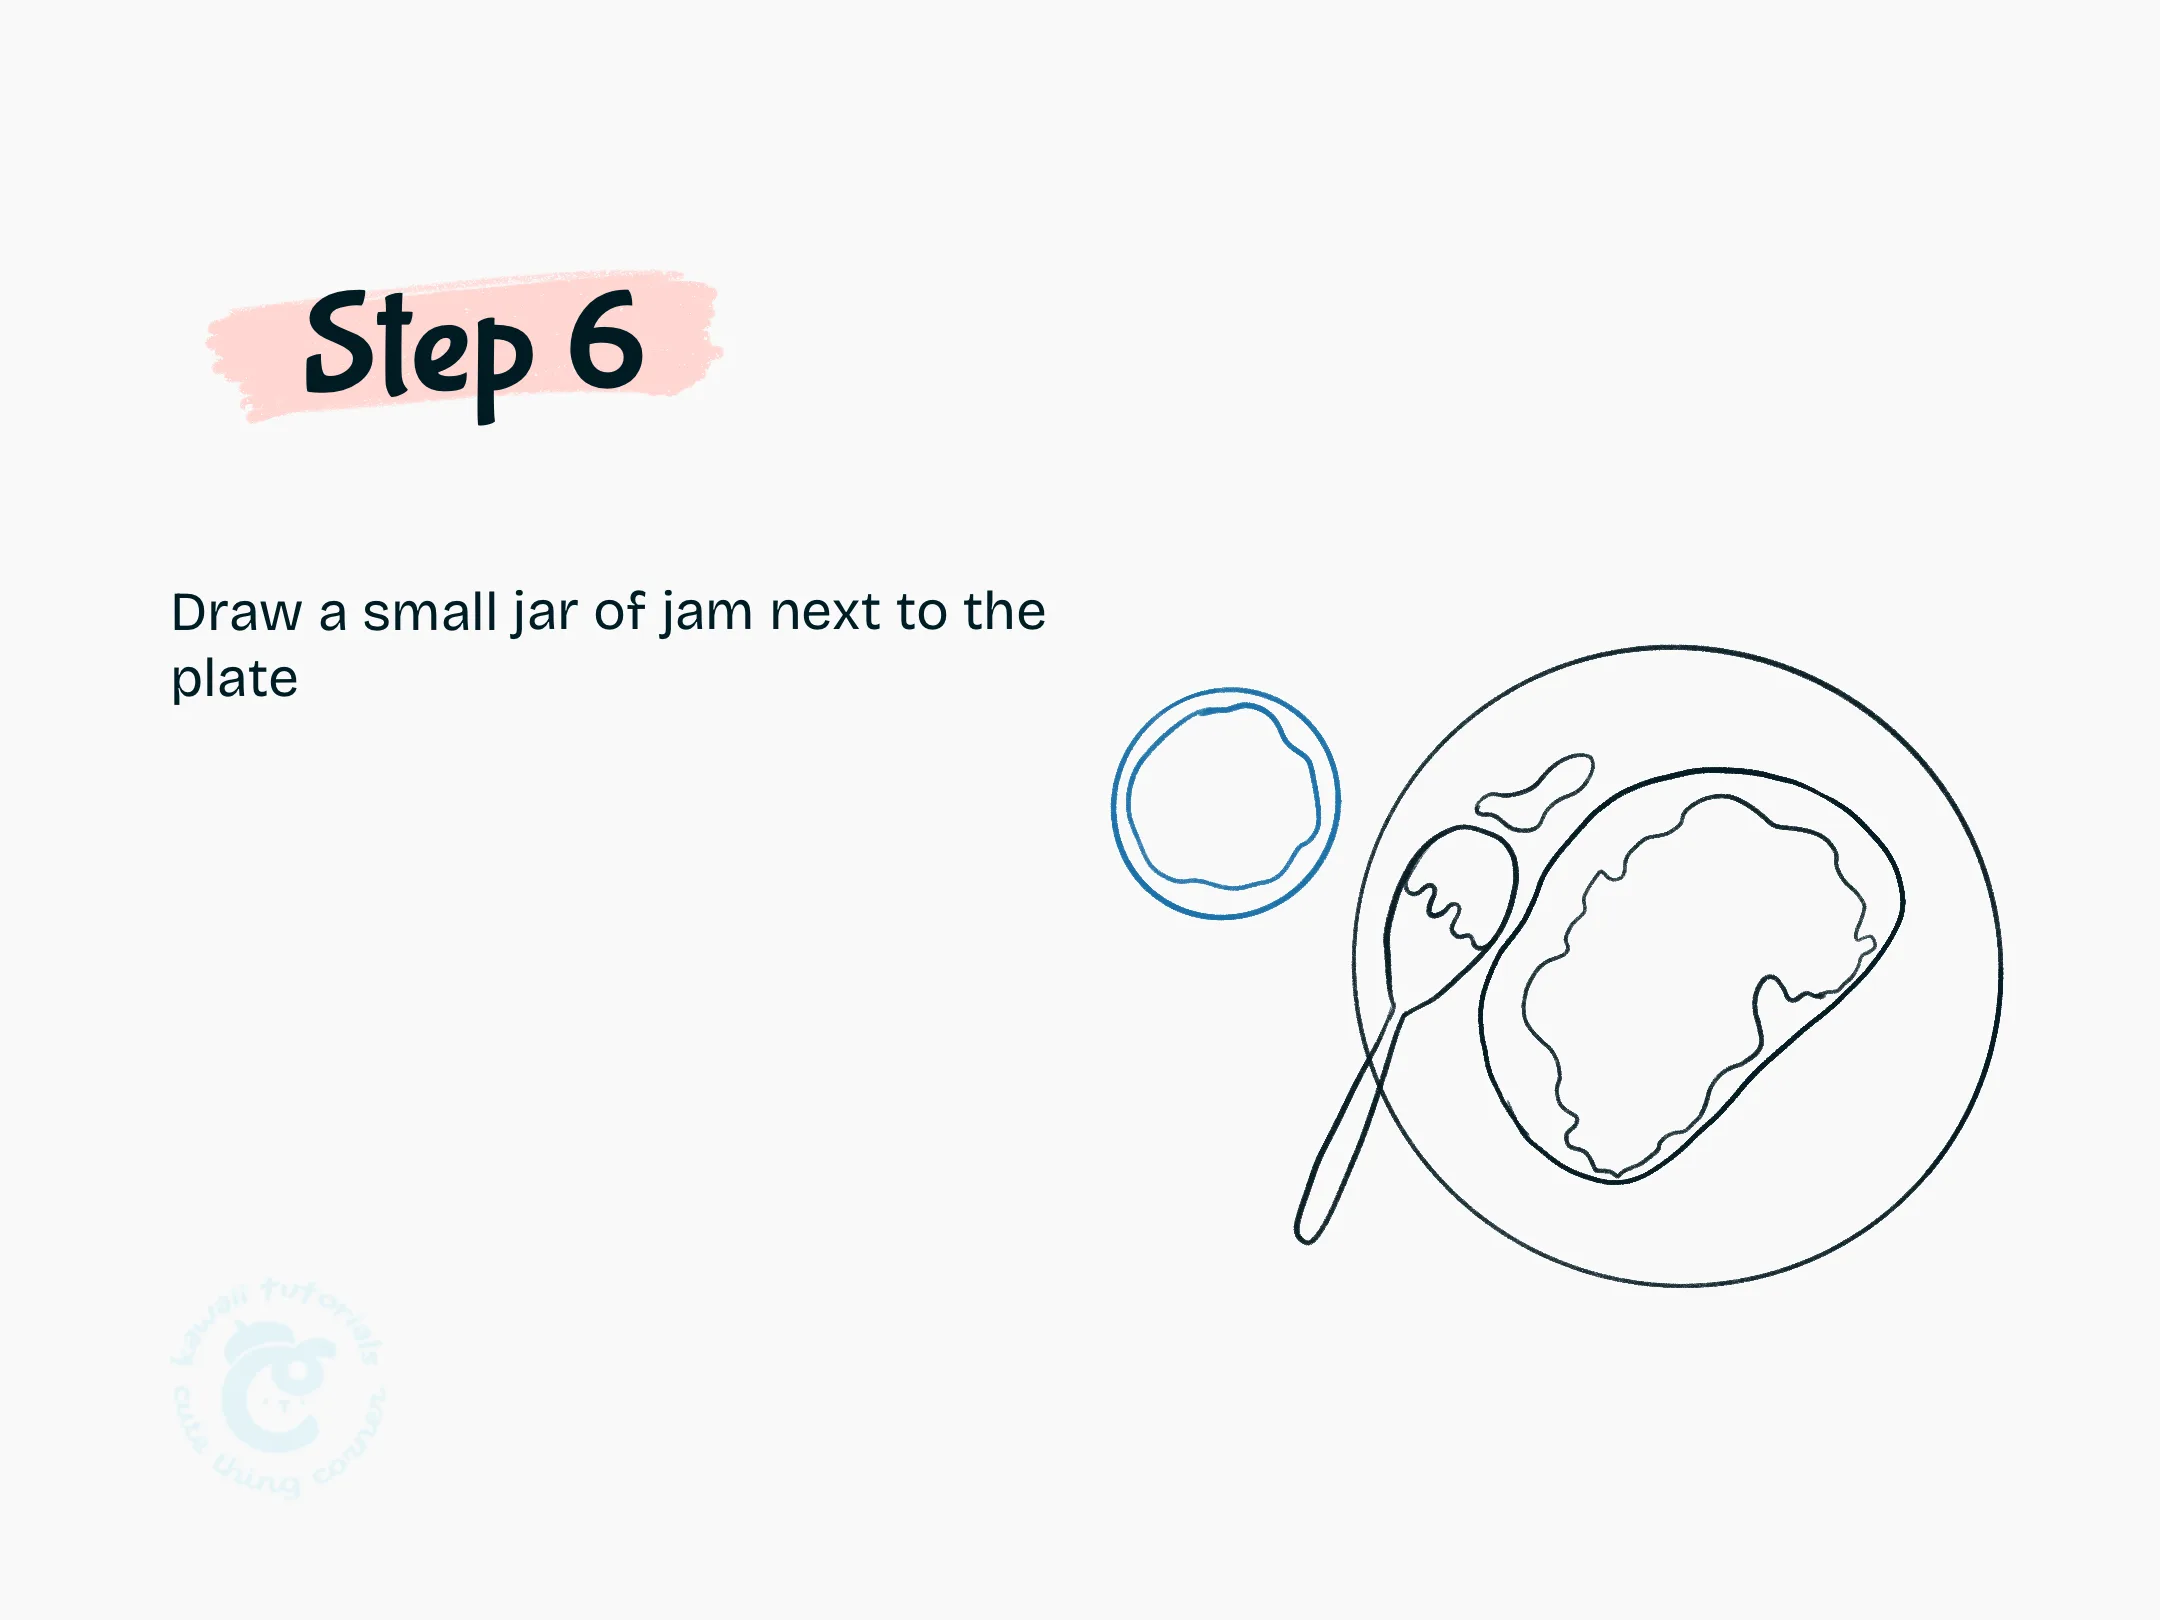
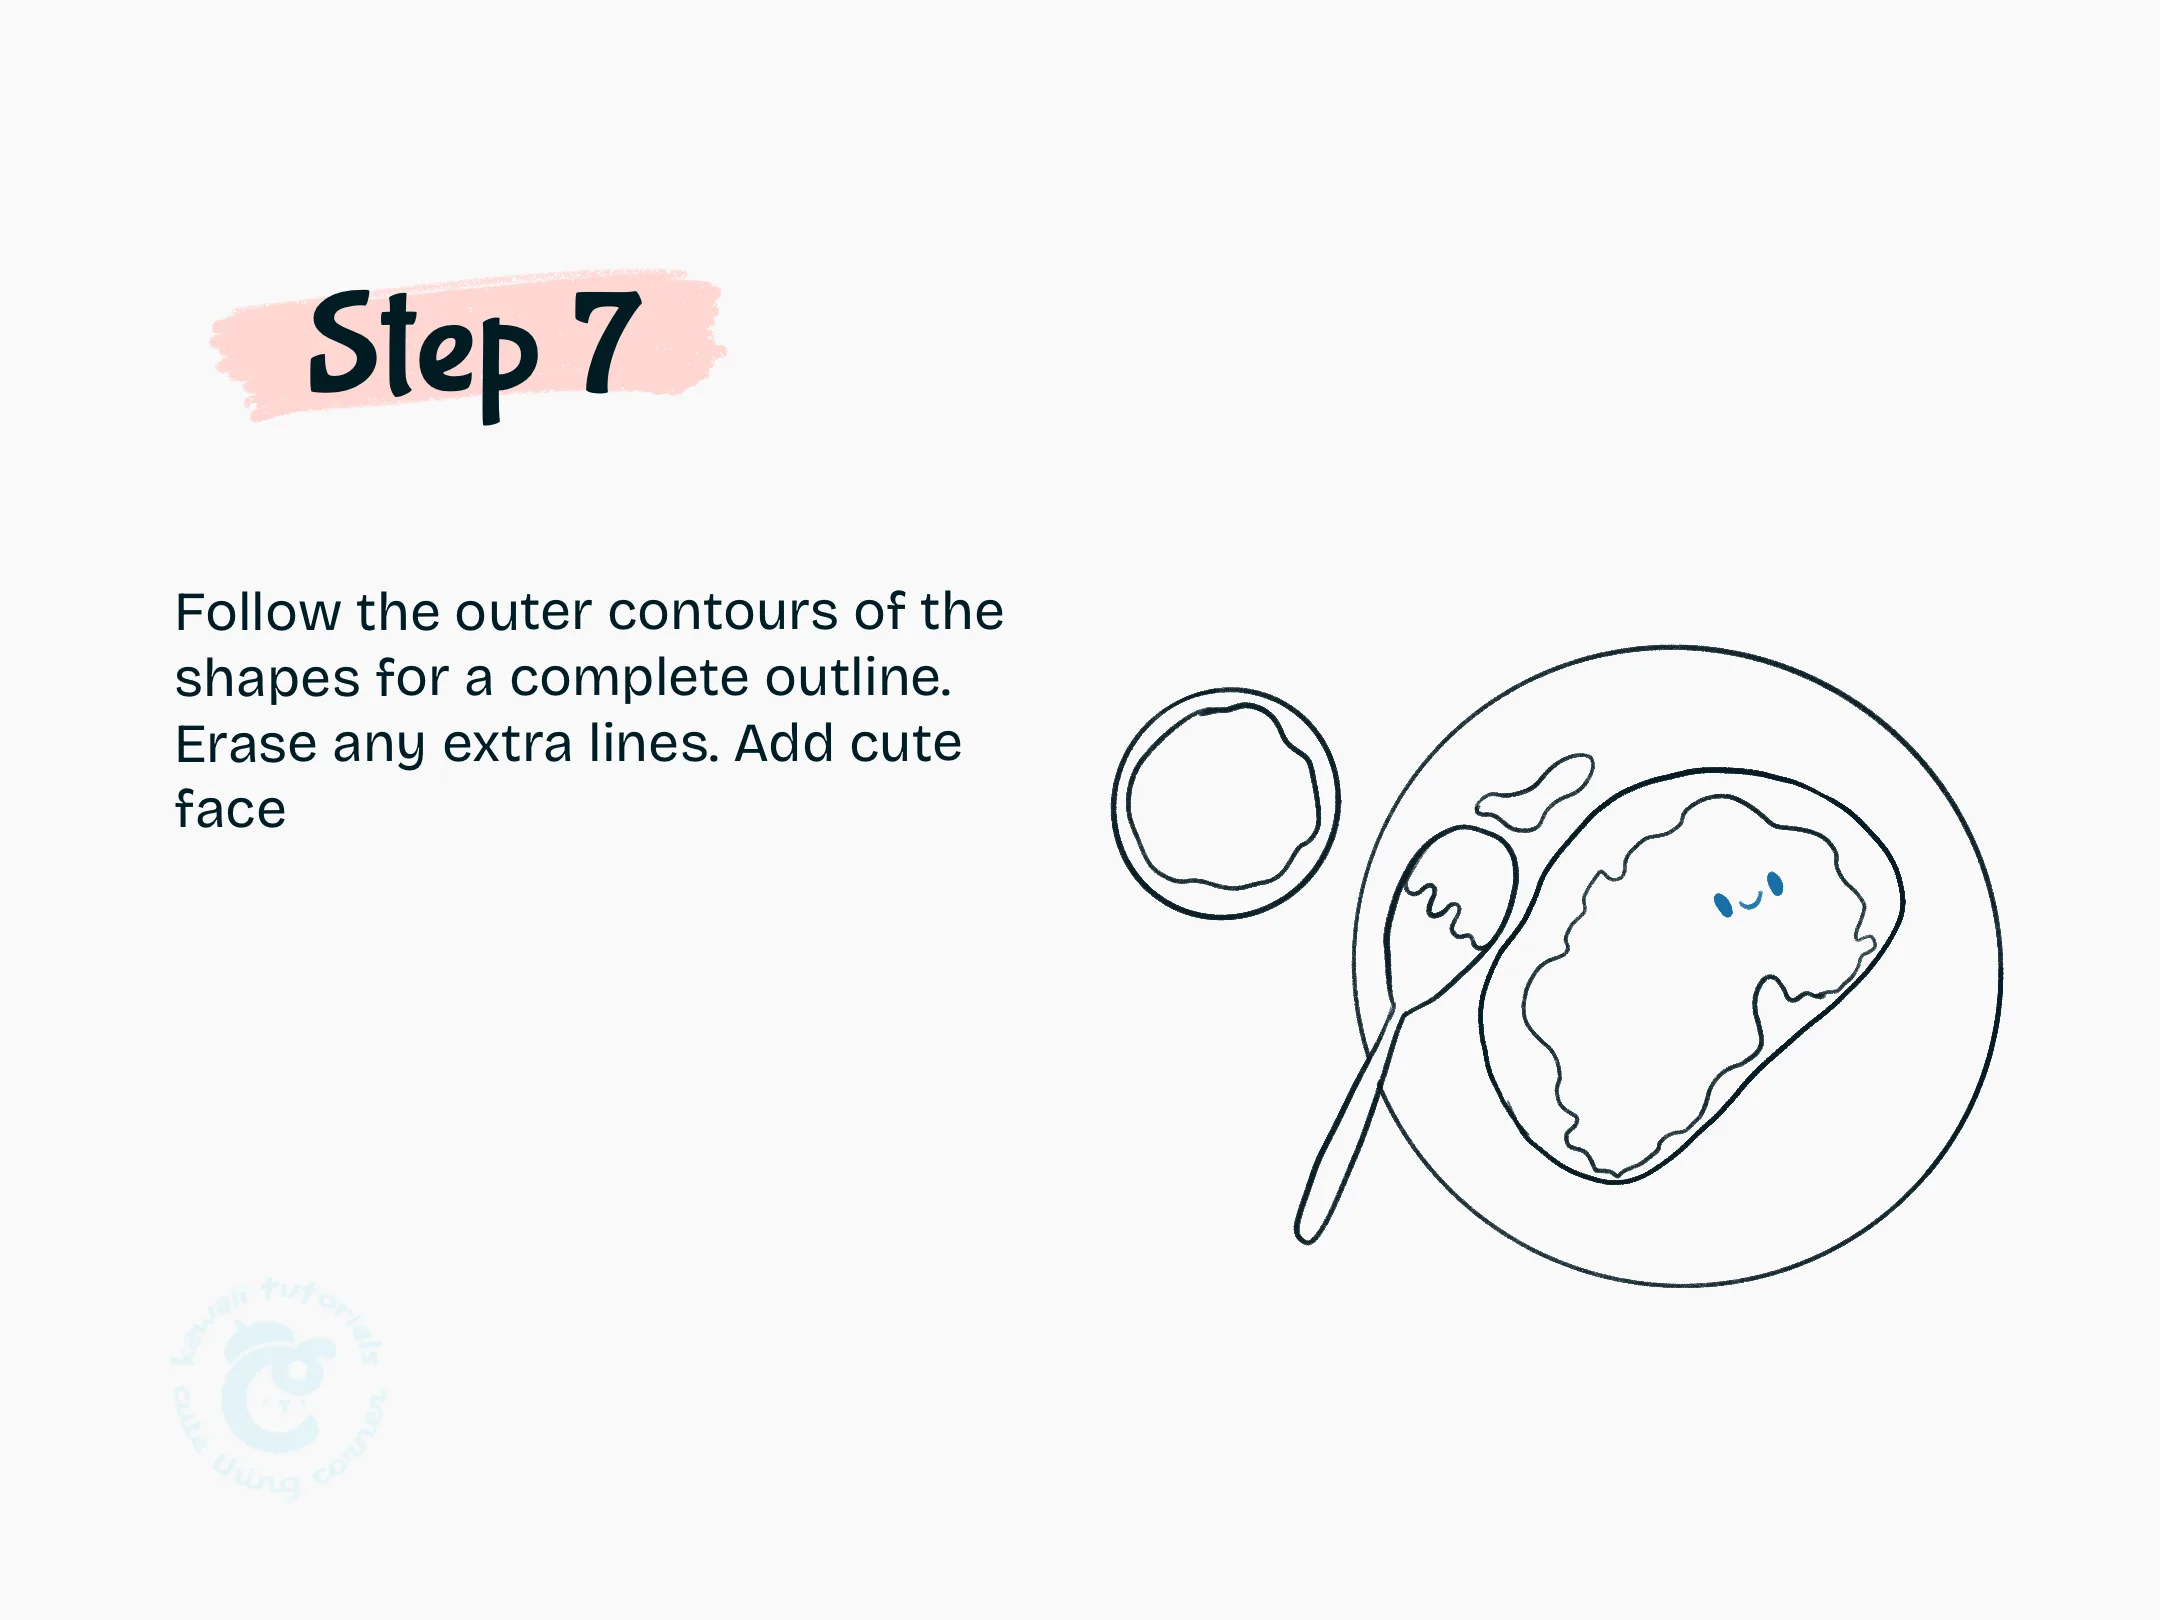
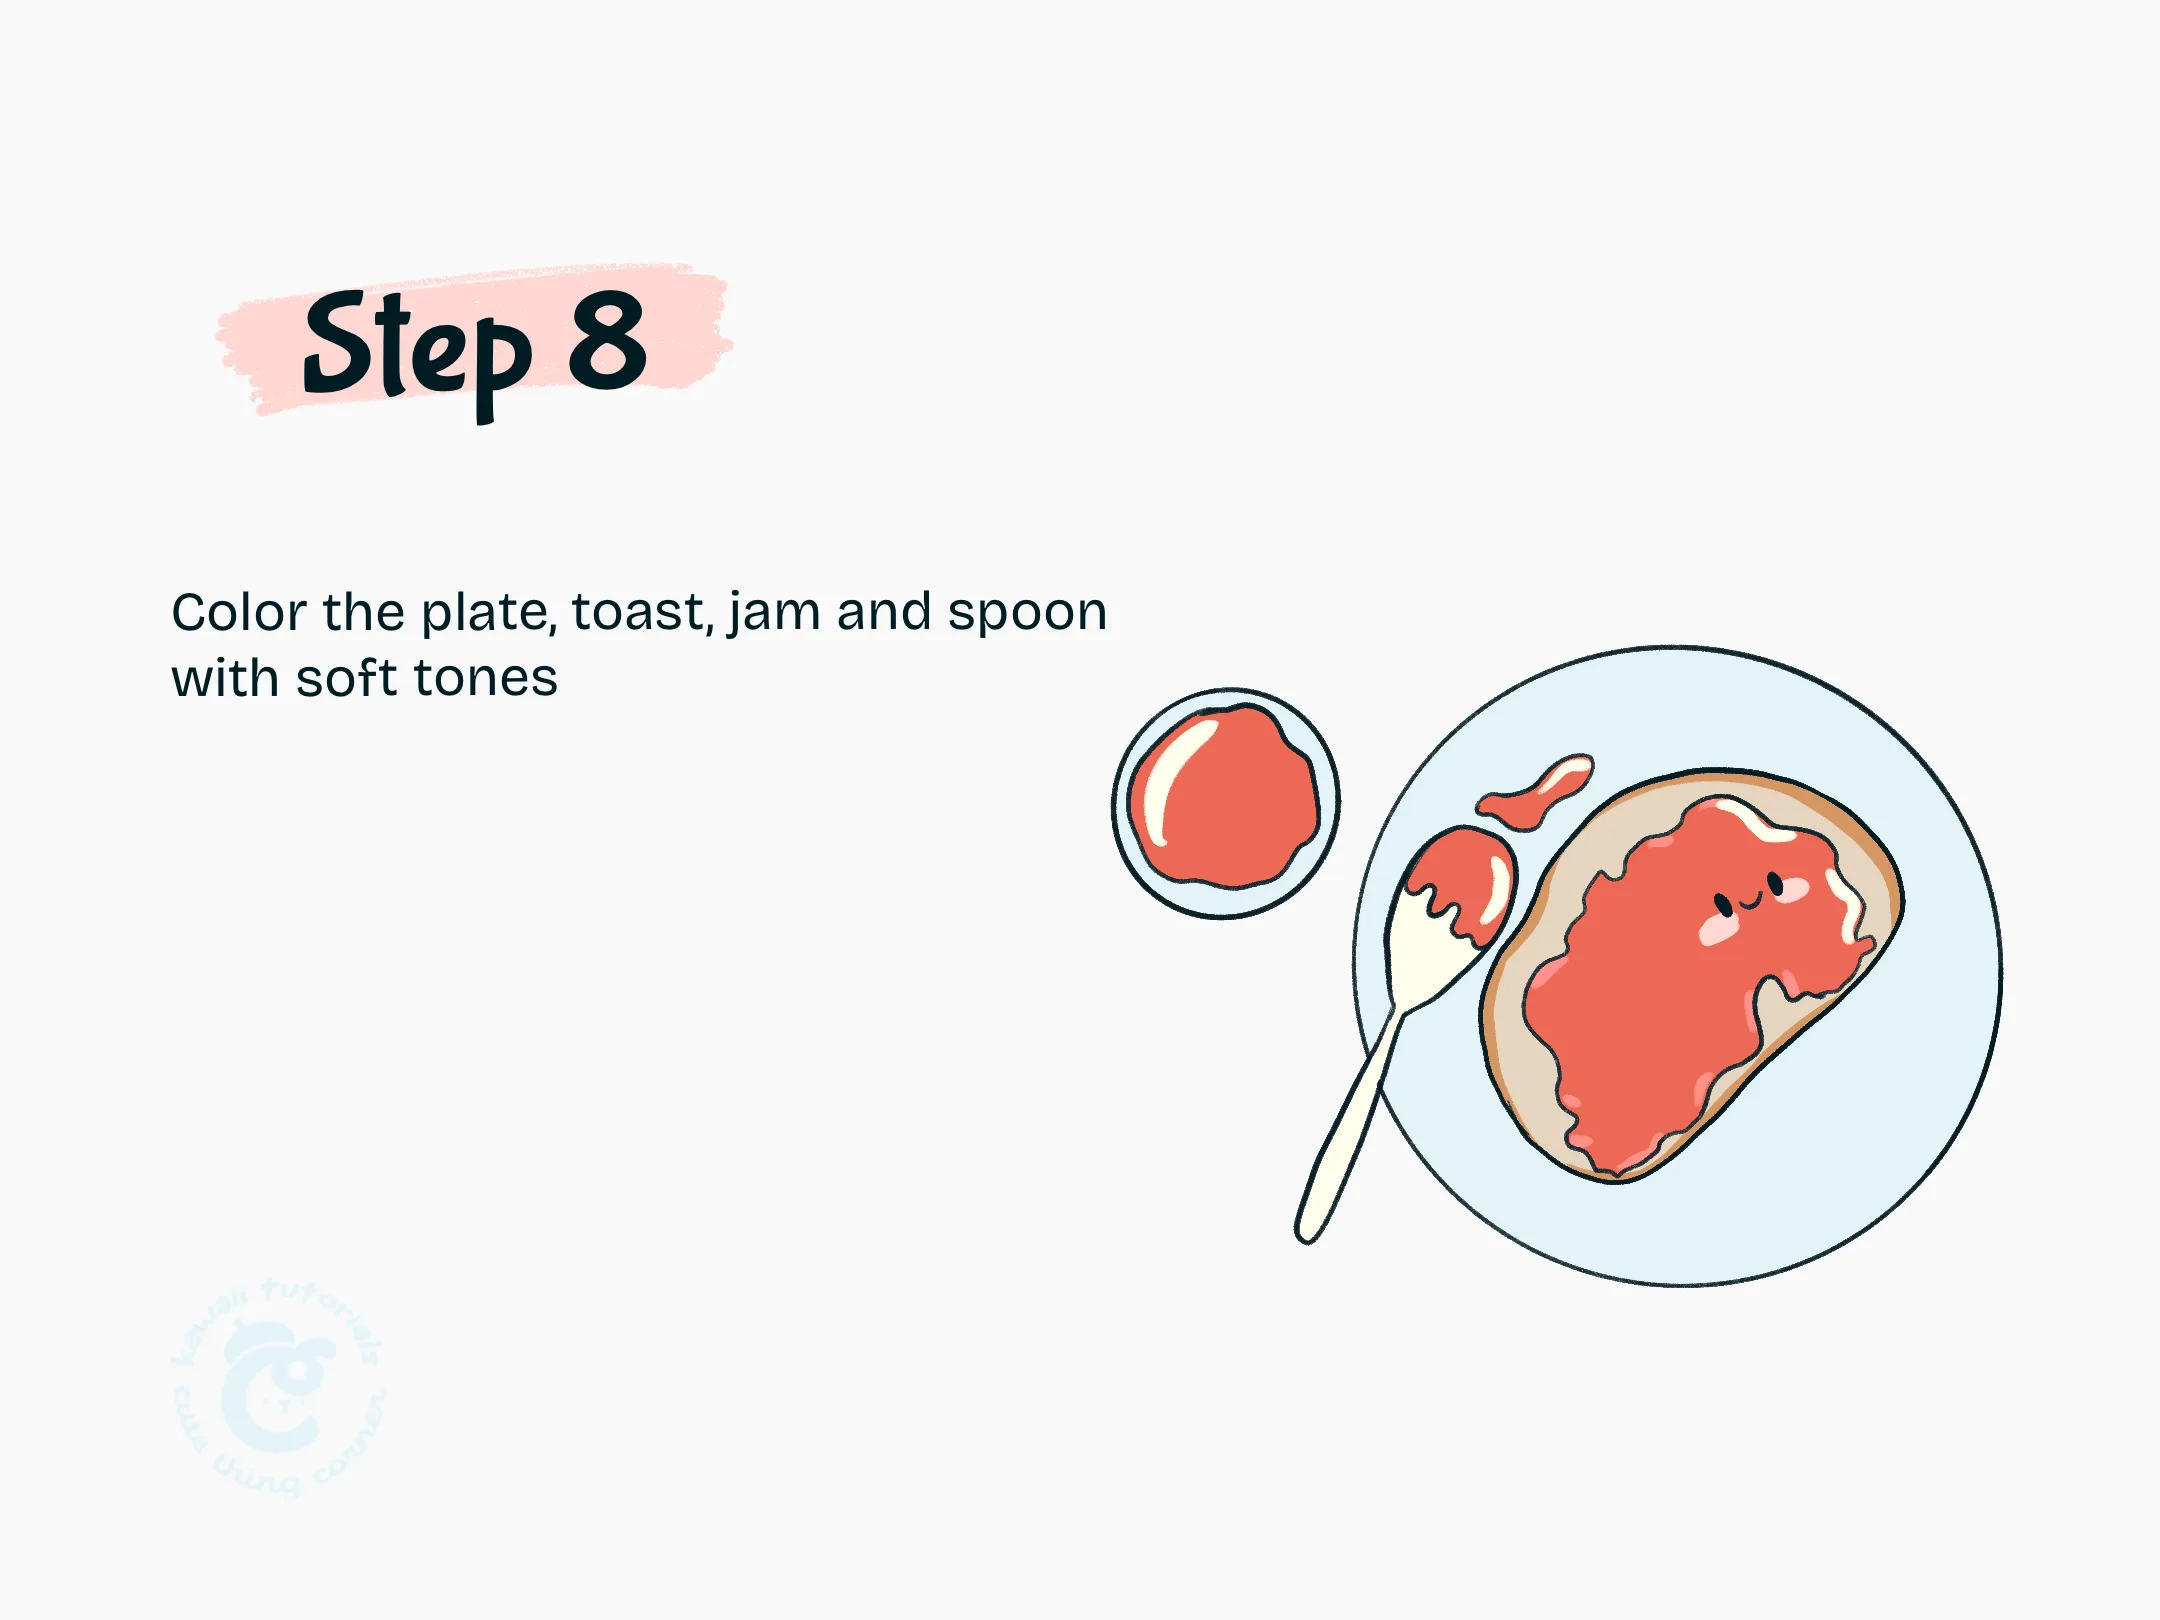
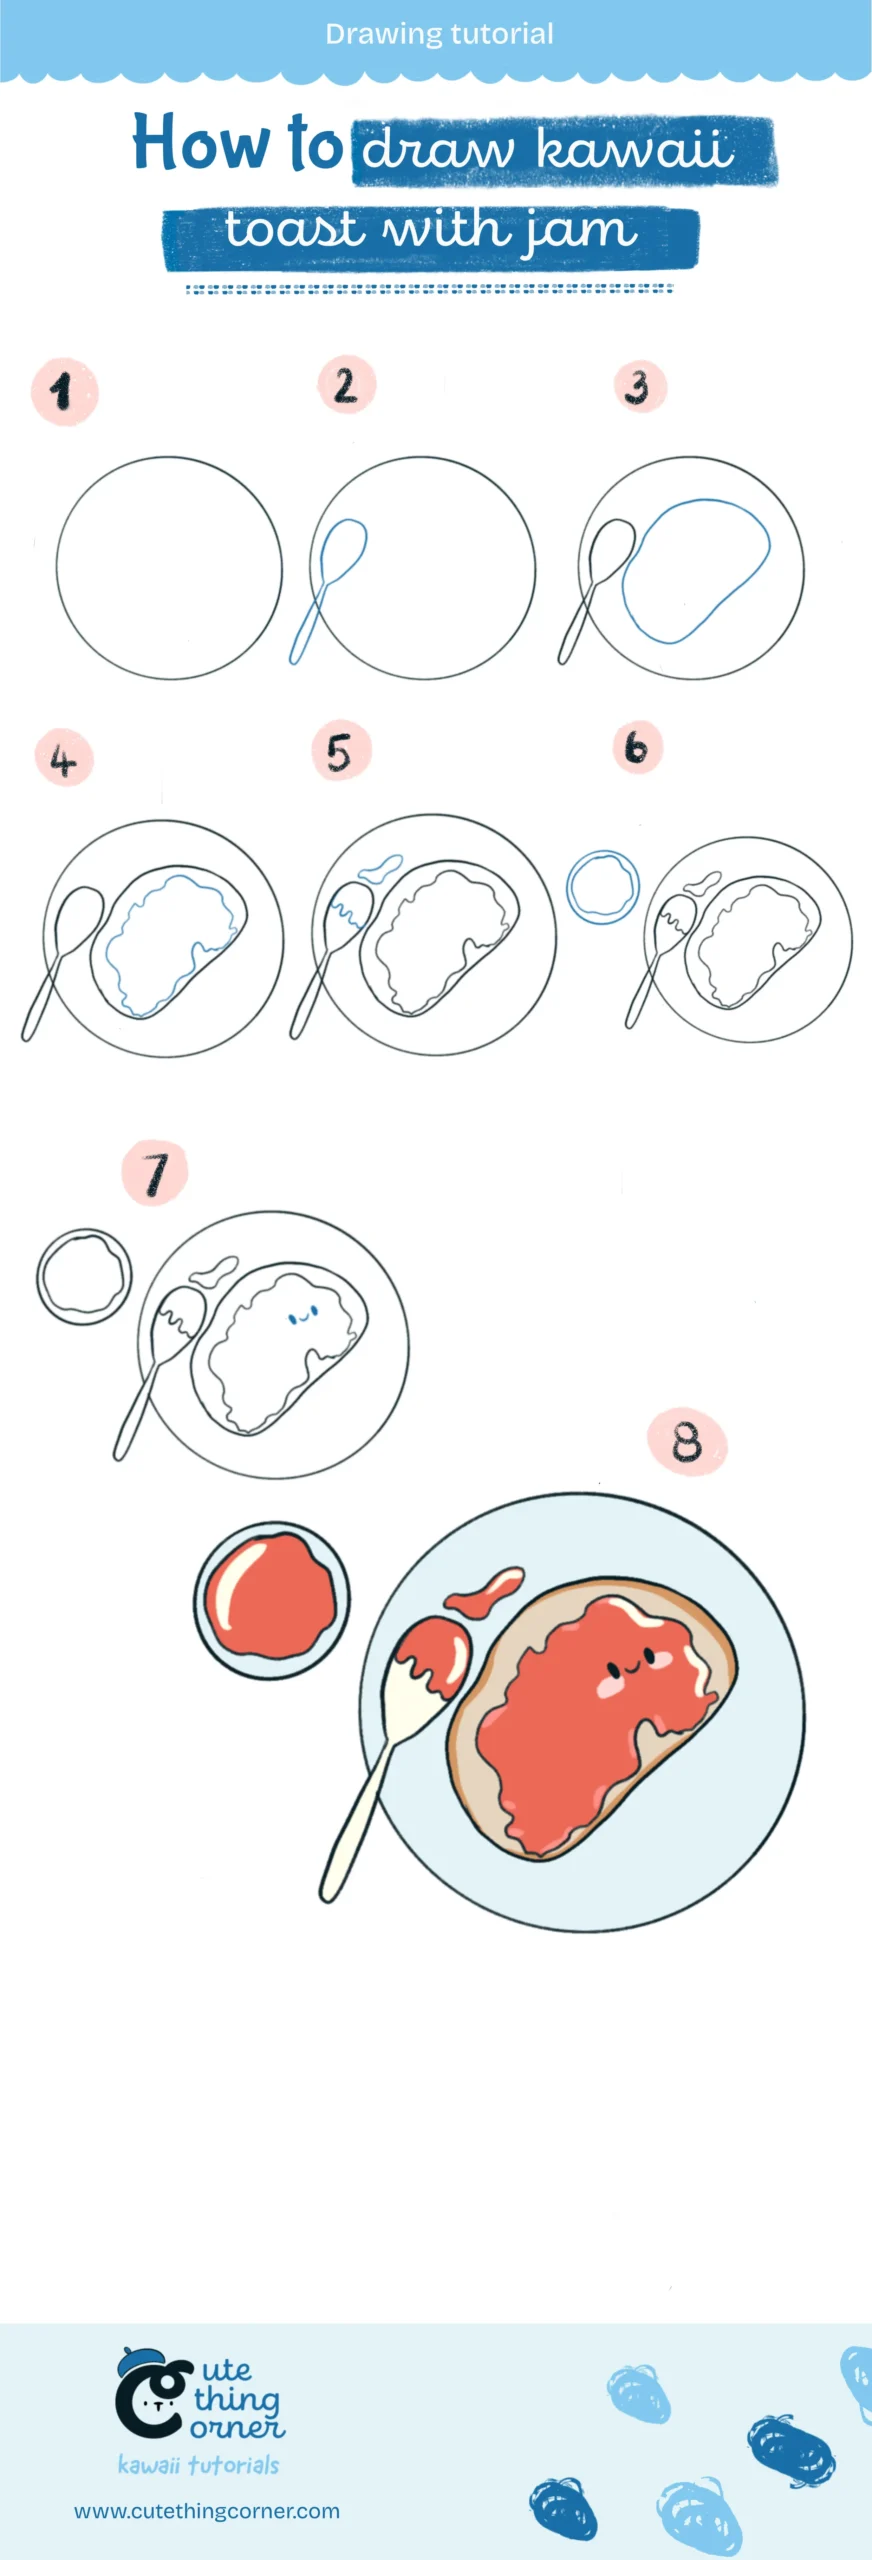
How to draw Kawaii Toast with Jam (Step-by-step)

In this tutorial from Cute Thing Corner, you’ll learn how to draw a kawaii toast with jam, complete with an adorable face and charming details. Perfect for beginners and fans of cute food art, this step-by-step…

  • Quick
  • 10 minutes
  • 8 steps
How to draw cute toast with jam

Before You Start

In this tutorial from Cute Thing Corner, you’ll learn how to draw a kawaii toast with jam, complete with an adorable face and charming details. Perfect for beginners and fans of cute food art, this step-by-step guide makes it easy and fun to create your own deliciously cute design.

Grab your pencils, and let’s get started!

How to draw kawaii toast with jam

You just have paper and a pencil to start. Color will belong to your favorite or using an Ipad and pencil.

Whatever makes you comfortable to start.

Now jump into step-by-step to draw Kawaii Toast with Jam.

Step 1

Draw a large circle to outline the plate

Draw a large circle to outline the plate

Step 1 Draw a large circle to outline the plate
Step 2

Add a small spoon resting on the plate

Add a small spoon resting on the plate

Step 2 Add a small spoon resting on the plate
Step 3

Draw a slice toast in the center of the plate

Draw a slice toast in the center of the plate

Step 3 Draw a slice toast in the center of the plate
Step 4

Add wavy lines on the toast to outline the jam

Add wavy lines on the toast to outline the jam

Step 4 Add wavy lines on the toast to outline the jam
Step 5

Add a bit jam on the spoon and plate

Add a bit jam on the spoon and plate

Step 5 Add a bit jam on the spoon and plate
Step 6

Draw a small jar of jam next to the plate

Draw a small jar of jam next to the plate

Step 6 Draw a small jar of jam next to the plate
Step 7

Follow the outer contours of the shapes for a complete outline. Erase any extra lines. Add cute face.

Follow the outer contours of the shapes for a complete outline. Erase any extra lines. Add cute face.

Step 7 Follow the outer contours of the shapes for a complete outline.
Step 8

Color the plate, toast, jam and spoon with soft tones

Color the plate, toast, jam and spoon with soft tones

Step 8 Color the plate, toast, jam and spoon with soft tones

Final Tips

And there you have it—your kawaii toast with jam is complete!

I hope you enjoyed this step-by-step tutorial and had fun creating this adorable and delicious design.

Don’t forget to share your drawing and let us know how it turned out!

For more fun and kawaii art projects, check out our blog for even more creative tutorials.

Let’s keep drawing together—see you in the next guide!

Learn full steps to draw Kawaii Toast with Jam:

How to draw Kawaii toast with Jam (Step-by-step)

Leave a Comment